
How to Sew a Boy's Polo Shirt: Why It's the Perfect First Kids' Clothes Project
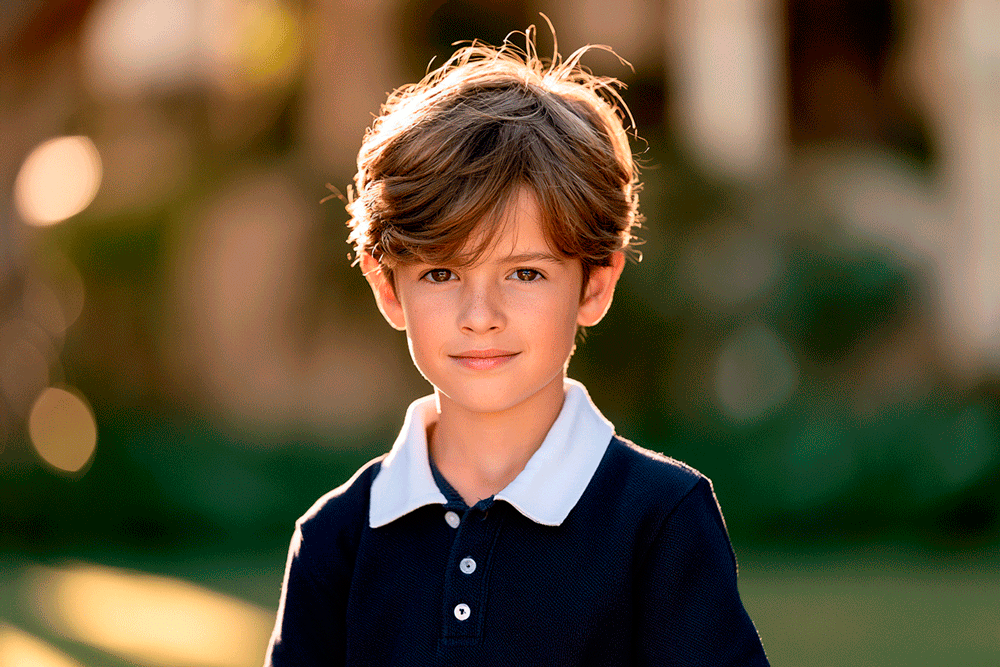
If you are new to sewing children's clothes, the polo shirt is one of the best projects you can choose. Not because it is the simplest possible garment — it is not quite that — but because it is achievable, genuinely useful, teaches a range of skills, and produces a result that a boy will actually wear. Repeatedly. There is a particular satisfaction in spending an afternoon sewing something and then seeing a child choose it from their wardrobe day after day because it is comfortable, fits well, and happens to be their favourite colour.
The boy's polo shirt teaches five key techniques in one compact project: sewing with knit fabric, attaching a knit collar, sewing a button placket, set-in sleeves in a knit, and knit hem finishing. All transfer directly to every other children's garment you will make. The Fabrico Yale polo shirt pattern includes a step-by-step video tutorial for each stage including the placket — the detail most beginners are nervous about, and the one that is considerably easier than it looks.
Why the Polo Shirt Is a Better First Project Than It Looks
At first glance, the polo shirt looks more complicated than a basic T-shirt. It has a collar. It has a button placket. But here is the useful truth: by the time you have finished one polo shirt, you will have learned the skills that appear in almost every children's garment you will ever make.
- How to sew with knit (stretch) fabric — the primary fabric category for children's clothing. The same techniques apply to T-shirts, sweatshirts, and leggings.
- How to attach a knit collar — a technique that appears in dozens of children's garments. The polo collar introduces the principle of stretching a shorter piece to a longer neckline, central to all knit collar construction.
- How to sew a button placket — one of the most useful construction techniques in all of sewing. Once you have done it once on a small scale, the adult version holds no mystery.
- How to attach set-in sleeves in a knit — the most common sleeve construction for T-shirts, polo shirts, and sweatshirts. After one polo shirt, sleeve attachment in knit fabric feels entirely familiar.
- How to finish knit hems — the clean, stretchy hem finish that every jersey garment needs. Twin-needle hemming and cover-stitch hemming are both introduced by the polo shirt project.
The polo shirt also has a significant practical advantage: it is a universally appropriate garment for boys from toddler age upward. It works for nursery, school, outdoor play, family occasions, and beach holidays. A well-made polo shirt in a practical colour will be worn constantly and will earn back the time spent making it many times over.
The fabric
Jersey vs Piqué: Choosing Your Knit
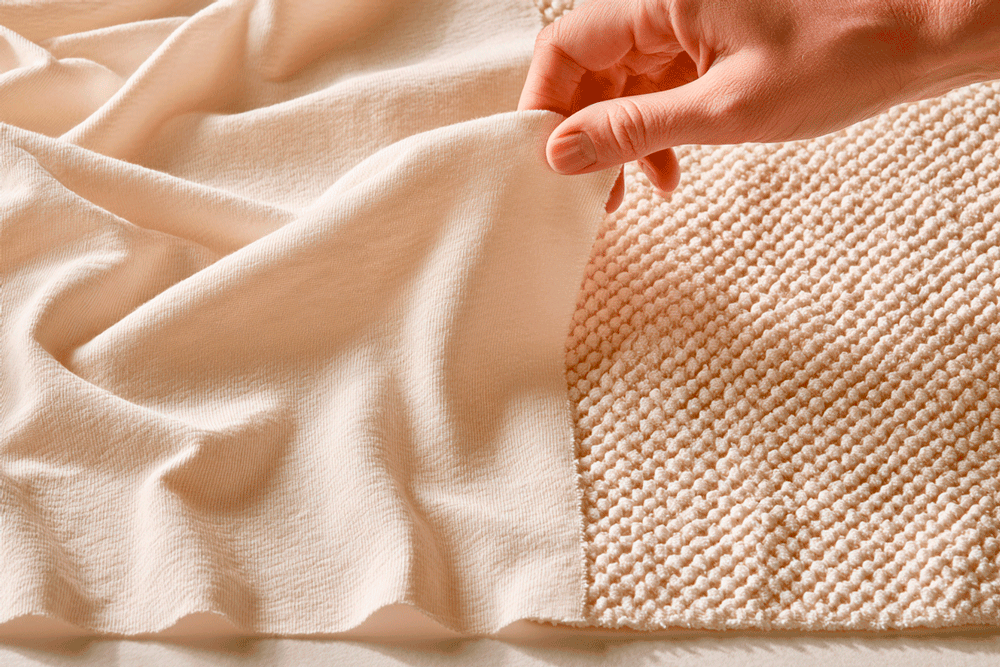
Polo shirts are made from jersey or piqué knit fabric — a stretchy, knitted material that differs fundamentally from woven fabrics like cotton or linen. The stretch is what makes a polo shirt comfortable to wear and easy to put on and take off, essential for a children's garment where ease of dressing matters.
Cotton jersey (single jersey)
A smooth, lightweight knit with stretch in all directions. The fabric used in most T-shirts. Soft against the skin, easy to wash, and comfortable for children in all weather. It does not stretch as aggressively as some knits and stays relatively stable on the cutting table. For a first attempt, cotton jersey is marginally more forgiving.
Cotton piqué
A textured knit with a characteristic waffle-like surface. Slightly more structured than jersey, has less stretch, and has the traditional polo shirt appearance that most people associate with a classic polo shirt. It is slightly more formal in appearance and holds its shape well. For the classic polo shirt look, piqué is the authentic choice.
Key techniques
What You Need to Know Before You Start
Sewing with knit fabric — the most important rule
The most important rule is the same one that applies to swimwear: do not use a straight stitch for seams that need to stretch. A straight stitch does not stretch, and a seam sewn with a straight stitch will break the first time the fabric is pulled. Use a zigzag stitch or the stretch stitch setting on your machine for all seams. Use a ballpoint needle — it pushes between the knit fabric's threads rather than cutting through them. Test your stitch on a scrap and stretch the test seam firmly before starting the actual garment.
The placket — the technique people are most nervous about
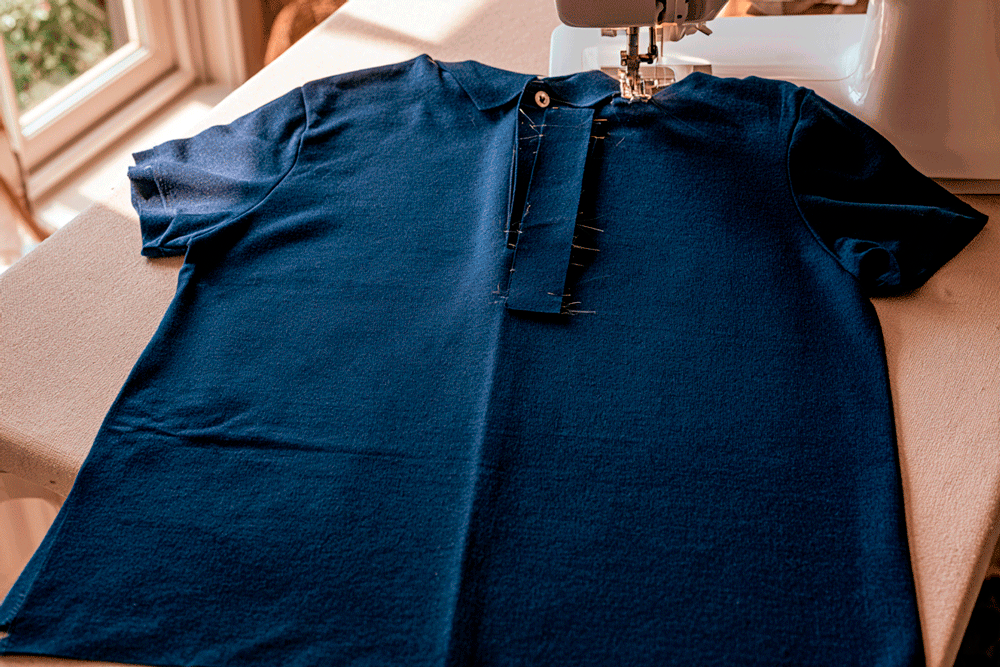
The button placket is the vertical opening at the front neck of a polo shirt — the section with buttons that allows the shirt to be put on over the head. It is the construction detail most beginners are nervous about, and it is significantly easier than it appears.
- Mark and cut the placket opening on the front piece — a simple vertical cut about 10–12cm long at the centre front. Mark carefully before cutting.
- Fuse lightweight interfacing to the wrong side of two placket strips, cut from the same fabric. The interfacing gives the placket stability to hold a button and buttonhole.
- Sew the placket strips to the edges of the cut opening. One strip goes on each side.
- One side overlaps the other, and the bottom of the placket is sewn closed with a horizontal stitch that forms a bar at the base of the opening.
- Add buttons and buttonholes through the overlapping section. Typically two or three buttons for a child's polo shirt.
Practice the placket sequence on a scrap of fabric before cutting the actual shirt front. The sequence makes more sense once you have done it once, even on scrap.
The polo collar — the key to a flat finish
The polo collar is a soft collar — no stand, no structured boning — cut from a ribbed knit or from the same fabric as the shirt. It is sewn as a folded band, attached to the neckline, and topstitched.
The key to a collar that sits neatly is cutting it slightly shorter than the neckline measurement — typically 80–90% of the neckline circumference. When you stretch the shorter collar to match the longer neckline as you sew, the collar's natural tension pulls the neckline into a smooth, flat finish. A collar cut at the same length as the neckline will ripple and wave rather than lying flat.
Design choices
Colour Combinations
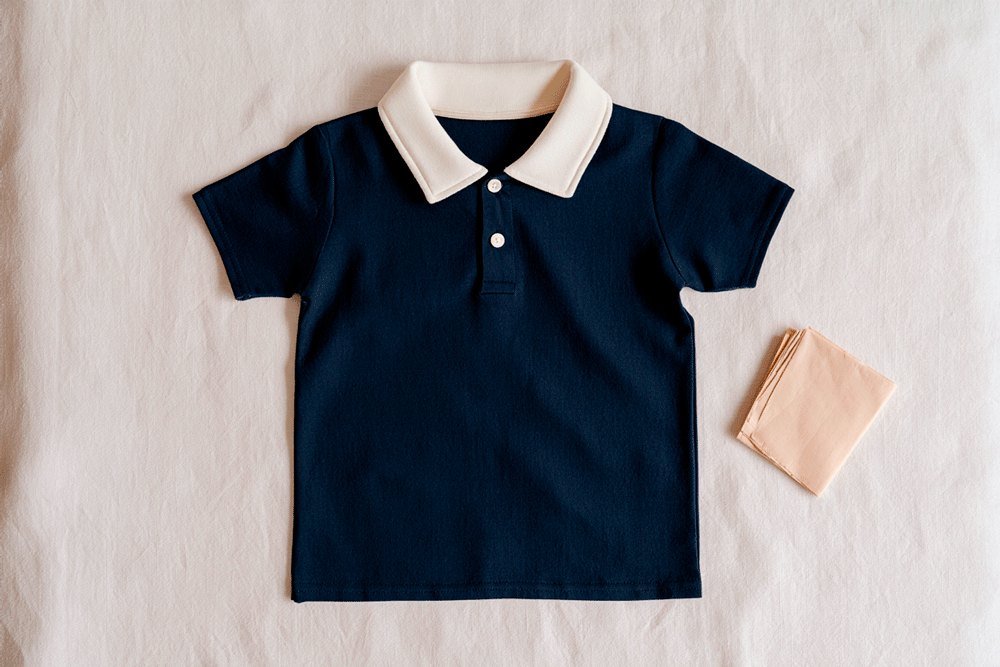
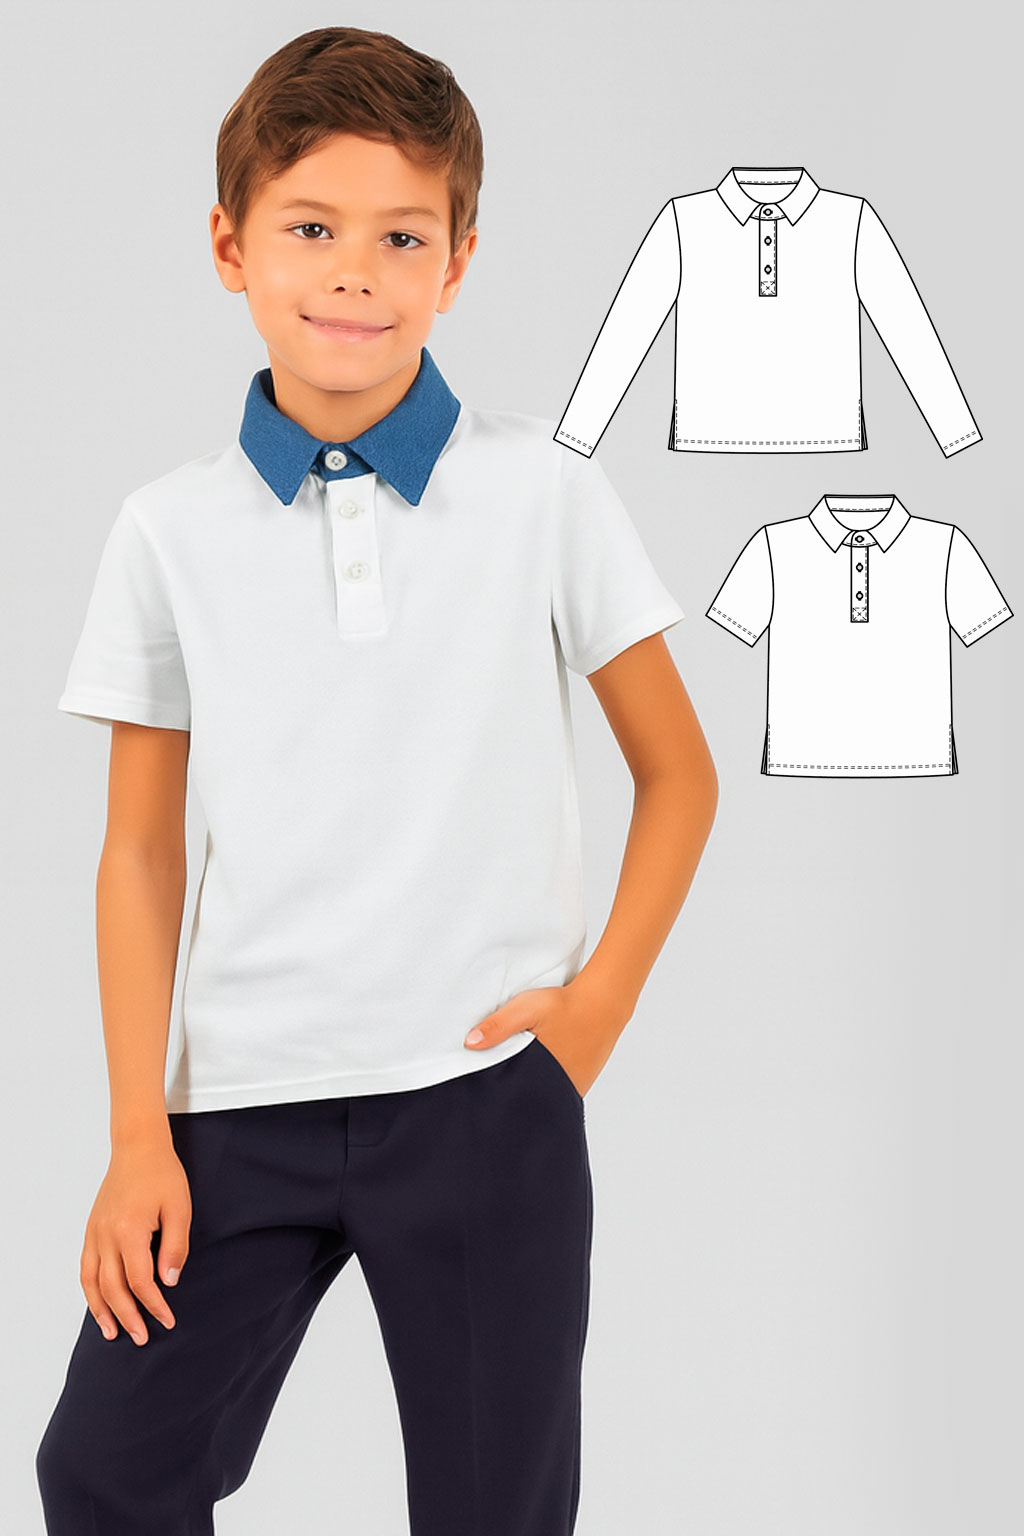
The polo shirt's clean lines make it an excellent canvas for colour blocking — using two contrasting colours for the body and the collar, which produces a more distinctive result than a single-colour shirt with very little additional work.
For a single-colour shirt, the most useful colours for a boy's wardrobe are navy, white, mid-blue, red, and forest green — all of which go with jeans, shorts, and chinos without requiring careful coordination.
Why Children's Clothes Are Good for Building Confidence
One of the underappreciated advantages of sewing children's clothes is scale. A child's polo shirt is genuinely small — less fabric, fewer seams, and each step takes less time than the equivalent step in an adult garment.
- The placket that takes ten minutes on an adult shirt takes five minutes on a child's shirt.
- The sleeve that needs careful easing into an adult armhole needs considerably less careful management in a child's size.
- The hem that must be turned for 70cm on an adult shirt covers only 40cm on a toddler's version.
The technique is identical — the smaller scale means the stakes feel lower, the project moves faster, and the finished garment is a genuine confidence-builder.
Frequently Asked Questions
Is a polo shirt a good beginner project for kids' clothes?
Yes — and a better choice than it first appears. The polo shirt teaches the key techniques in almost all children's clothes sewing (stretch fabric, knit collar, button placket, set-in sleeves, knit hems) in a compact and forgiving format. Each step takes roughly half the time it would on an adult garment, which makes the project faster and less daunting.
What fabric do you use for a polo shirt?
Polo shirts are made from jersey or piqué knit fabric. Cotton jersey (smooth, lightweight, used in most T-shirts) is more forgiving for beginners. Cotton piqué (textured, slightly more structured, the classic polo shirt look) is the authentic choice. The fabric must have at least 50% stretch in the width direction.
What stitch do you use to sew knit fabric?
Never use a straight stitch for seams in knit fabric — it does not stretch and will break when the fabric is pulled. Use a zigzag stitch or the stretch stitch setting on your machine for all seams. Test your chosen stitch on a fabric scrap and stretch the test seam firmly before starting the actual garment. Also use a ballpoint needle, which pushes between the knit fabric's threads rather than cutting through them.
How do you sew a polo shirt placket?
The construction sequence: (1) mark and cut the placket opening — a vertical cut about 10-12cm at the centre front; (2) fuse lightweight interfacing to two placket strips; (3) sew the strips to the edges of the opening; (4) one side overlaps the other and the bottom is closed with a horizontal stitch; (5) add buttons and buttonholes. Practice the sequence on a scrap first — it makes considerably more sense once you have done it once.
Why are children's clothes good for building sewing skills?
Children's clothes are proportionally smaller — less fabric, fewer seams, and each step takes less time than the adult equivalent. This makes the project faster, more forgiving (small errors are proportionally less visible), and less expensive if something goes wrong. The technique is identical to the adult version; the smaller scale means the stakes feel lower and the project moves faster.
What is the best colour combination for a boy's polo shirt?
Two-colour combinations work very well because the collar can be cut in a contrasting colour with very little additional work. The most classic is white body with navy collar. Navy with red collar is bold and cheerful. Mid-blue with white collar is fresh and summery. For single-colour shirts, navy, white, mid-blue, red, and forest green are the most versatile.
The Yale polo shirt pattern
Keep reading
Can You Sew Your Own Swimsuit?
Stretch fabric, elastic, negative ease — the same knit techniques in a different context.
Read more
How to Pre-Wash Your Fabric Before Sewing
The step most beginners skip — including when sewing children's clothes in knit fabric.
Read more
Press to Impress
Pressing technique applies equally to children's clothes as to adult garments.
Read more
How to Sew Your First Summer Dress
Expand your skills to adult woven garments after mastering knit children's clothes.
Read more
The Best Summer Shirt for Men
From polo to camp collar — fabric, cut, and the Vicenza pattern for adults.
Read more
The Best Fabrics for Hot Weather
Natural fibres that keep both adults and children comfortable in summer heat.
Read more