Padua
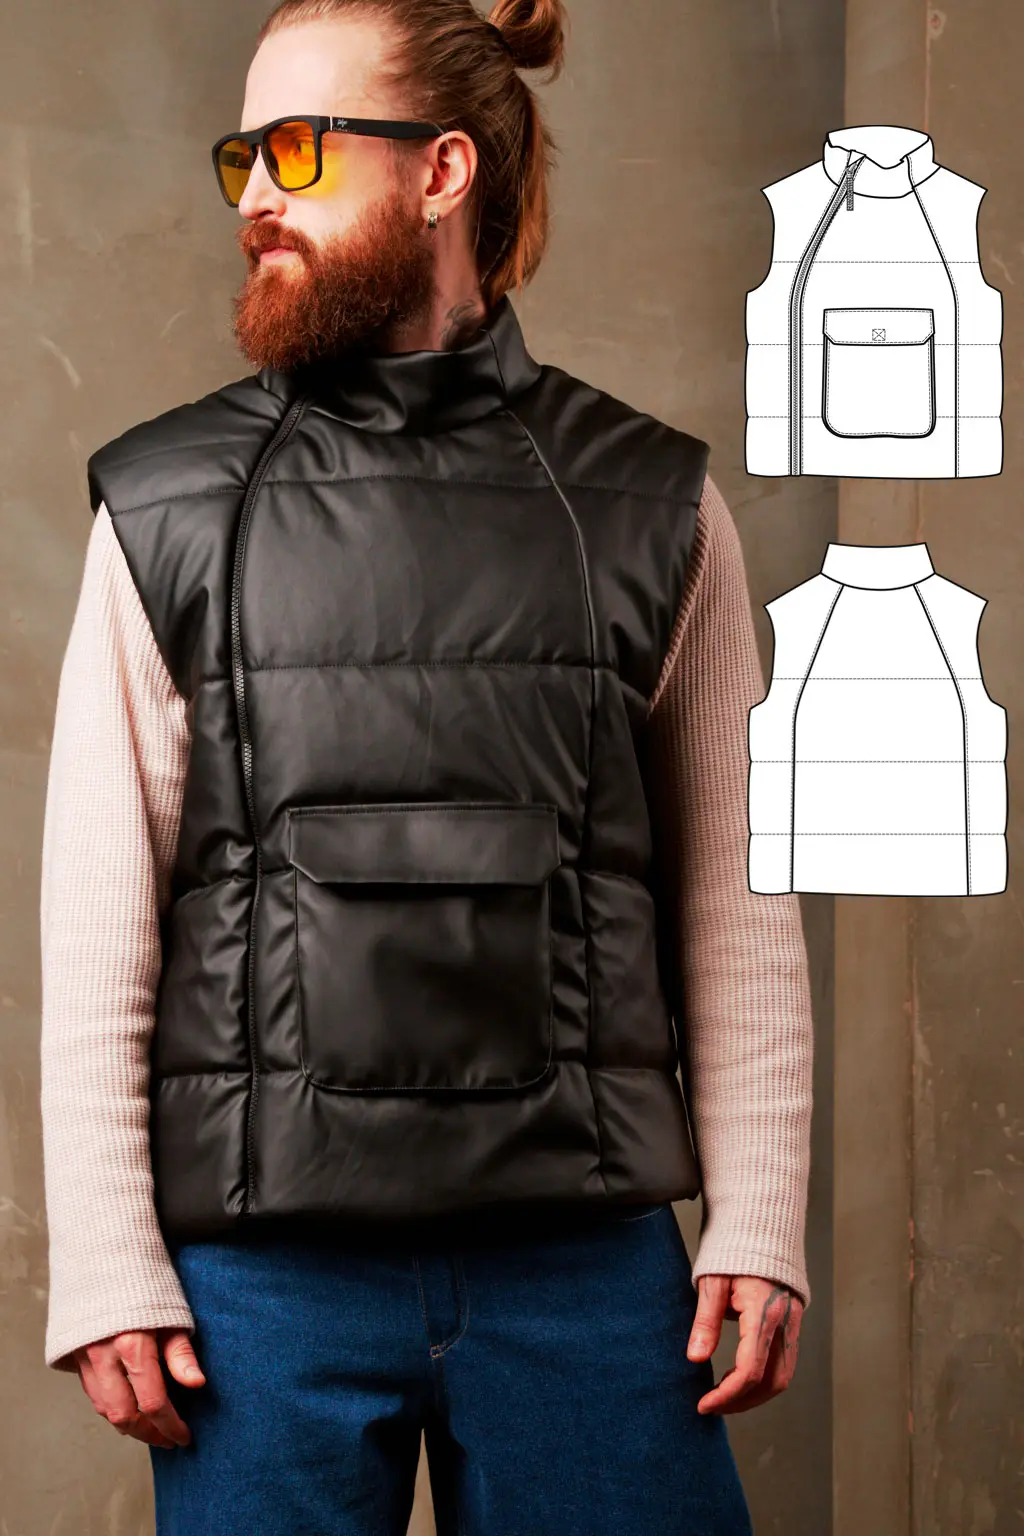
A knitted vest with facings at the neckline and armholes, and a detachable ribbed waistband at the bottom with a small drawstring.
Get the pattern ▶Watch tutorial Follow @fabrico.design
46–60 Sizes included (S–5XL)
0.70–0.75 m Main fabric, by size
8 Pattern pieces
14 Steps to sew it
Pattern descriptionA knitted vest with ribbed facings
A knitted vest with facings at the neckline and armholes.
A detachable waistband at the bottom with a small drawstring finishes the hem.
MaterialsWhat you'll need
Suggested materials
- Knitted fabrics of medium stretch, for example French terry
- Rib knit is perfect as a material for the facings and bottom hem
Fabric widths used here
- French terry — 1.80 m (2 yd)
- Rib knit — 1.20 m (1 3⁄8 yd)
Fabric requirement by size — French terry at 1.80 m (2 yd), rib knit at 1.20 m (1 3⁄8 yd)
| Size | 46–48 S–M | 50–52 L–XLMOST PICKED | 54–56 2XL–3XL | 58–60 4XL–5XL |
|---|---|---|---|---|
| Main fabric | 0.70 m ¾ yd | 0.70 m ¾ yd | 0.75 m 7⁄8 yd | 0.75 m 7⁄8 yd |
| Rib knit | 0.45 m ½ yd | 0.55 m 5⁄8 yd | 0.55 m 5⁄8 yd | 0.60 m 5⁄8 yd |
Pattern pieces already include 0.7 cm (¼″) seam allowances. When purchasing fabric, please account for shrinkage and buy 5–10% more than required.
Cutting listSpecification
| Pattern piece | Pcs. |
|---|---|
| Main fabric | |
| 1 — Front with a fold | 1 |
| 2 — Back with a fold | 1 |
| Knitted ribbed fabric | |
| 3 — Front neckline facing | 2 |
| 4 — Back neckline facing | 1 |
| 5 — Front armhole facing | 2 |
| 6 — Back armhole facing | 2 |
| 7 — Front waistband with a fold | 1 |
| 8 — Back waistband with a fold | 1 |
Pattern pieces — tap to zoom in
Total ease allowances Chest 12 cm (4 ¾″), waist 24 cm (9 ½″).
Cutting layoutLayout of parts on fabric
Shown for sizes 46 and 60, on both fabrics
Main fabric — size 46 (S)French terry, width 1.80 m (2 yd)
Main fabric — size 60 (5XL)French terry, width 1.80 m (2 yd)
Rib knit — size 46 (S)Rib knit, width 1.20 m (1 3⁄8 yd)
Rib knit — size 60 (5XL)Rib knit, width 1.20 m (1 3⁄8 yd)
Step by stepSewing instructions
14 steps in three stages, from the neckline to the finished waistband.
Neckline
7 steps- 1
Press the front (3) and back (4) neckline facings in half.
- 2
Sew the front and back neckline facings along the shoulder seams.
- 3
Sew the neckline facings along the middle seam.
- 4
Sew the shoulder cuts of the front (1) and back (2) using an overlocker. Press seam allowances to the back.
- 5
Interface the corner on the front neckline.
- 6
Stitch the facing into the neck, aligning the notches and control points. Sew the front corner of the facing into the neckline using a sewing machine, cutting through the seam allowance.
- 7
Sew the facing into the neckline using an overlocker. Press the allowance onto the vest.
Armholes
4 steps- 8
Press the front (5) and back (6) armhole facing in half.
- 9
Sew the armhole and back facings along the shoulder seams and side seams. If desired, you can stitch the allowances of the facings together.
- 10
Sew the side seams of the vest using an overlocker. Press seam allowances to the back.
- 11
Insert the facing into the armhole, aligning the notches. Sew the facing into the armhole using an overlocker. Press the allowance onto the vest.
Waistband
3 steps- 12
Sew the front waistband (7) and back waistband (8) along the side seams. Press seam allowances to the back. If desired, you can stitch the waistband allowances together.
- 13
Sew the waistband to the vest, matching the notches. Press the allowance onto the vest.
- 14
Give the vest a final press.
Finishing The vest is ready!
Drag to explore the full layout