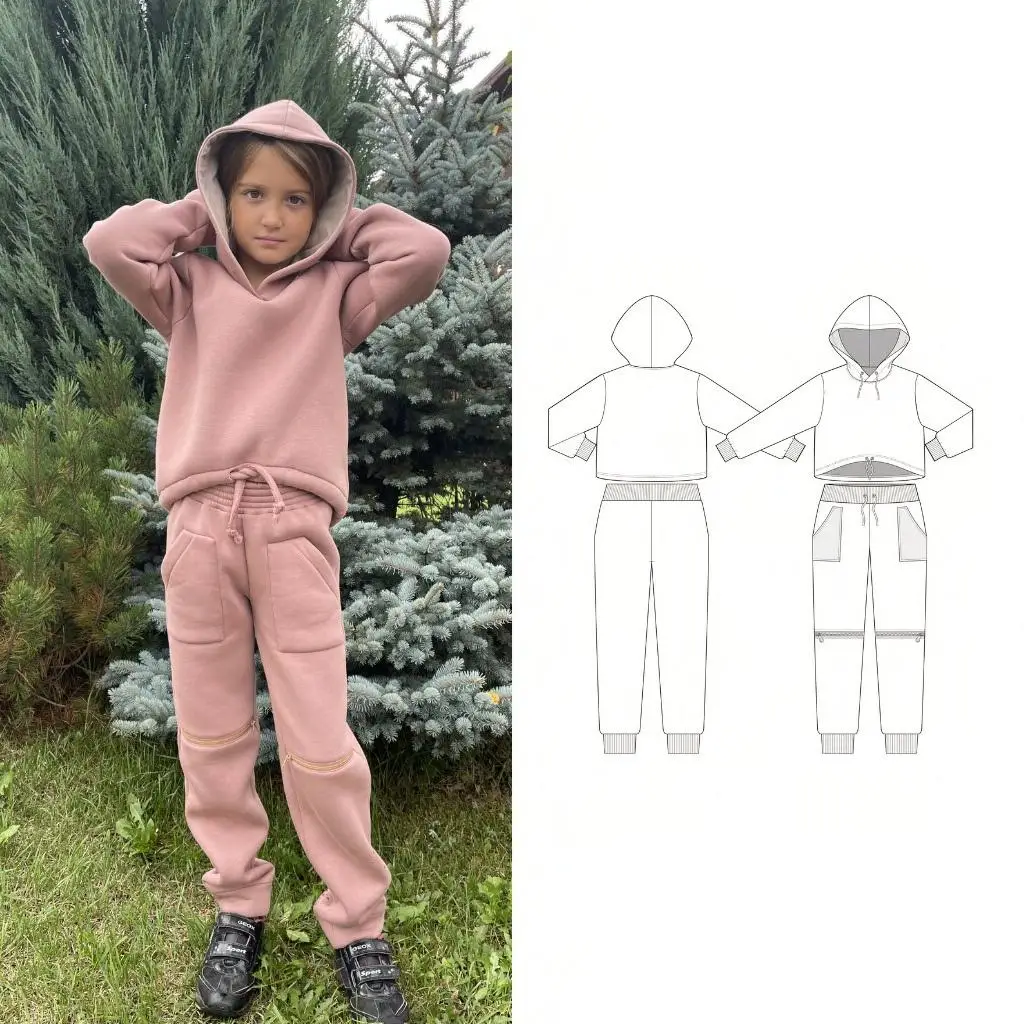
For sewing this tracksuit we recommend to use a warm Jersey knit.
For the lining of the hood you can use the same fabric as the tracksuit or thinner jersey.
Use ribbing for cuffs. You can also make the cuffs and waistband of your pants from the main fabric.
Main fabric;
Interfaicing – 0,5 m;
Zipper – 2 pcs.;
Grommets: 2 pcs. in the hood, 2 pcs. in the waistband of the hoodie, 2 pcs.
in the waistband of the pants;
Cord: 1 pc. in the hood, 2 pc. in the waistband of the hoodie, 2 pc. in the
waistband of the pants;
Threads in the color of the fabric.
PANTS
| Height/Age | 134 9years | 140 10 years | 146 11years | 15 12years | 158 13years | 164 14years | 170 15years |
|---|---|---|---|---|---|---|---|
| Main fabric | 80/31,5" | 85/33,5" | 90/35,4" | 95/37,4" | 100/39,4" | 105,41,3" | 110/43,3" |
| Ribbing | 15/5,9" | 15/5,9" | 15/5,9" | 15/5,9" | 15/5,9" | 15/5,9" | 15/5,9" |
HOODIE
| Height/Age | 134 9years | 140 10years | 146 11years | 152 12years | 158 13years | 164 14 years | 170 15years |
|---|---|---|---|---|---|---|---|
| Main Fabric | 90/35,4" | 95/37,4" | 100/39,4" | 105/41,3" | 110/43,3" | 115/45,3" | 120/47,2" |
| Ribbing | 15/5,9" | 15/5,9" | 15/5,9" | 15/5,9" | 15/5,9" | 15/5,9" | 15/5,9" |

Pants
Main fabric
| № | Patterns |
Number of patterns |
Number of pieces |
|---|---|---|---|
| 1 | Back pant leg | 1 | 2 |
| 2 | Top Front pant leg | 1 | 1 |
| 3 | Bottom front pant leg | 1 | 1 |
| 4 | 1 | 2 |
Ribbing
| № | Patterns |
Number of patterns |
Number of pieces |
|---|---|---|---|
| 5 | Waistband | 1 | 1 |
| 6 | Cuff | 1 | 2 |
Support pattern
| № | Patterns |
Number of patterns |
Number of pieces |
|---|---|---|---|
| 7 | elastic into the waistband | 1 | 1 |
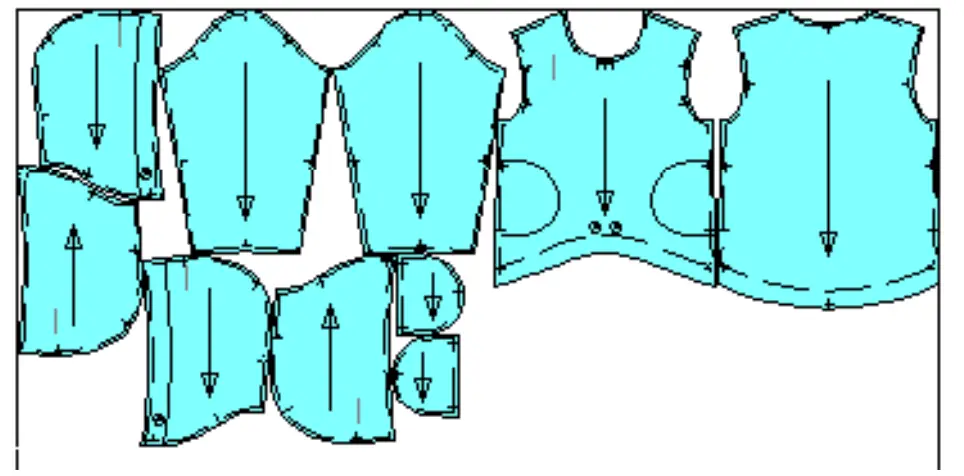
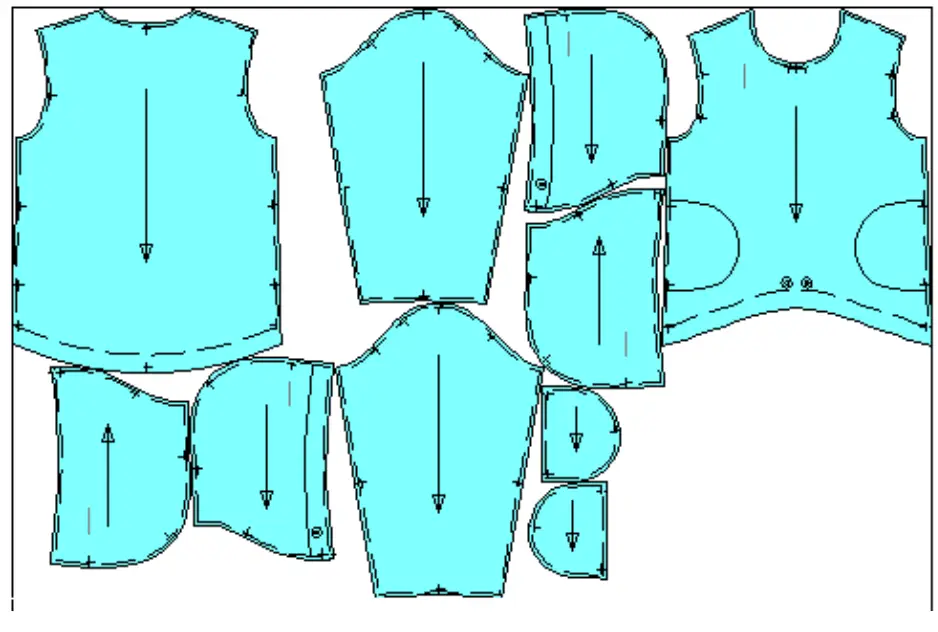
Main fabric
| № | Patterns |
Number of patterns |
Number of pieces |
|---|---|---|---|
| 1 | Back | 1 | 1 |
| 2 | Front | 1 | 1 |
| 3 | Sleeve | 1 | 2 |
| 4 | Outer hood | 1 | 2 |
| 5 | Inner hood | 1 | 2 |
| 6 | Pocket piece | 1 | 4 |
Ribbing
| № | Patterns |
Number of patterns |
Number of pieces |
|---|---|---|---|
| 7 | Cuff | 1 | 2 |
Attention! All our patterns already contain 1 cm / 0.39 in seam allowances.
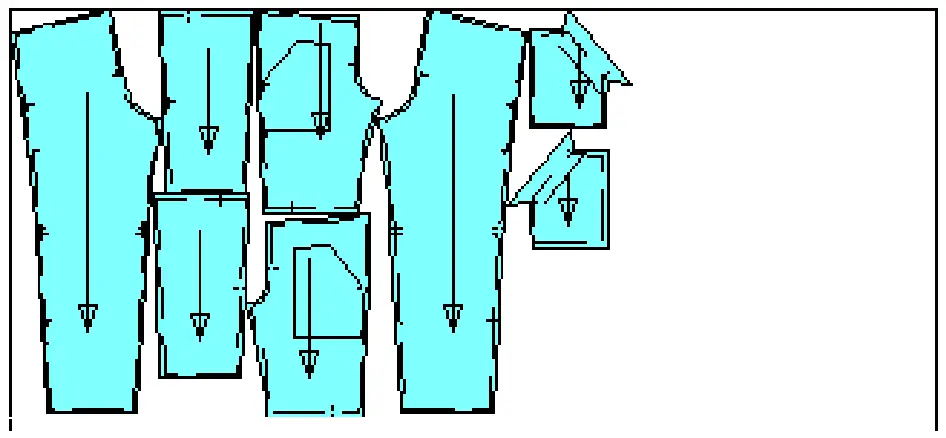
PANTS
Main fabric
Width of fabric – 1.8 m (70.87″);
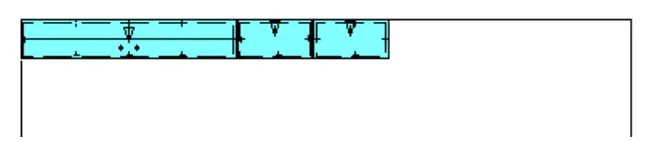
Ribbing
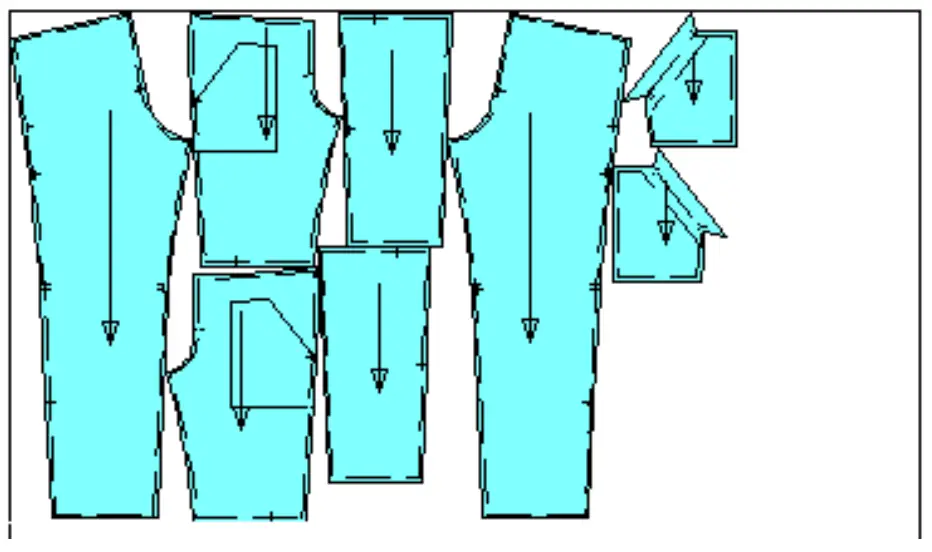
HOODIE
Main fabric
Width of fabric – 1.8 m (70.87″);
Ribbing

HOODIE
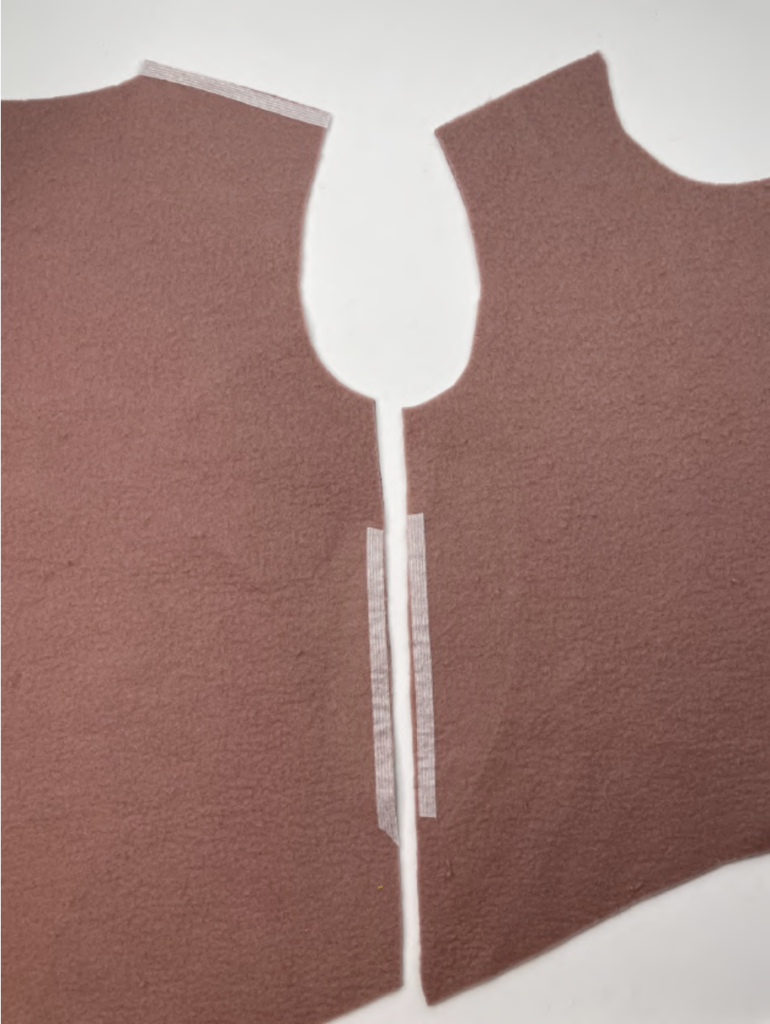
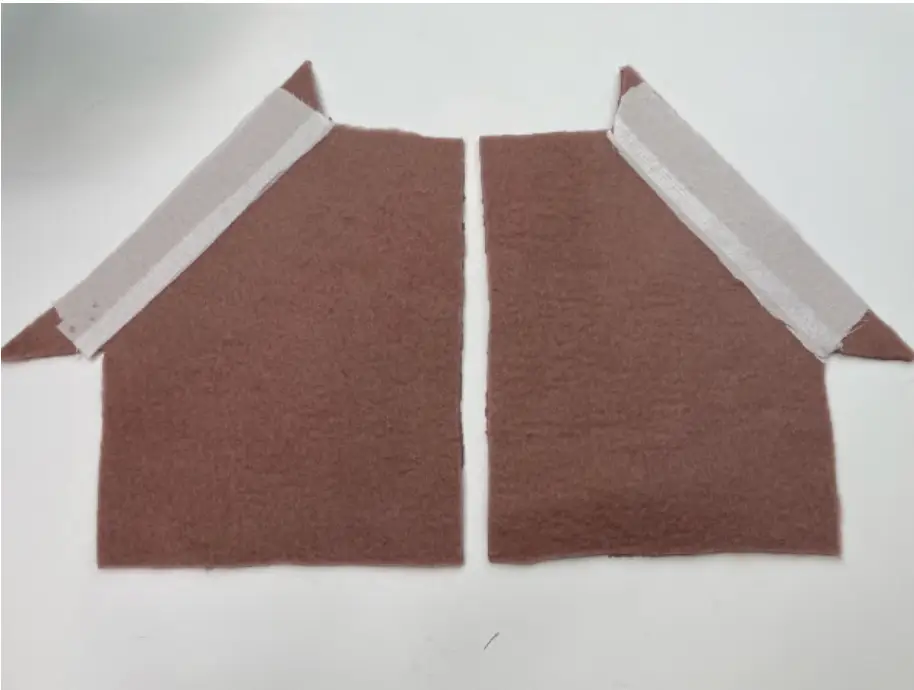
1. Iron the interfacing to the pocket opening area on the Front and Back panels.
Also fuse interfacing tape to Back’s shoulder edges.
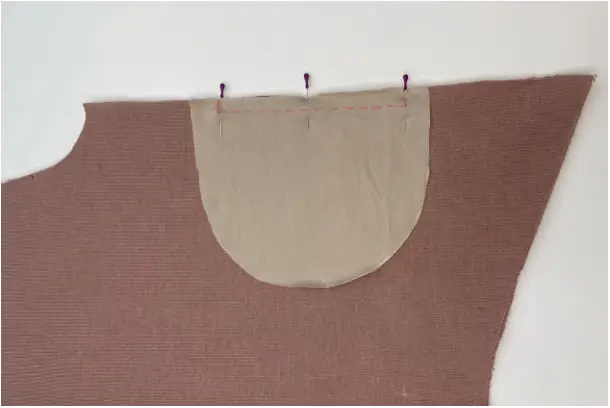
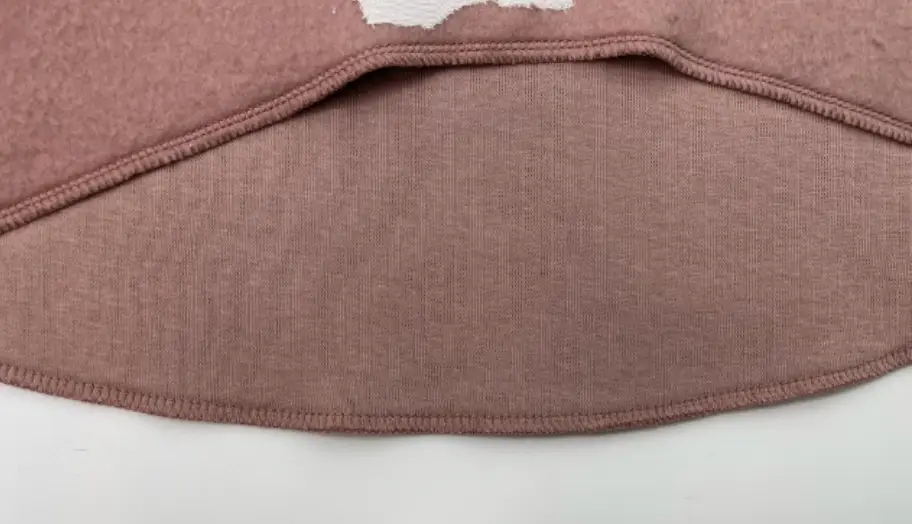
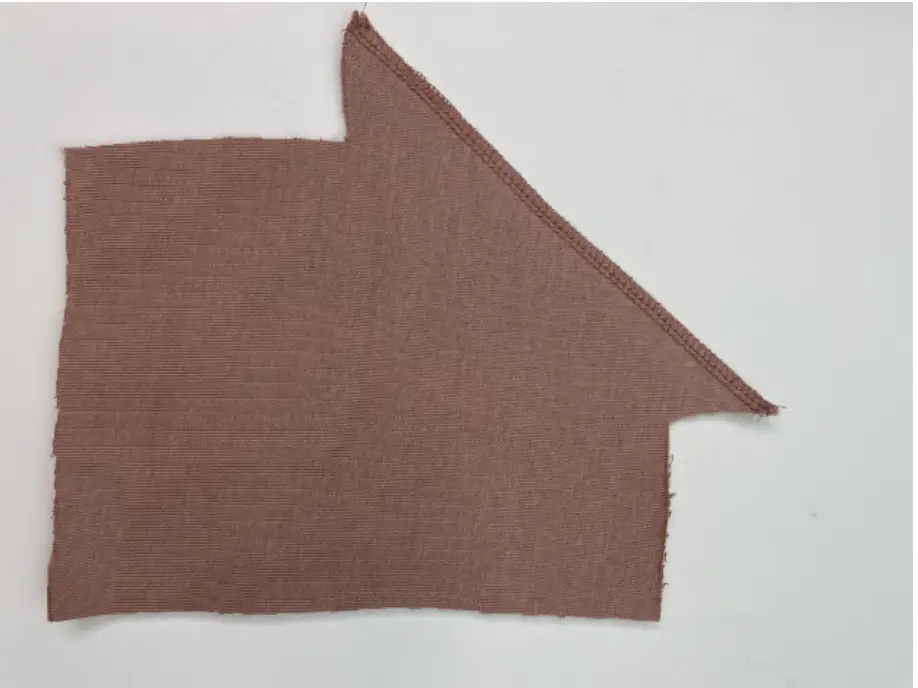
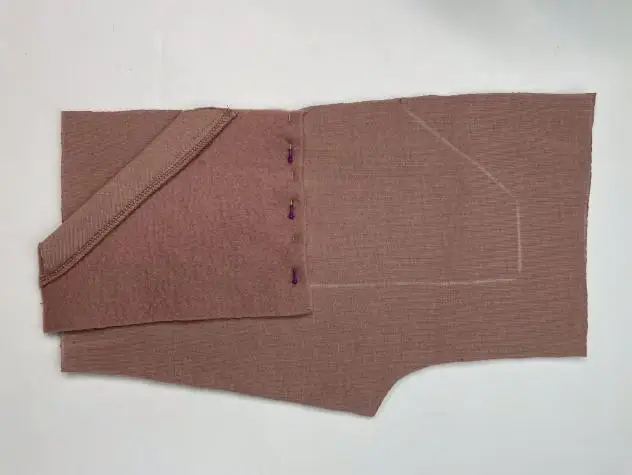
Pin the pocket piece to the Front with the right sides together, aligning the notces. Sew in place from notch to notch.
Cut diagonally to the corners.
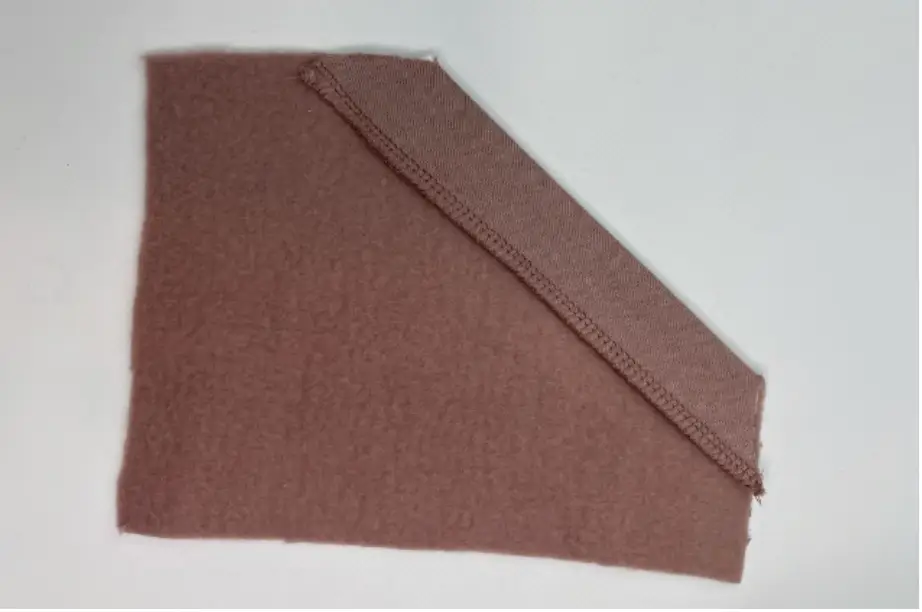
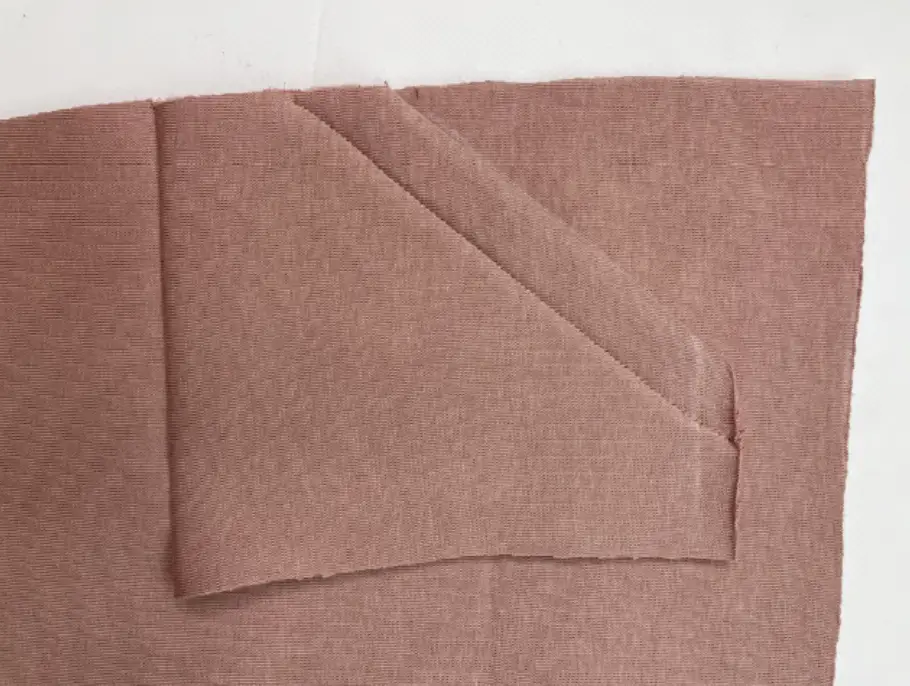
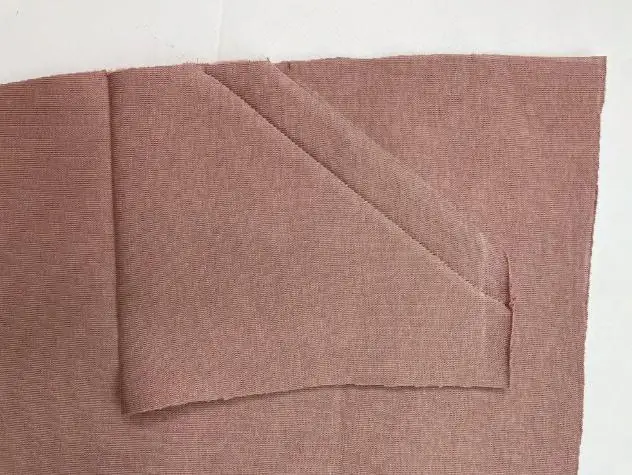
Turn to the wrong side and press.
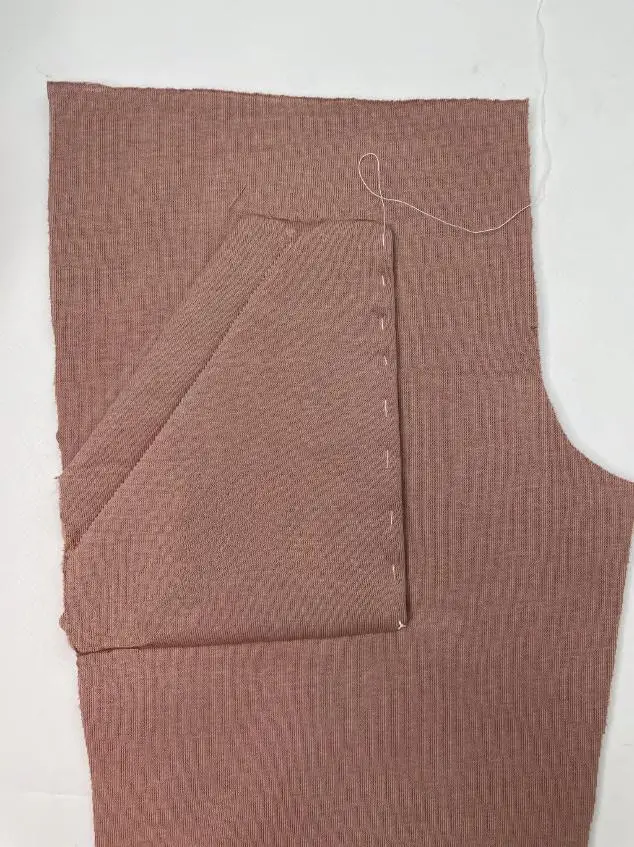
Pin the other pocket piece over the sewn pocket piece, right sides together. Serge along the rounded edge. Press.
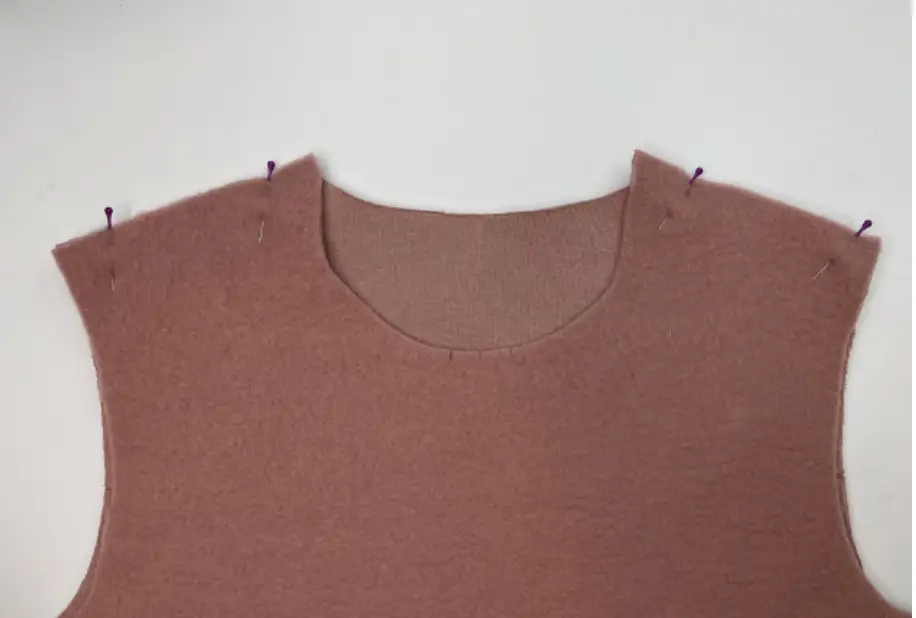
Pin the Front and Back shoulder edges with the right sides together.
Serge it.
Press seam allowances to the Back.

Pin the Sleeve into open armhole, right sides together, aligning the notches. Serge in.
Press seam allowances to the sleeve.
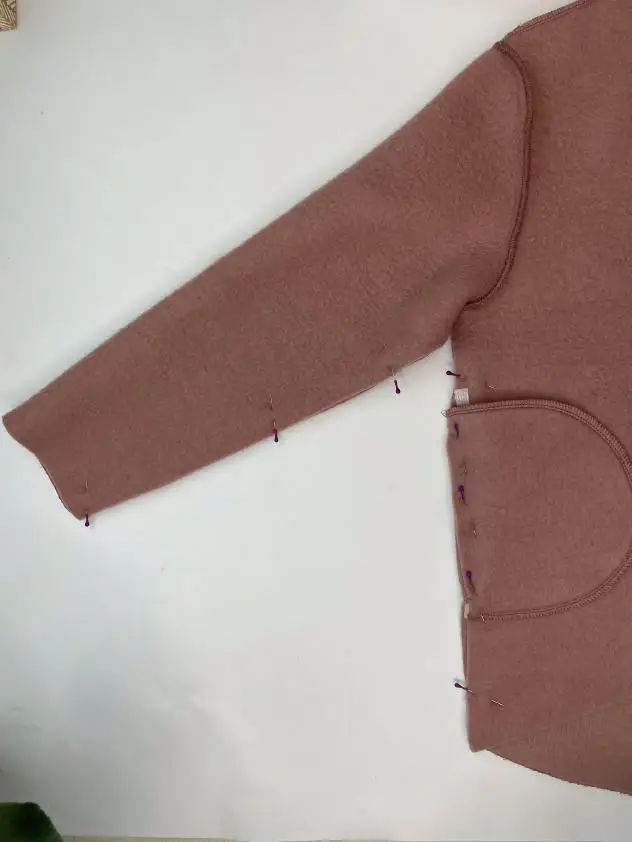
Fold the Sleeve in half, pin sleeve’s side edges right sides together.
Also pin the Front and Back side edges together.
Serge it all together.
Press seam allowances.
Serge the bottom hem of the garment. Press it.
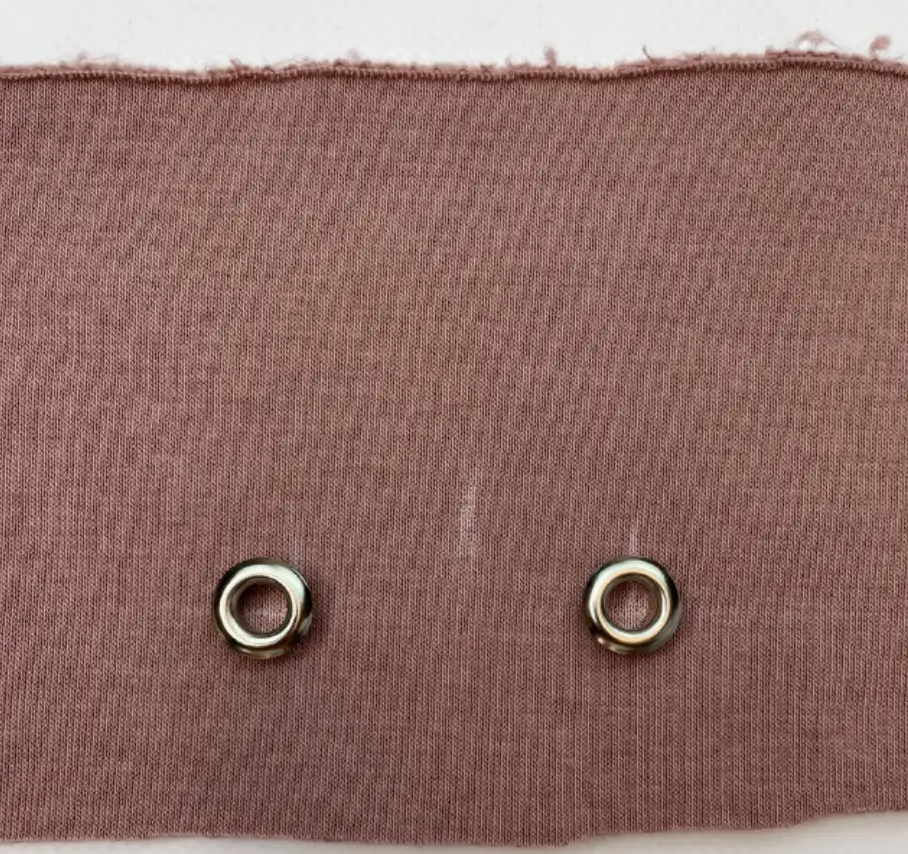
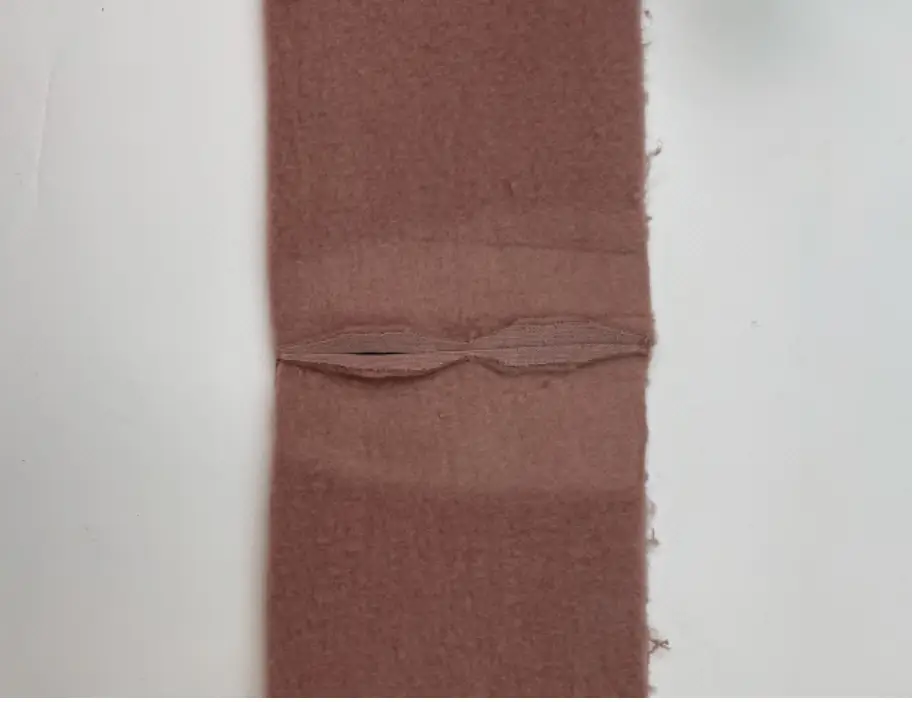
Install grommets (before fuse the interfacing to the wrong side).
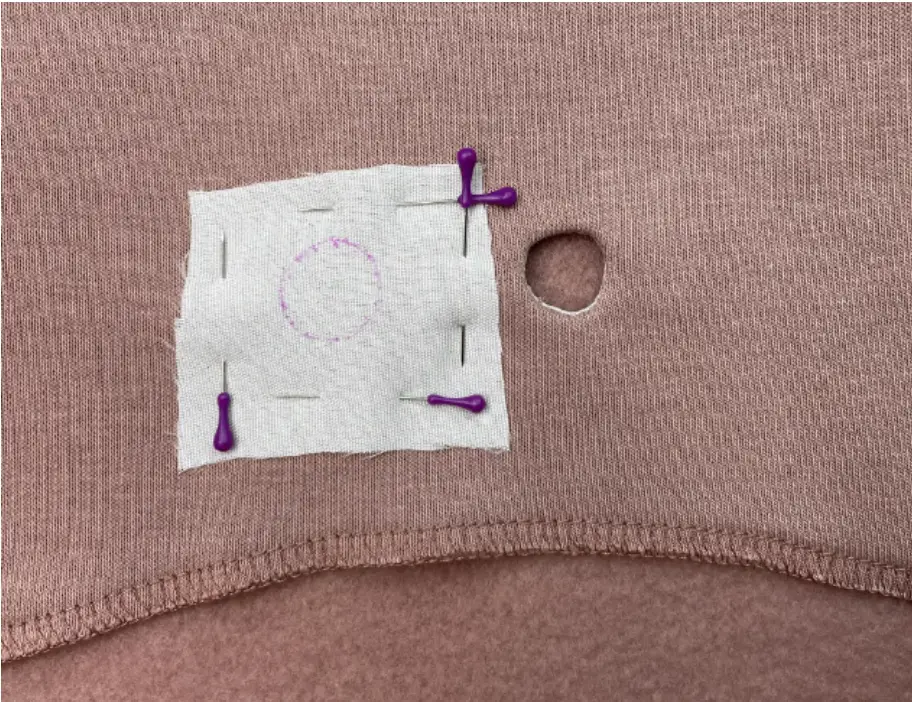
Here we show another way of making “holes”.
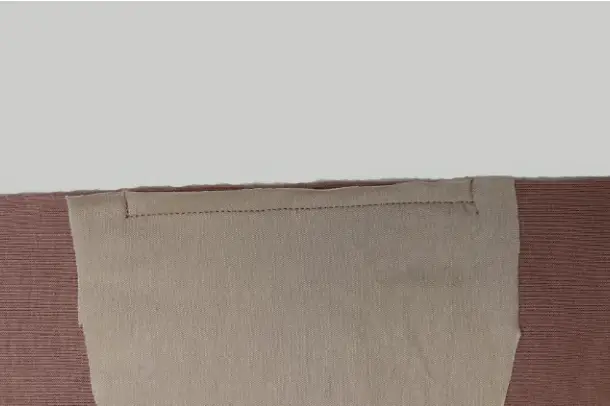
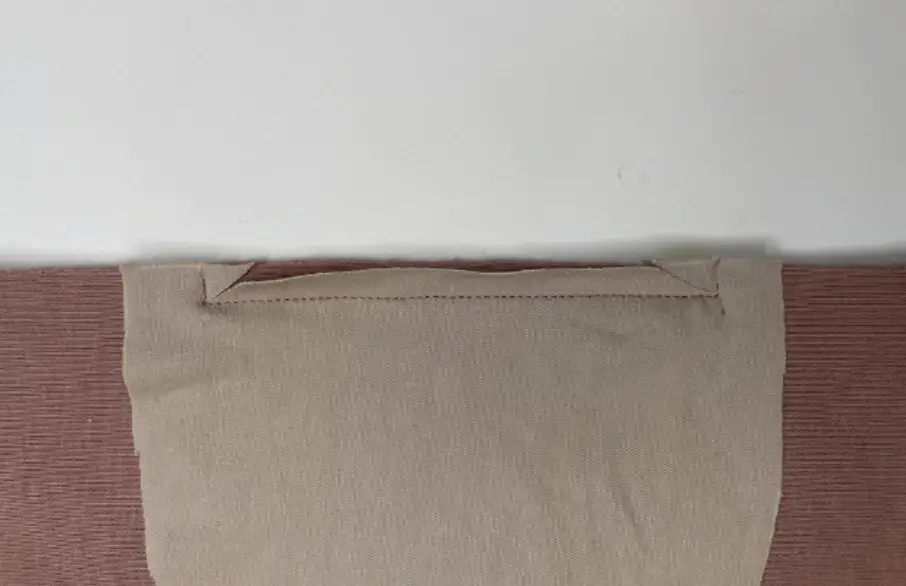
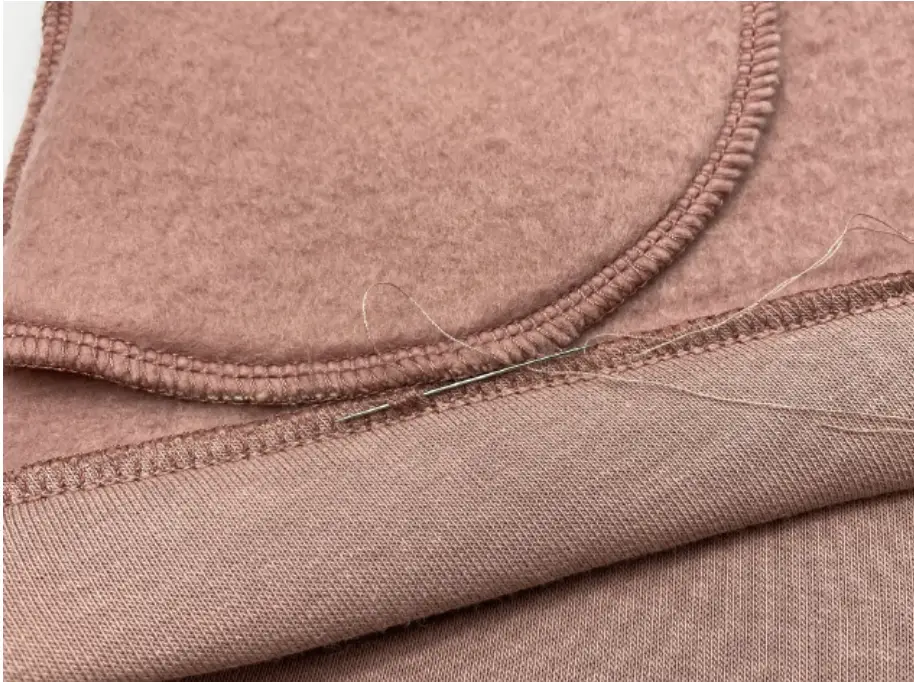
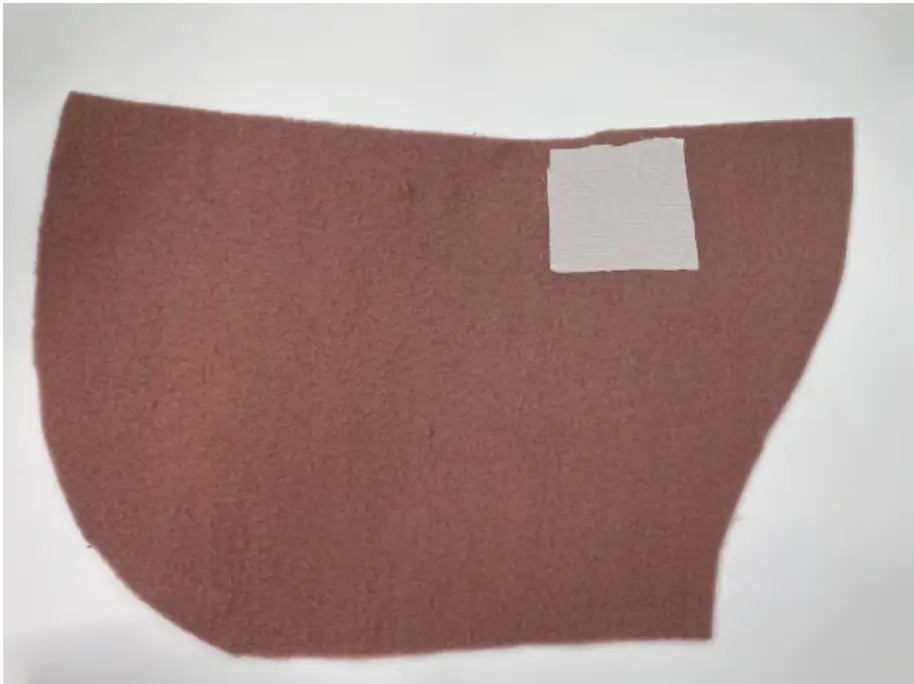
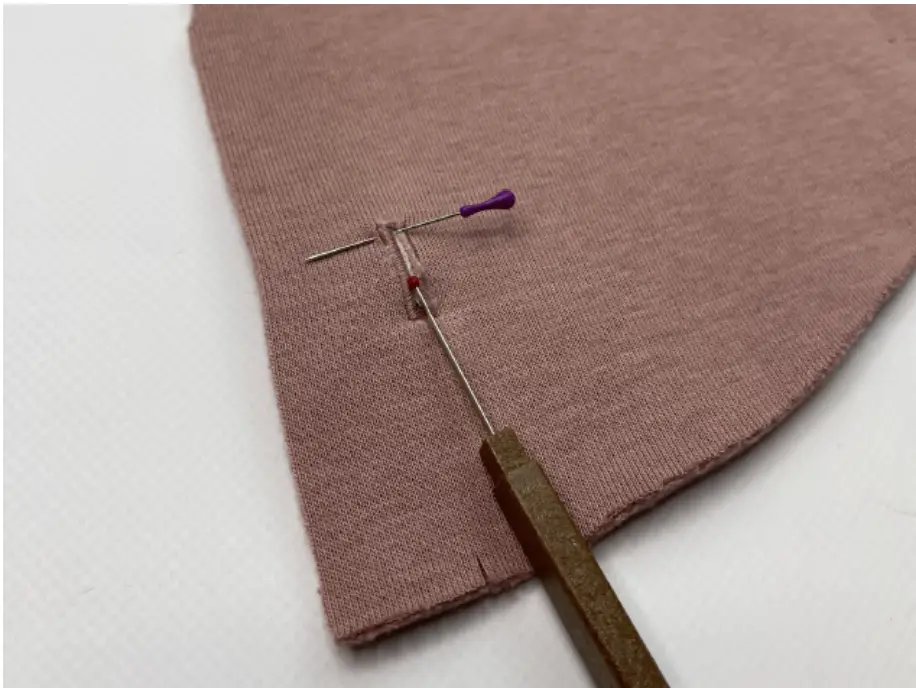
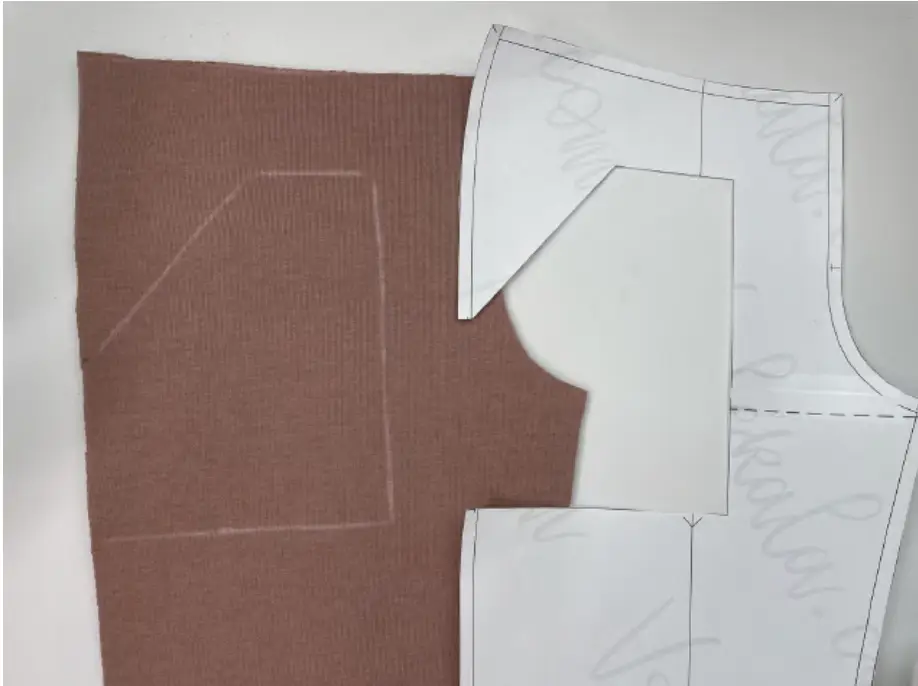
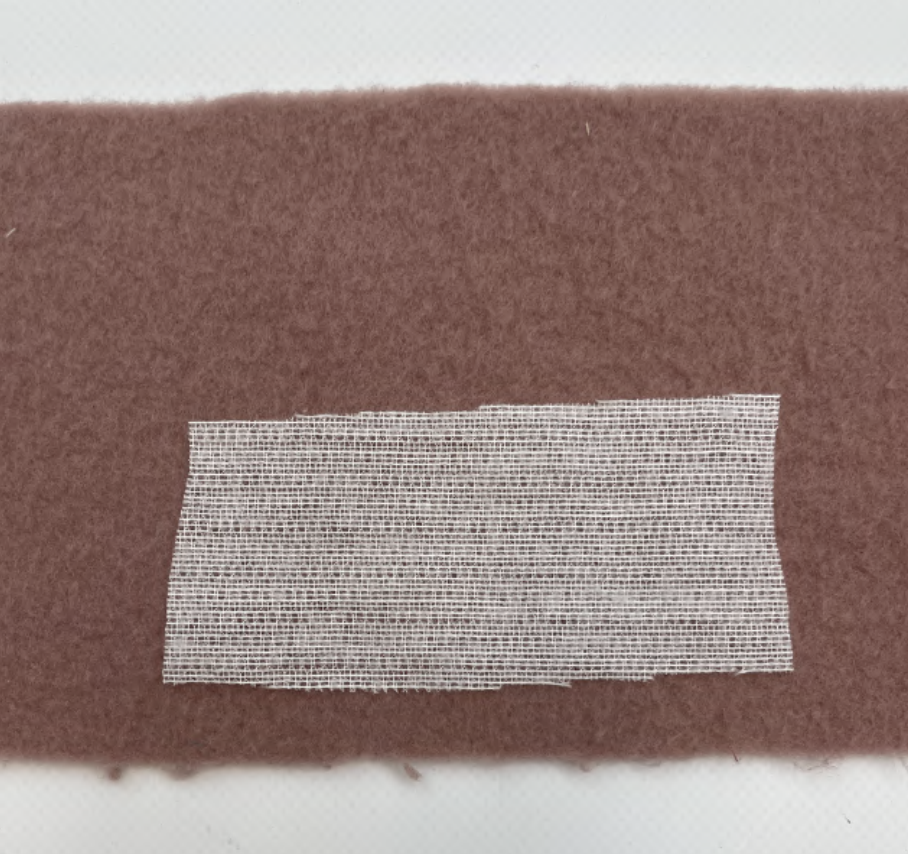
Cut a square of fusible interfacing, pin its right side (not glued one) to the Front’s right side. Mark the round. Sew along this line.
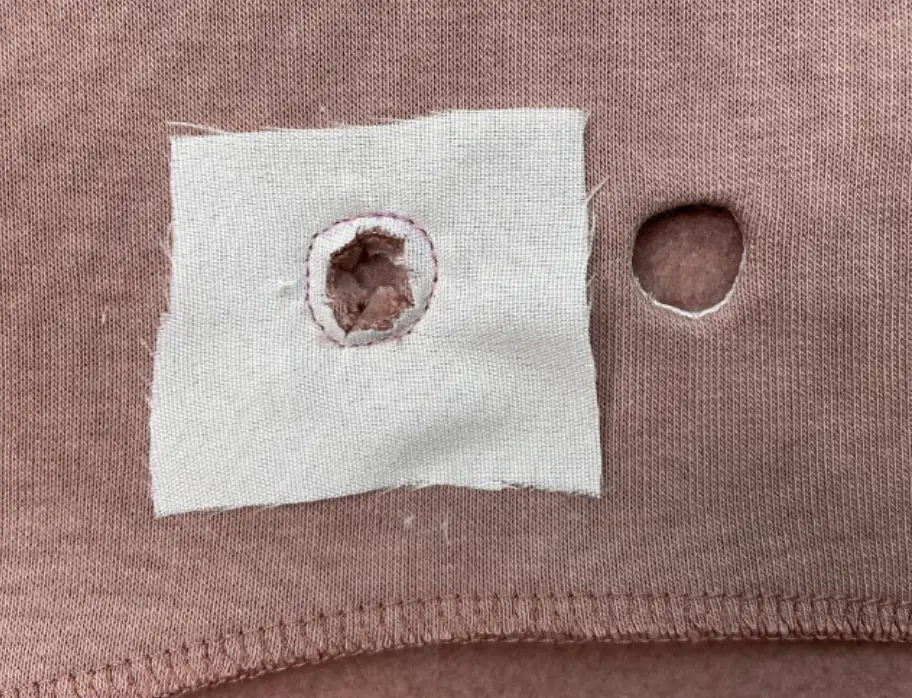
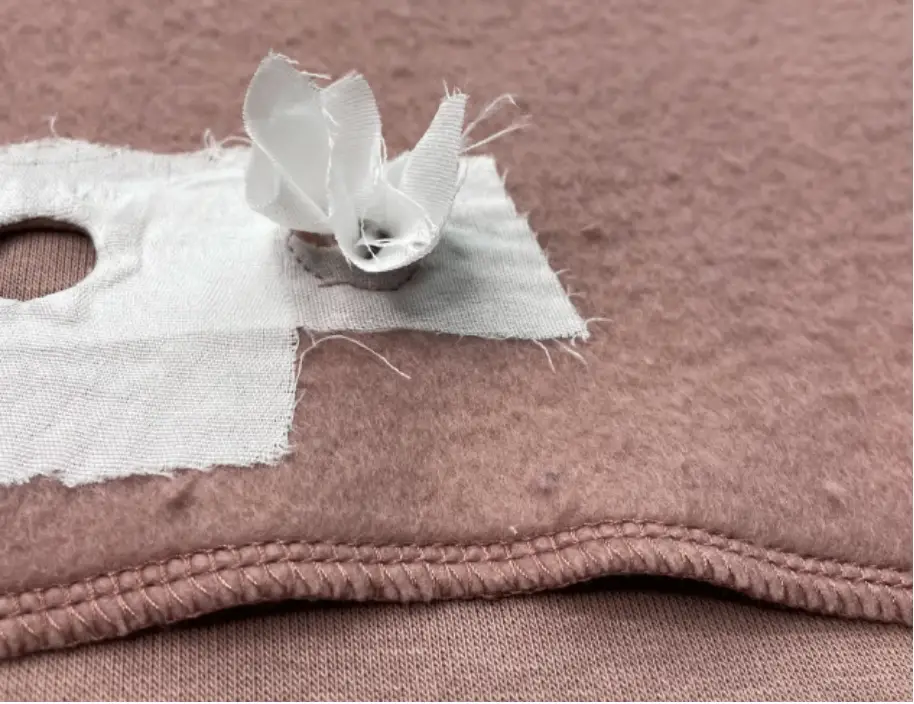
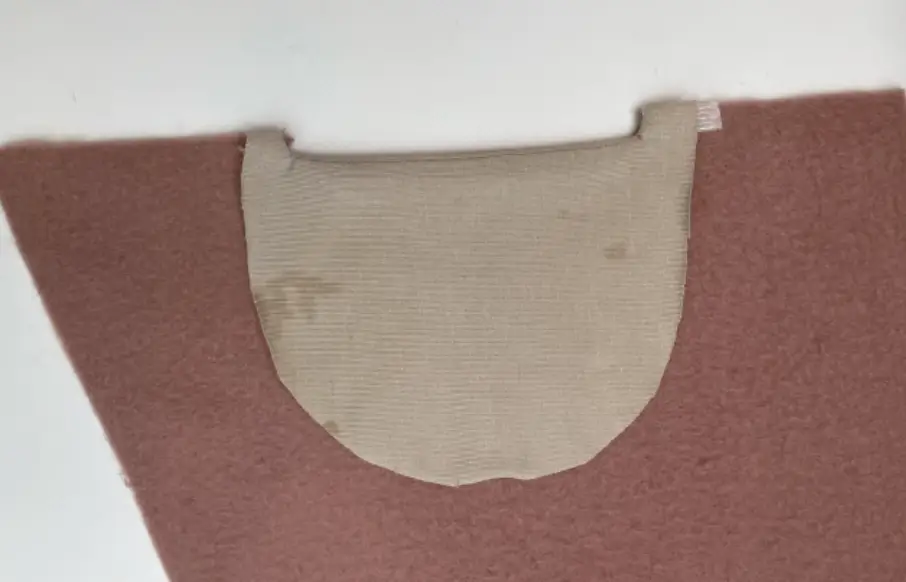
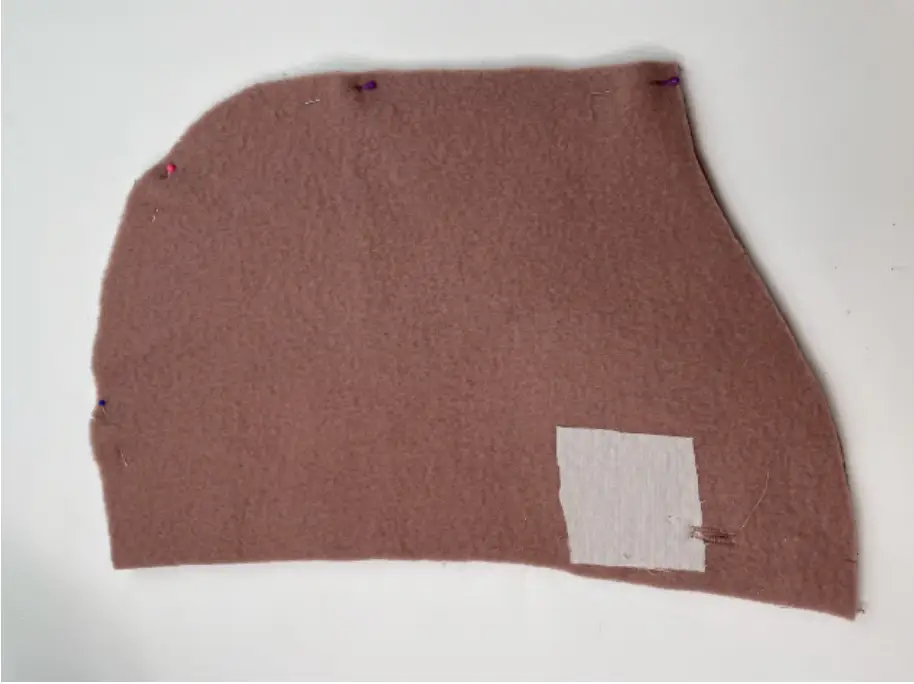
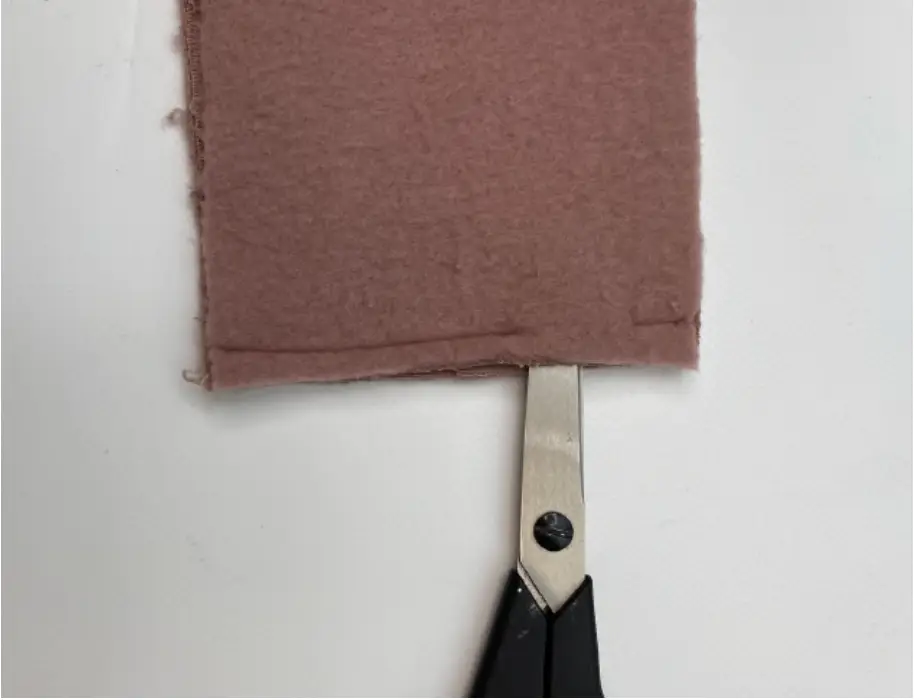
Cut out the fabric from the center. Turn to the wrong side. Straighten the interfacing and press it.
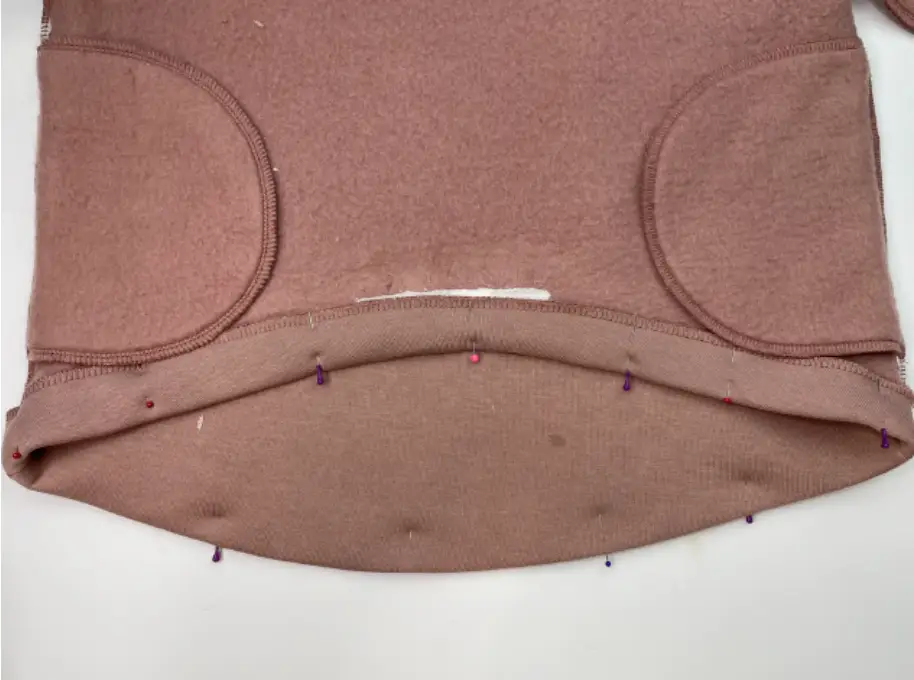
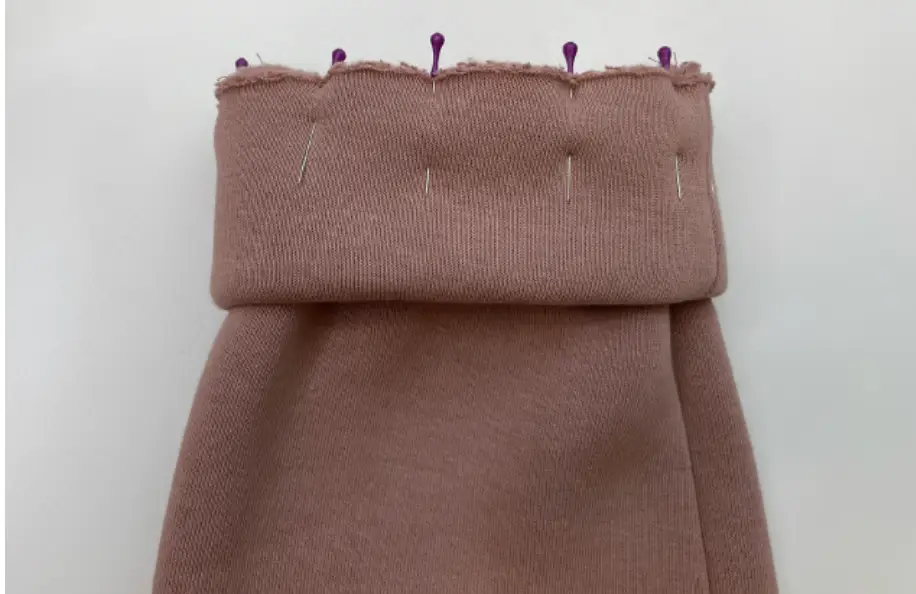
Fold the bottom hem of the garment and pin. Sew in place.
Secure the pockets with any hand stitch to the bottom hem allowances.
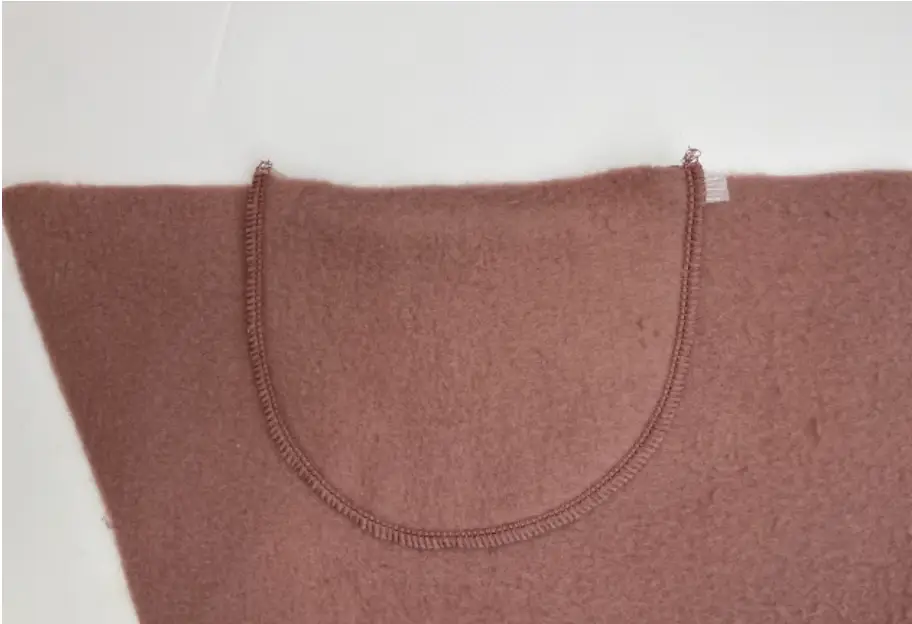
Iron the interfacing to the Hood.
Install grommets or sew buttonholes.
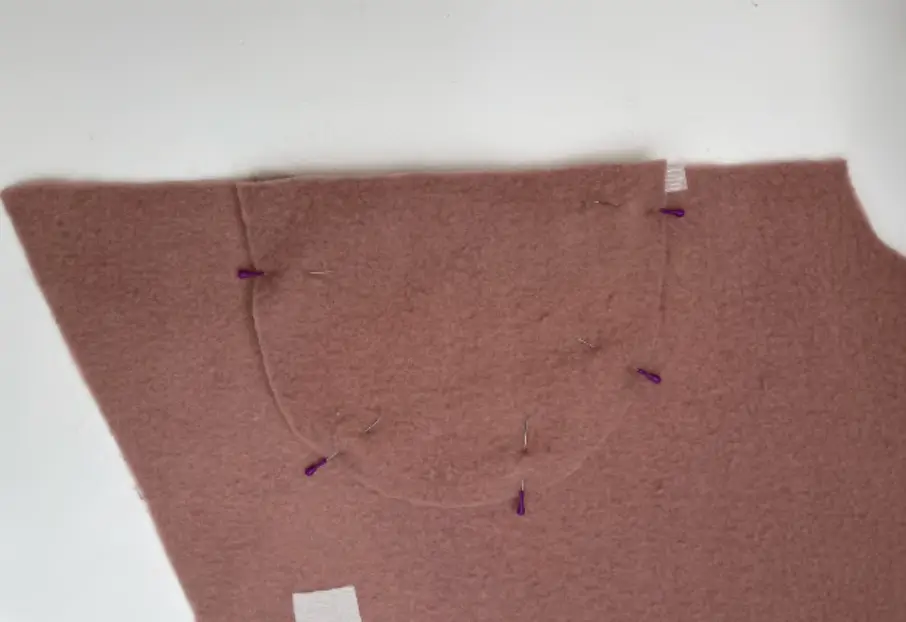
Pin the Hood details together with the right sides. Serge along the rounded edges. Press seam allowances.
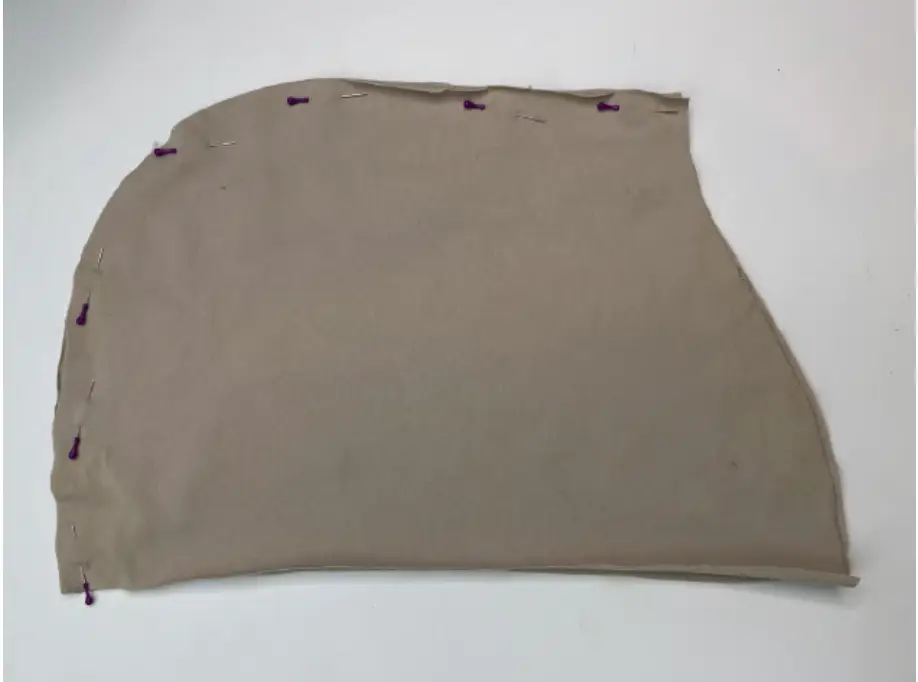
Repeat the same with lining Hood.
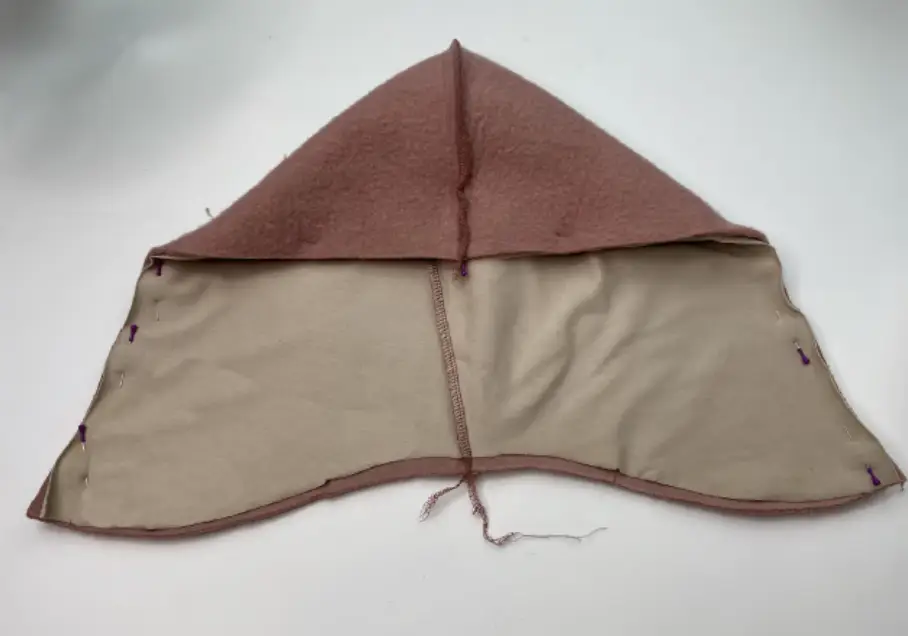
Pin the Hood and Lining Hood, right sides together.
Serge it.
Press seam allowances.
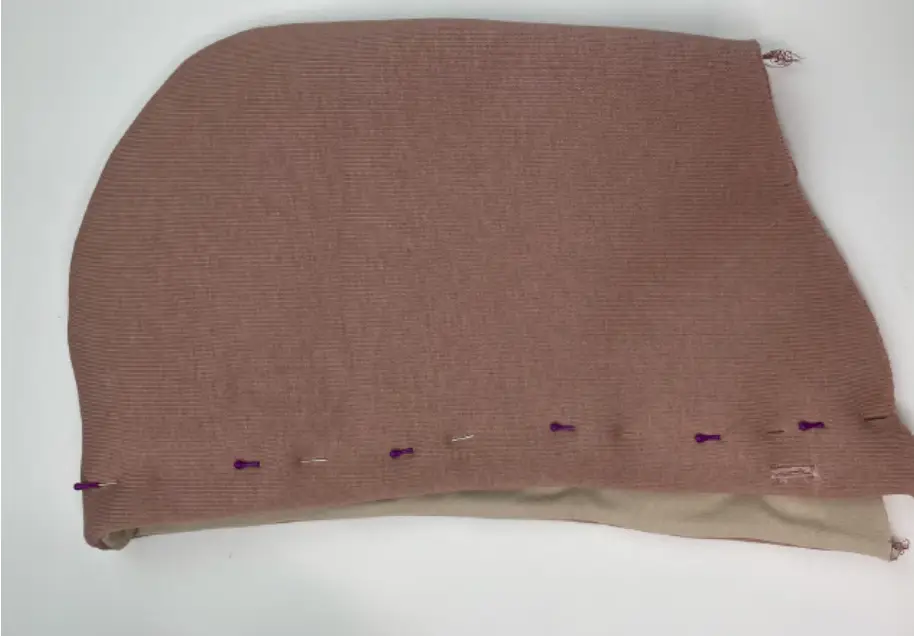
Turn the Hood to the right side, pin the Hoods together, making the casing. Sew a line.
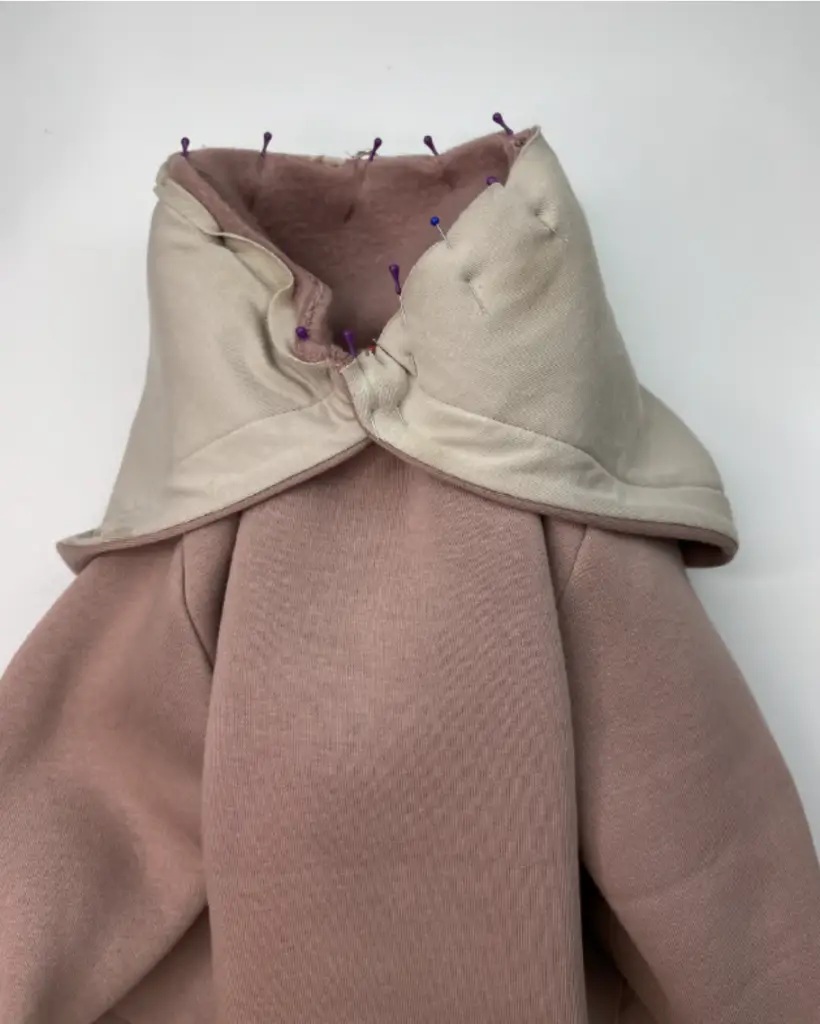
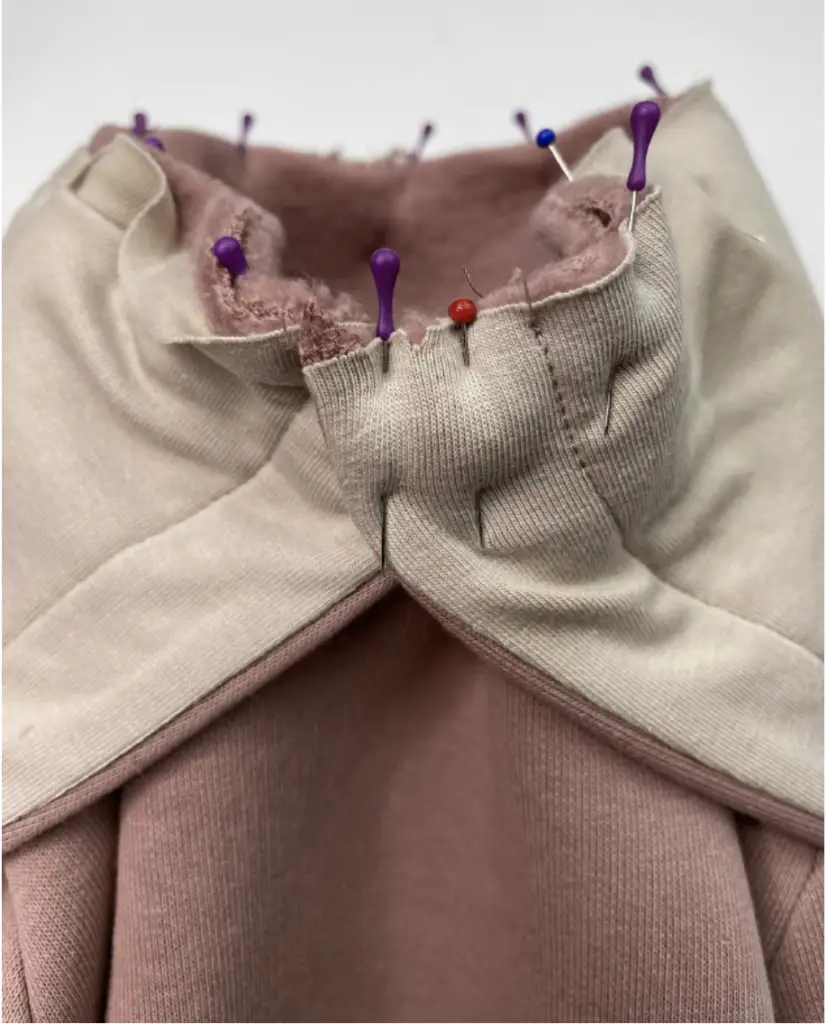
Pin the Hood into the neckline, overlapping at the front.
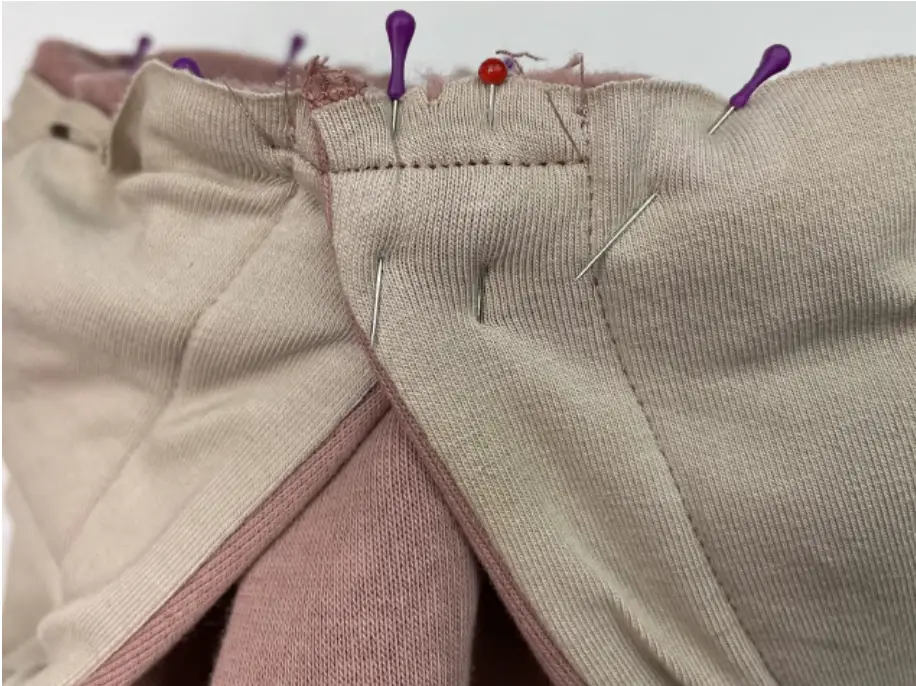
Secure the overlap by stitch line or baste it.
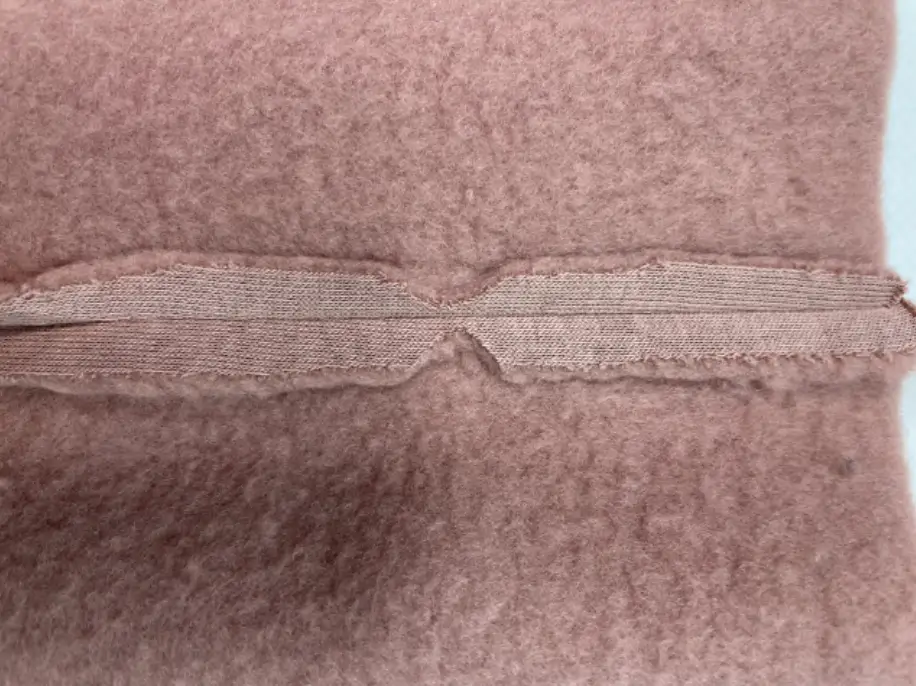
Serge in.

Fold the Cuff in half, right side together and stitch its short edges. Press seam allowances open. Clip corners and notch the middle.
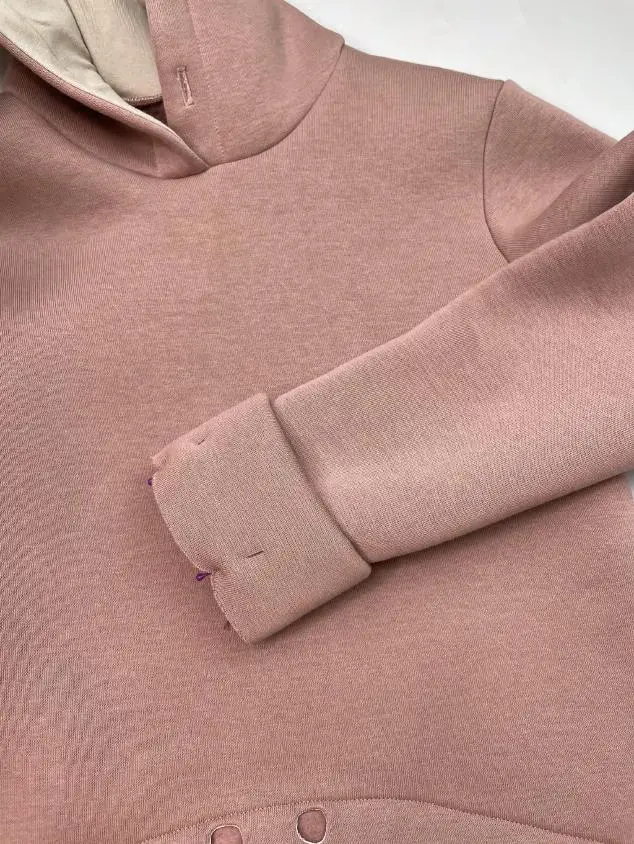
Turn the Cuff to the right side and pin to the Sleeve bottom hem, right sides together. Serge in. Press seam allowances to the sleeve.
Pants
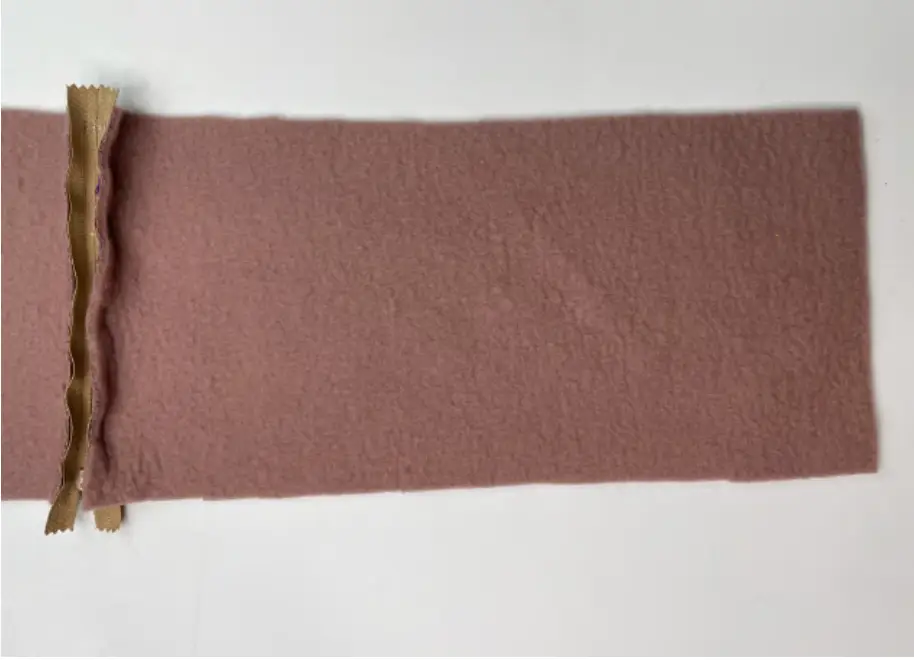
Iron the interfacing to the pocket opening.
Serge the pocket opening edge.
Press the pocket facing to the pocket’s wrong side.
Mark the pocket placement on the Front pants details. Use tailor chalk.
Pin the pocket’s bottom hem to the bottom line on the Front pants, right sides together. Sew in place.
Press the pocket.
Pin the pocket’s upper hem to the upper line, right side together. Fold the front pants detail in half. Sew in place pocket piece. Press it.
Press side pocket’s seam allowance inward and pin. Baste it.
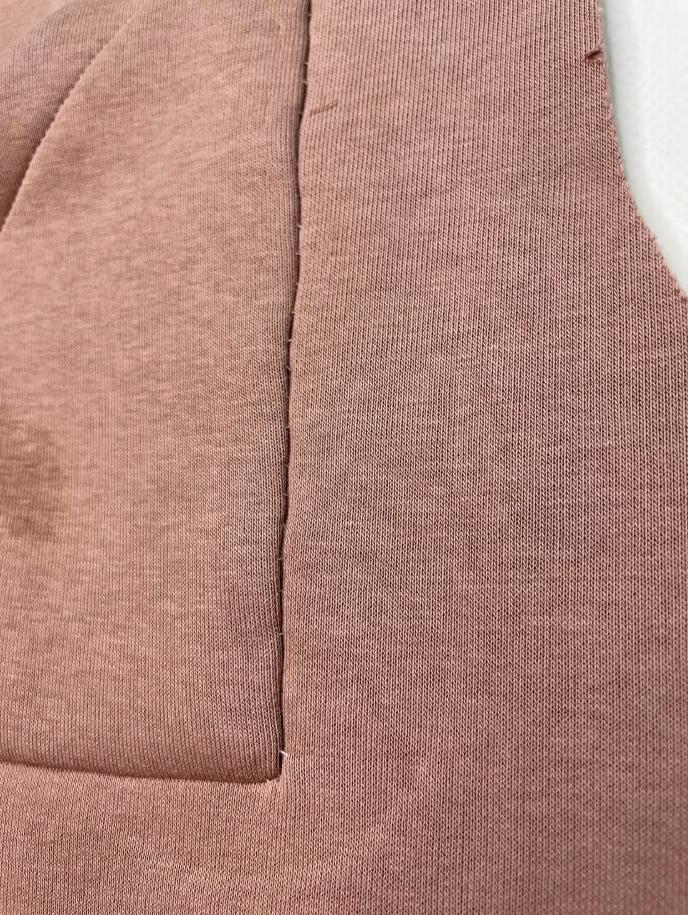
Sew in place from the inside of the pocket. Press it.
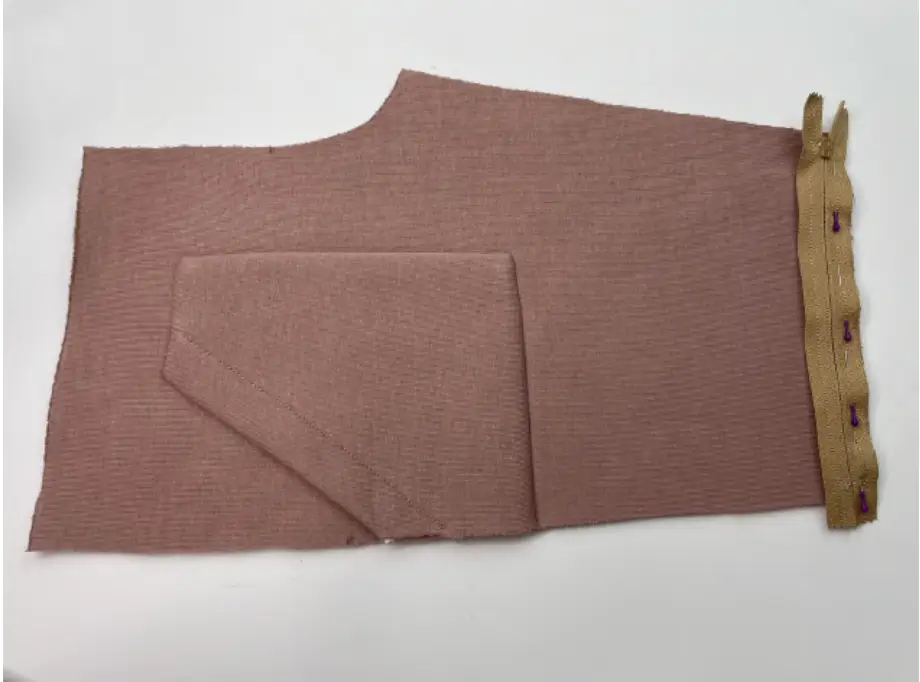
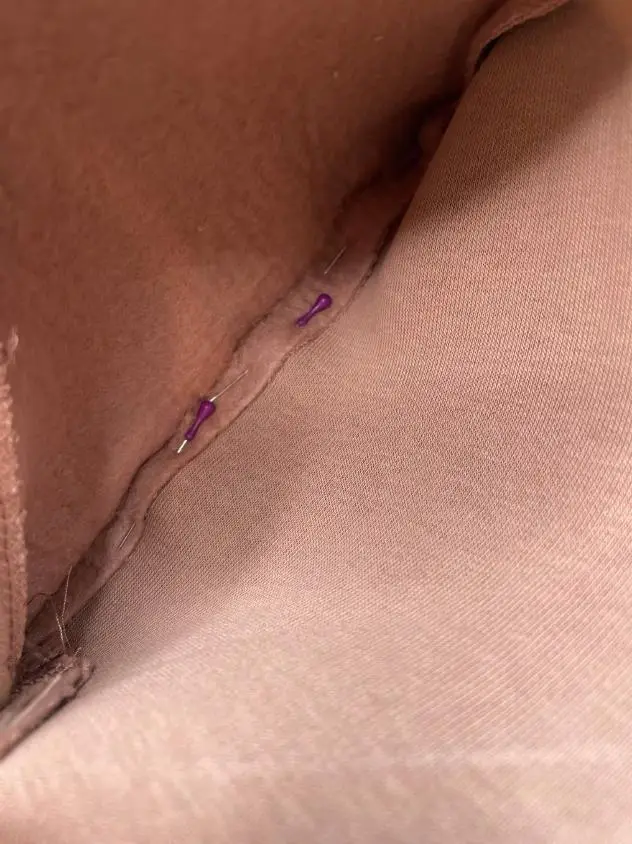
Pin zipper to the Front (top) pants detail, right sides together. Zipper slider faces toward inseam. Sew in place using zipper foot.
Press it.
Pin other side of the zipper to the Front (bottom) pants detail. Sew in place.
Press it.
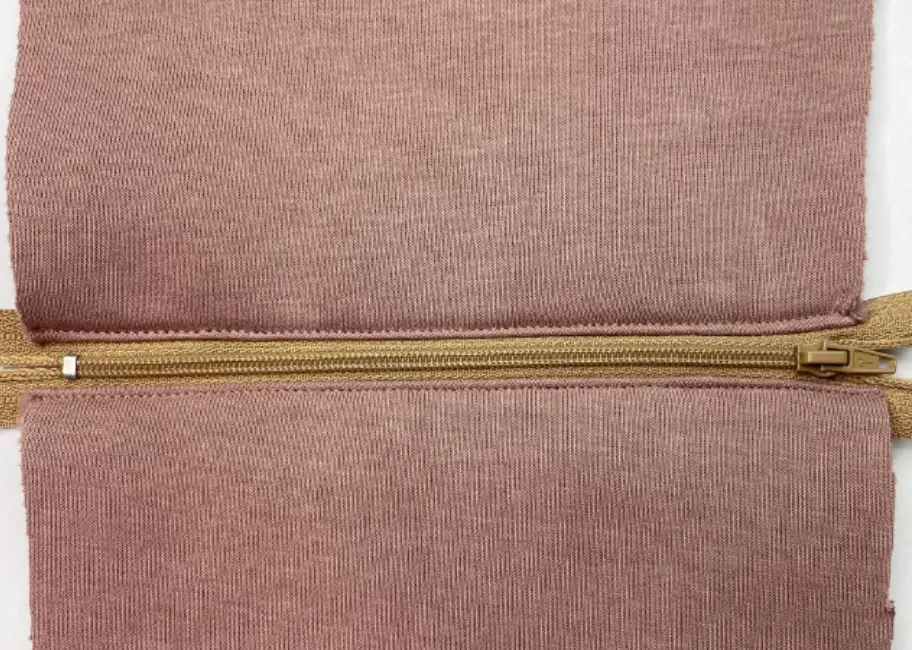
Top stitch the zipper.
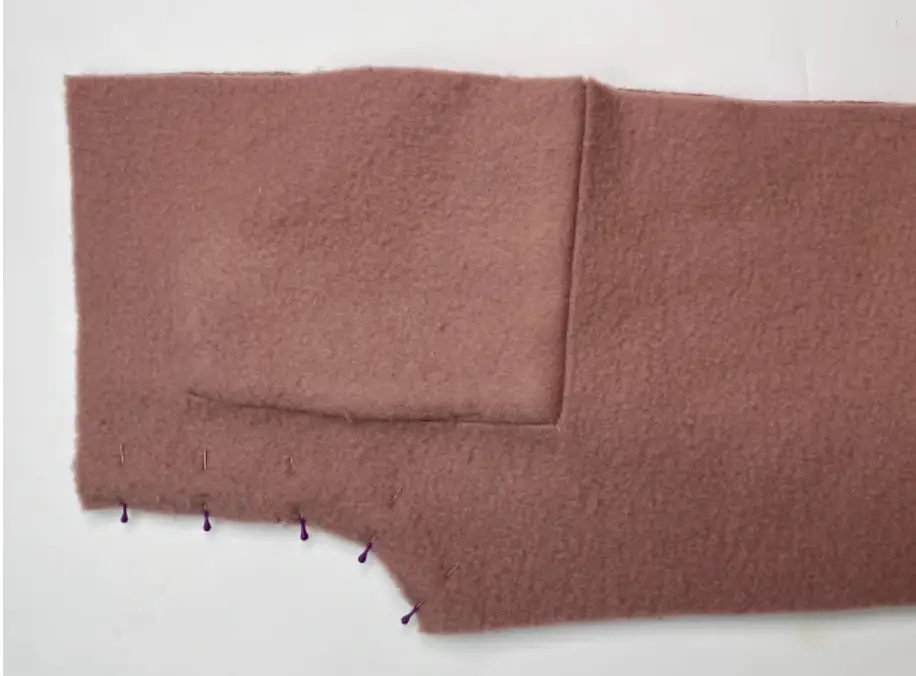
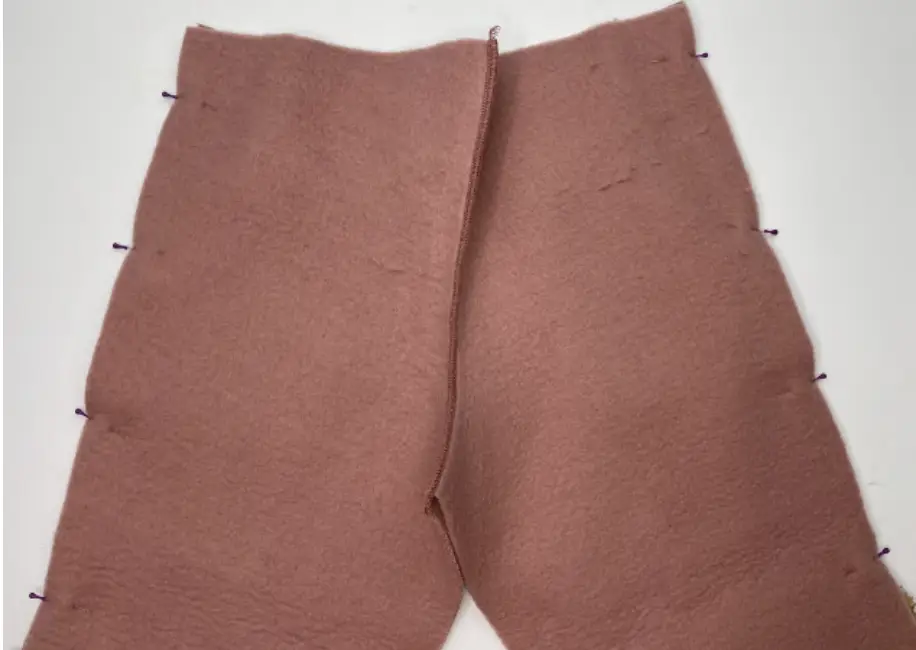
Pin the Front pants along the crotch (center seam), right sides together.
Serge it.
Press seam allowances.
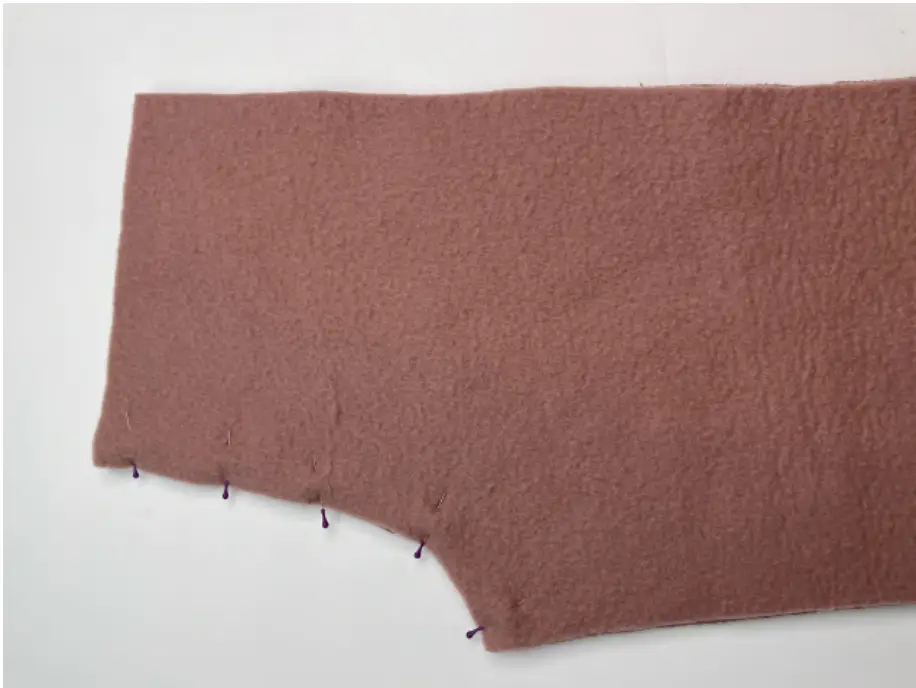
Pin the Back pants along the crotch, right sides together.
Serge it.
Press seam allowances.
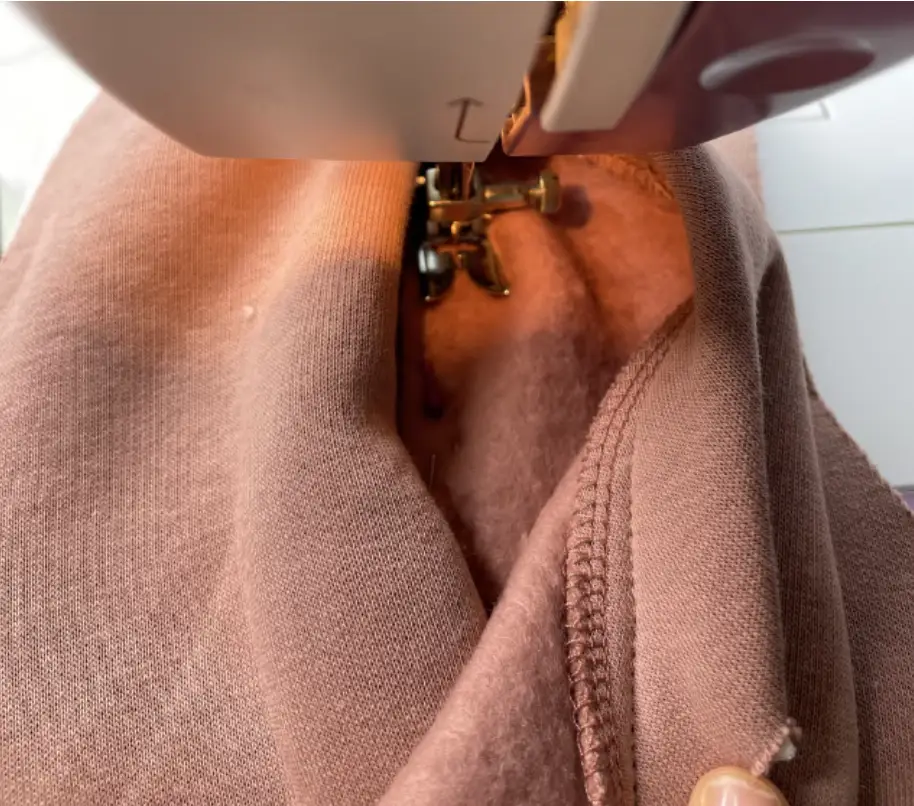
Pin the Front and Back pants along outseam with the right sides together. Serge it.
Press seam allowances to the back.
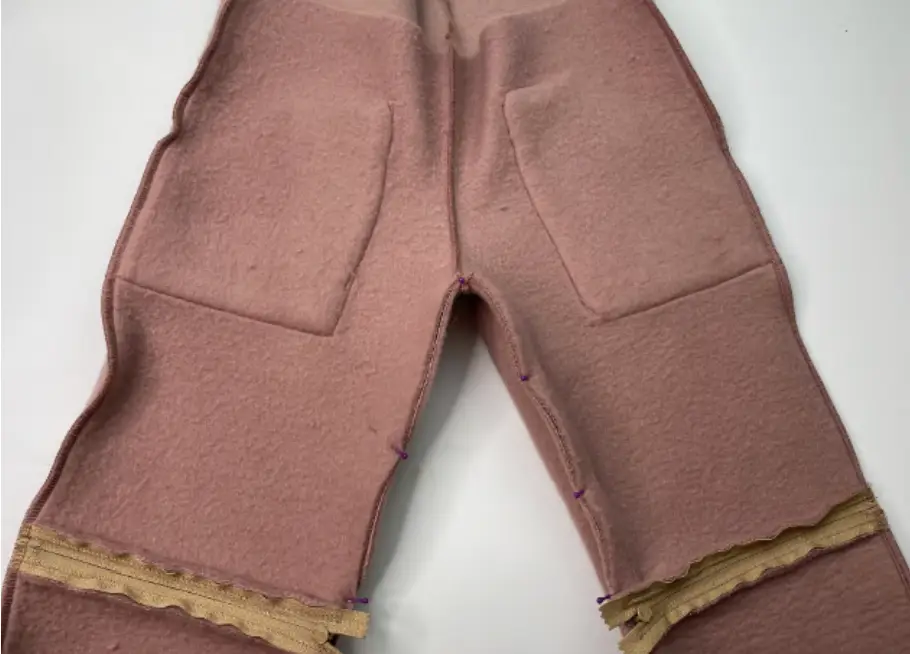
Pin the Front and Back pants along inseam with the right sides together. Serge it.
Press seam allowances to the back.
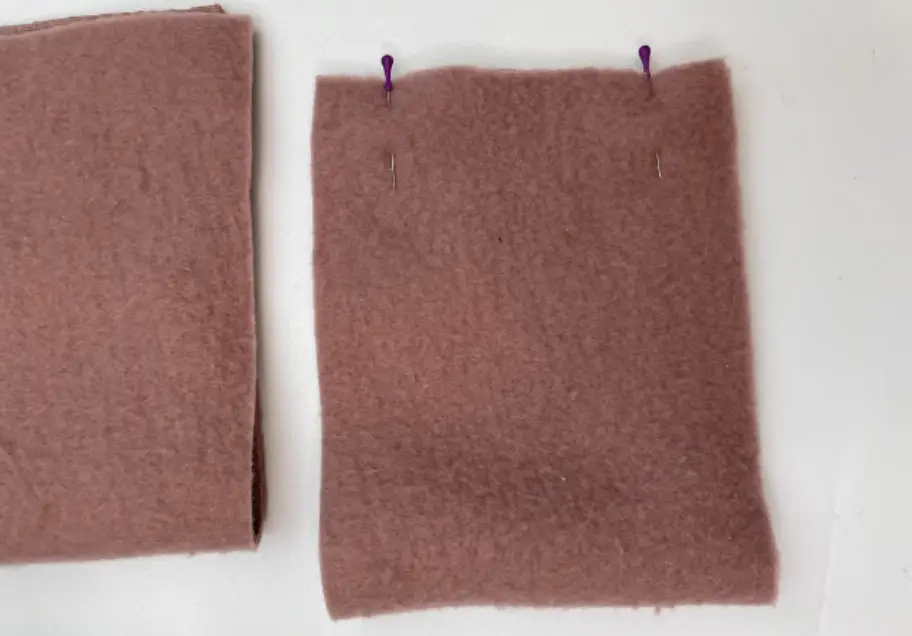
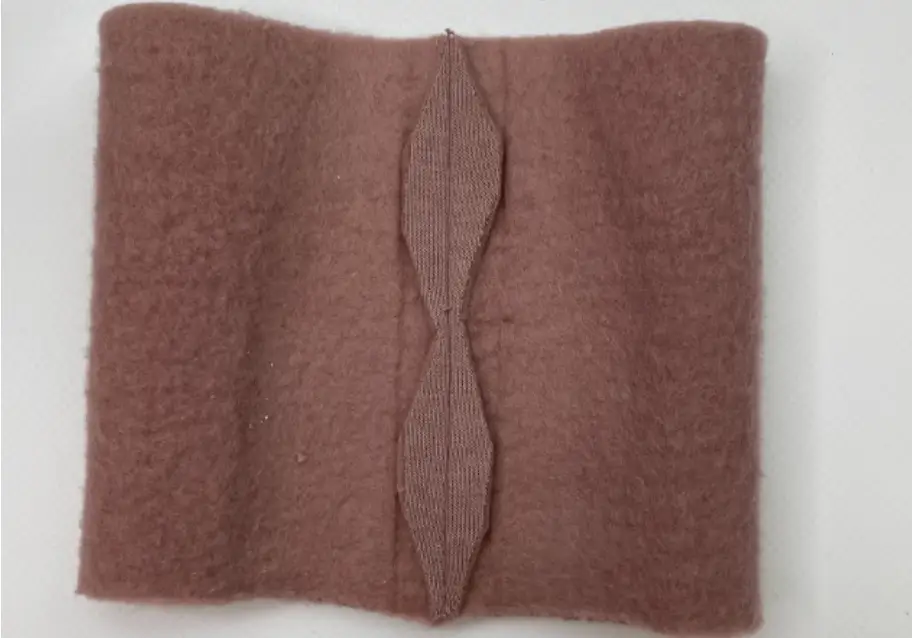
Fold the Cuff in half, right side together and stitch its short edges. Press seam allowances open. Clip corners and notch the middle.
Turn the Cuff to the right side and pin to the Legs bottom hem, right sides together. Serge in.
Press seam allowances to the pants.
Iron the interfacing to the waistband wrong side to the place of grommets.
Install grommets.
Fold the waistband in half and stitch its short edges. Leave a gap for inserting the elastic.
Clip the allowances at the middle.
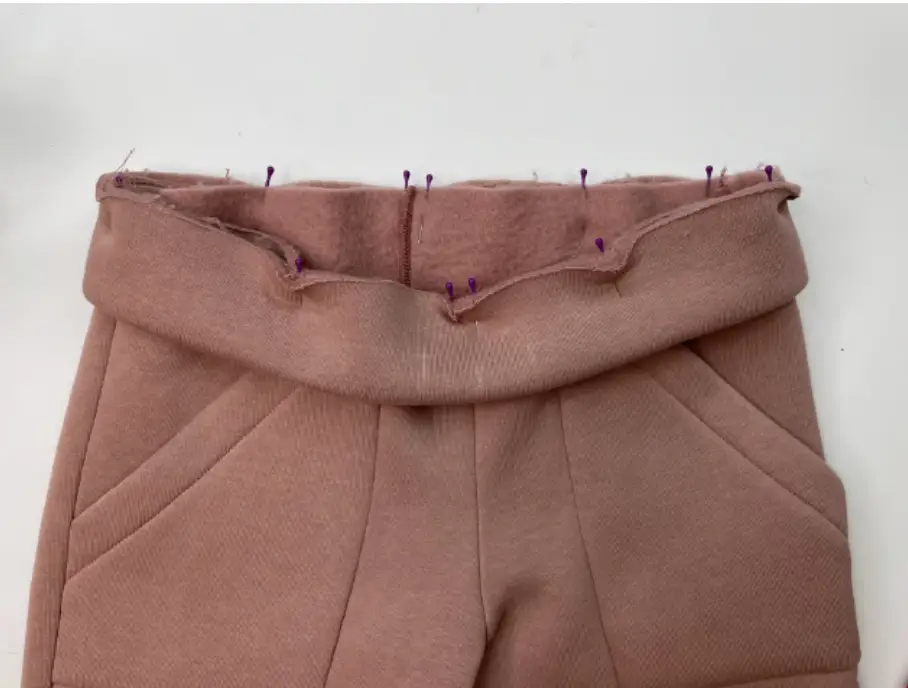
Pin the waistband into the upper hem of the pants, right sides together. Serge in.
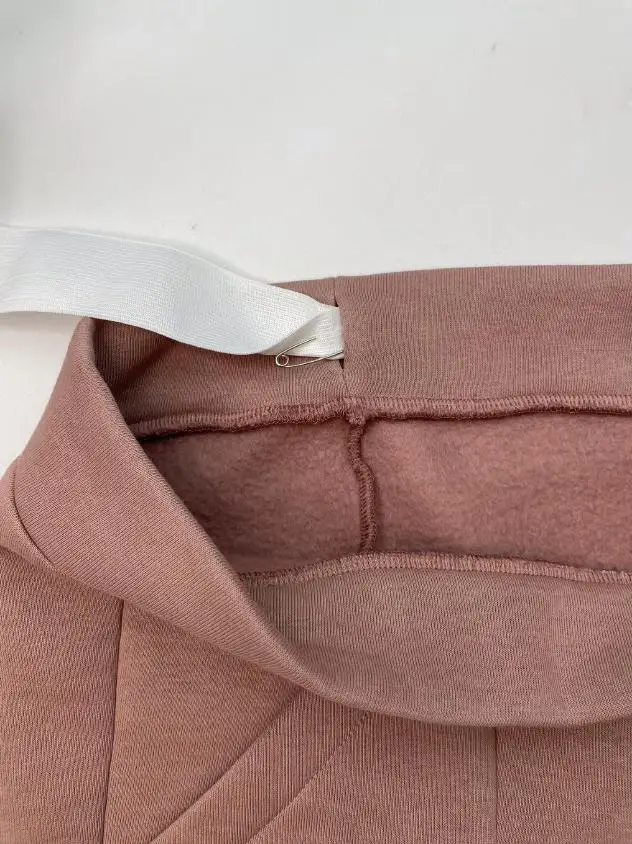
Insert the elastic. Make sure it is not twisted.
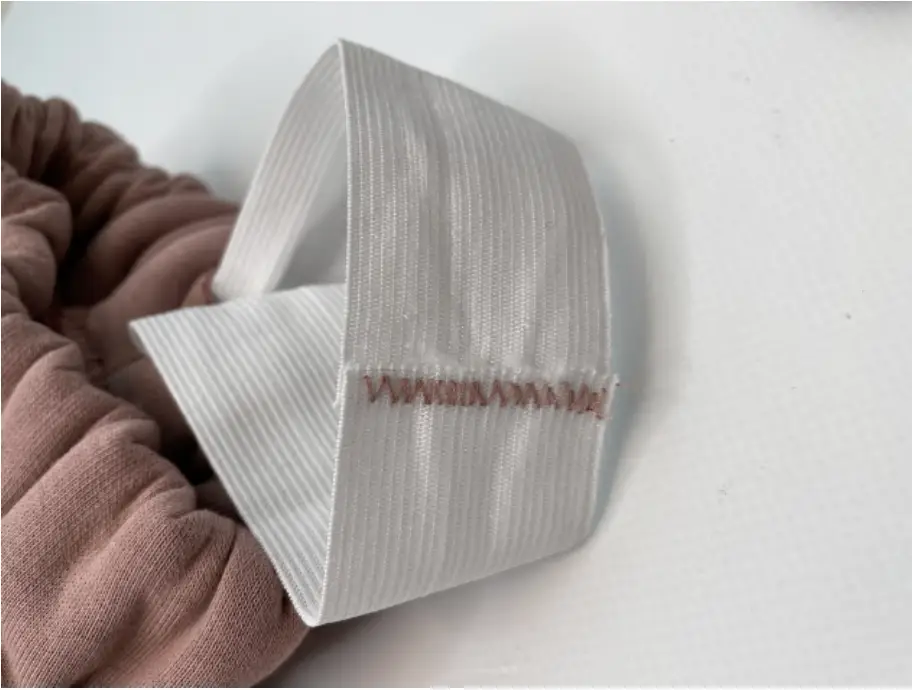
Overlap the elastic ends and stitch it together.
Whip stitch the gap.
Quilt the waistband if desired.