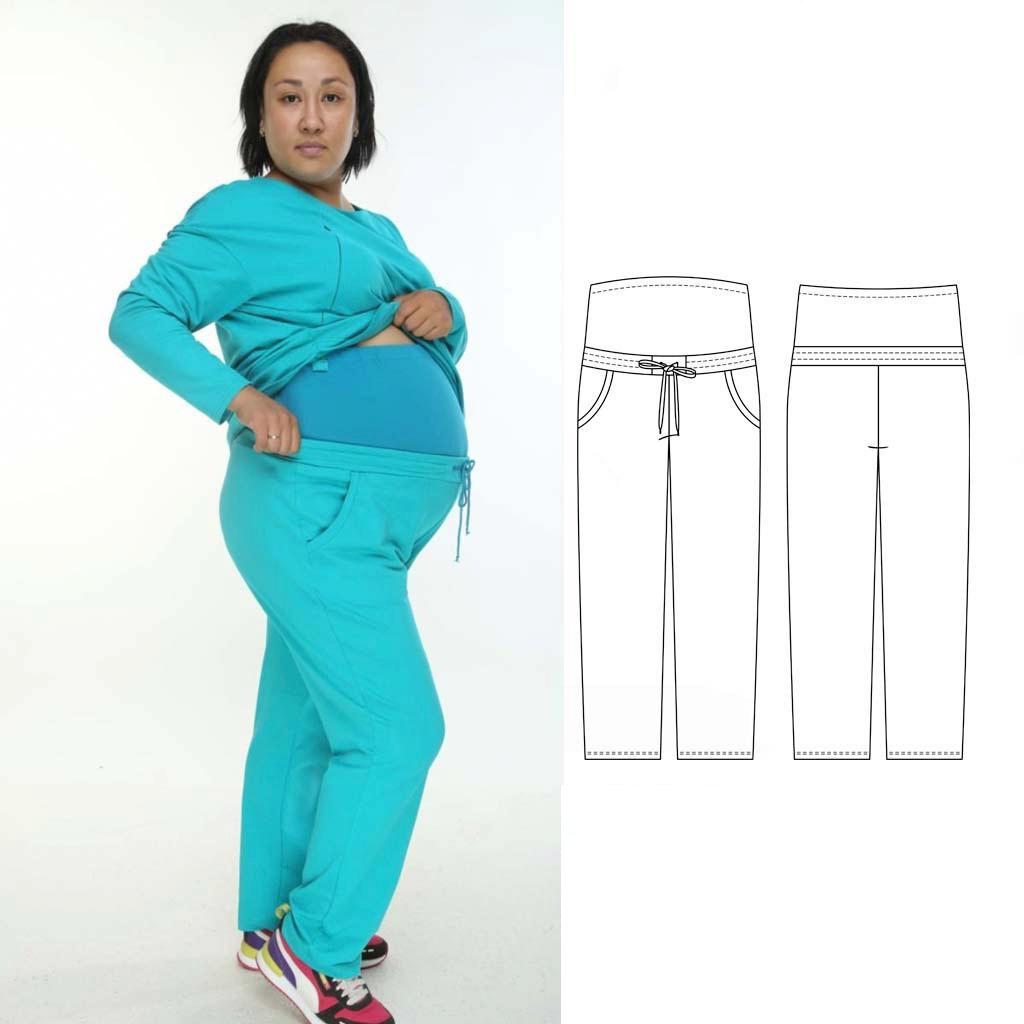
Maternity pants
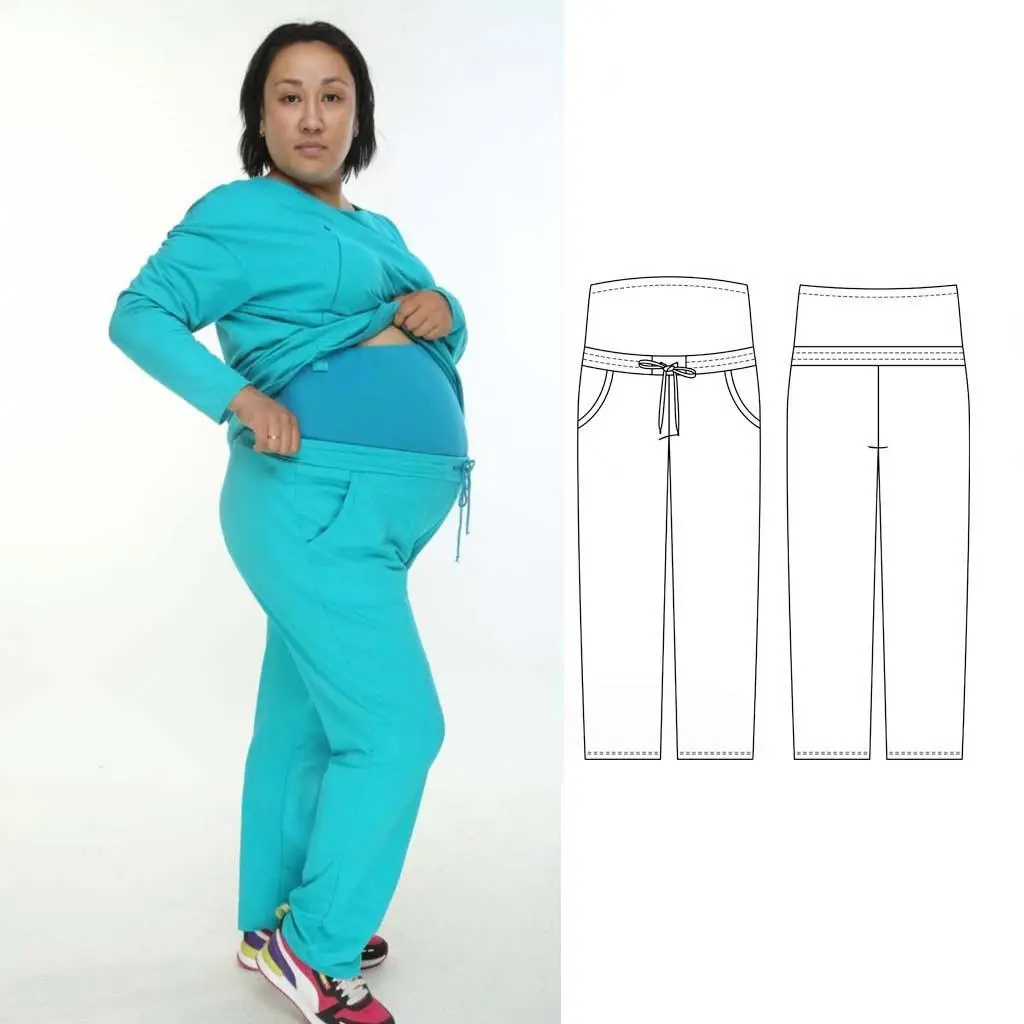
Before sewing
We recommend a heavyweight knit with lycra as a basic fabric. A jersey is a perfect choice.
For the insert for tummy we recommend using a t-shirt light weight cotton knit jersey like interlock.
For the waistband we recommend a cotton elastic rib knit of all the sizes is 0.2 meters, with a width of 1.8 meters. The knitted fabric has to stretch well and don’t loose its shape.
Supplies
Fabric consumption (cm/in)
Main fabric
Ribbing or a single jersey for the tummy insert
Interfacing
Elastic
Сord
Grummets – 2 pieces
Threads
| Size | S | M | L | XL | XXL | 3XL |
|---|---|---|---|---|---|---|
| Main fabric | 130/51.2" | 130/51.2" | 130/51.2" | 140/55,1" | 140/55,1" | 140/55,1" |
| Fabric for bandage | 40/15,7" | 40/15,7" | 40/15,7" | 60/23,6" | 60/23,6" | 60/23,6" |
| Interfacing | 10/3,9" | 10/3,9" | 10/3,9" | 10/3,9" | 10/3,9" | 10/3,9" |
| Cord | 170/66,9" | 178/70,1 | 186/73,2" | 194/76,4" | 202/79,5" | 210/82,7" |
| Size | S | M | L | XL | XXL | 3XL |
|---|---|---|---|---|---|---|
| Elastic | 108/42,5" | 111/43,7" | 115/45,3" | 118/46,5" | 121/47,6" | 125/49,2" |
Specification
Main fabric
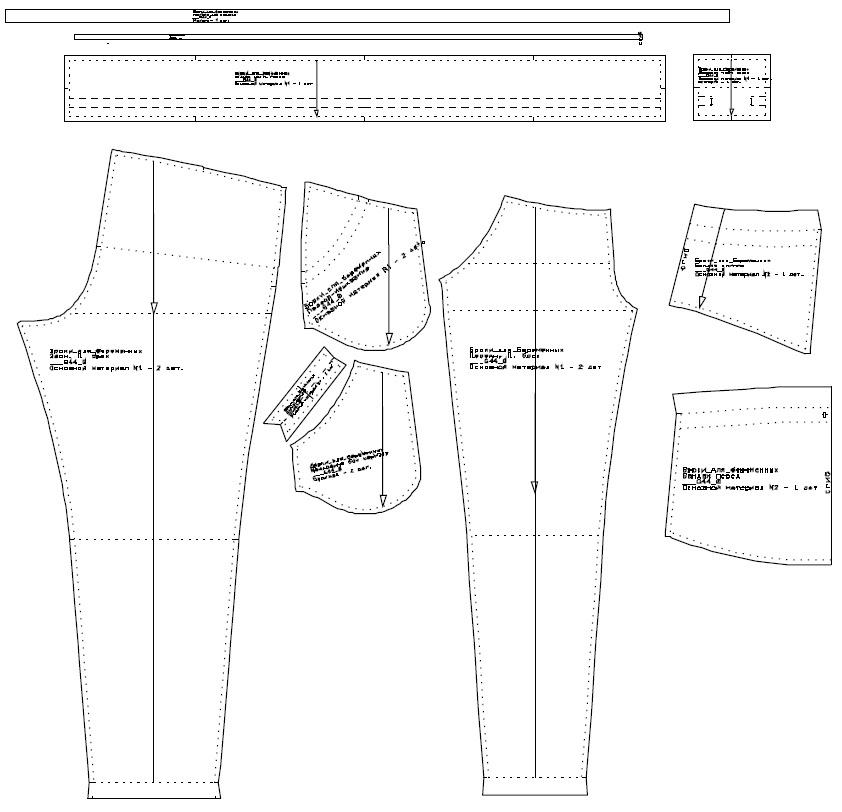
| № | Patterns |
Number of patterns |
Number of pieces |
|---|---|---|---|
| 1 | Front pant leg | 1 | 2 |
| 2 | Back pant leg | 1 | 2 |
| 3 | Center part of the waistband | 1 | 1 |
| 4 | Back part of the waistband | 1 | 1 |
| № | Patterns |
Number of patterns |
Number of pieces |
|---|---|---|---|
| 5 | Small pocket piece | 1 | 2 |
| 6 | Side pocket piece | 1 | 2 |
| 7 | Pocket band | 1 | 2 |
Fabric for bandage
| № | Patterns |
Number of patterns |
Number of pieces |
|---|---|---|---|
| 8 | Front bandage | 1 | 1 |
| 9 | Back bandage | 1 | 1 |
Attention! All our patterns already contain 1 cm / 0.39 in seam allowances.
Description of tailoring
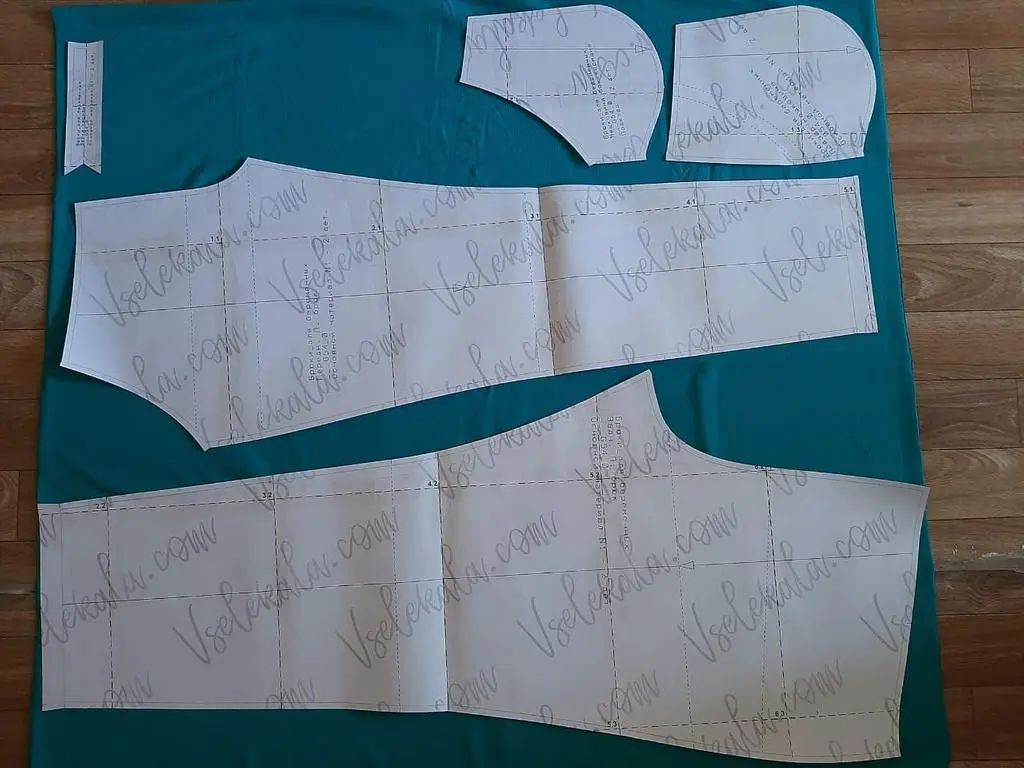
Put the pattern pieces on the fabric, circle them by chalk and cut out.
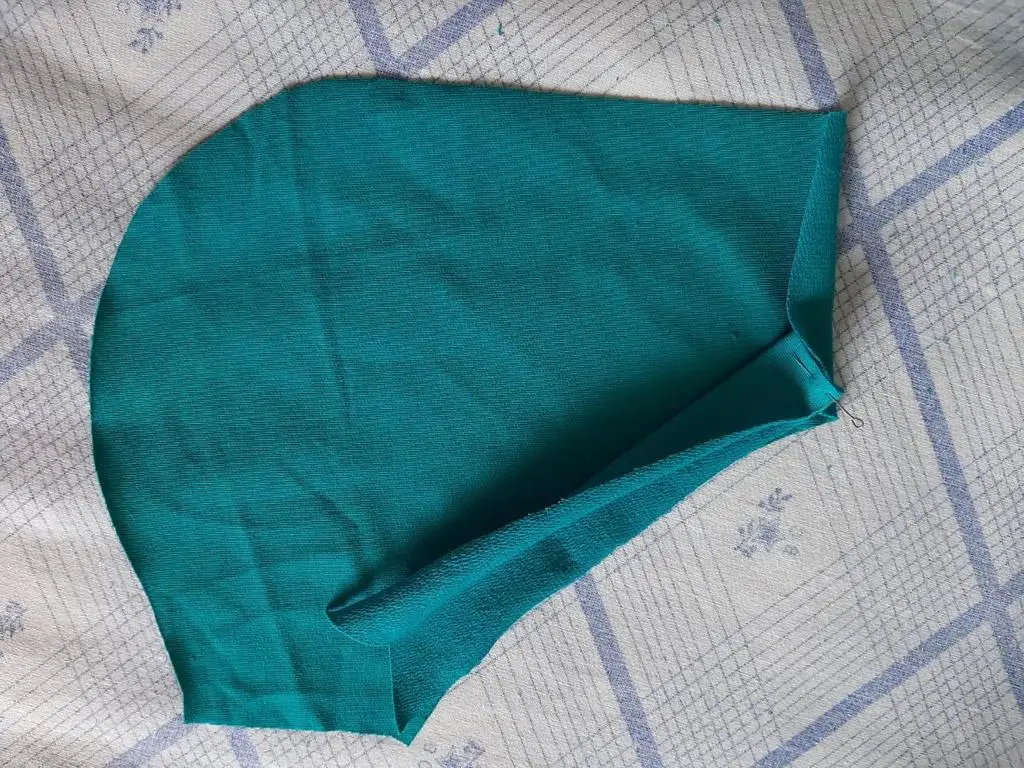
Pin the pocket band to the small pocket piece and serge in place. Press seam allowances to the pocket piece.
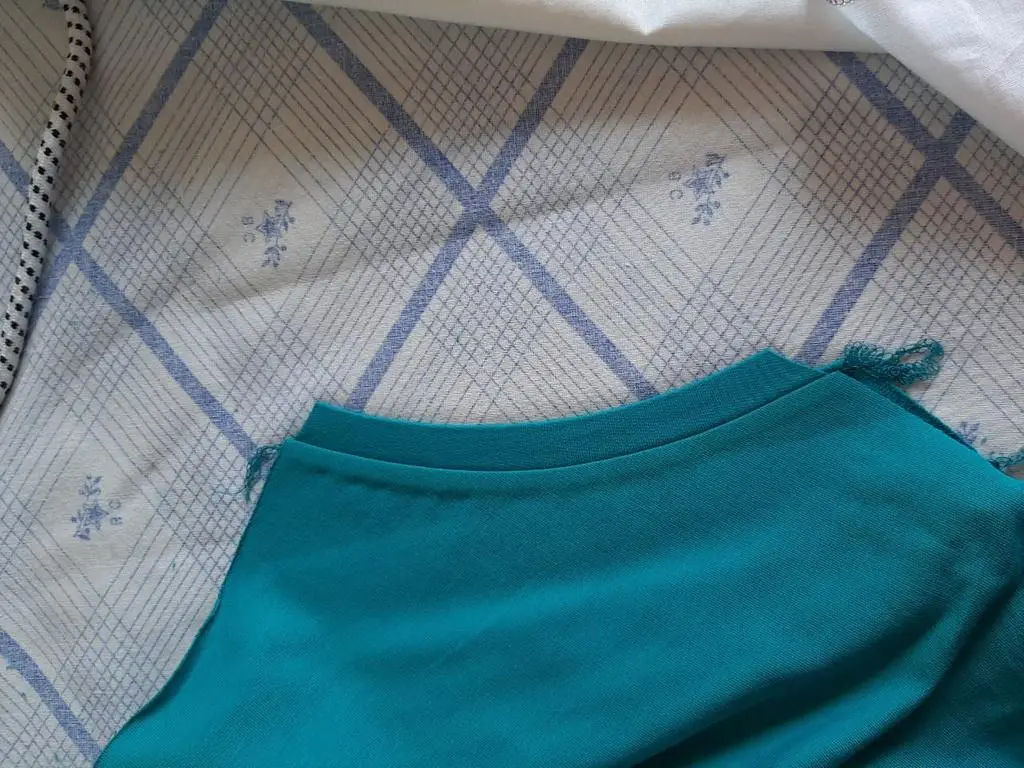
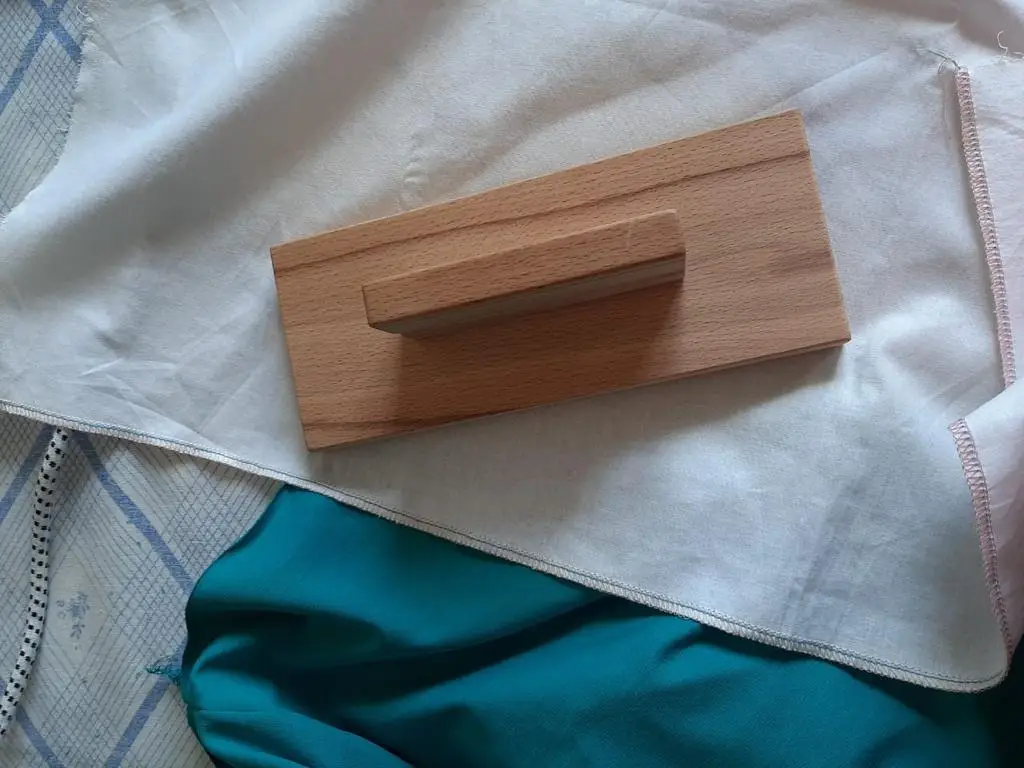
Pin the small pocket piece to the front pants with the right sides together. Serge it. Press and bend it, then top stitch. Press it.
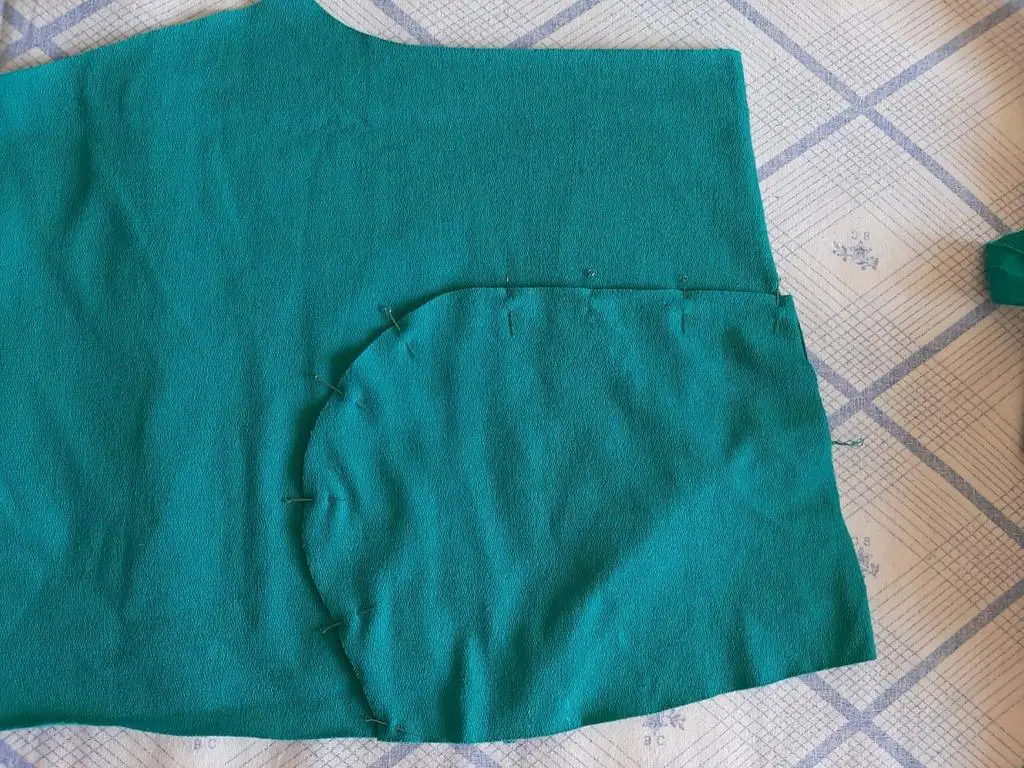
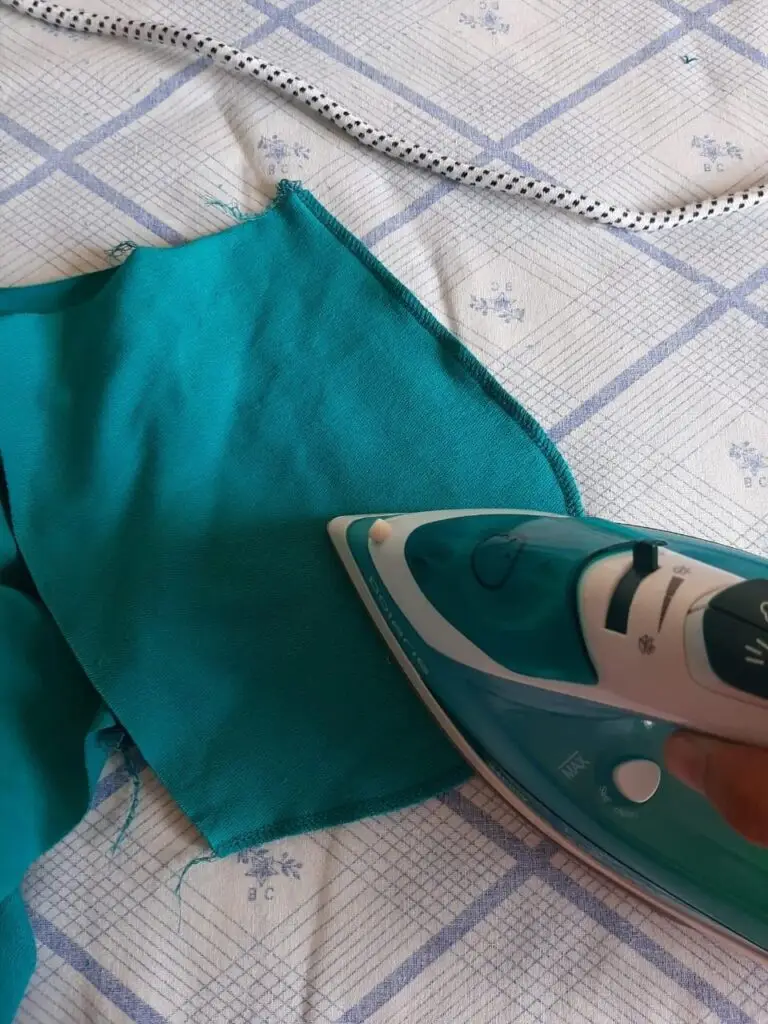
Pin the side pocket to the small pocket piece with the right sides together. Serge along the curved edge. Press it.
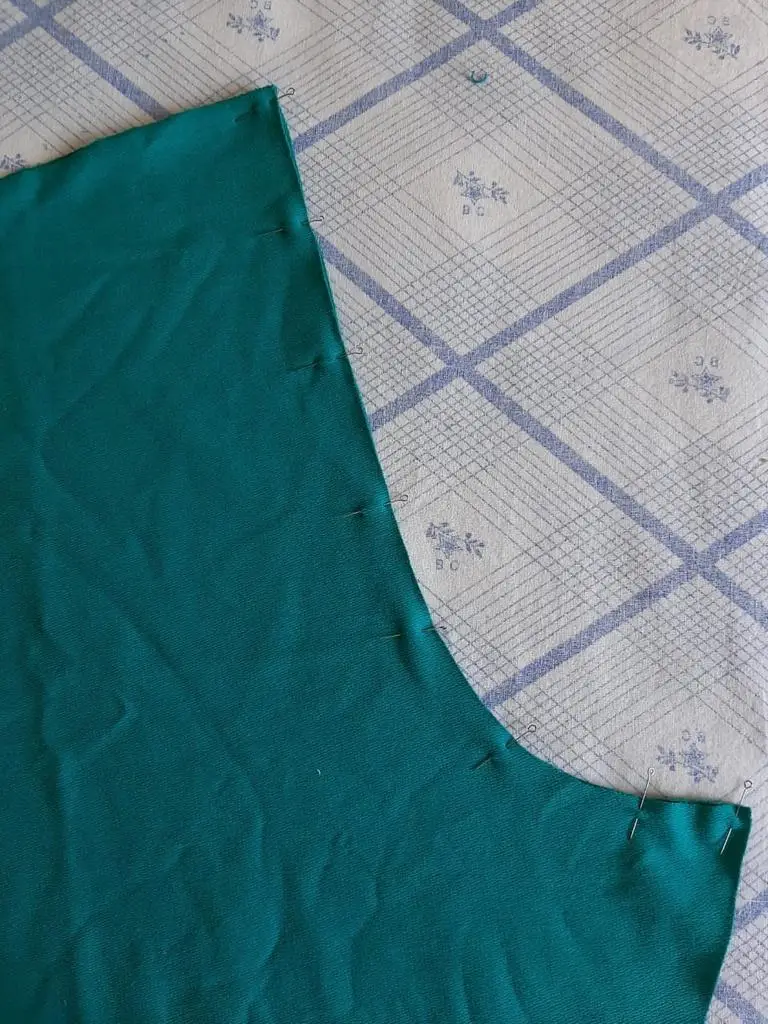
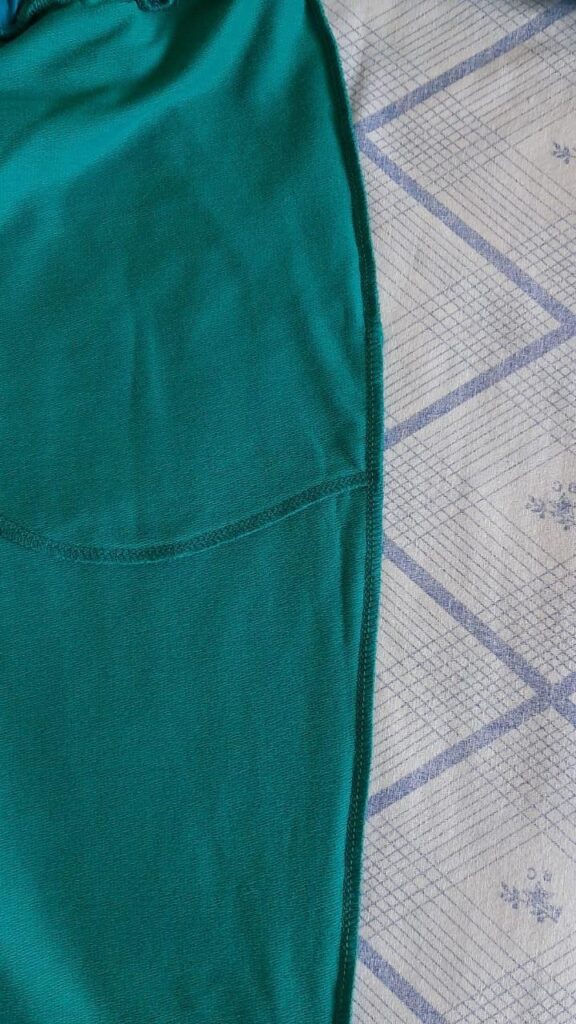
1. Pin the back pants legs together with the right sides along the crotch seam. The same way, pin the front pantslegs along the crotch. Serge it. Press.
2. Pin the front and back pants together with the right sides along the outseam (side edges), align the notches. Serge it. Press seam allowances.
3.Pin the front and back pants together with the right sides along the inseam. Serge it. Press seam allowances.
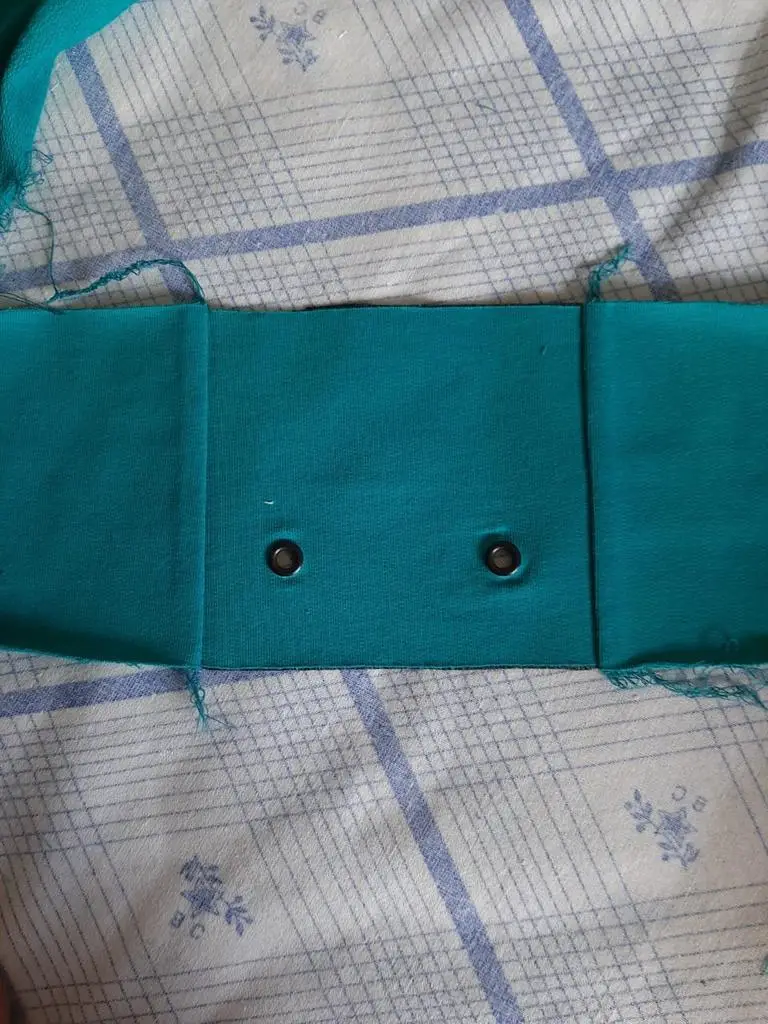
Iron the interfacing to the center part of the waistband, insert the grommets. Then stitch it to the back of the waistband by the serger. Press.
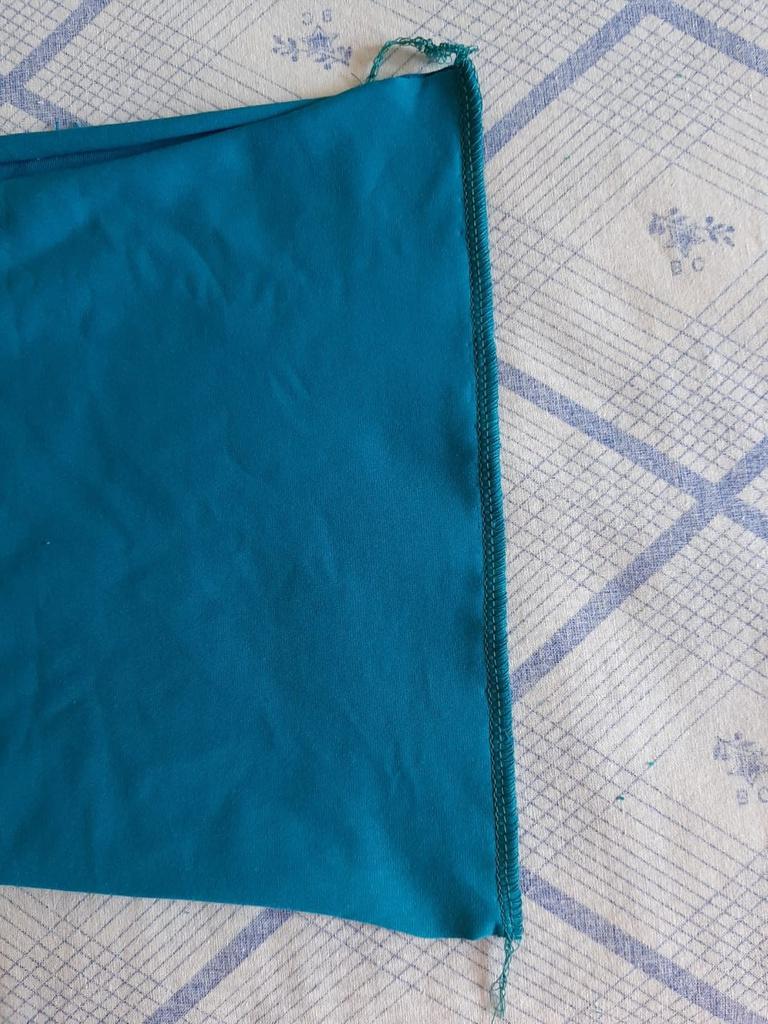
Pin the front and back bandage (the insert for tummy) along the side edges with the right sides together. Serge it. Press seam allowances to the back.
Serge the upper bandage hem. Press. Then fold the serged edge for about 2 cm and stitch on sewing machine using twin needle. Leave a hole for inserting the elastic.
Stitch elastic into the ring. Fold the waistband in half with the wrong side and put inside the elastic. Pin it. Stitch 2 parallel stitch line, making the casing.
Pin the waistband to the pant’s upper hem together with the right sides and stitch by the serger. Press seam allowances to the pants.
Over the waistband, pin the bandage (insert for tummy) along the stitching line and sew in place sewing machine. It is good to do it with contrast threads, to remove the insert easily later on.
Pull elastic through the casing on the upper hem of the bandage (insert for tummy), and pass a cord through the waistband.
Fold the pant’s hem and stitch by twin needle.
