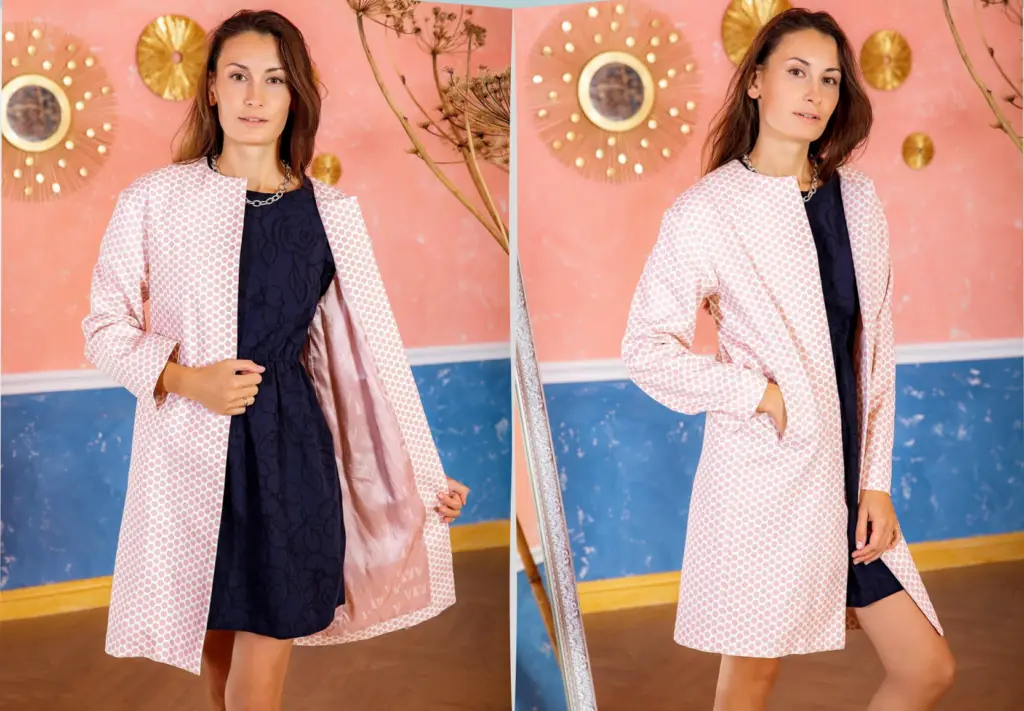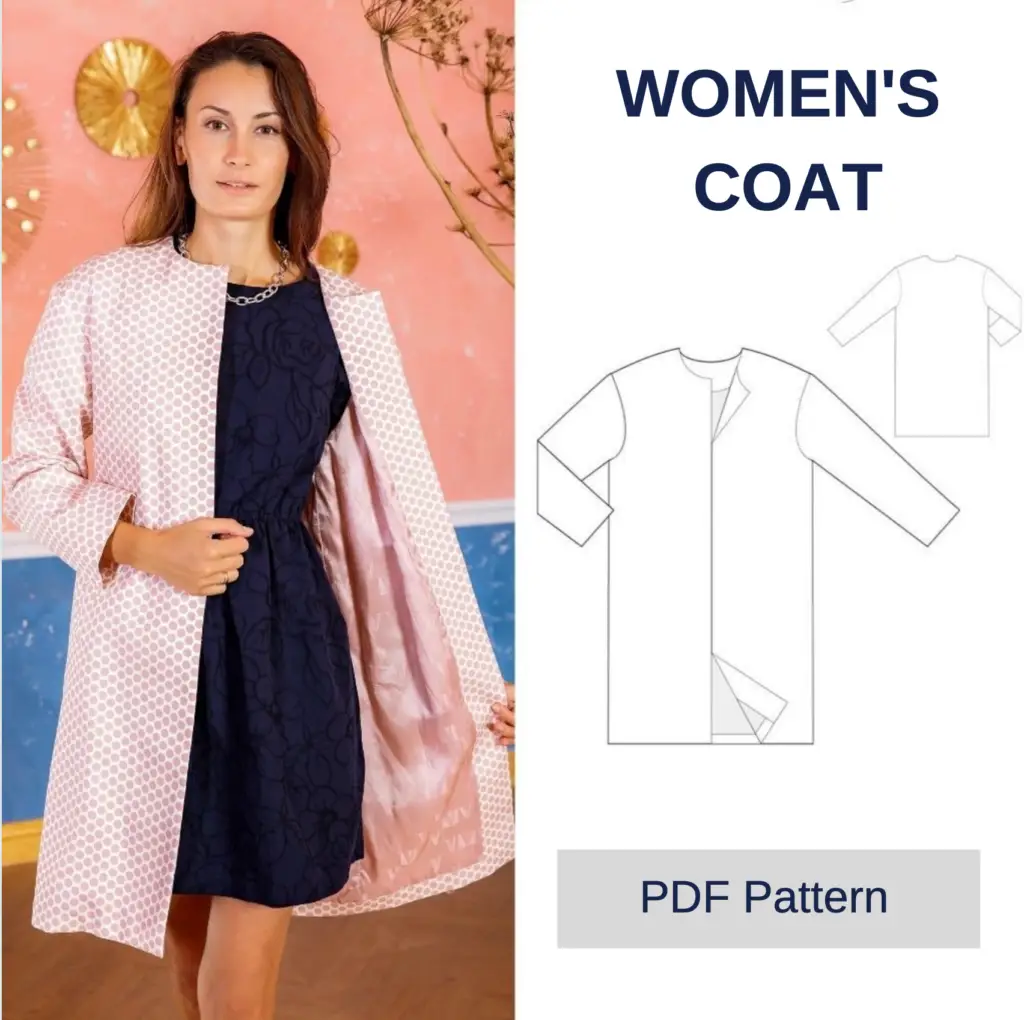
For sewing this coat we recommend to use a lightweight materials for summer coat like jacquard, cotton, denim.
| Size | XS (36) | S (38) | M (40) | L (42) | XL (44) |
|---|---|---|---|---|---|
| Main fabric | 165 / 65" | 165 / 65" | 165 / 65" | 165 / 65" | 165 / 65" |
| Lining fabric | 125 / 49.2" | 133 / 52.4" | 140 / 55.1" | 148 / 28.3" | 155 61" |
| Interfacing | 100 / 39.4" | 100 / 39.4" | 100 / 39.4" | 100 / 39.4" | 100 / 39.4" |
When buying fabric, keep in mind that the material can shrink, so take with a margin of 5 – 10%.
| Size | 4 years <br> 104 | 5 years <br> 110 | 6 years <br> 116 | 7 years <br> 112 | 8 years <br> 128 | 9 years <br> 134 | 10 years <br> 140 | 11 years <br> 146 | 12 years <br> 152 | 13 years <br> 158 | 14 years <br> 164 |
|---|---|---|---|---|---|---|---|---|---|---|---|
|
Shirt width at chest line |
34 13.39" |
35 13.78" |
36.5 14.37" |
37.5 14.76" |
39 15.35" |
40.5 15.94" |
42 16.54" |
43.5 17.13" |
45 17.7" |
46.5 18.31" |
48 18.9" |
|
Front length from shoulder |
43.5 17.13" |
45.5 17.9" |
47,5 18,7" |
50 19,68" |
52 20,47" |
55 21,65" |
57,5 22,64" |
59 23,23" |
60,5 23,82" |
62,5 24,6" |
64 25,2" |
|
Sleeve length cuffs |
38.5 15.16" |
40,5 15,94" |
42,5 16,73" |
44,5 17,52" |
47 18,5" |
50 19,68" |
52 20,47" |
54 21,26" |
56 22,05" |
58 22,83" |
60 23,62" |
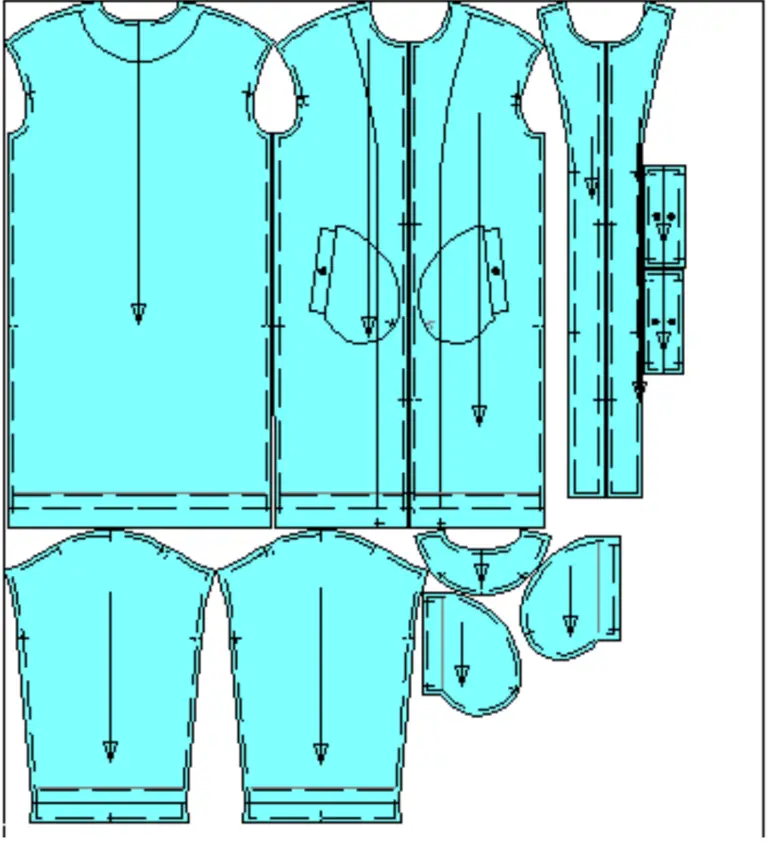
Size XS
Width of fabric – 1.5 m (59.05″); Fabric length – 1.63 m (64.17″)
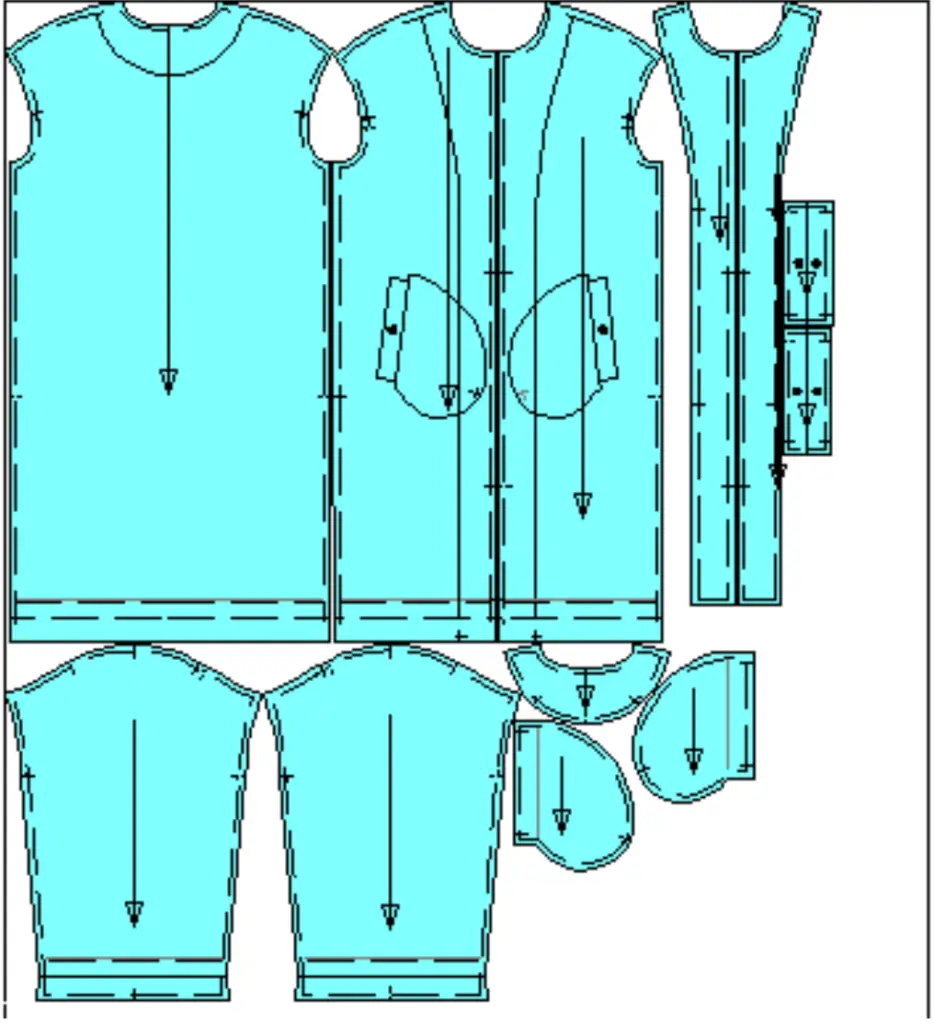
Size XS
Width of fabric – 1.5 m (59.05″); Fabric length – 1.64 m (64.57″)
Attention! All our patterns already contain 1 cm / 0.39 in seam allowances.
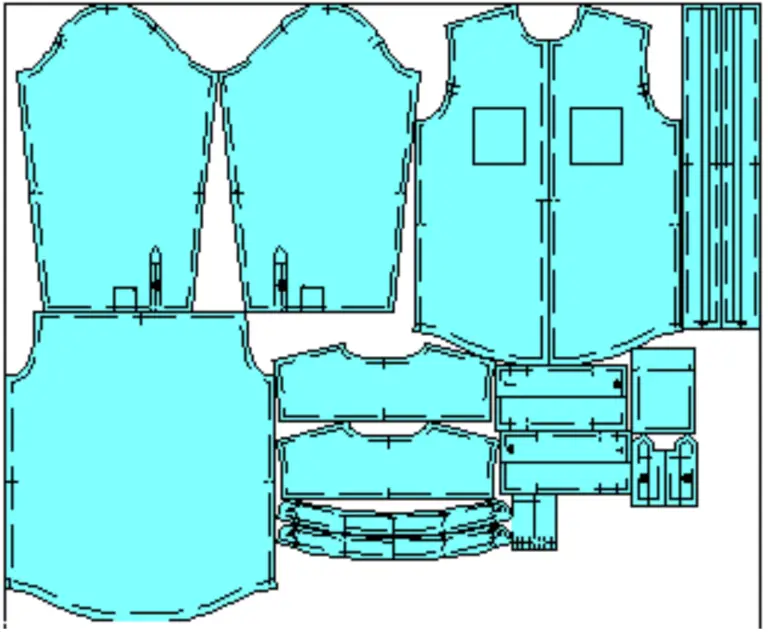
Main fabric
| № | Patterns | Number of <br> patterns | Number of <br> pieces |
|---|---|---|---|
| 1 | Back | 1 | 1 |
| 2 | Front | 1 | 2 |
| 3 | Sleeve | 1 | 2 |
| 4 | Front facing | 1 | 2 |
| 5 | Back facing | 1 | 1 |
| 6 | Pocket welt | 1 | 2 |
| 7 | Inner pocket piece | 1 | 2 |
Lining fabric
| № | Pattern | Number of <br> patterns | Number of <br> pieces |
|---|---|---|---|
| 8 | Back | 1 | 1 |
| 9 | Front | 1 | 2 |
| 10 | Sleeve | 1 | 2 |
| 11 | Outer pocket piece | 1 | 2 |
Attention! All our patterns already contain 1 cm / 0.39 in seam allowances.
Make a cut line with chalk on the wrong side of the sleeves.
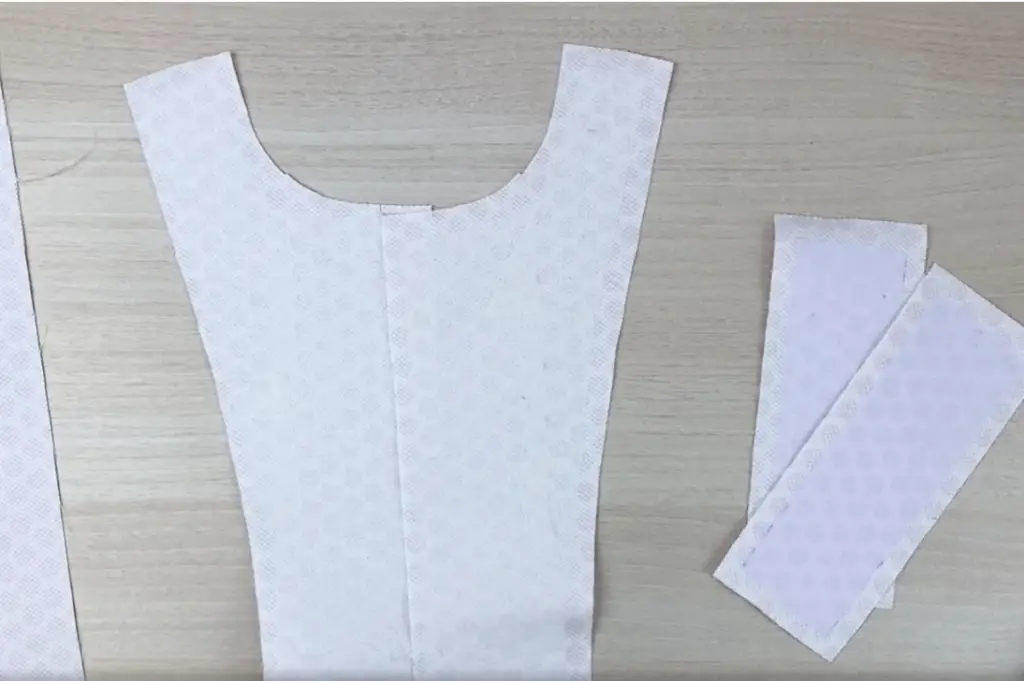
Iron the interfacing to the wrong side of the front facing, welt and front bodice where pocket opening is going to be.
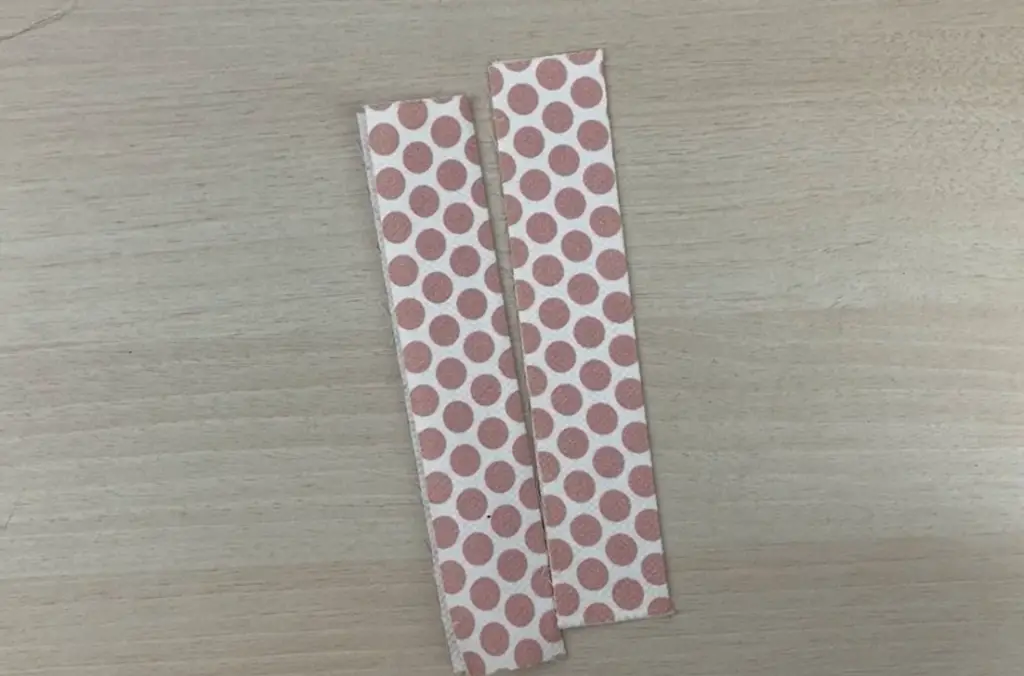
Fold the welt in half with the wrong side together and press.
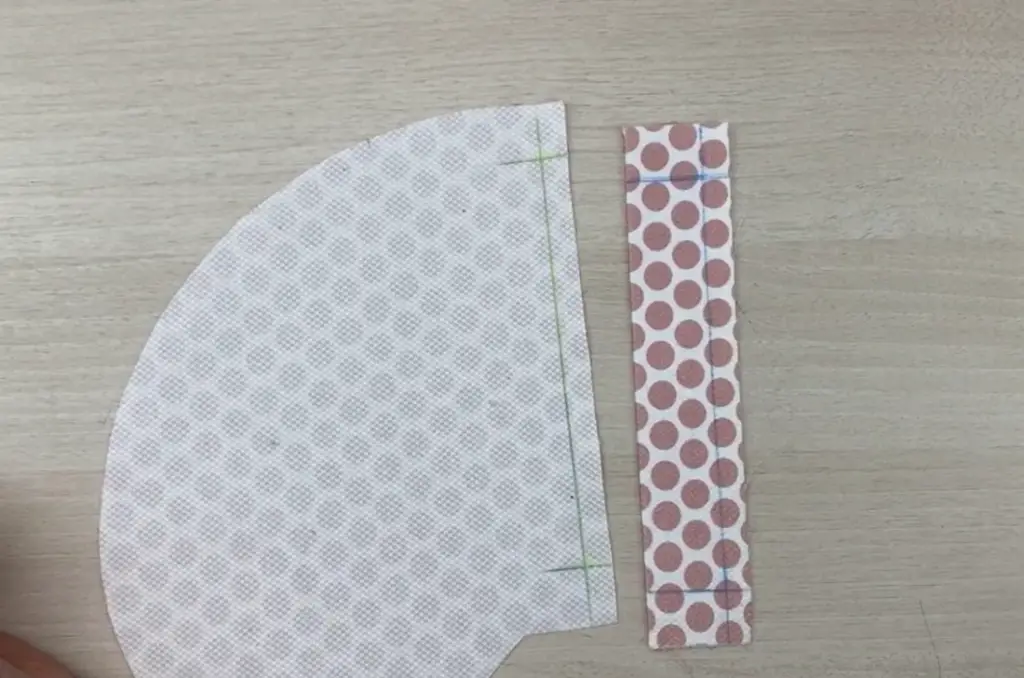
Mark the line of the allowances on the welt and placement of pocket opening on front panel. Also mark the allowances on the pocket pieces.
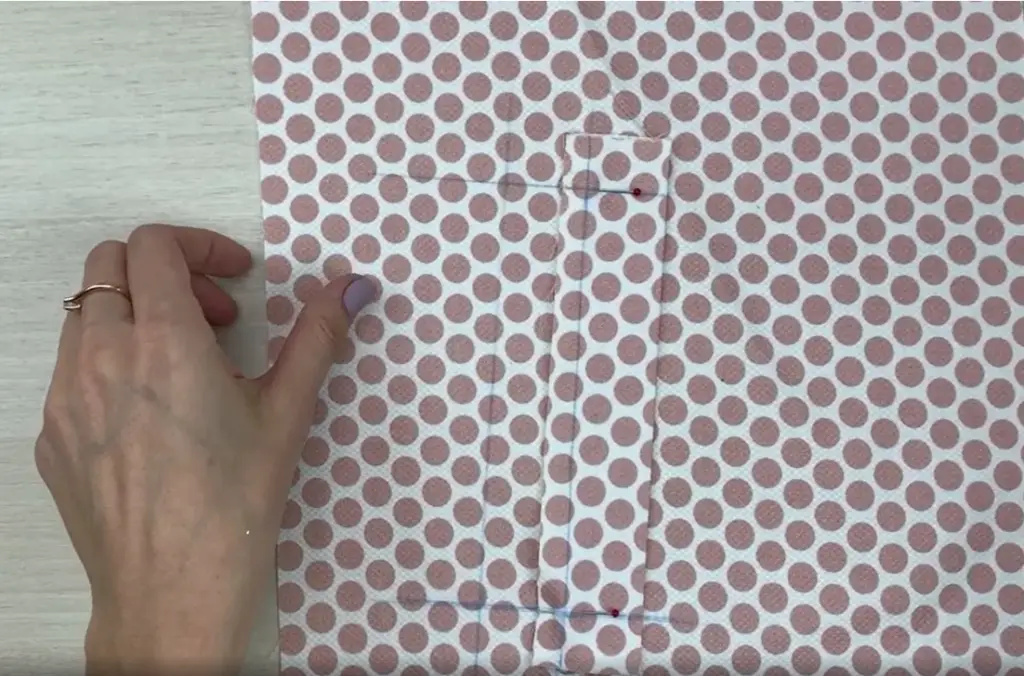
Pin the welt to the pocket opening line with the raw edge to the side. Sew in place.
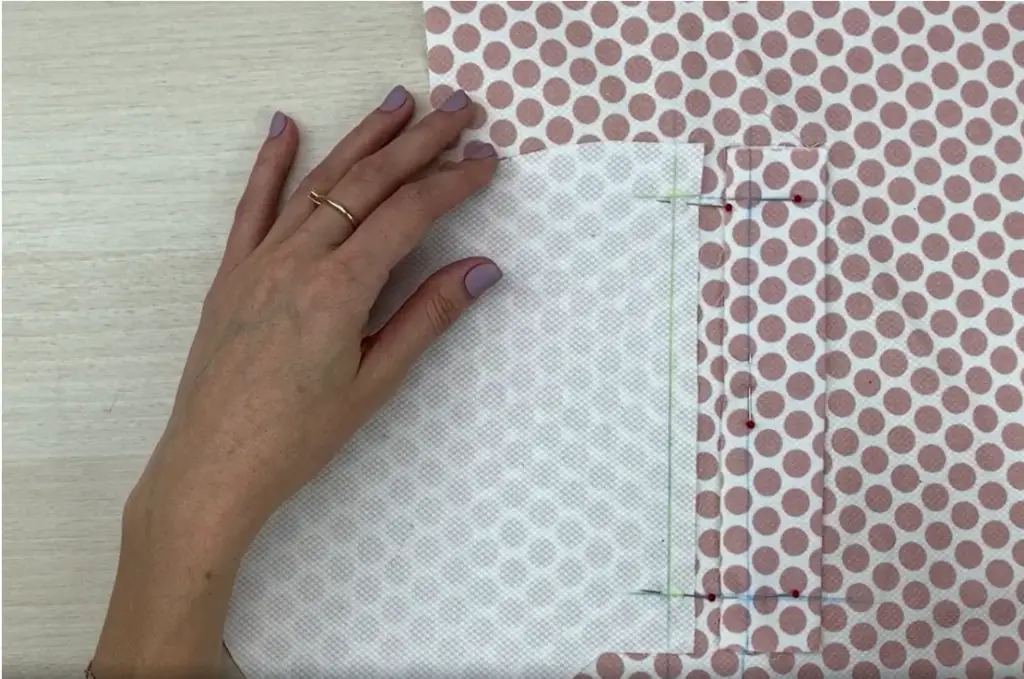
Pin the inner pocket piece with the right side to the pocket opening line. Sew in place.
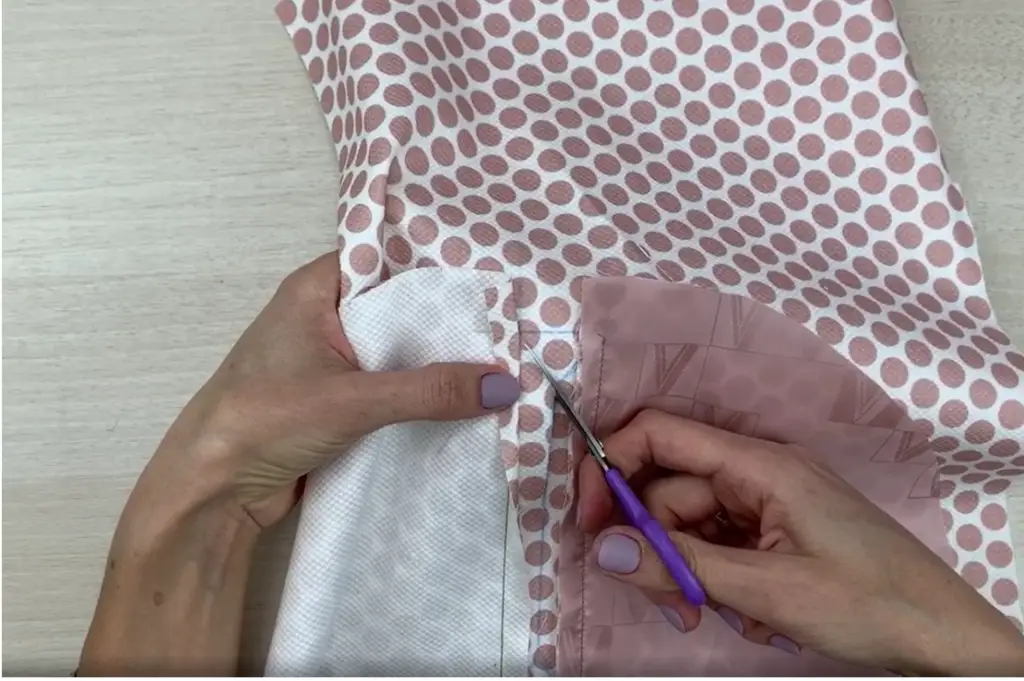
Check the distance between these 2 stitching line to be parallel. Slash the pocket opening by cutting along the middle, then clip diagonally to the corners.
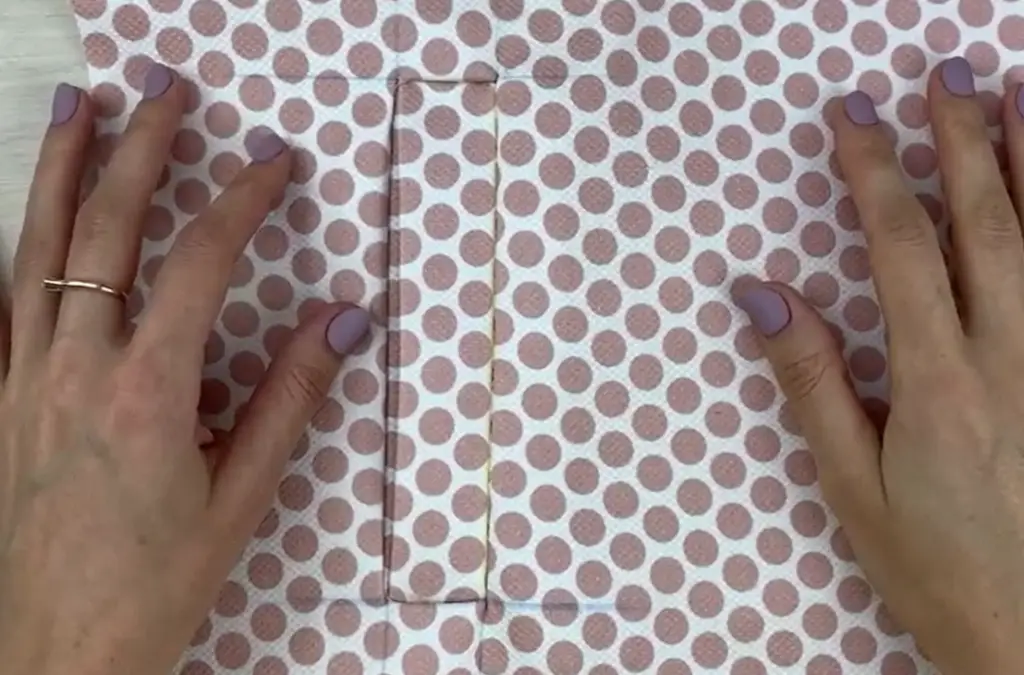
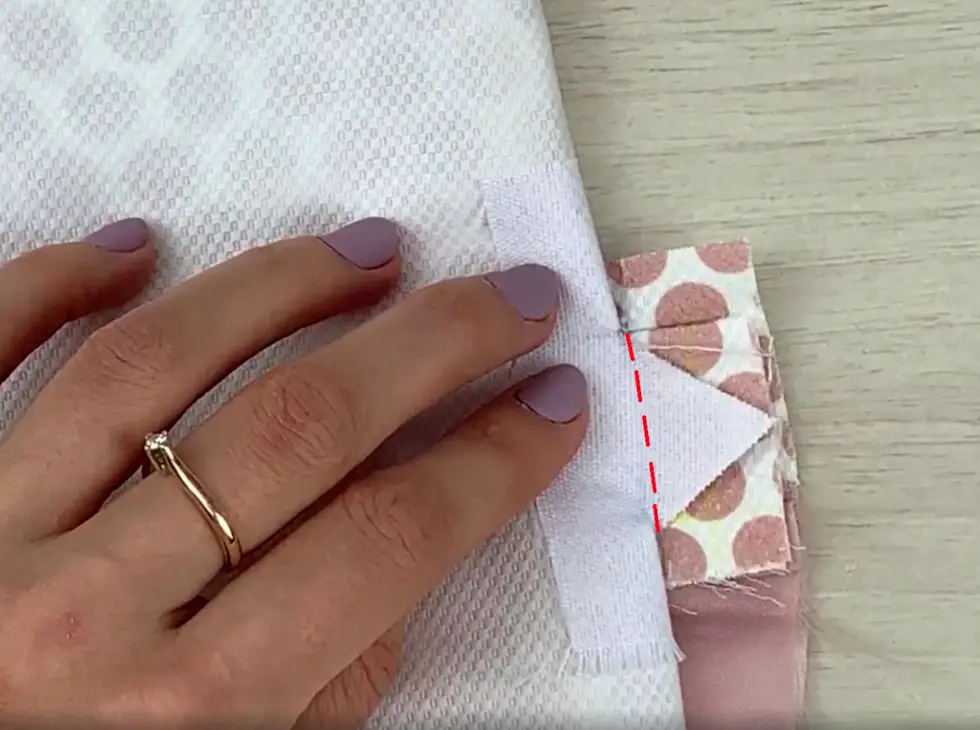
Turn the pocket pieces and welt to the wrong side and stitch triangles with welt allowances together.
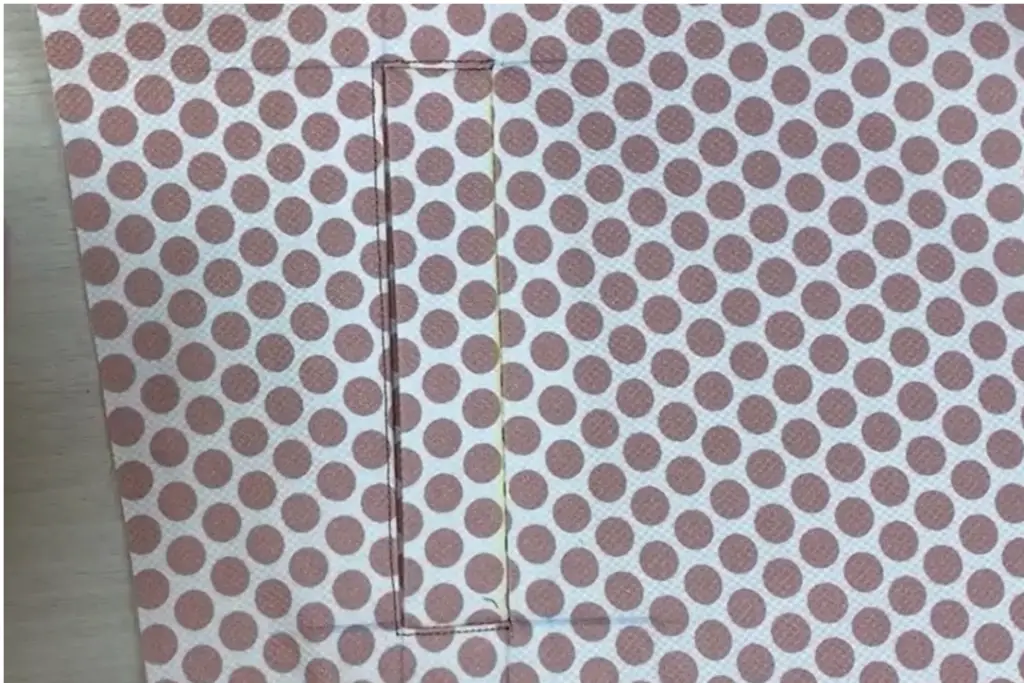
Top stitch the pocket opening. Move the pocket pieces aside so you won’t stitch them too.
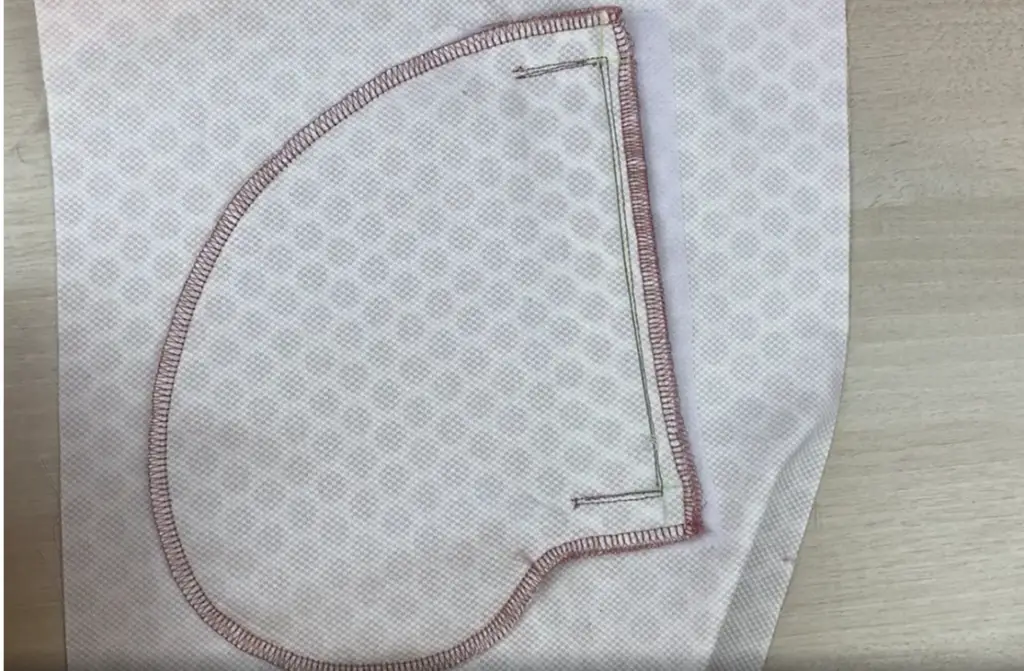
Serge the pocket pieces together. Press.
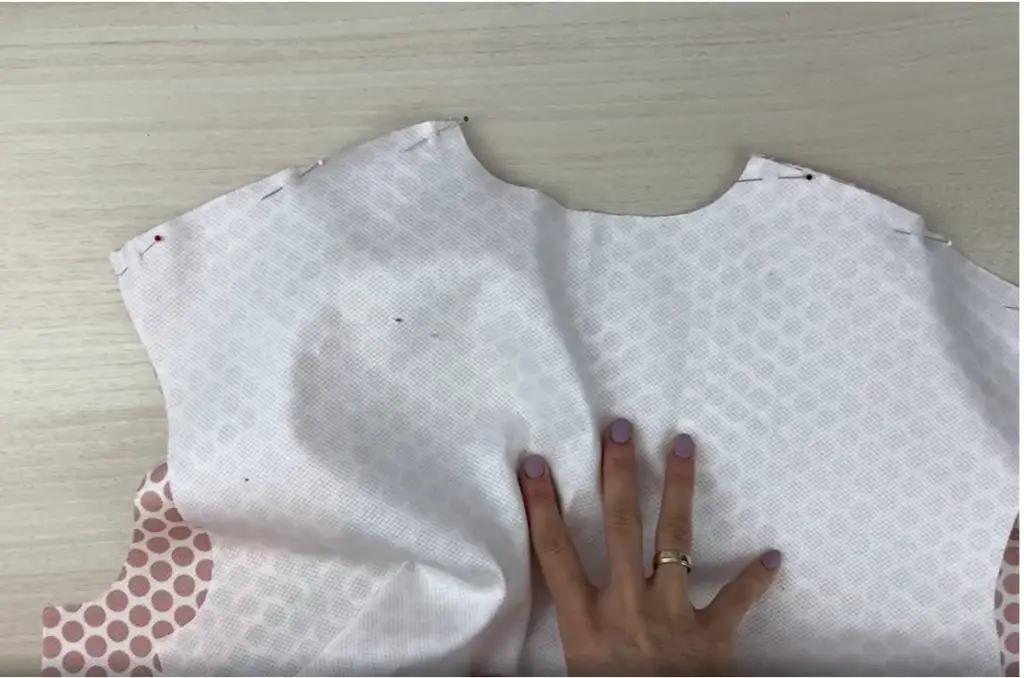
Pin the back and the front panels together with right sides along the shoulder edge. Stitch it. Press allowances open.
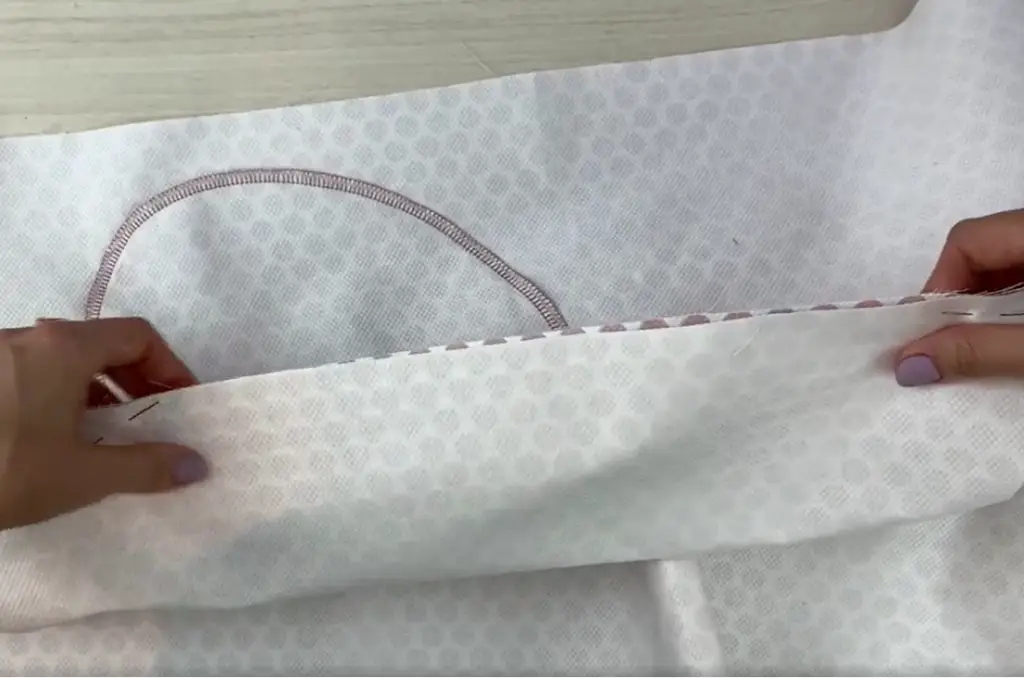
Pin the back and front side edges together with the right sides and stitch. Press allowances to the back.
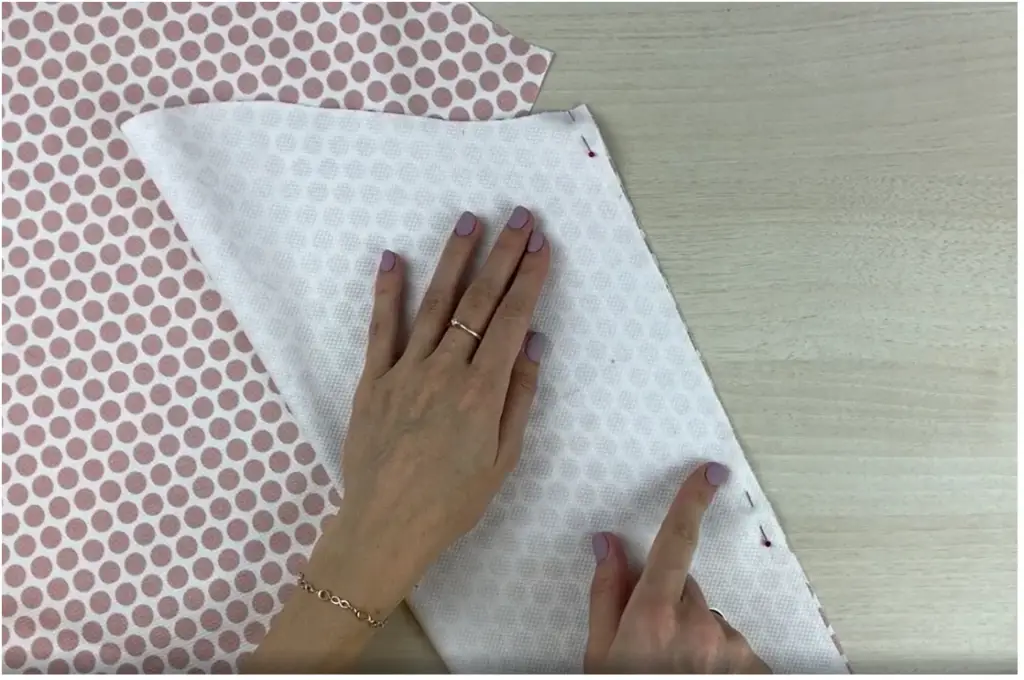
Fold the sleeve in half with the right side together and stitch. Press.
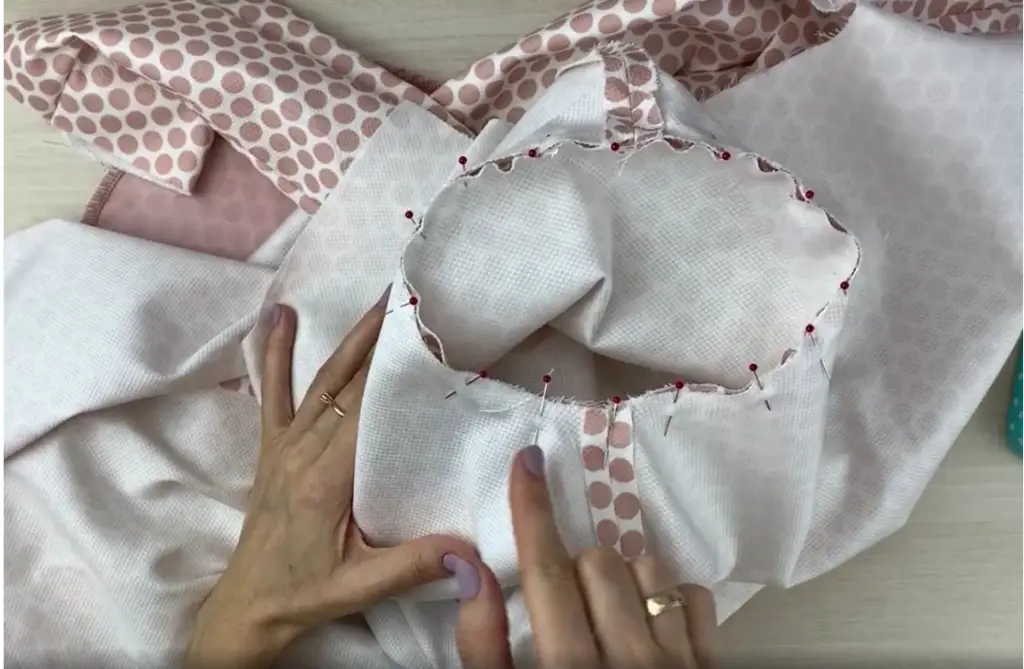
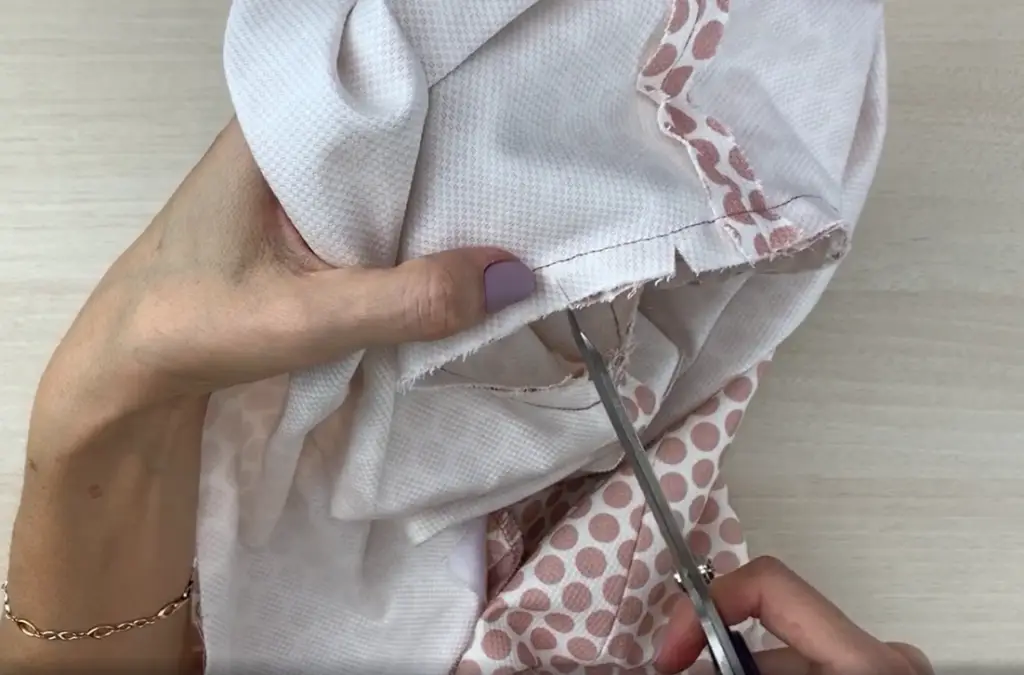
Pin the sleeve into the armhole with the right sides together, align the notches. Sew in place. Press allowances to the sleeve. Clip curves.
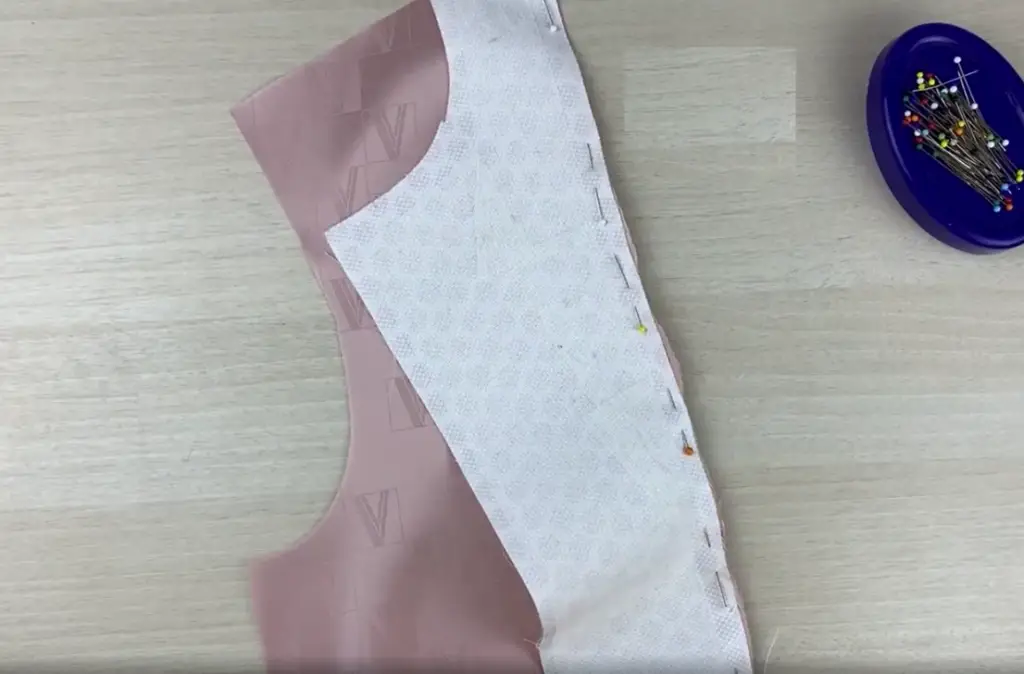
LINING.
Pin the front facing to the front bodice right sides together. Align the notches. Stitch. Press allowances to the front bodice.
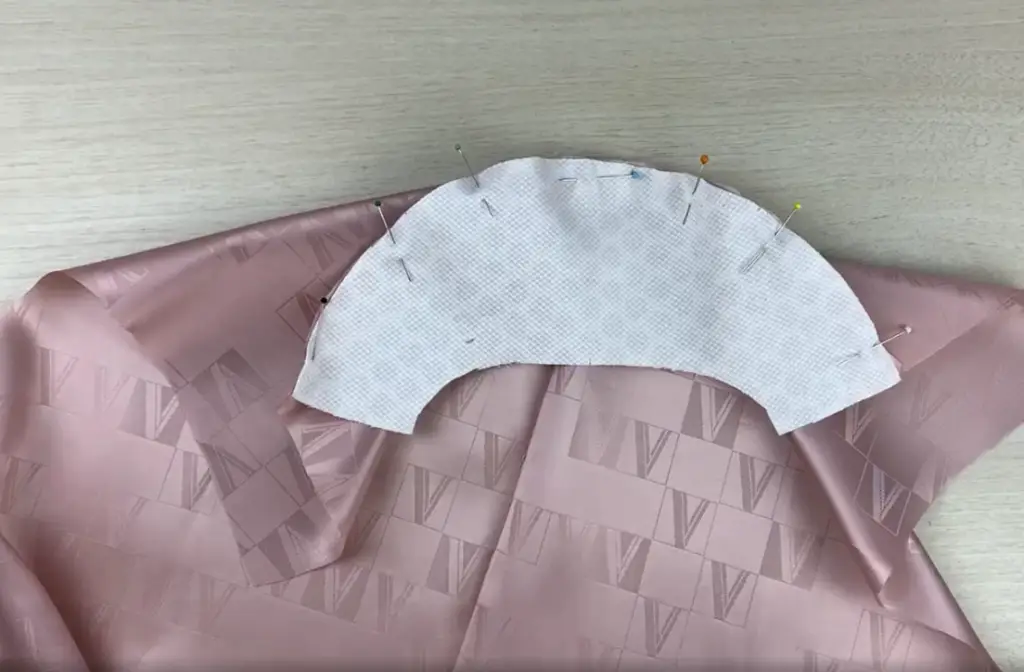
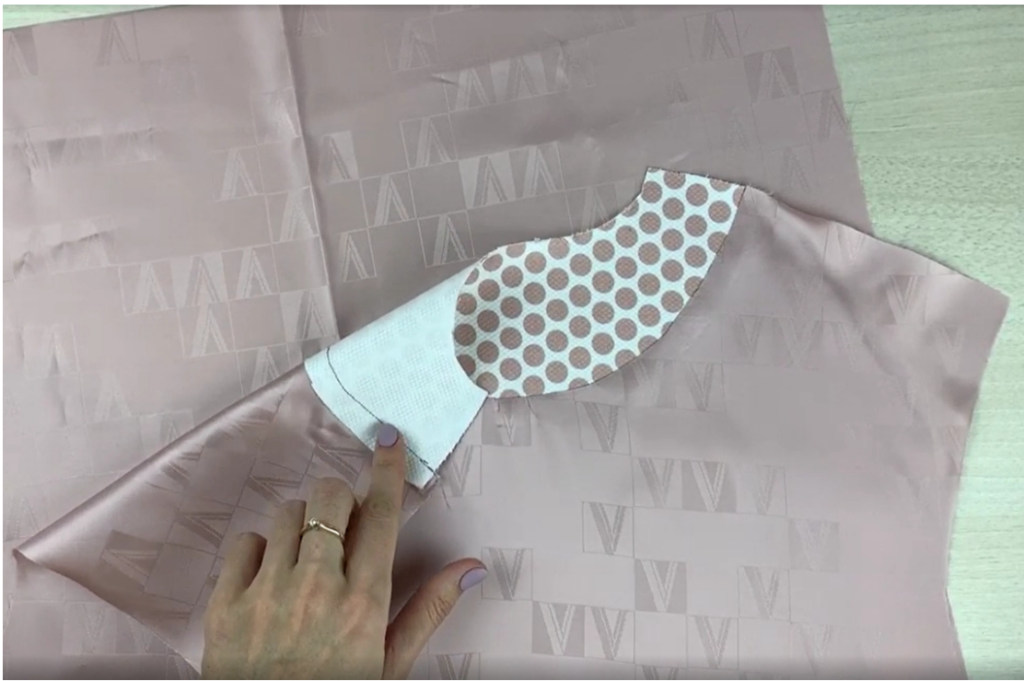
Pin the neckline facing to the lining back right sides together. Align the notches. Sew in place. Press allowances to the back.
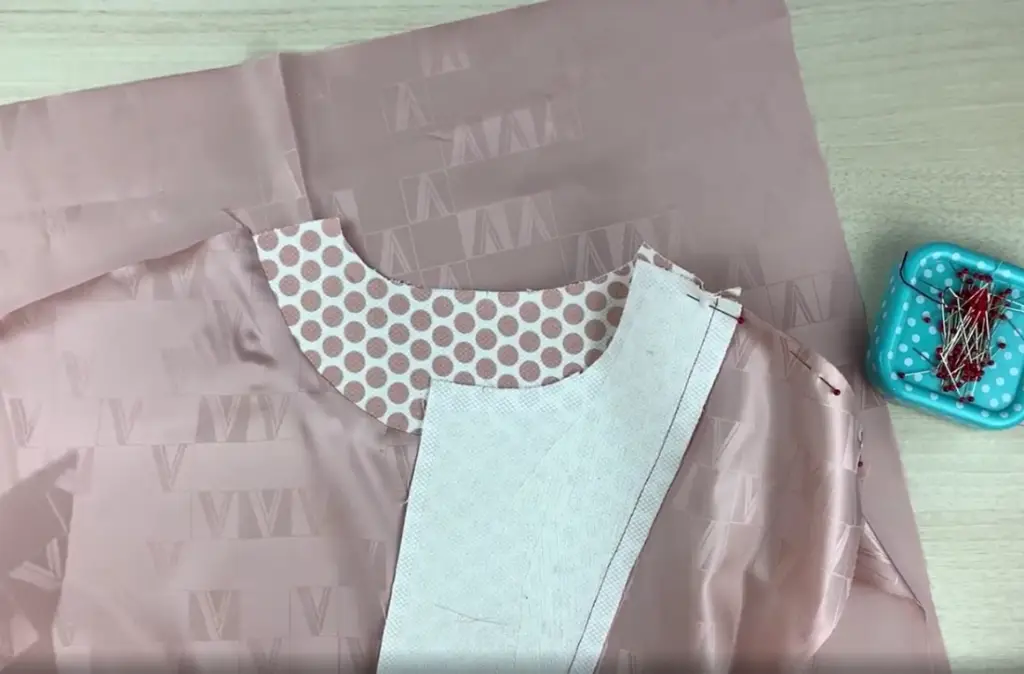
Pin the front and back lining together with the right sides along the shoulder edges. Press allowances to the back.
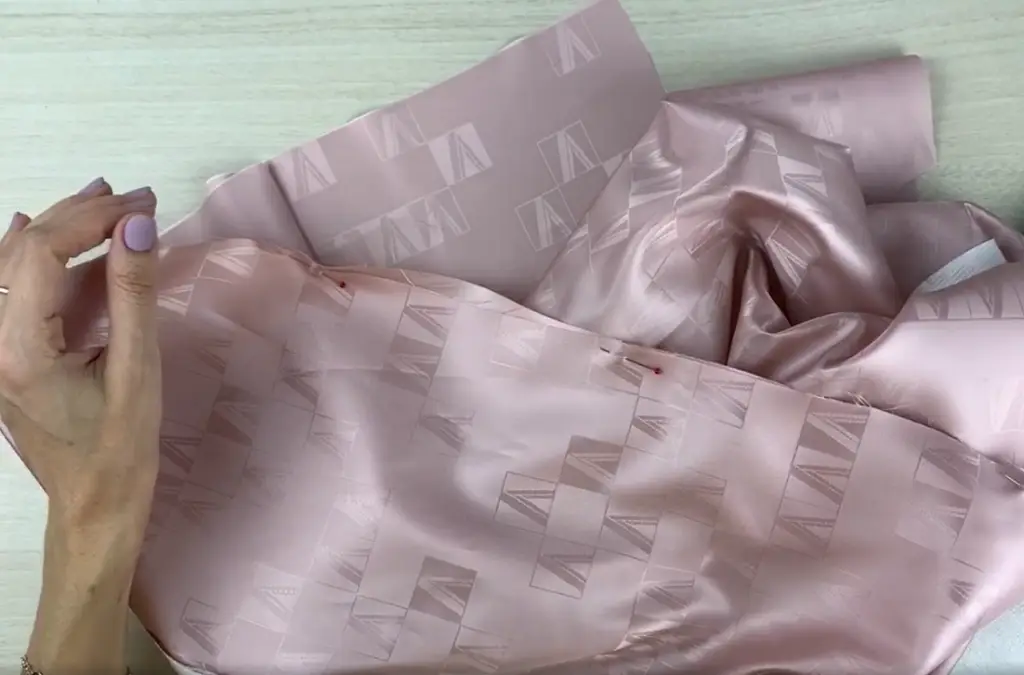
Pin the sides edges of the back and front together with the right sides. Stitch.Press allowances to the back.
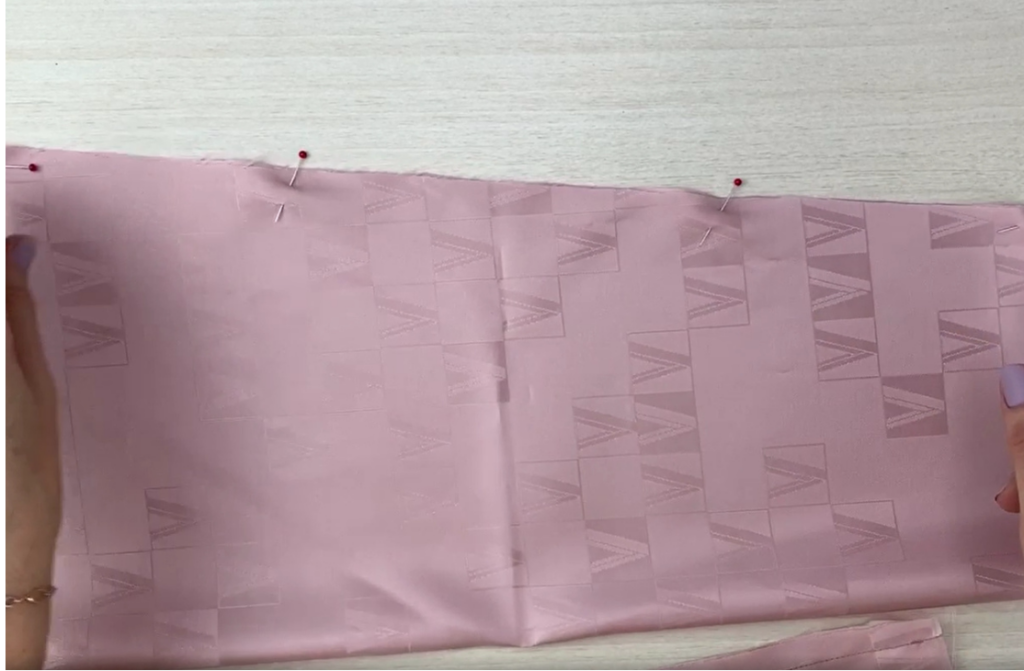
Fold the sleeve in half and stitch. Leave a hole in one of the sleeves for turning the garment inside out.
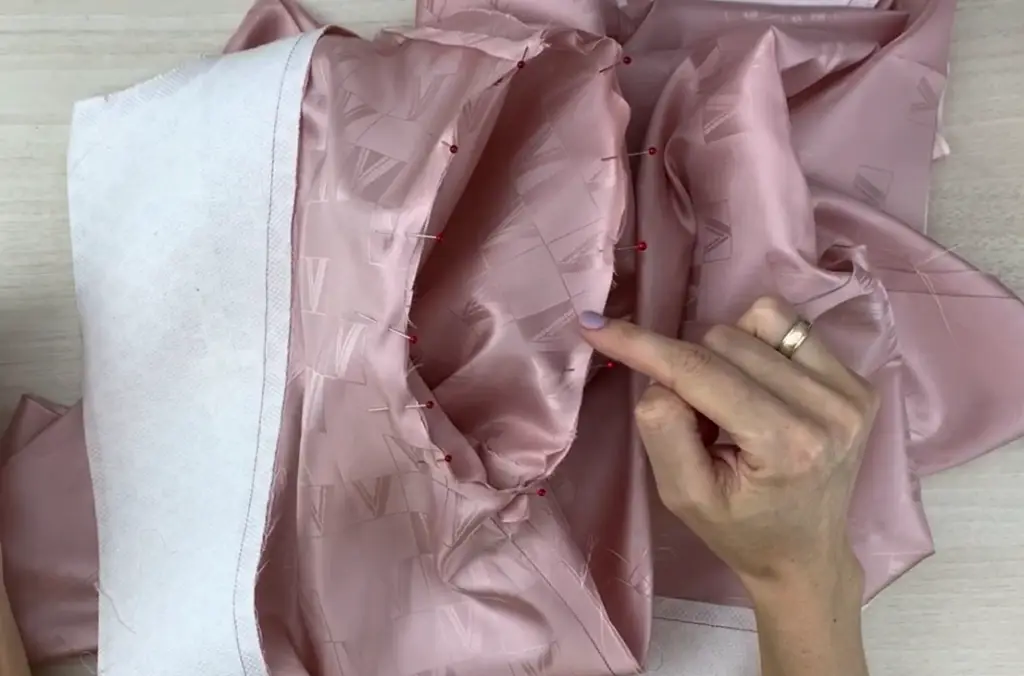
Insert the sleeve into armhole, aligning the notches. Sew in place. Press allowances to the sleeve.
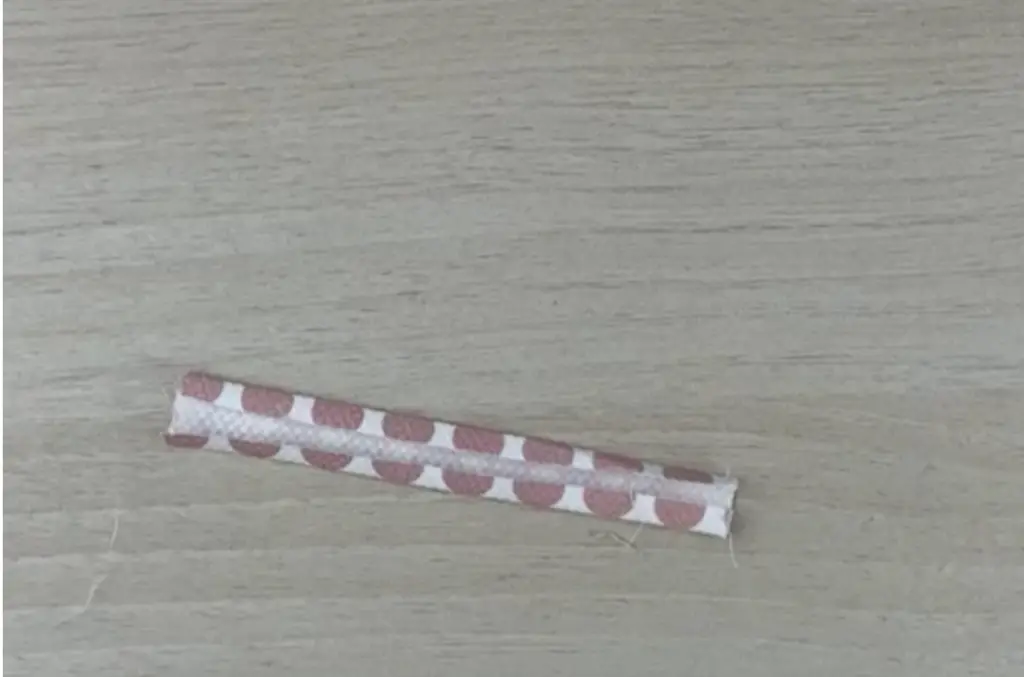
Make a hanger. Cut rectangle from the main fabric. Fold the edges to the center. Fold detail in half and stitch.
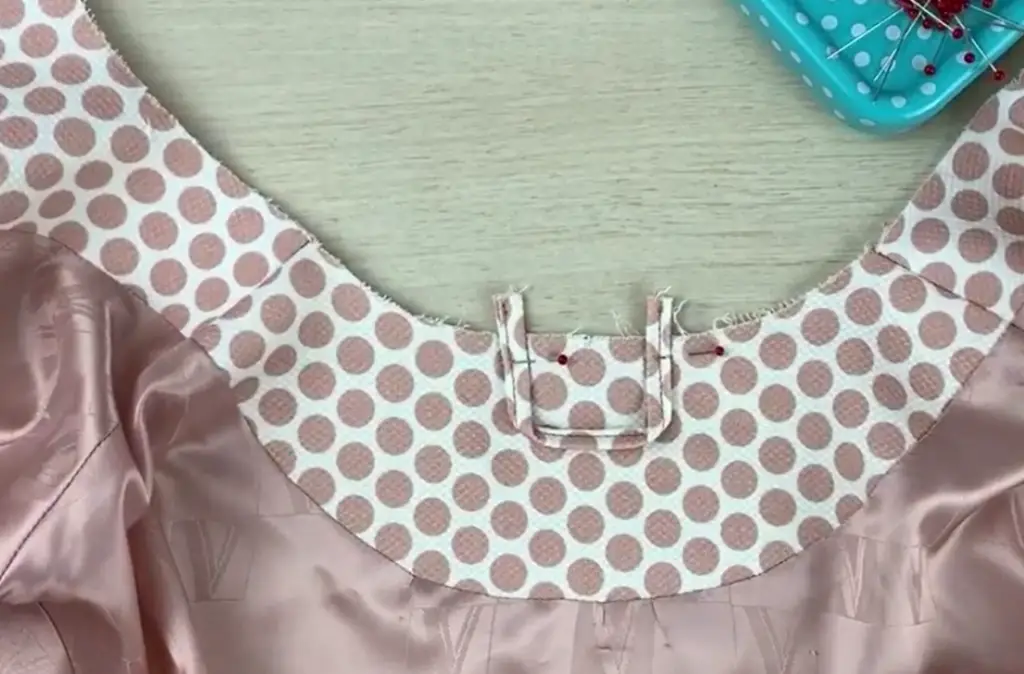
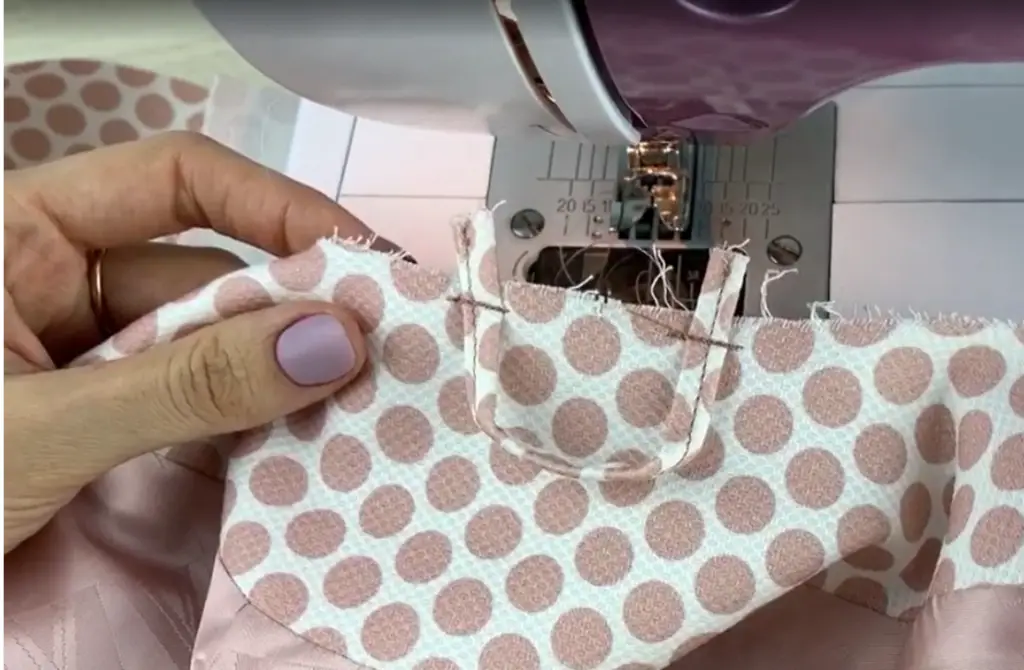
Pin and stitch the hanger to the lining.
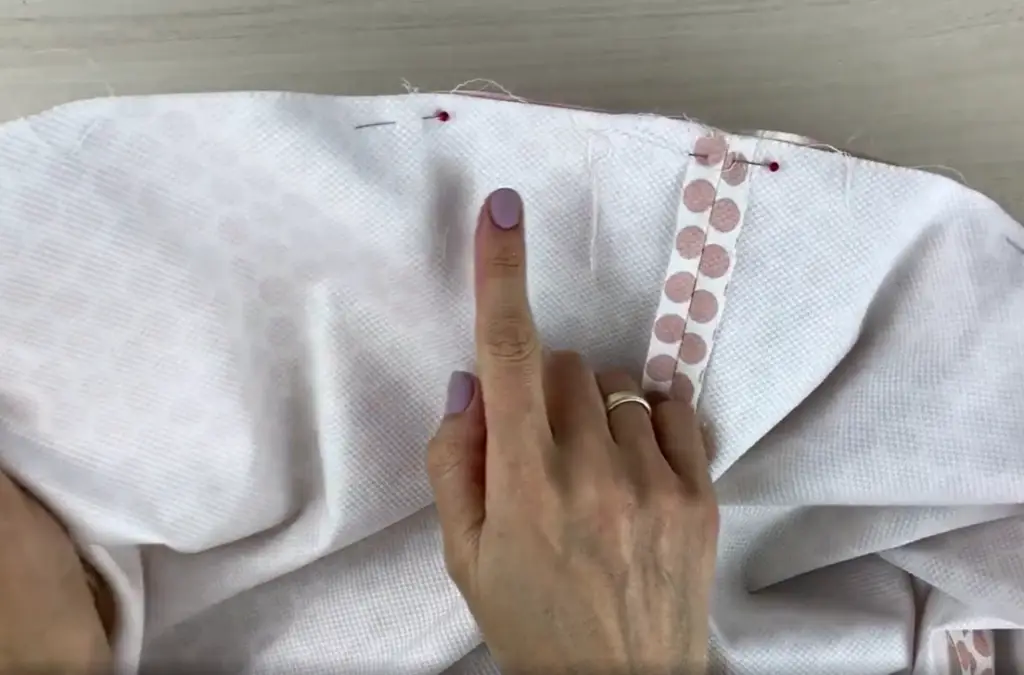
Pin the garment and the lining together with the right sides along the hem.
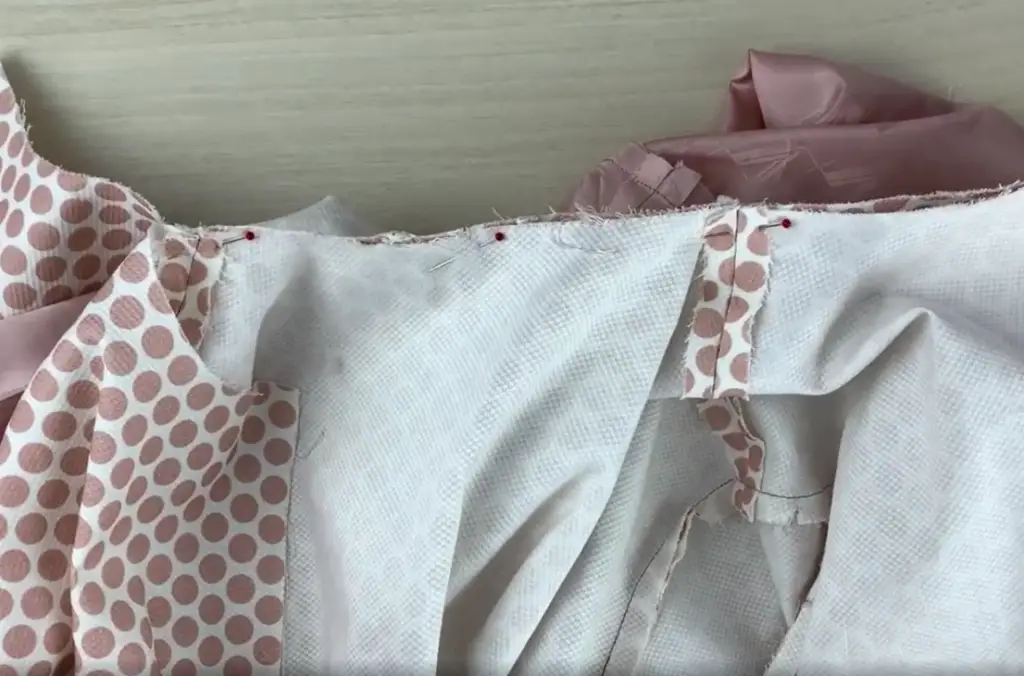
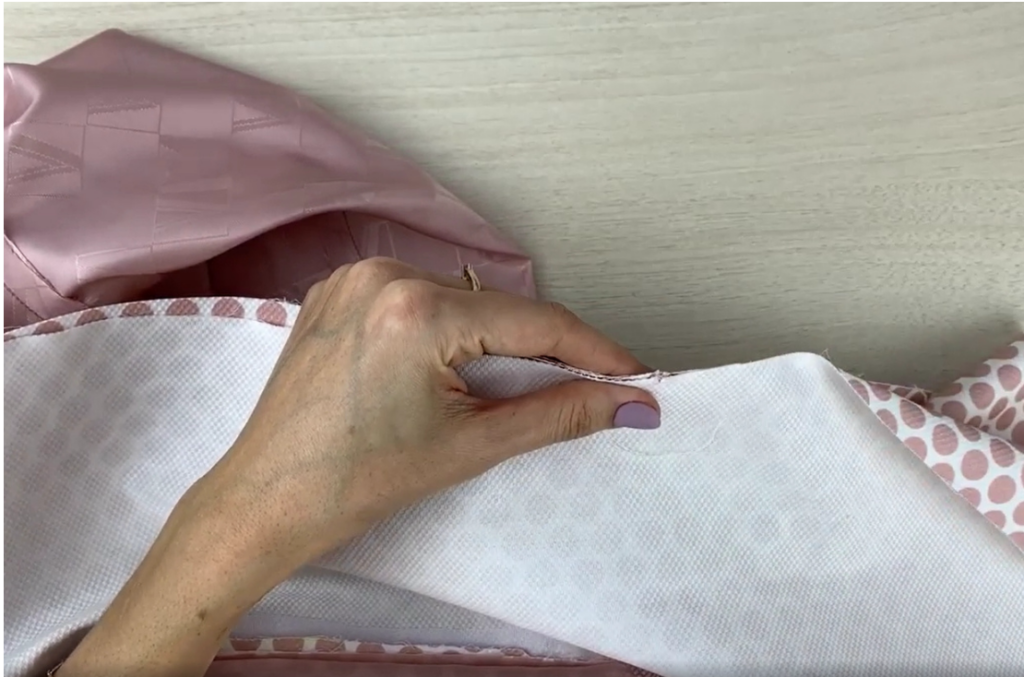
Pin the coat and lining together with the right sides along the neckline, then pin the fronts of the garment and the lining. Align the notches. Fold the hem of the garment making the hem facing. Stitch. Clip corners. Clip curves.
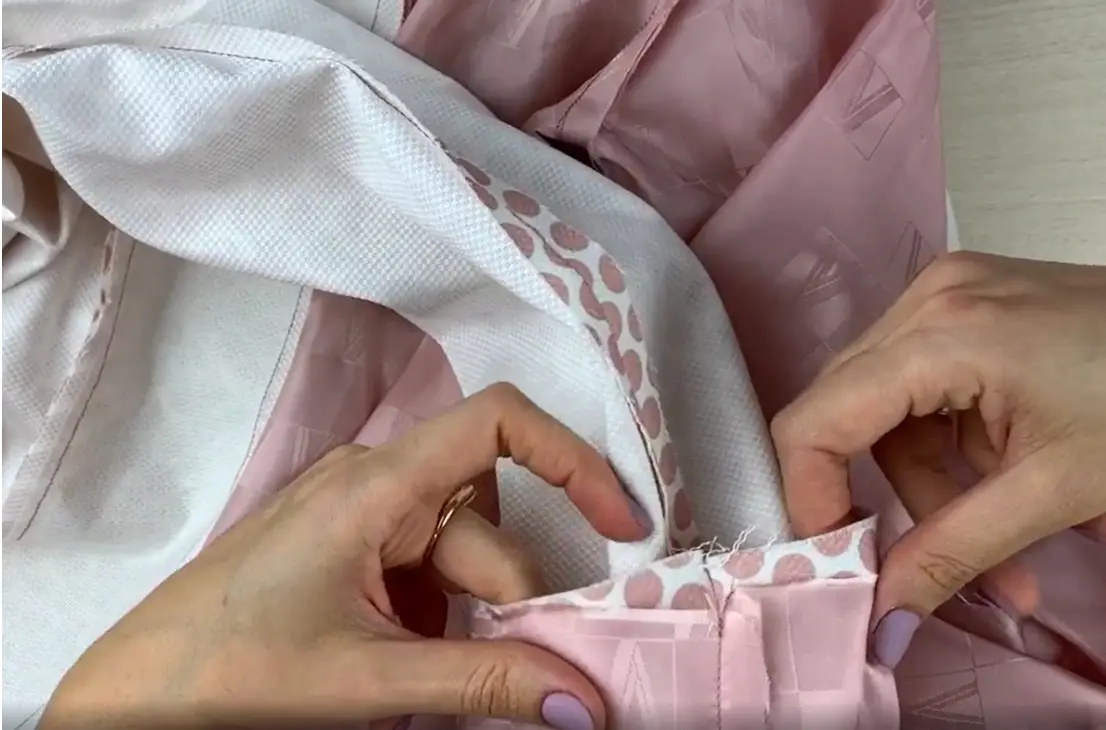
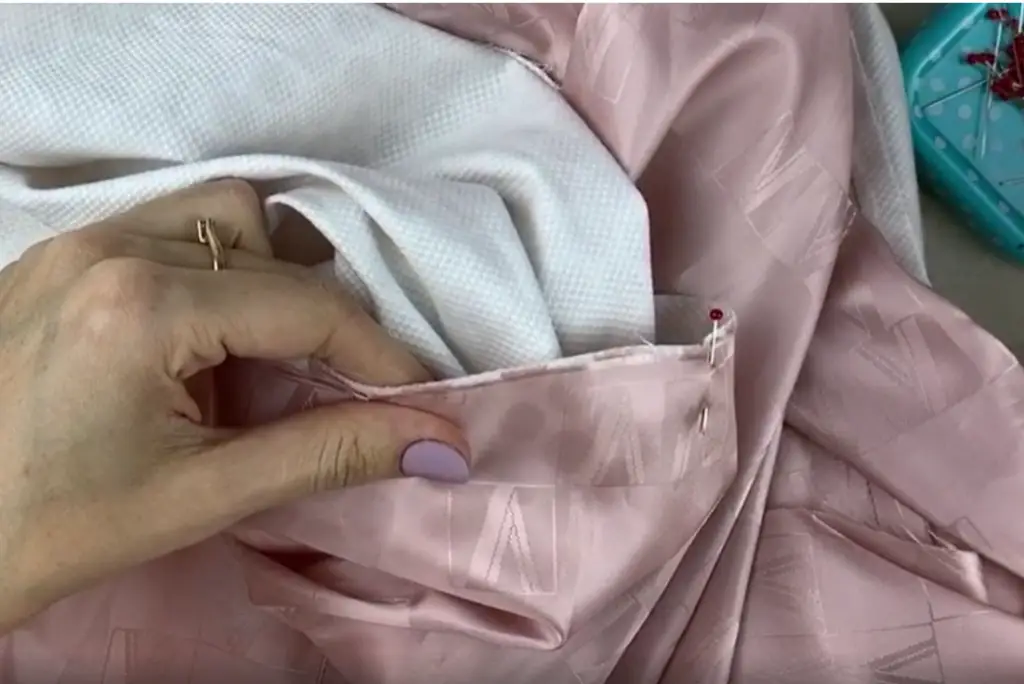
Pin the sleeves of the garment and the lining together with the right sides. Check if the seams aren’t twisted. Stitch.
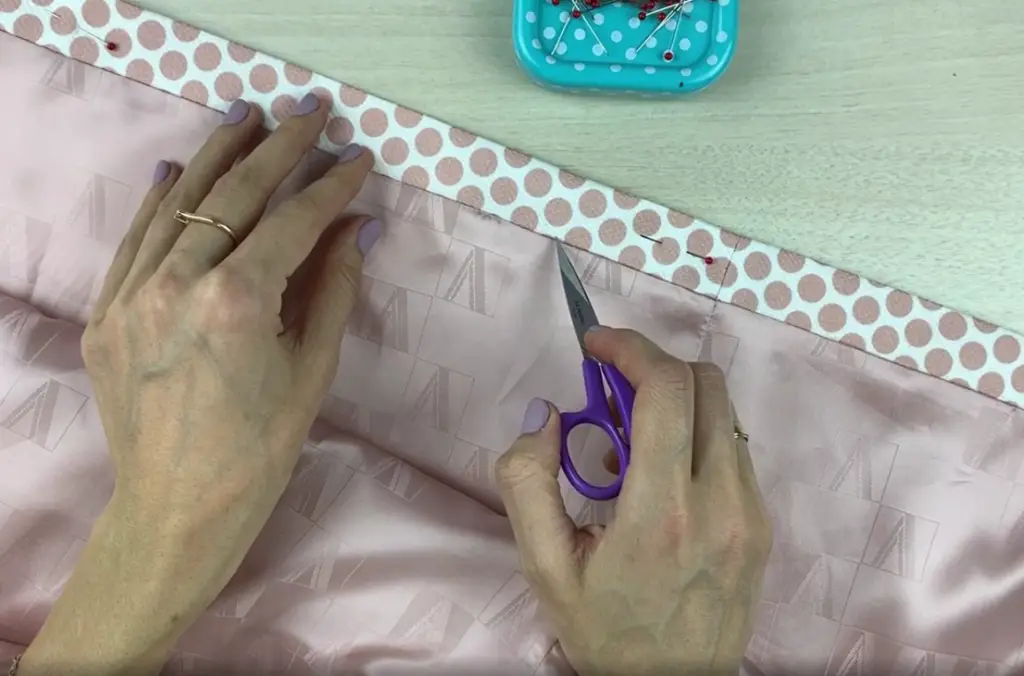
Fix the hem of the coat. You can stitch by sewing machine straight to the seam or use hand catch stitch.
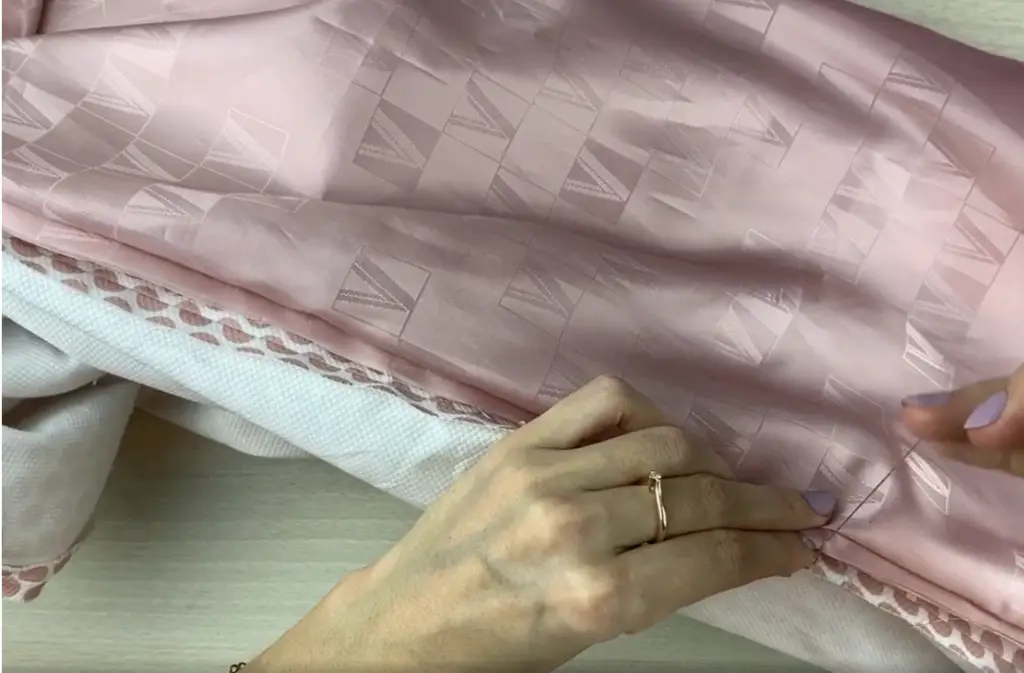
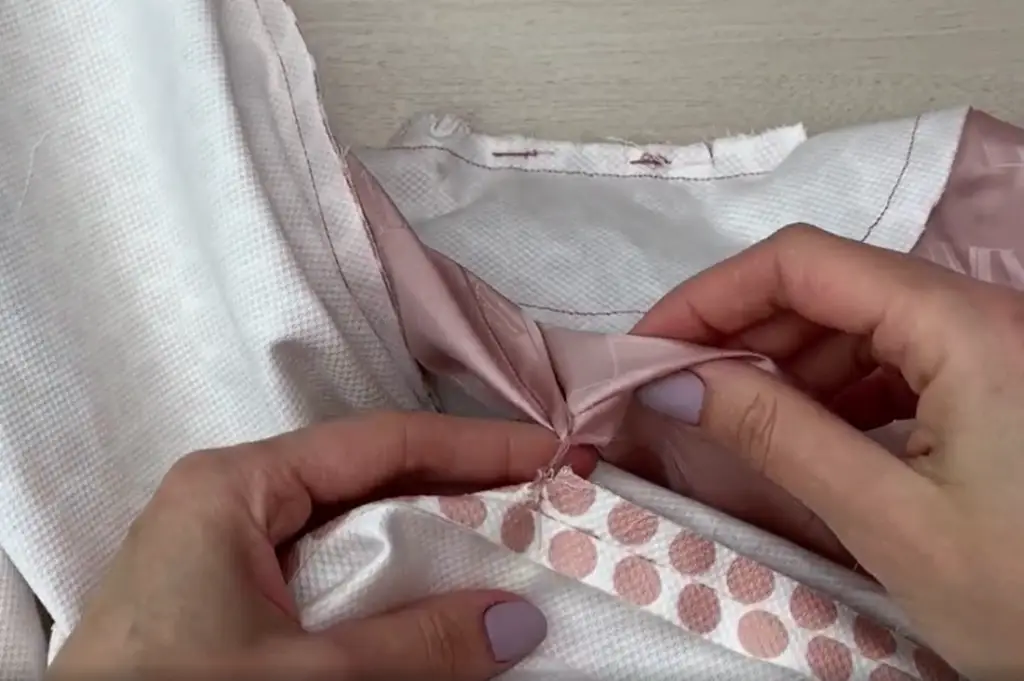
Baste the shoulder allowances of the lining to the garment. Do the same at the side seams.
Turn the garment to the right side and close the hole by invisible stitch.