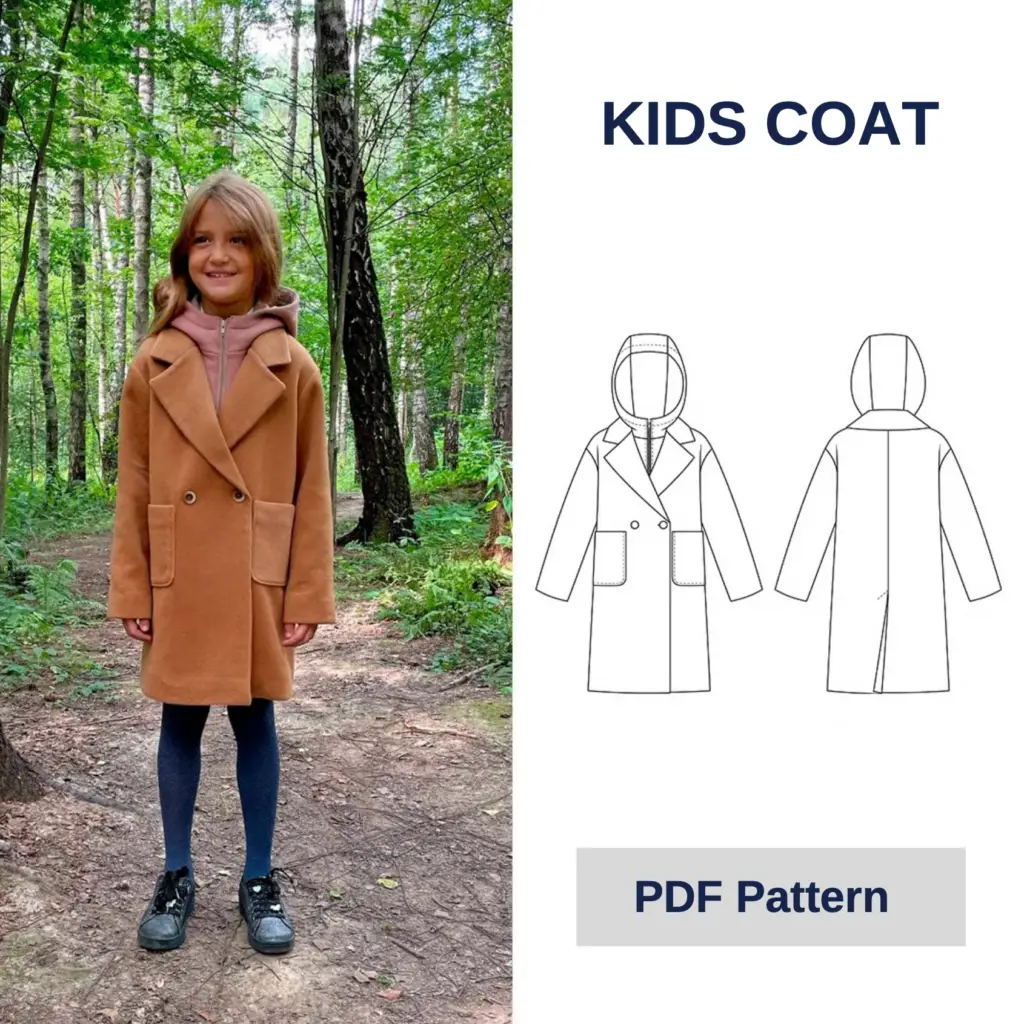
To sew a coat you will need:
For the hood and detachable hood:
| Height | 122 | 128 | 134 | 140 | 146 | 152 | 158 | 164 |
|---|---|---|---|---|---|---|---|---|
| Main fabric |
120 47.2" |
130 51.2" |
140 58.7" |
150 59" |
160 63" |
170 66.9" |
180 70.9" |
185 72.8" |
| Lining fabric |
80 31.5" |
86 33.9" |
92 36.2" |
98 38.6" |
104 40.9" |
110 43.3" |
116 45.7" |
122 48" |
| Tight knit fabric |
50 19.7" |
50 19.7" |
50 19.7" |
55 21.6" |
55 21.6" |
60 23.6" |
60 23.6" |
60 23.6" |
|
Lightweight knit fabric |
50 19.7" |
50 19.7" |
50 19.7" |
55 21.6" |
55 21.6" |
60 23.6" |
60 23.6" |
60 23.6" |
| Interfacing |
40 15.7" |
40 15.7" |
40 15.7" |
40 15.7" |
40 15.7" |
40 15.7" |
40 15.7" |
40 15.7" |
| Height | 122 | 128 | 134 | 140 | 146 | 152 | 158 | 164 |
|---|---|---|---|---|---|---|---|---|
|
Center zipper length |
40 15.7" |
40 15.7" |
45 17.7" |
45 17.7" |
45 17.7" |
50 19.7" |
50 19.7" |
50 19.7" |
|
Side zipper length |
35 13.8" |
35 13.8" |
40 15.7" |
40 15.7" |
40 15.7" |
45 17.7" |
45 17.7" |
45 17.7" |
| Height | 122 | 128 | 134 | 140 | 146 | 152 | 158 | 164 |
|---|---|---|---|---|---|---|---|---|
|
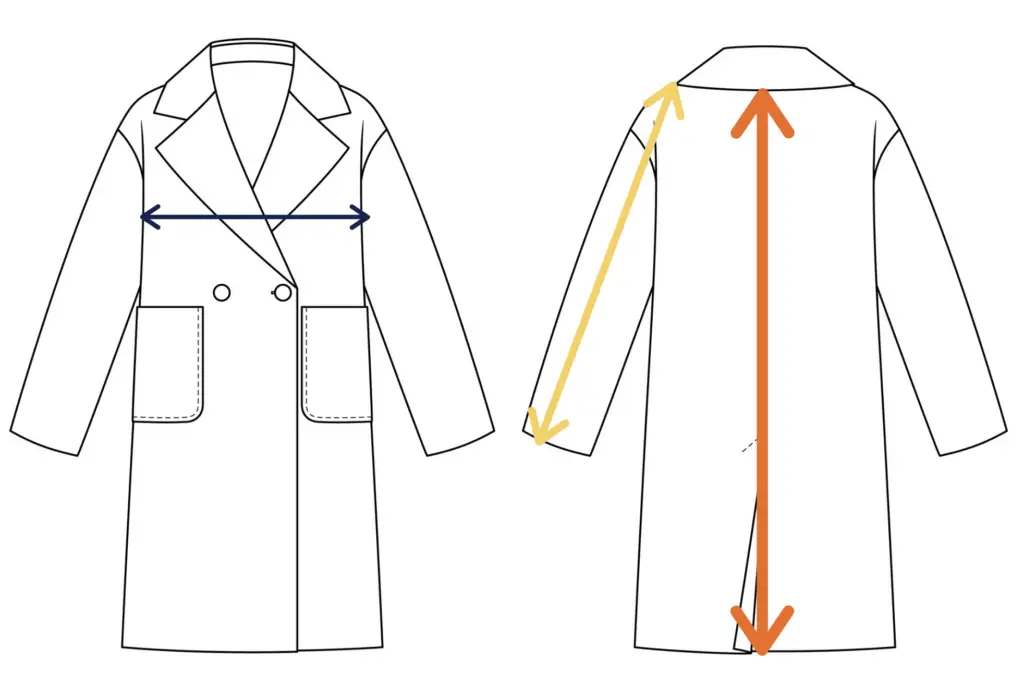
Chest width (half cgest) |
40.5 15.9" |
42 16.5" |
43.5 17.1" |
45 17.7" |
46.5 18.3" |
48 18.9" |
49.5 19.5" |
51 20.1" |
|
Center back length |
59.5 23.4" |
63 24.8" |
66.5 26.2" |
70 27.6" |
74 29.1" |
77.5 30.5" |
81 31.9" |
85 33.5" |
|
Length shoulder + sleeve (from the neck point) |
52 20.5" |
54.5 21.5" |
57 22.4" |
59.5 23.4" |
62 24.4" |
64.5 25.4" |
67 26.4" |
69.5 27.4" |
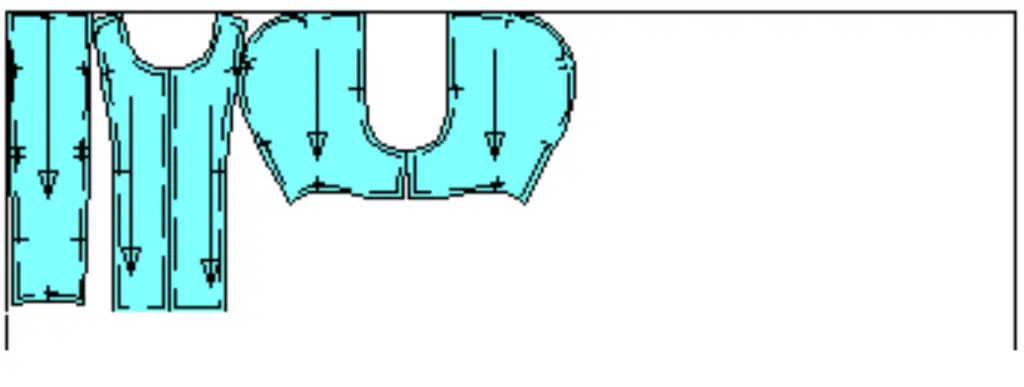
Width of fabric – 1.5 m (59.05 in)
Height 122
Height 164
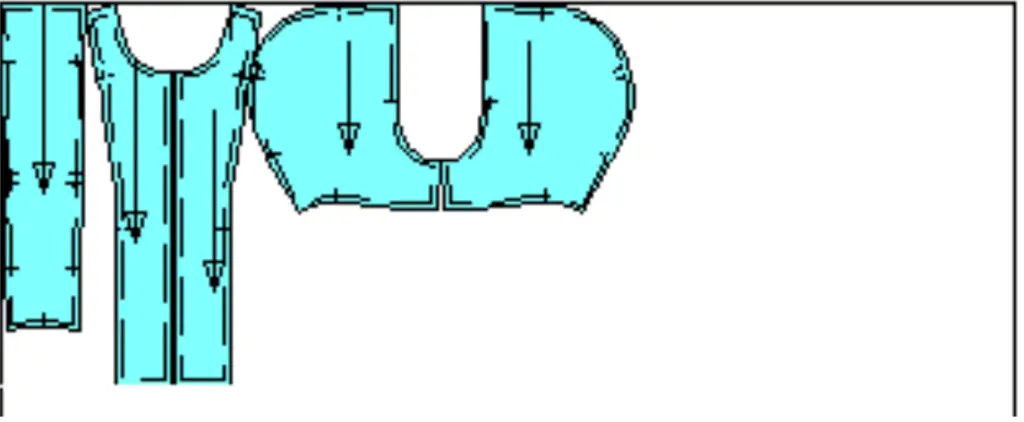
Width of fabric – 1.5 m (59.05 in)
Height 122
Height 164
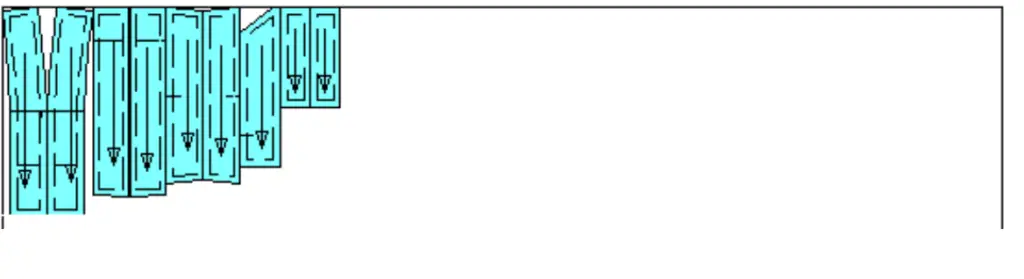
Width of fabric – 1.5 m (59.05 in)
Height 122
Height 164
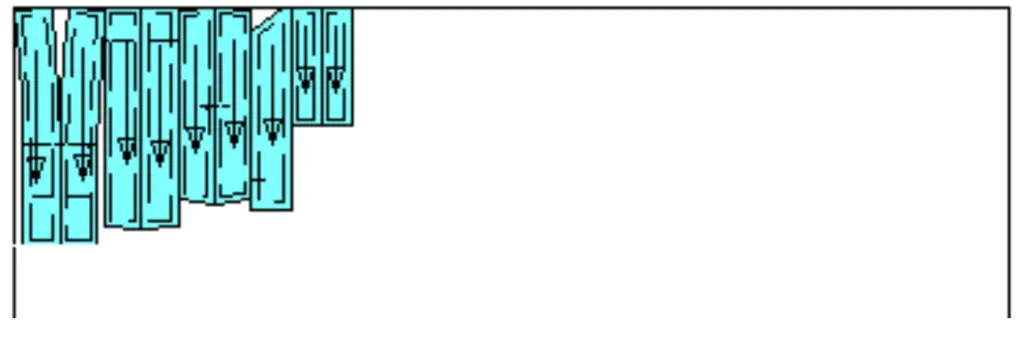
Width of fabric – 1.5 m (59.05 in)
Height 122
Height 164
Width of fabric – 1.5 m (59.05 in)
Height 122
Height 164
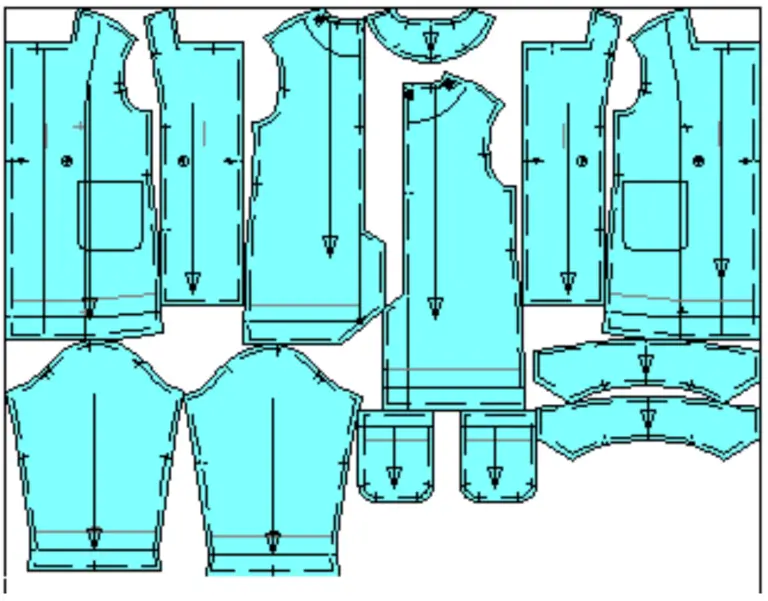
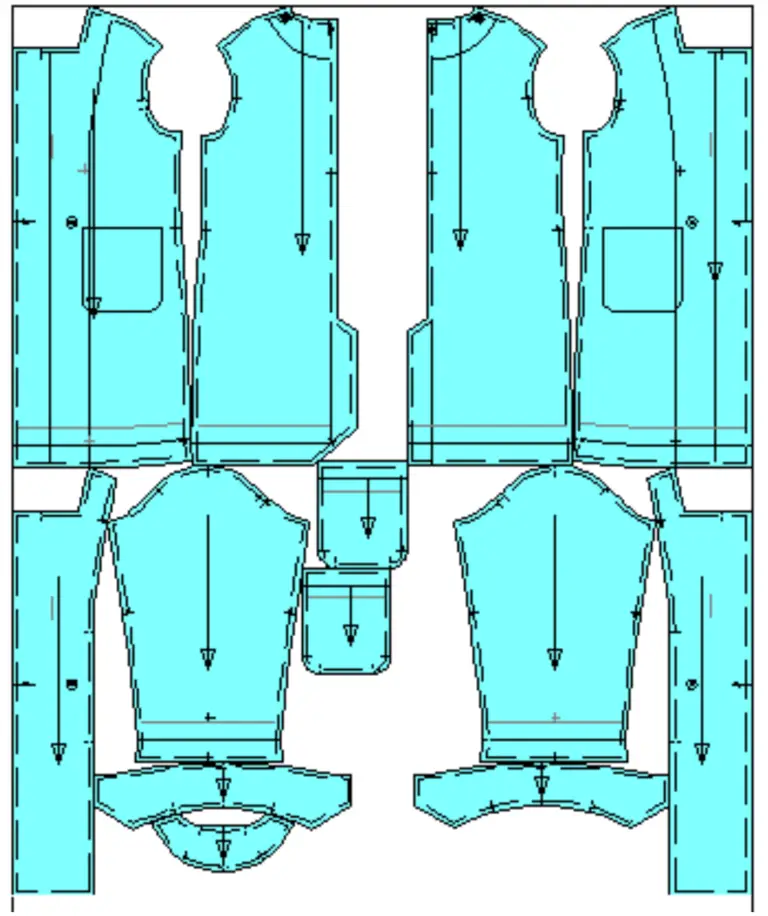
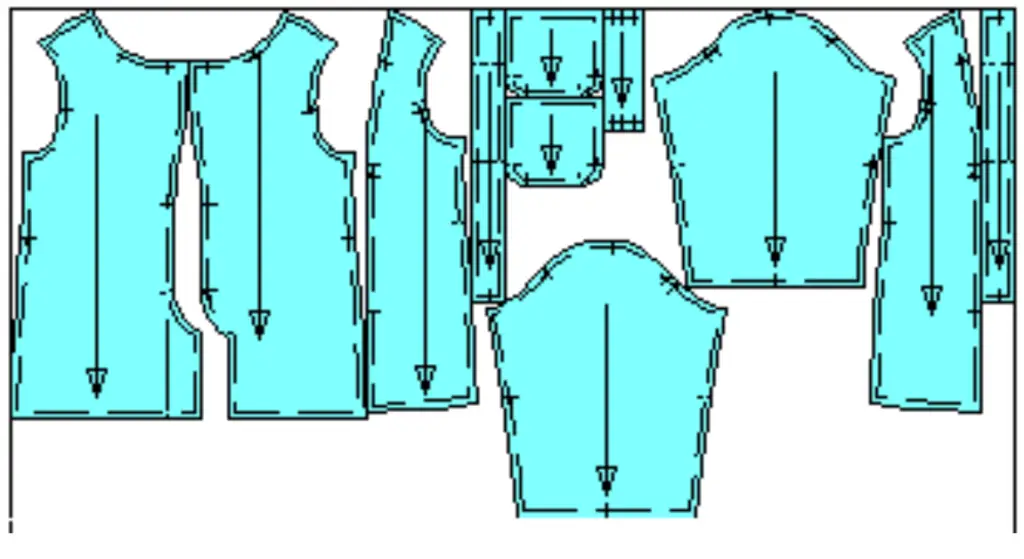
Attention! All our patterns already contain 1 cm / 0.39 in seam allowances.
Main fabric
| № | Patterns |
Number of patterns |
Number of pieces |
|---|---|---|---|
| 1 | Left back | 1 | 1 |
| 2 | Right back | 1 | 1 |
| 3 | Front | 1 | 2 |
| 4 | Sleeve | 1 | 2 |
| 5 | Front facing | 1 | 2 |
| 6 | Upper collar | 1 | 1 |
| 7 | Bottom collar | 1 | 1 |
| 8 | Back facing | 1 | 1 |
| 9 | 1 | 2 |
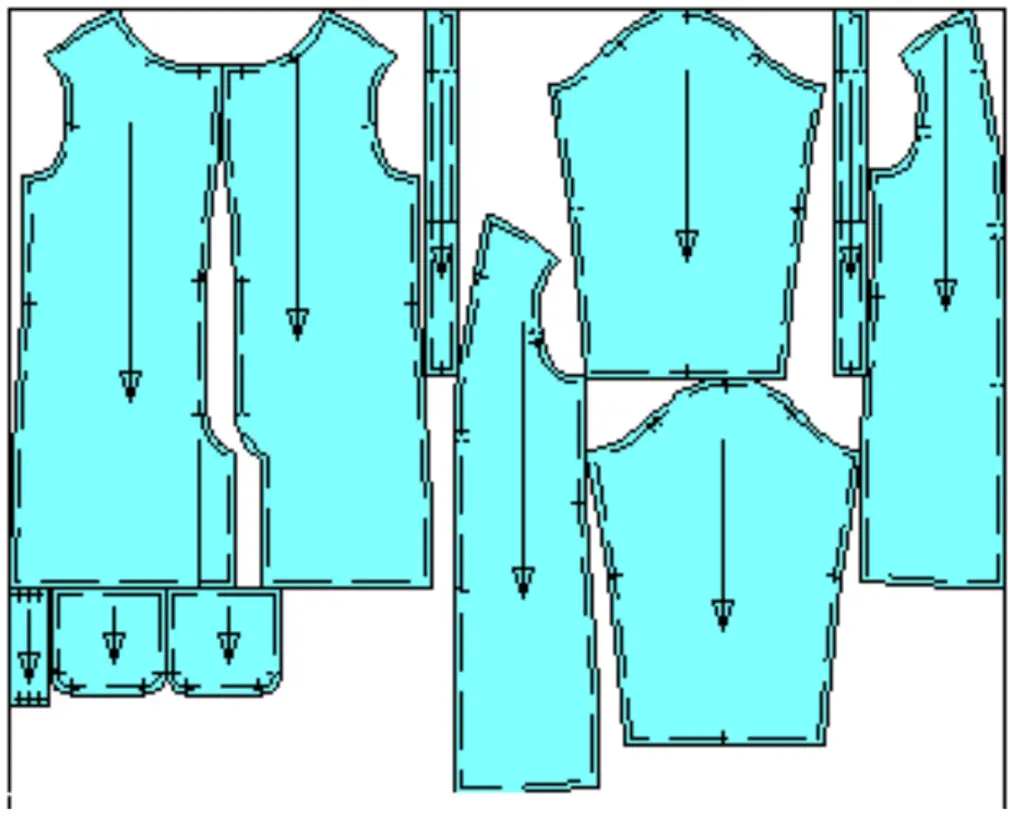
Lining fabric
| № | Pattern |
Number of patterns |
Number of pieces |
|---|---|---|---|
| 10 | Pocket lining | 1 | 2 |
| 11 | Buttonholes | 1 | 1 |
| 12 | Right back | 1 | 1 |
| 13 | Left back | 1 | 1 |
| 14 | Front | 1 | 2 |
| 15 | Sleeve | 1 | 2 |
| 16 | Zipper underlay | 1 | 2 |
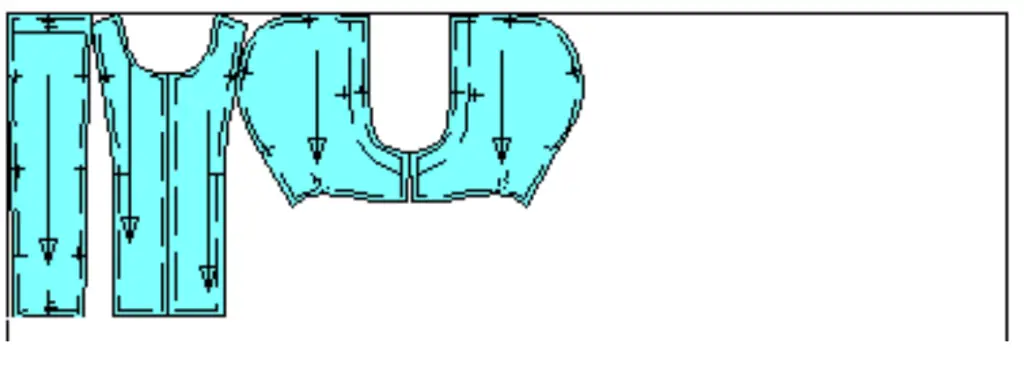
Tight knit fabric
| № | Pattern |
Number of patterns |
Number of pieces |
|---|---|---|---|
| 17 | Detachable hood | 1 | 2 |
| 18 | Outer Center hood | 1 | 1 |
| 19 | Outer side hood | 1 | 2 |
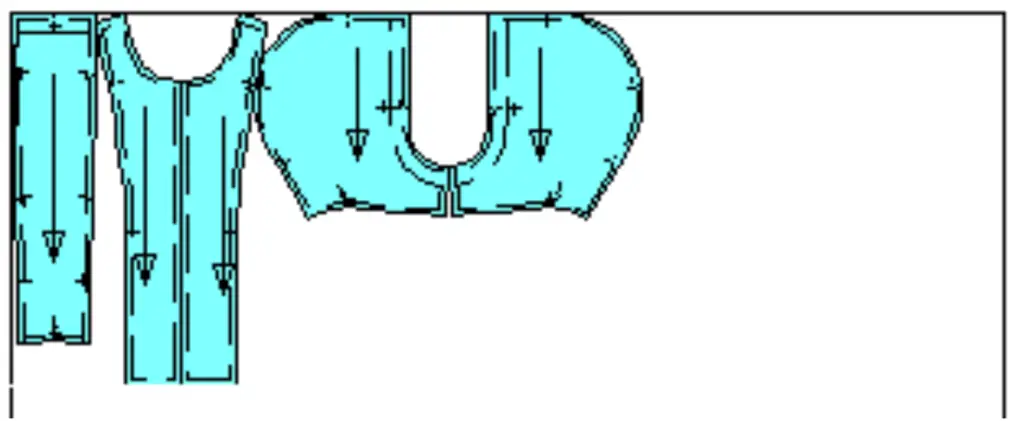
Lightweight knit fabric
| № | Pattern |
Number of patterns |
Number of pieces |
|---|---|---|---|
| 20 | Detachable hood lining | 1 | 2 |
| 21 | Inner center hood | 1 | 1 |
| 22 | Inner side hood | 1 | 2 |
Interfaicing
| № | Pattern |
Number of patterns |
Number of pieces |
|---|---|---|---|
| 23 | Vent | 1 | 1 |
| 24 | Back bottom hem | 1 | 2 |
| 25 | Front bottom hem | 1 | 2 |
| 26 | Sleeve bottom hem | 1 | 2 |
| 27 | Pocket bottom hem | 1 | 2 |
Attention! All our patterns already contain 1 cm / 0.39 in seam allowances.
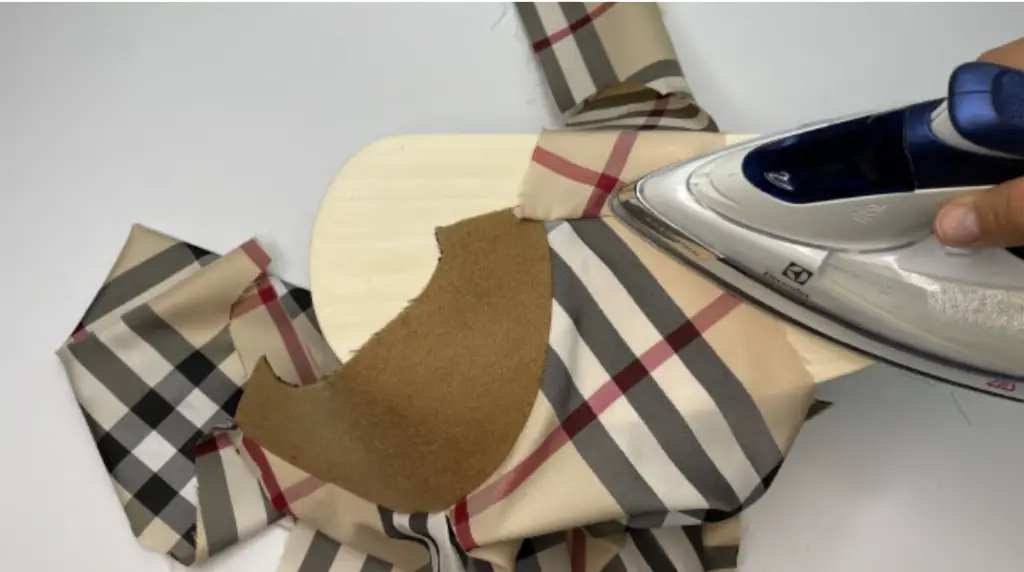
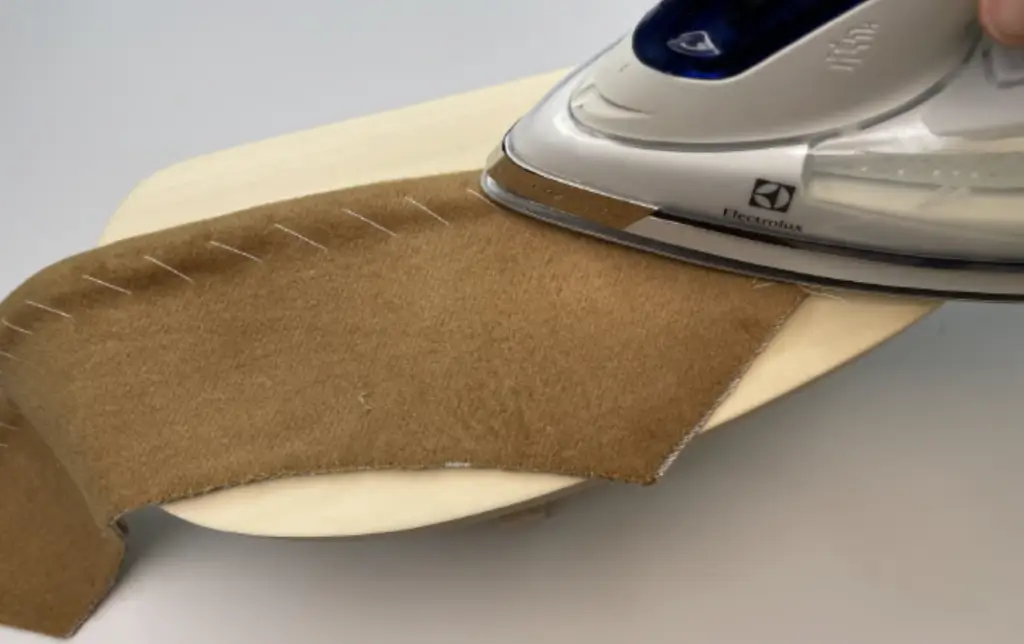
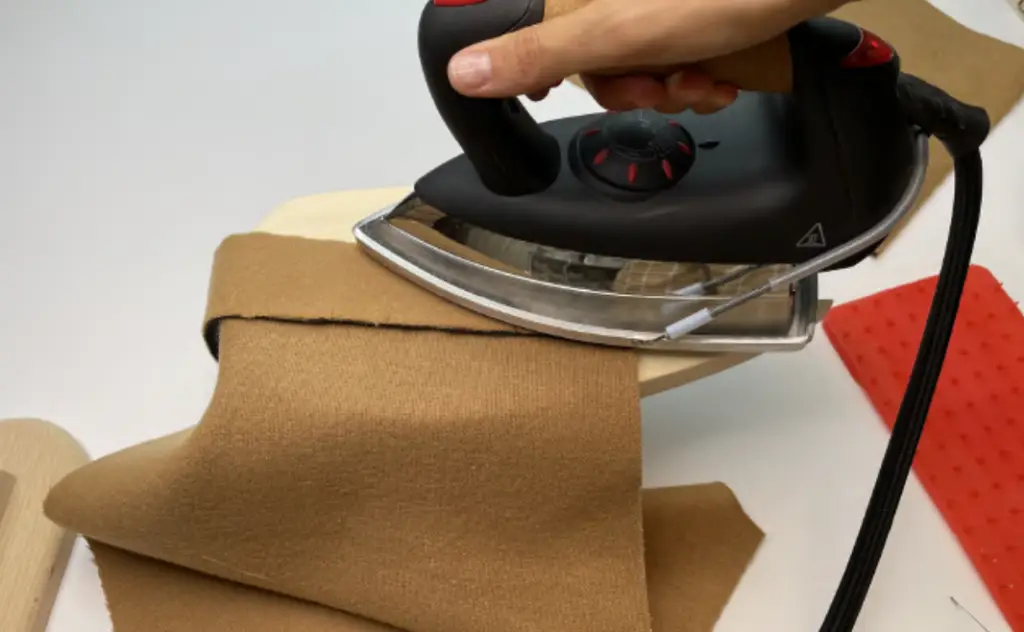
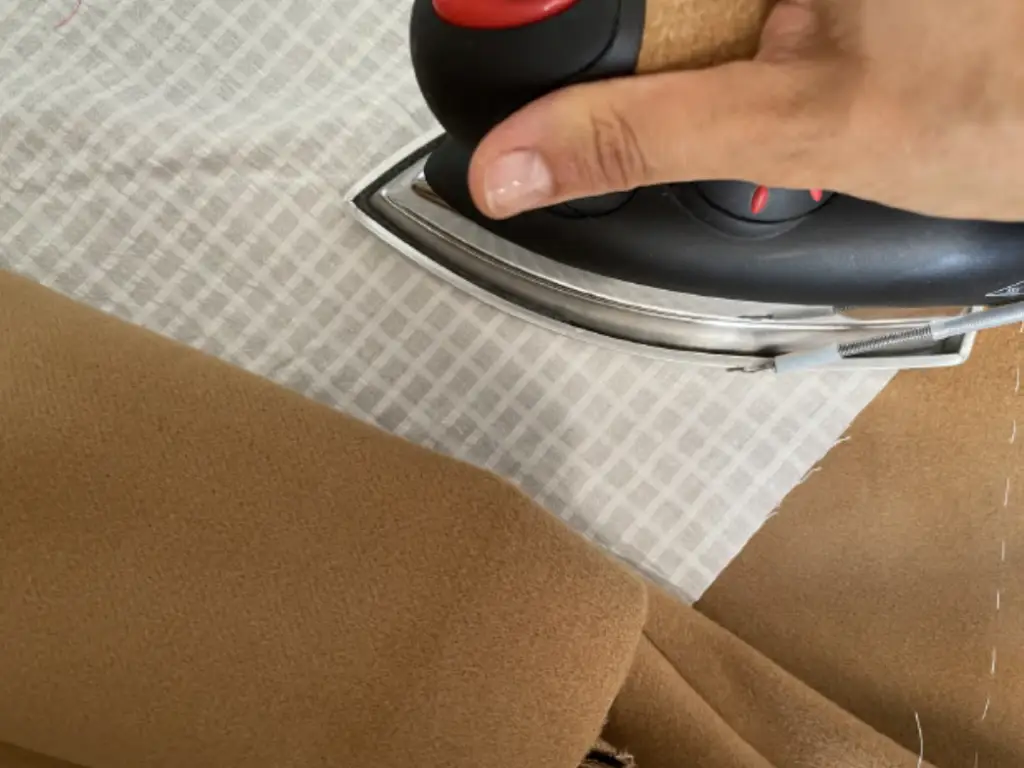
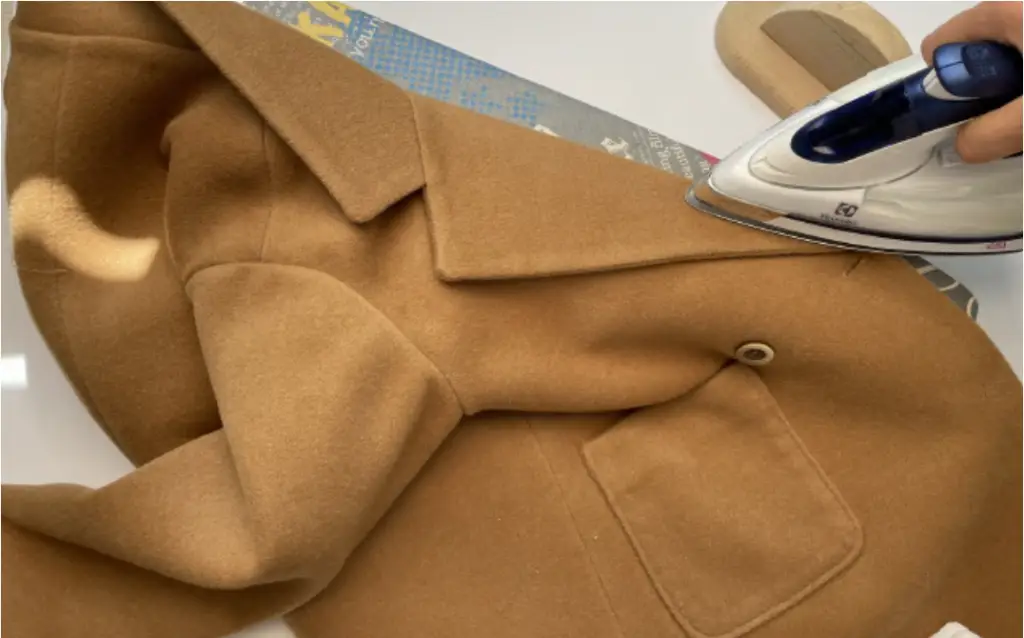
Iron the interfacing to the front facing details, collar details, back facing detail.
Using sewing pattern details, also iron the interfacing to the bottom hem of the sleeves, front and back panels, outer vent, upper hem on the pocket pieces.
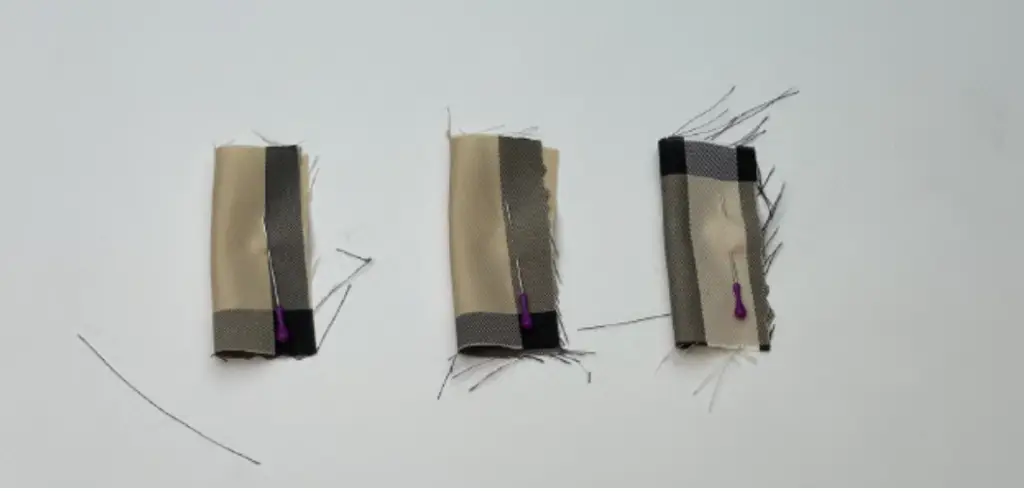
Iron the interfacing to the place of the buttonholes on the side and front hood details.
Fuse interfacing tape to the armholes and shoulder edges.
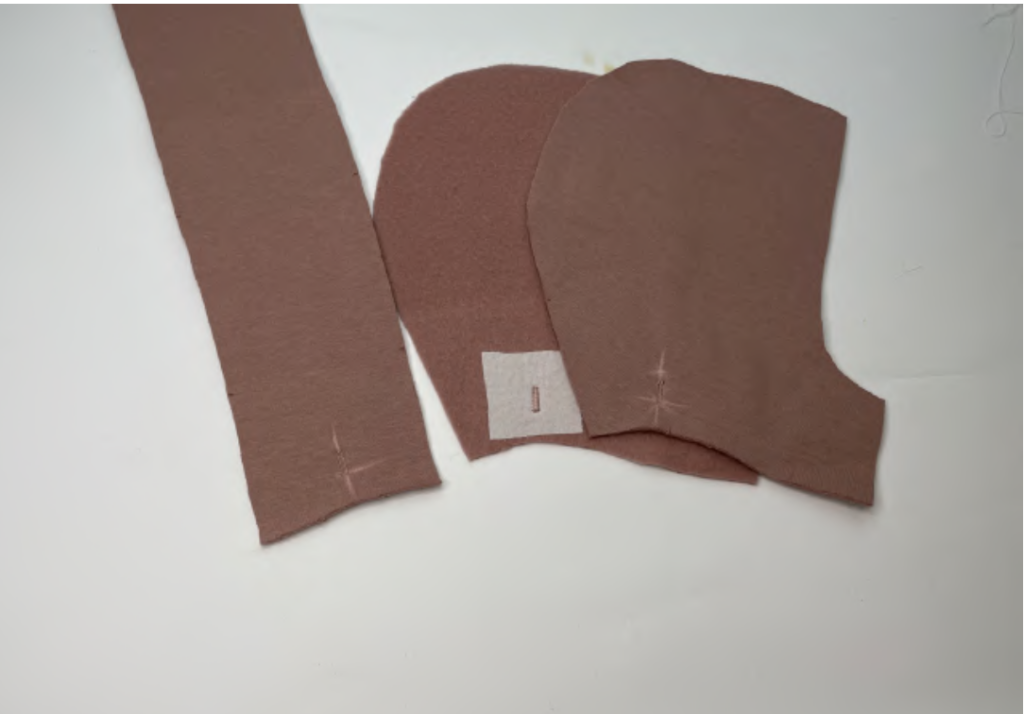
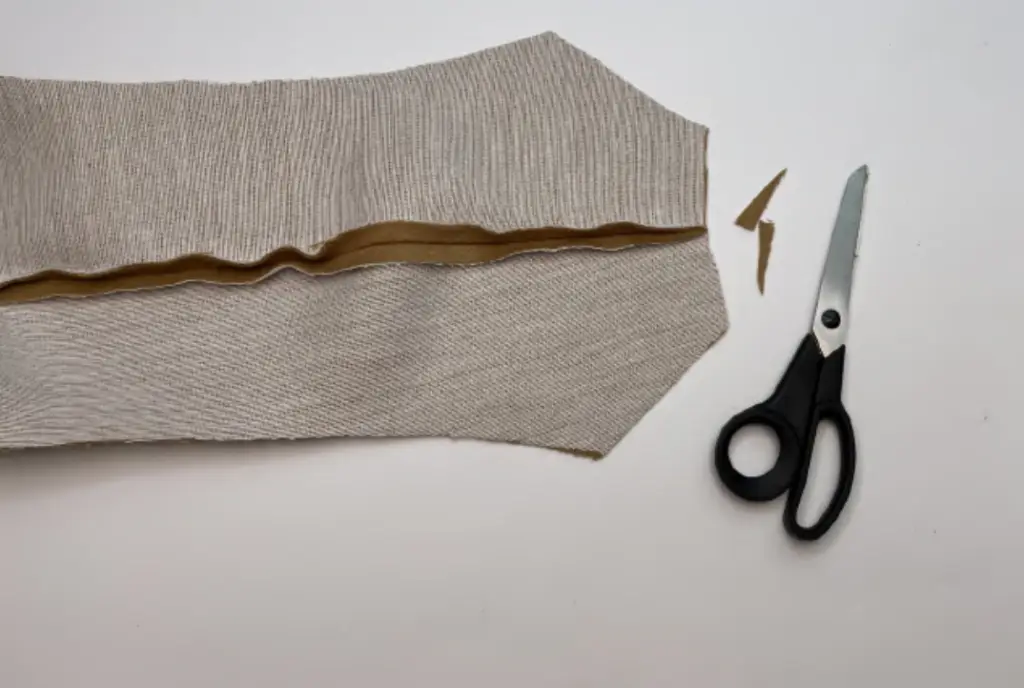
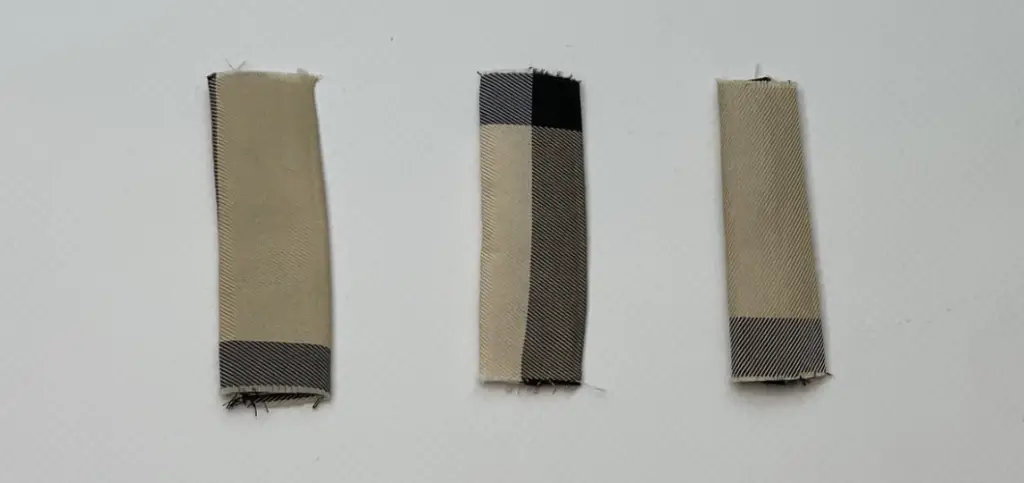
DETACHABLE HOOD. Sew buttonholes on the side and front hood details. Cut it.
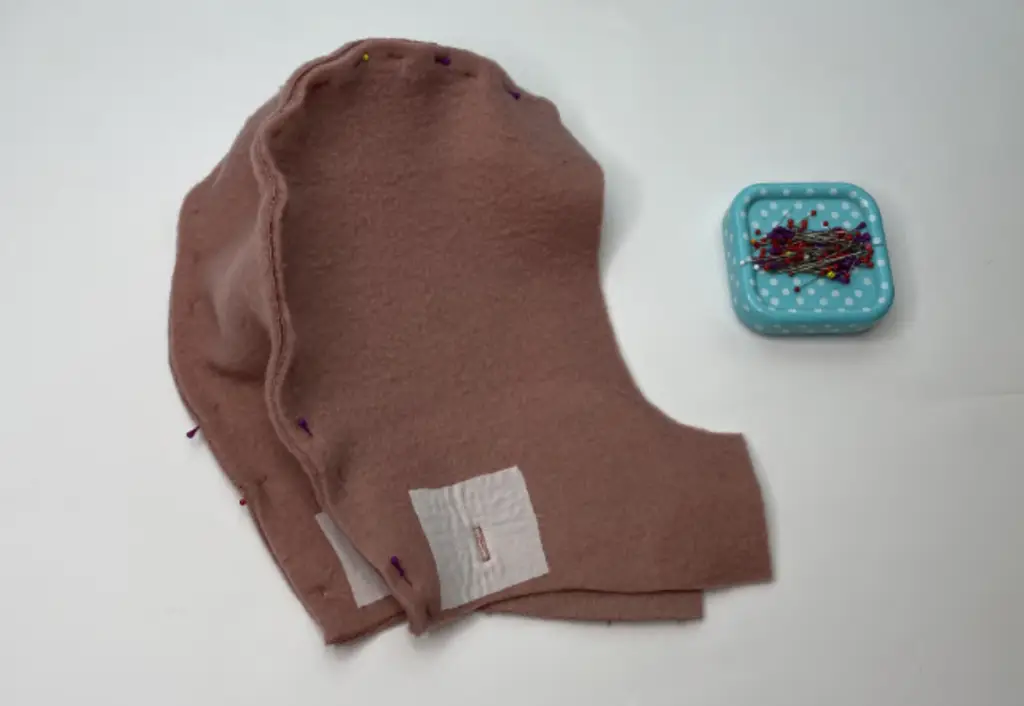
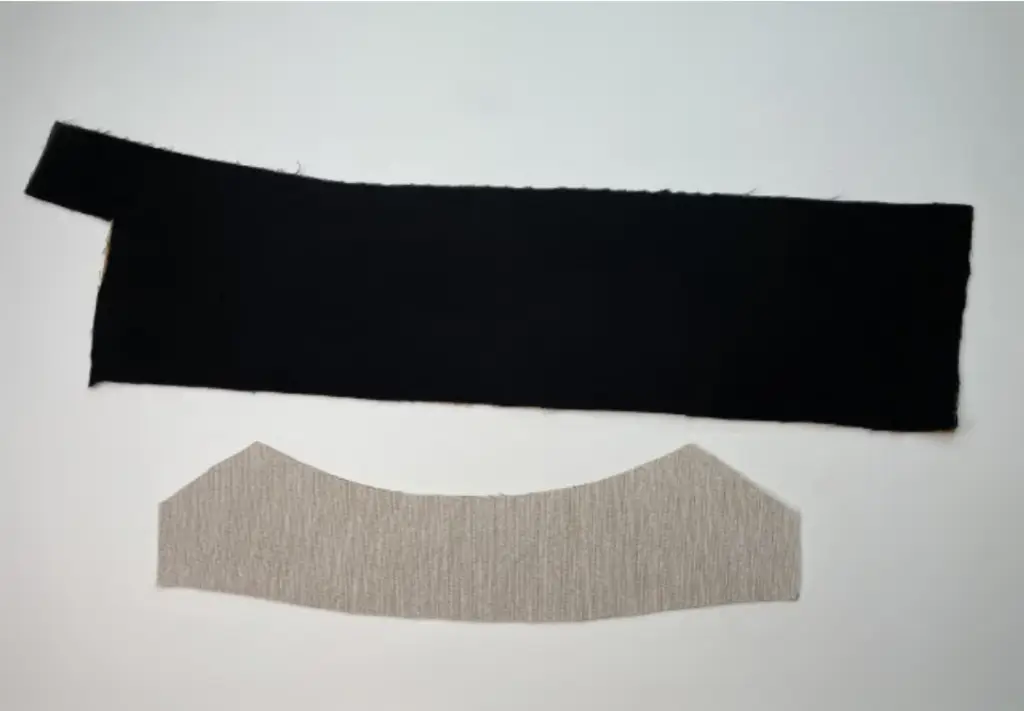
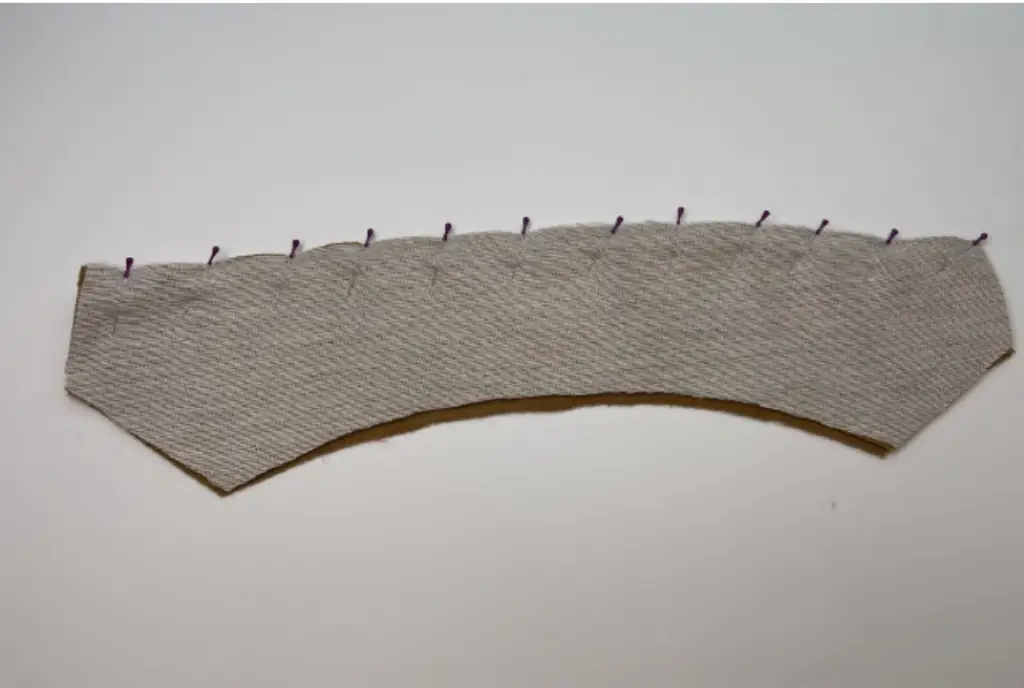
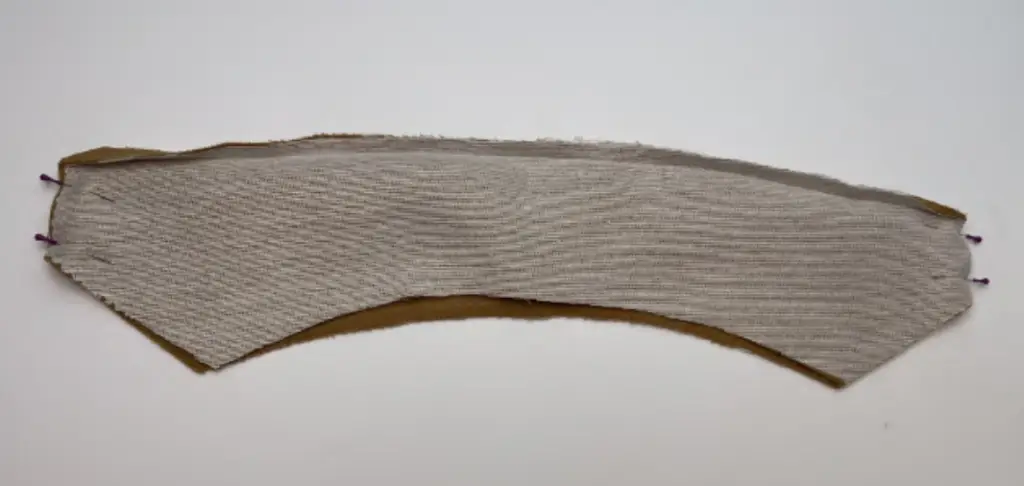
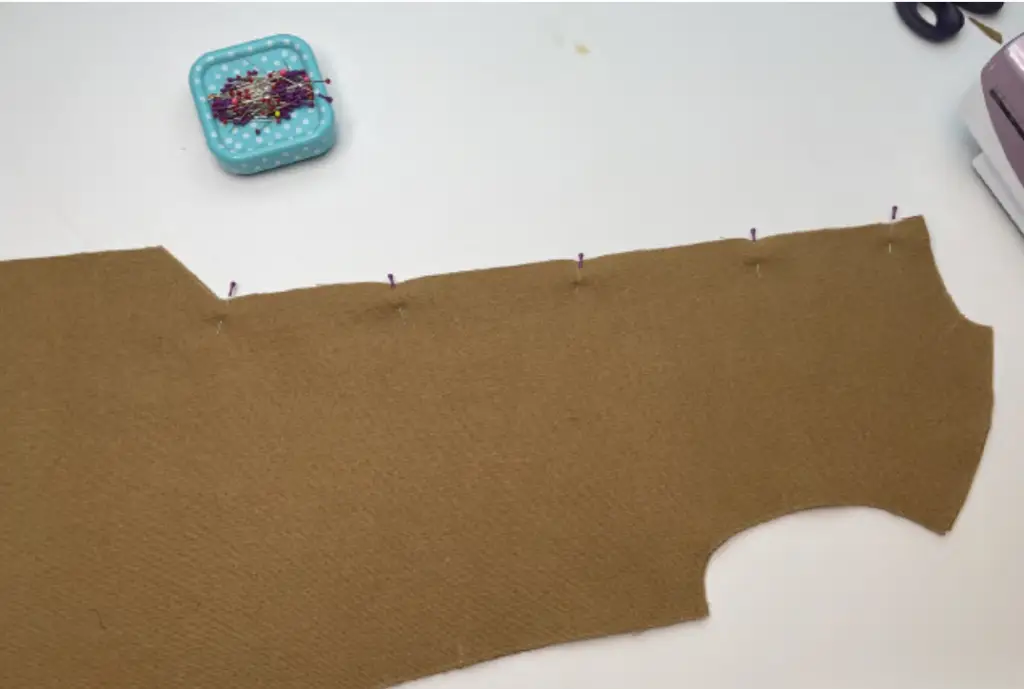
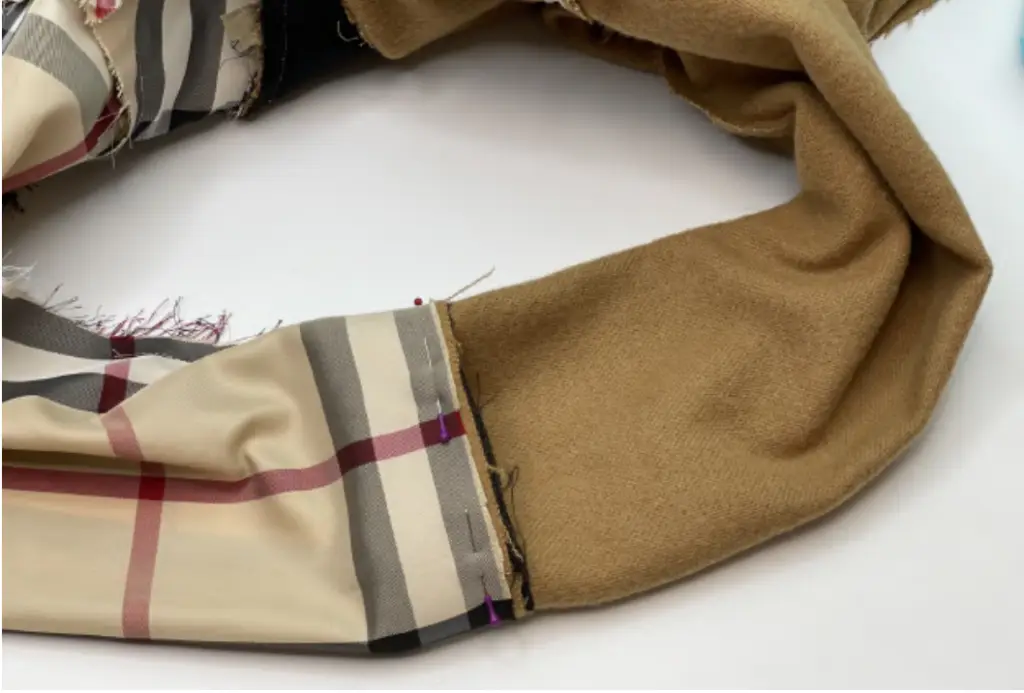
Pin the side hood details to the center hood detail (from the main fabric) with the right sides together, aligning the notches. Serge it.
Press the seam allowances to the side hood.


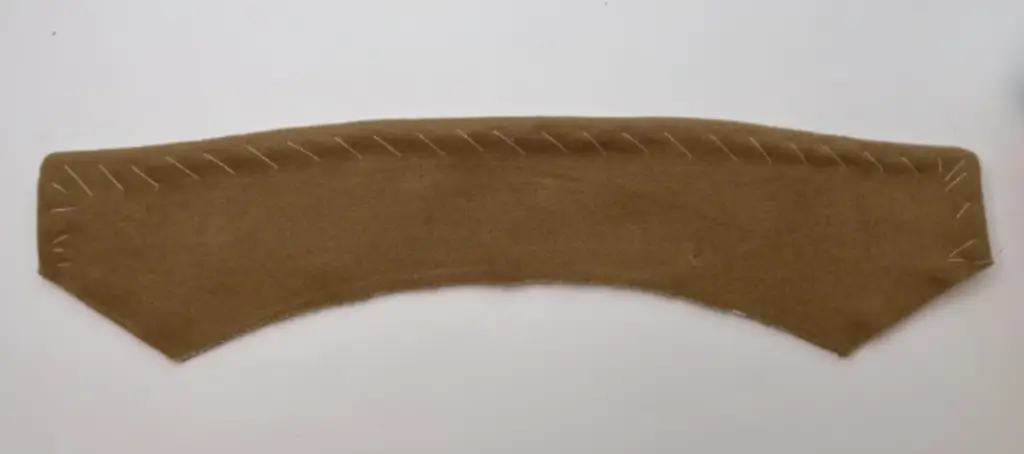
Pin the side hood details to the center hood detail (from the lining fabric) with the right sides together, aligning the notches. Serge it.
Press the seam allowances to the center hood.

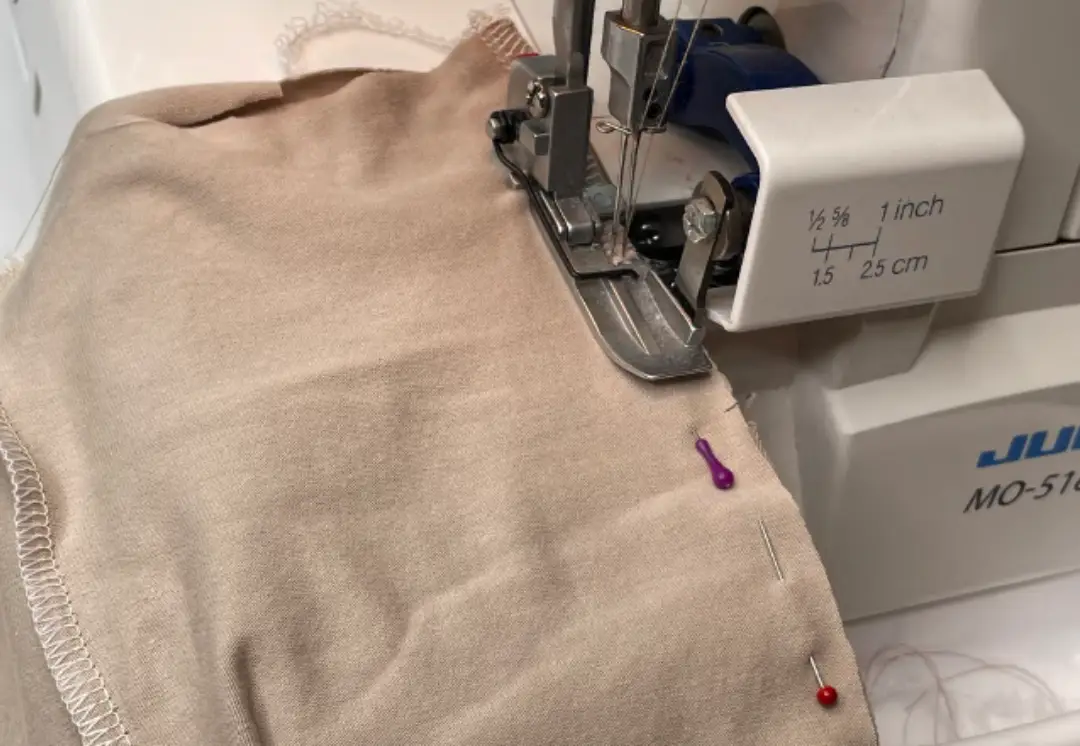
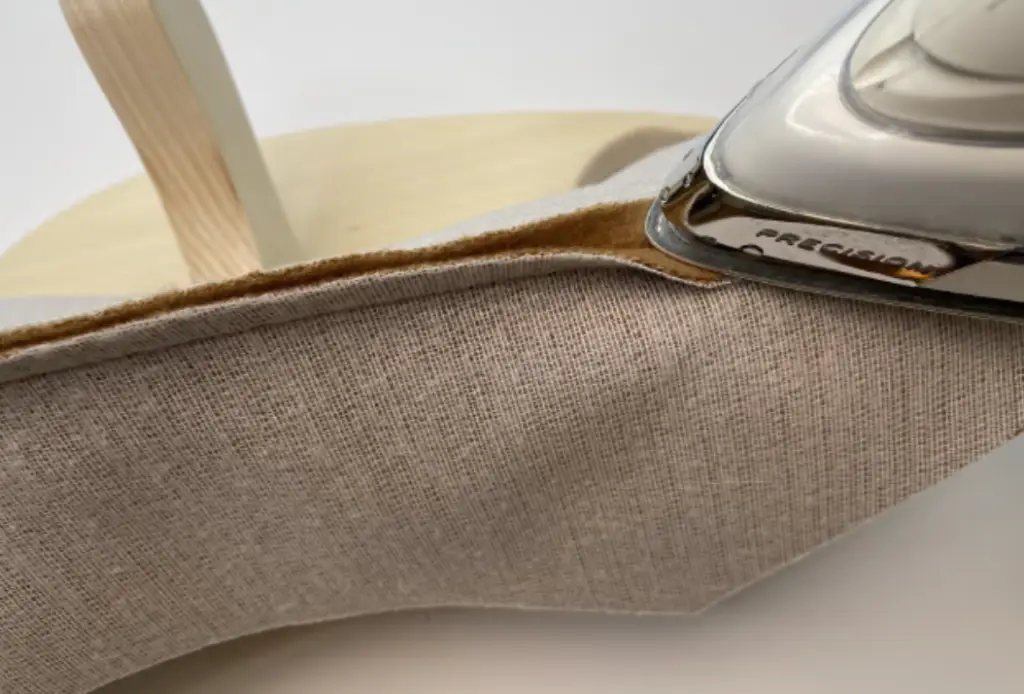
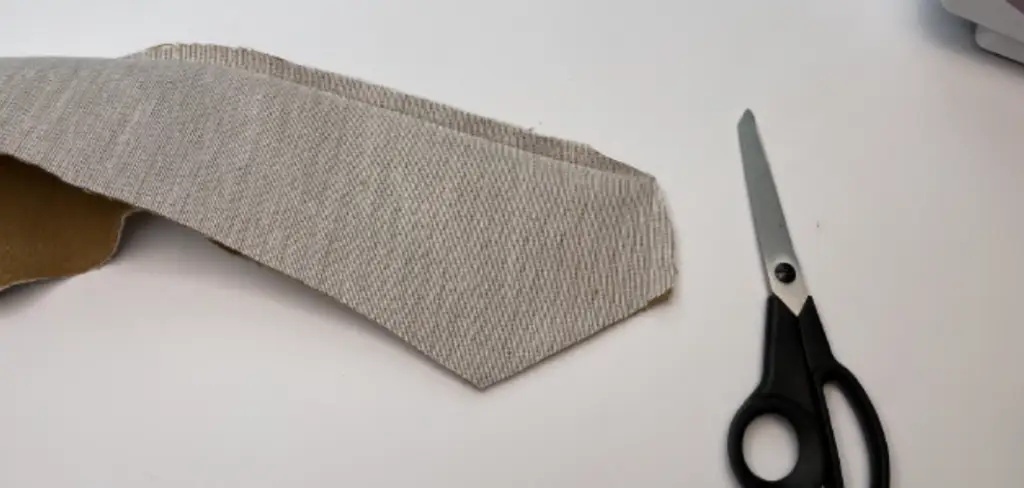
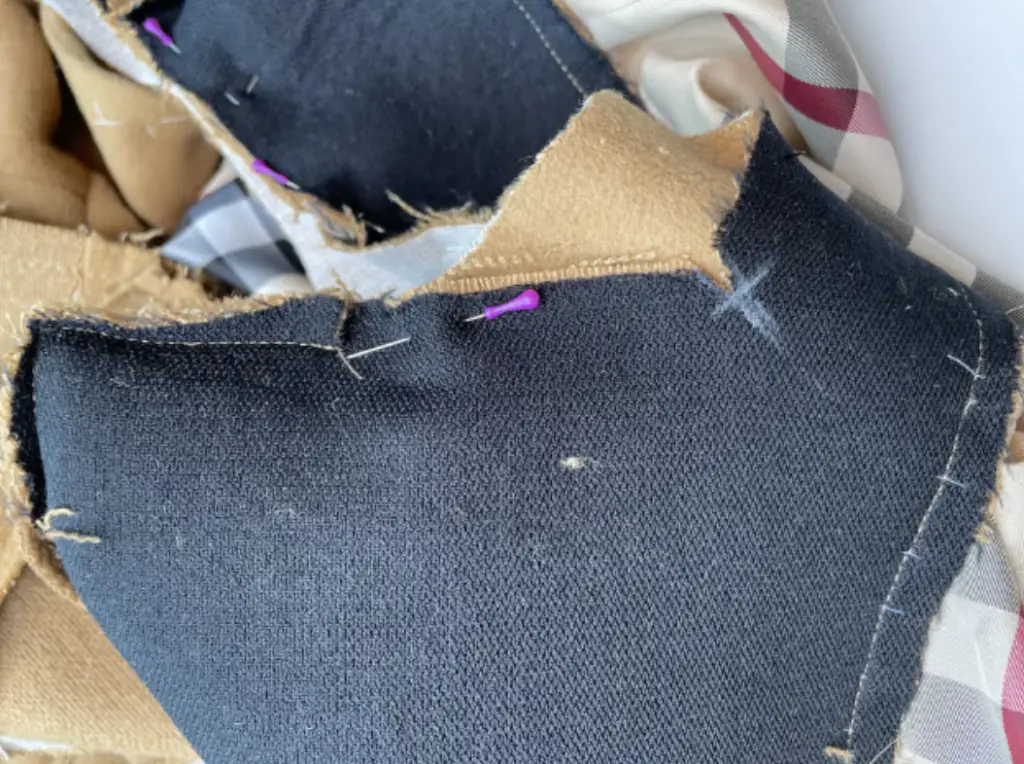
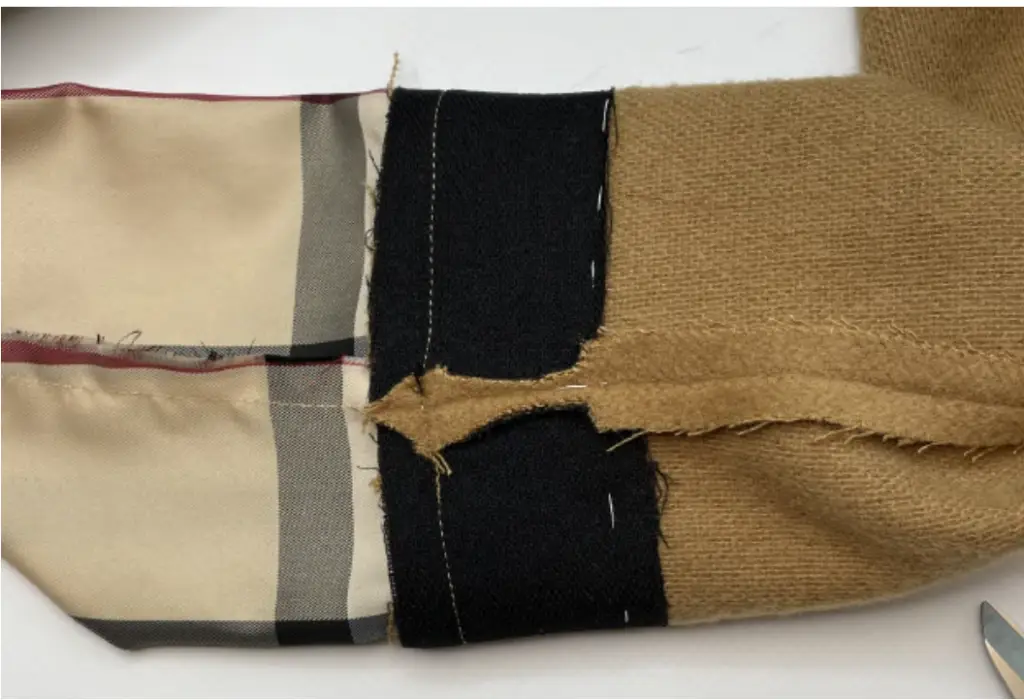
Pin the hood from the main fabric to the lining hood with the right sides together along the rounded edge. Serge it. Press it.
Turn the hood to the right side. Press seam allowances one more time.
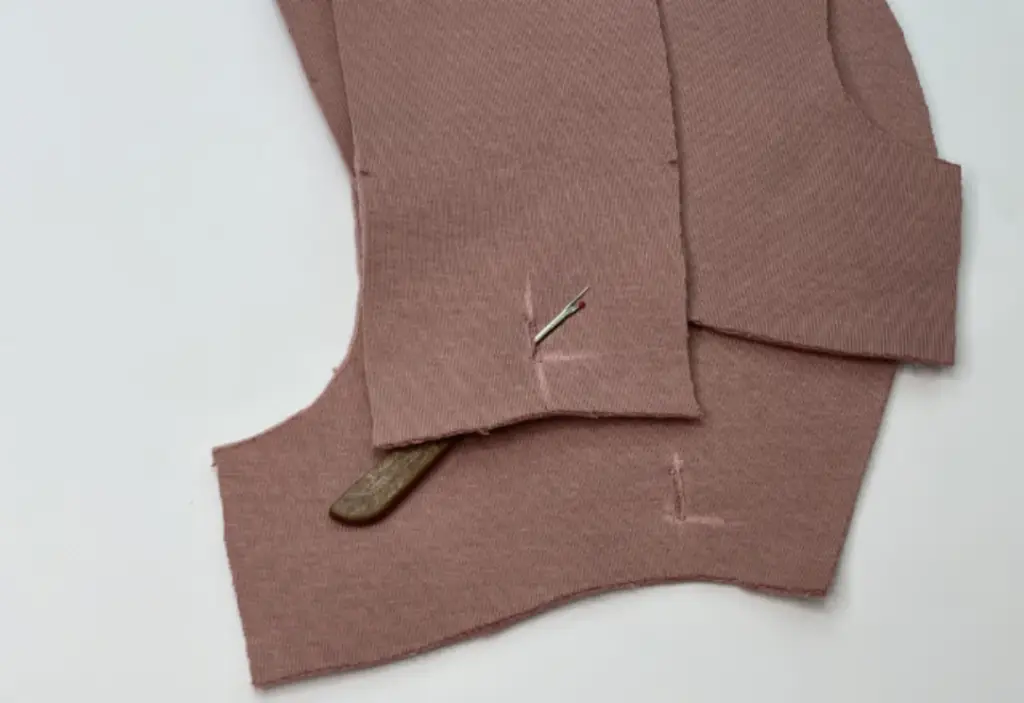
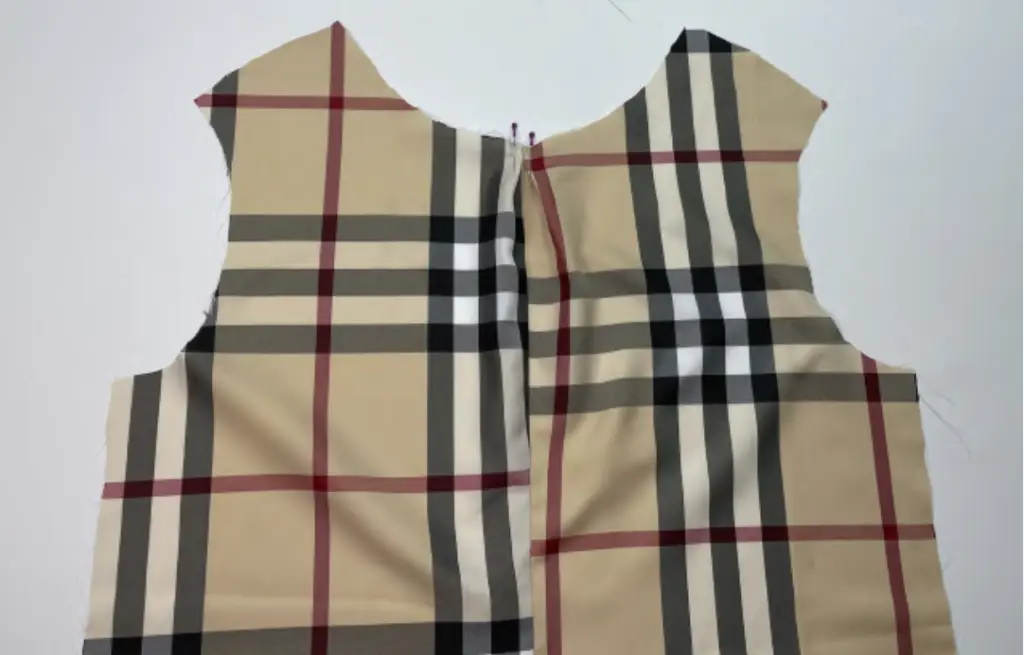
Pin the front panel (bodice) and lining front panel (bodice) with the right sides together along the shoulder edge. Serge it.
Press seam allowances.
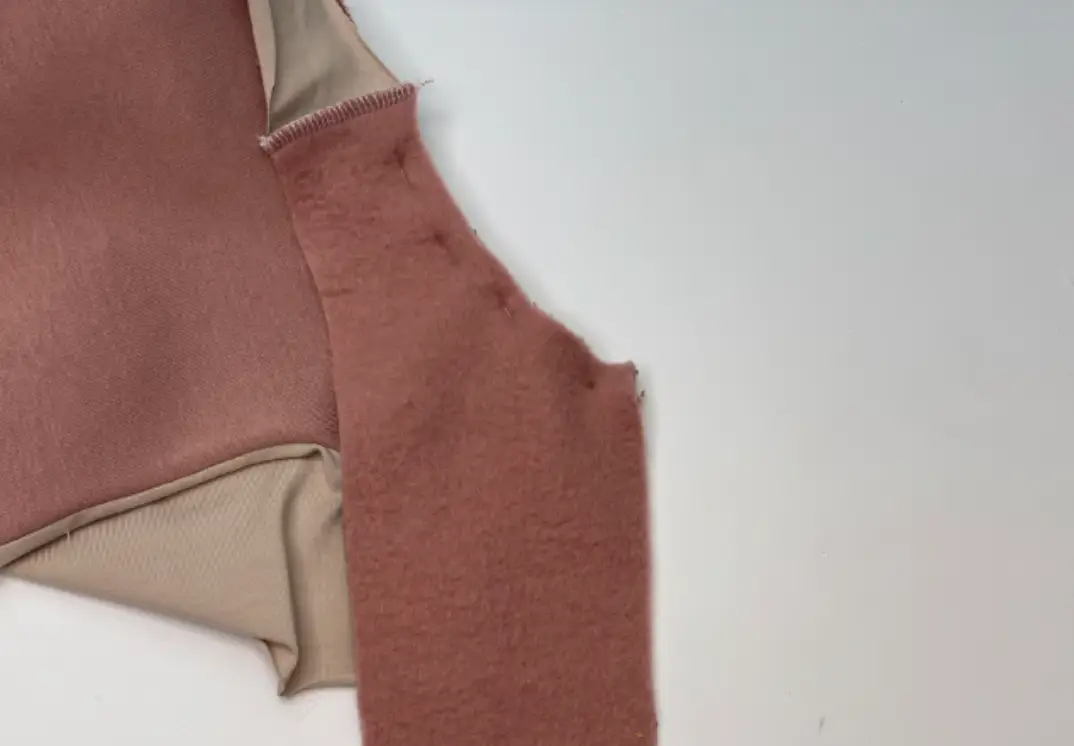
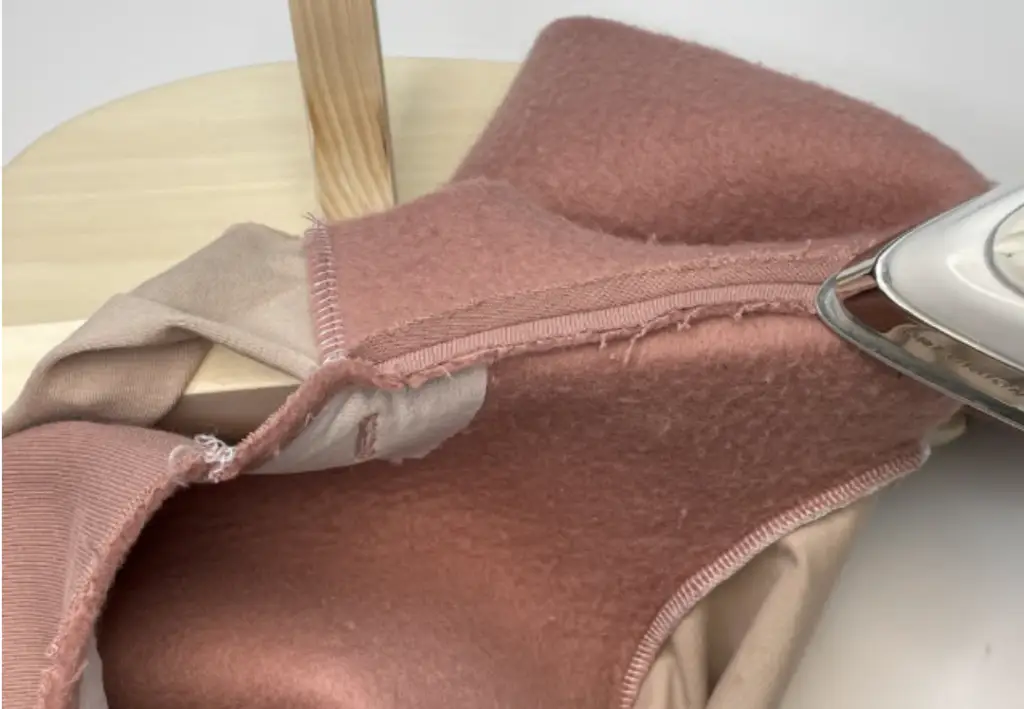
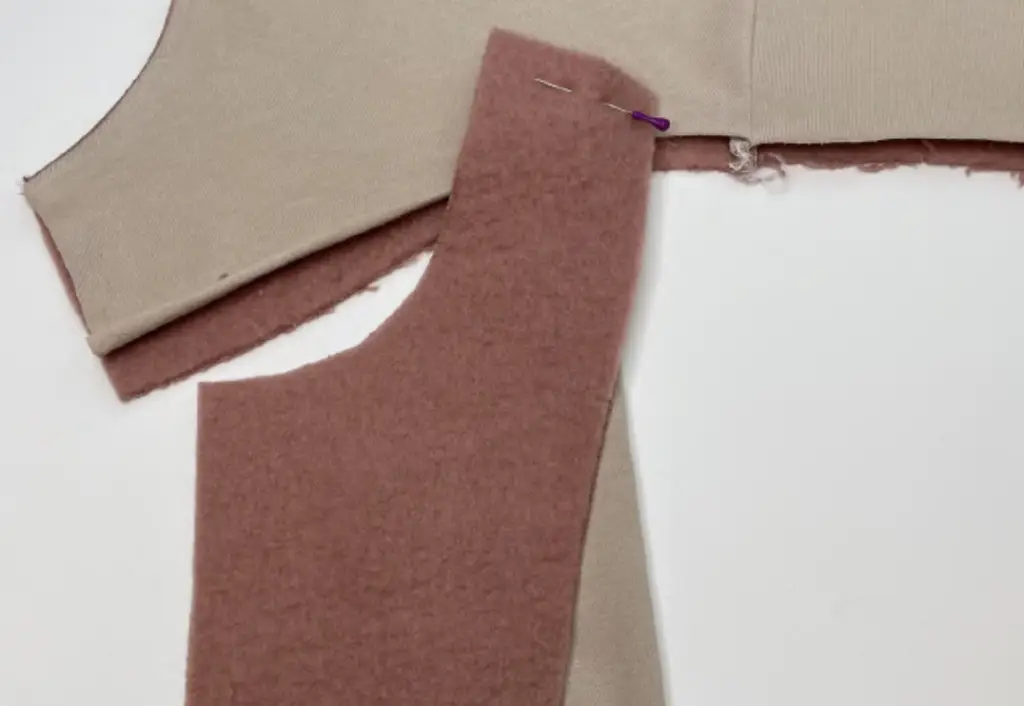
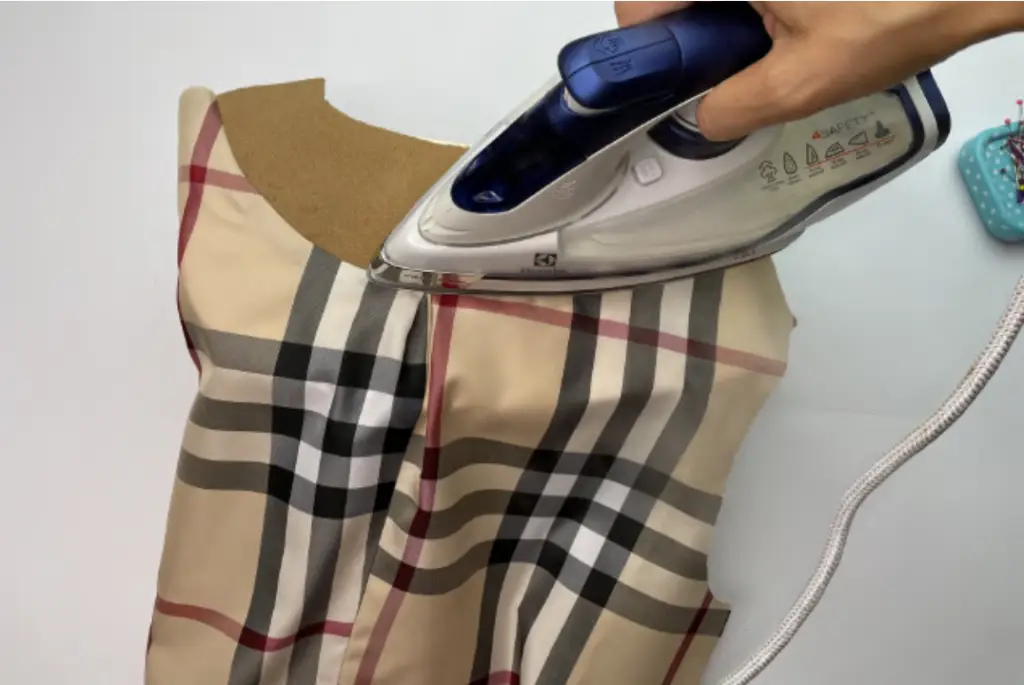
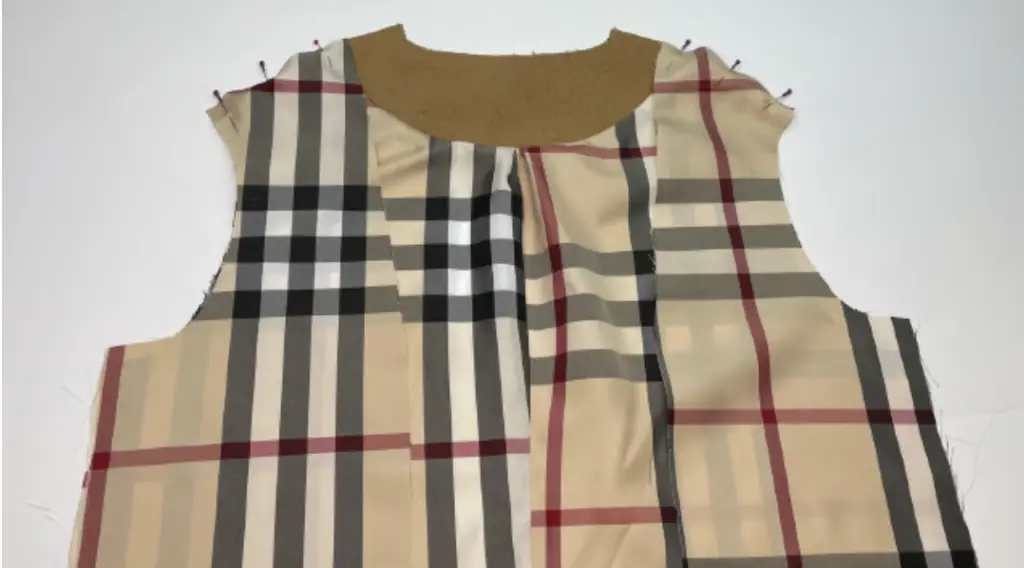
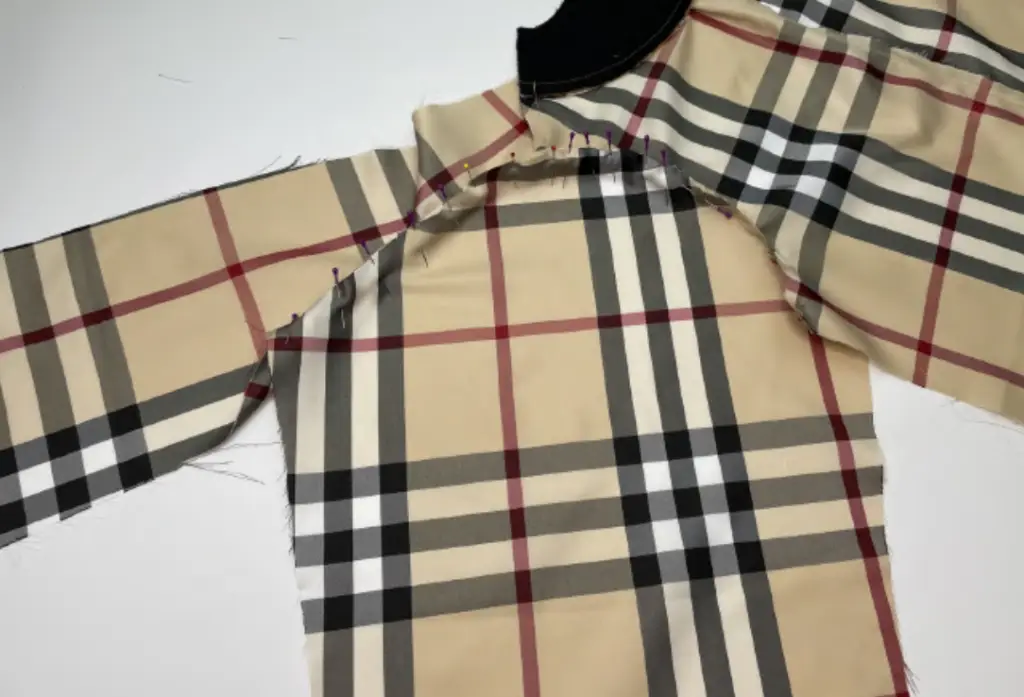
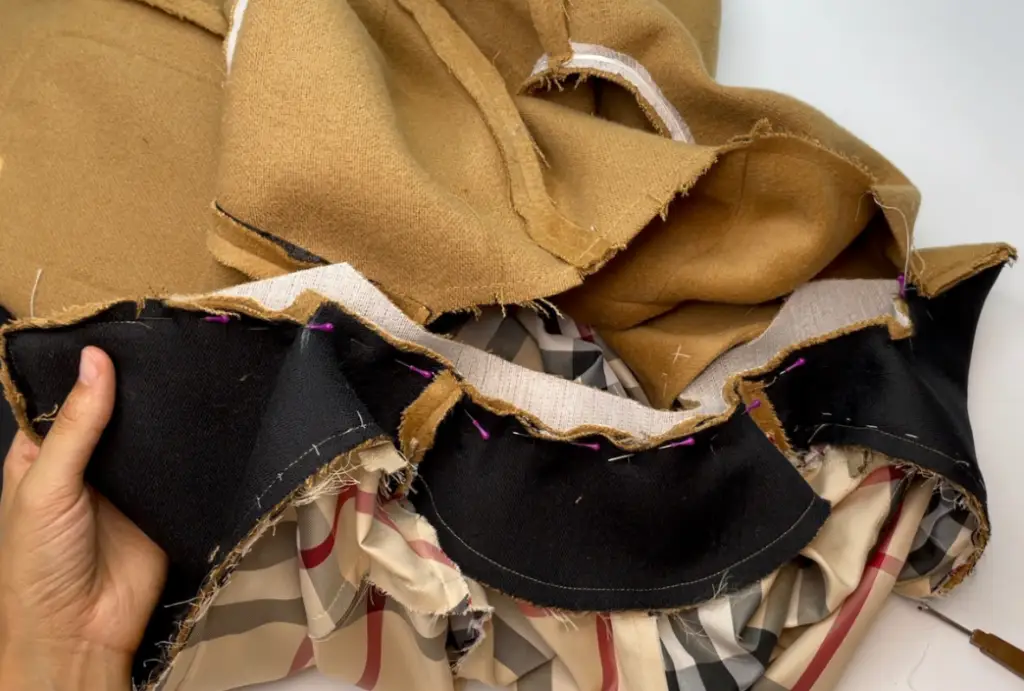
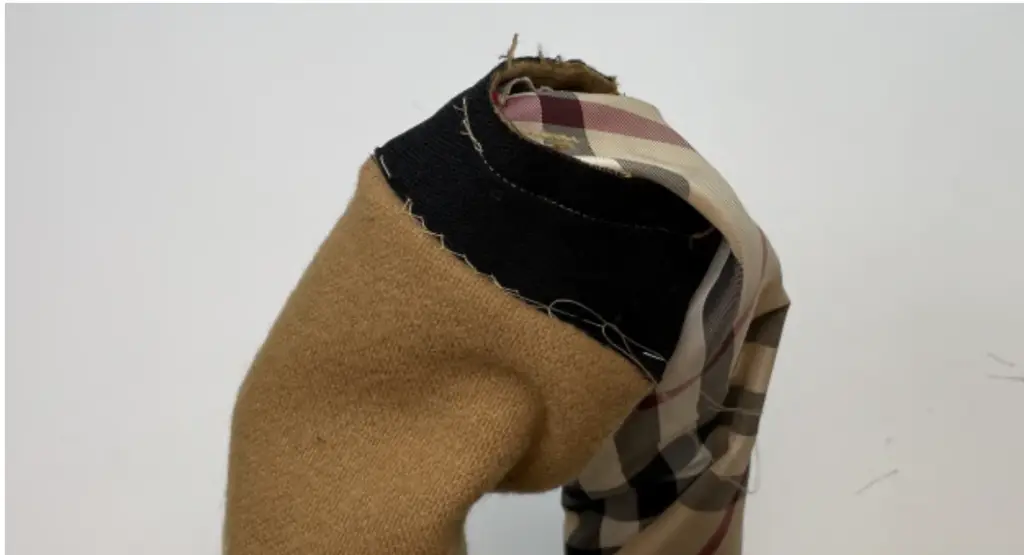
Pin the bodice from the main fabric to the hood from the main fabric with the right sides together along the neckline. Sew in place using sewing machine, leaving 1 cm at the shoulder edge.
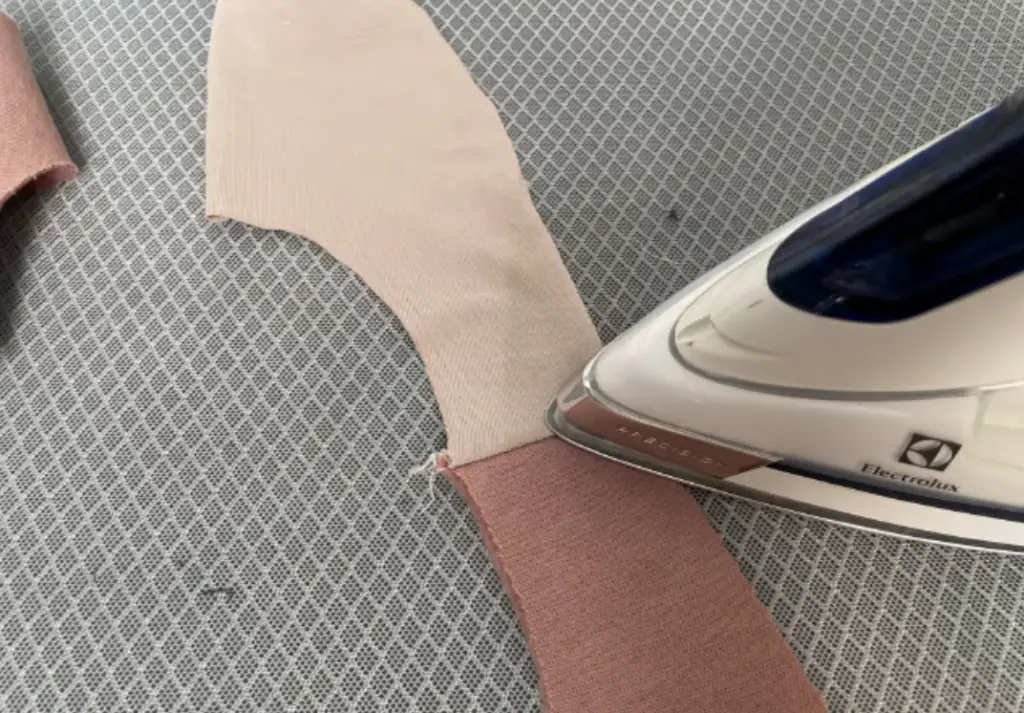
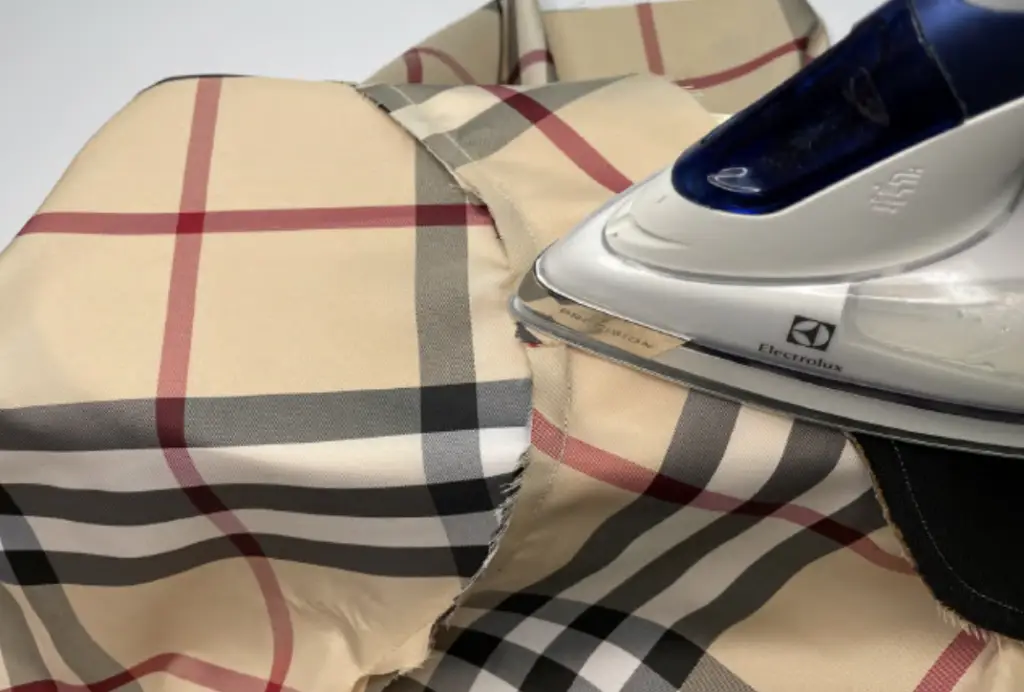
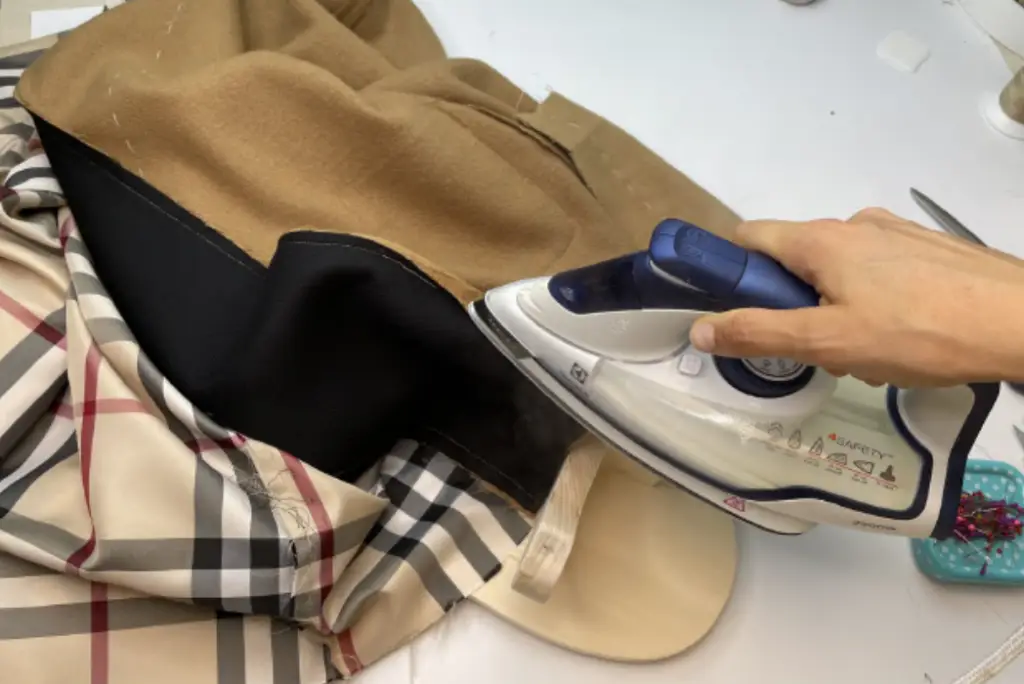
Press seam allowances open.
Sew the same way the lining bodice. Press seam allowances open.
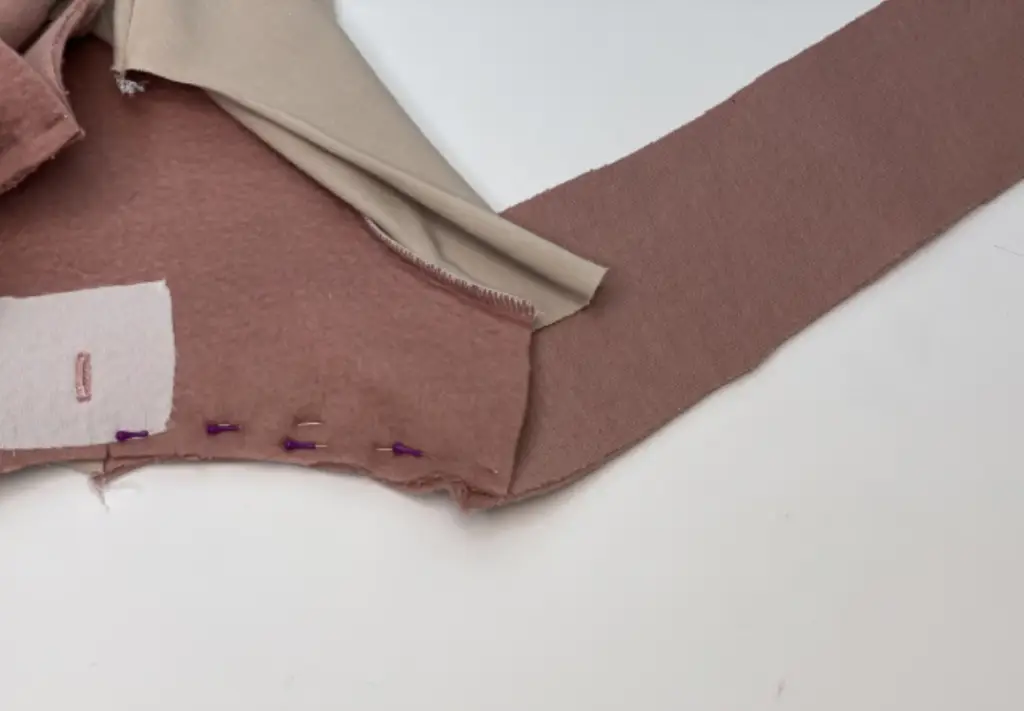
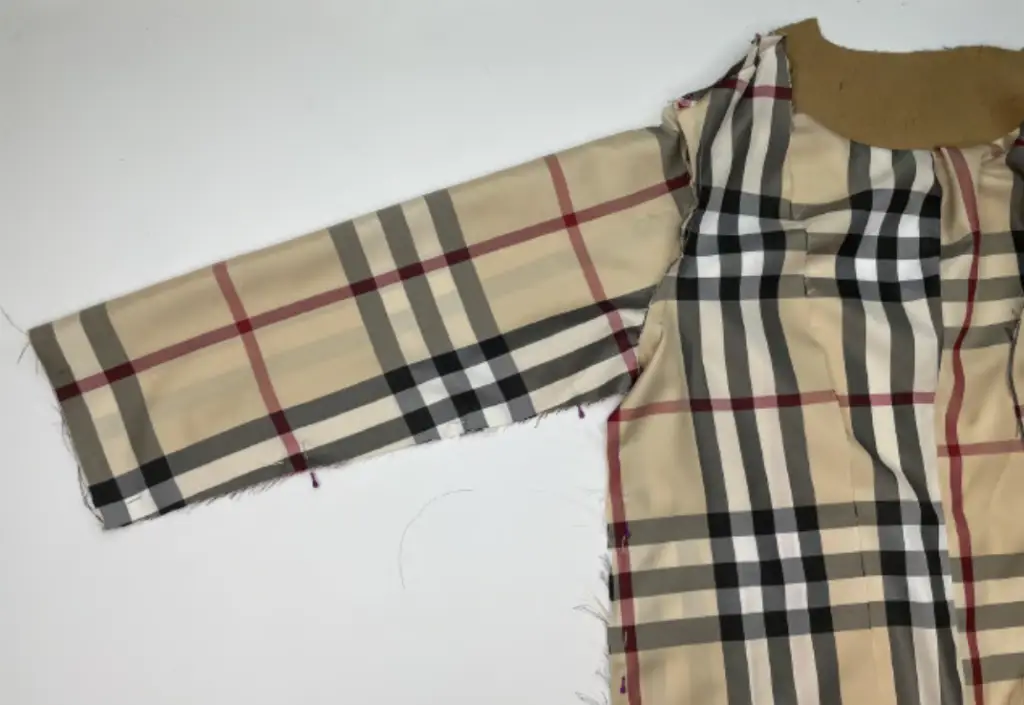
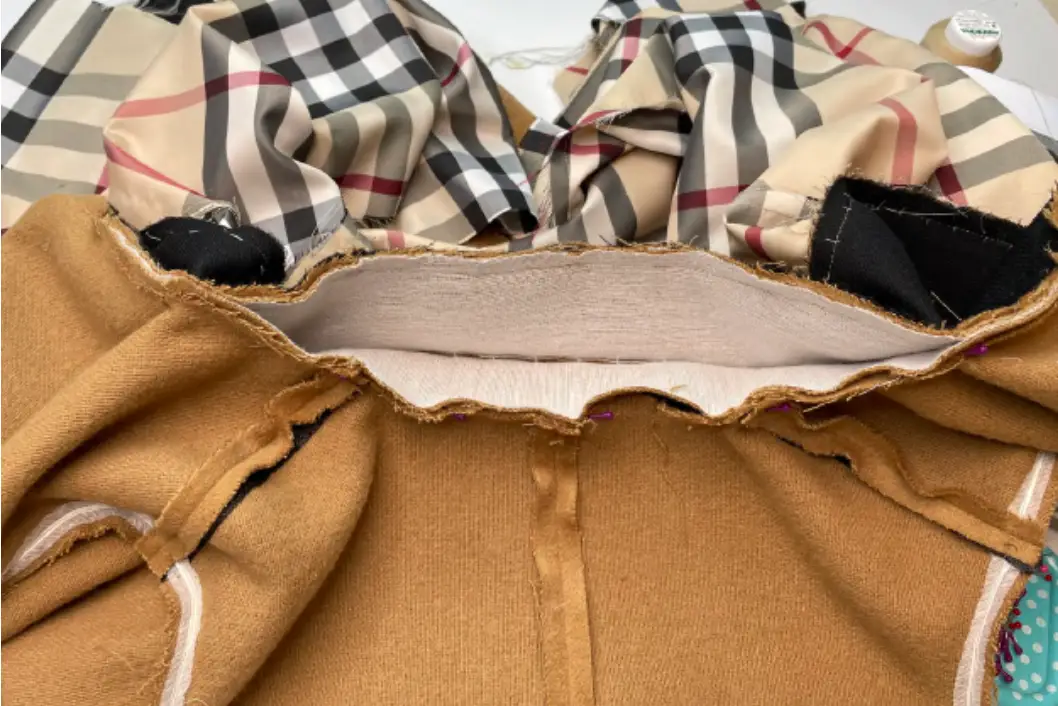
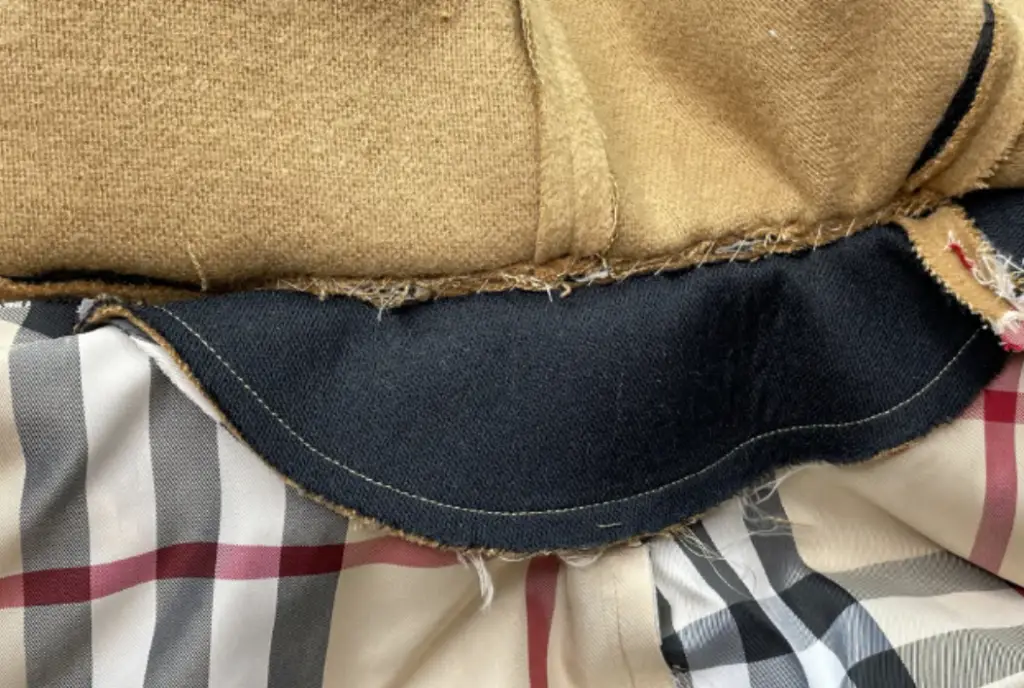
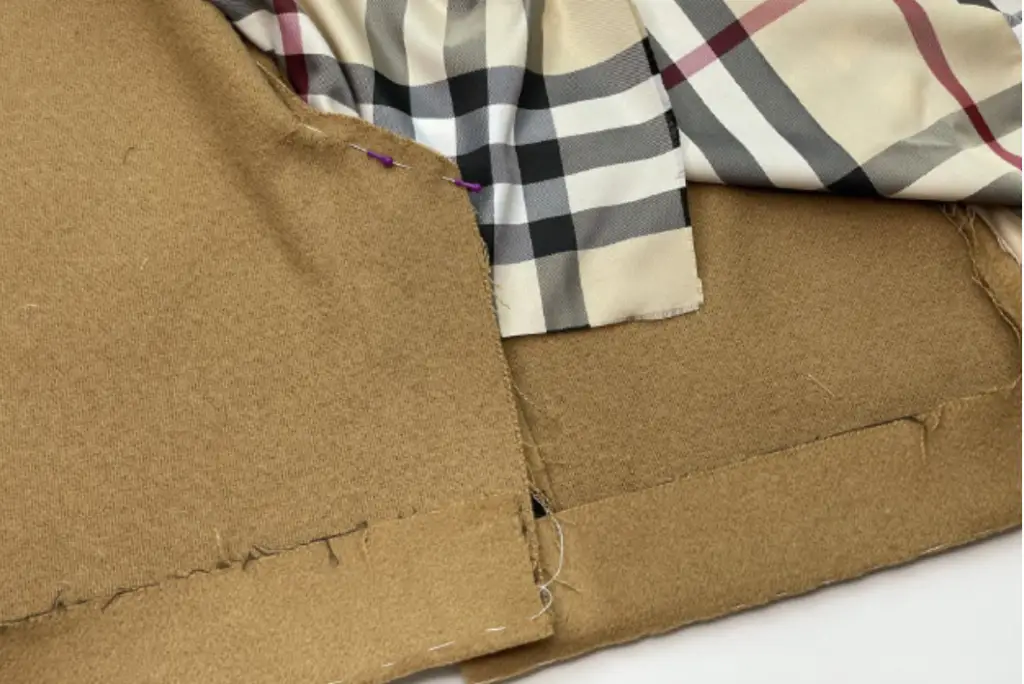
Pin the main fabric hood and the lining hood together with the right sides along the bottom hem from shoulder to shoulder. Stitch it.
Press seam allowances. Turn to the right side.
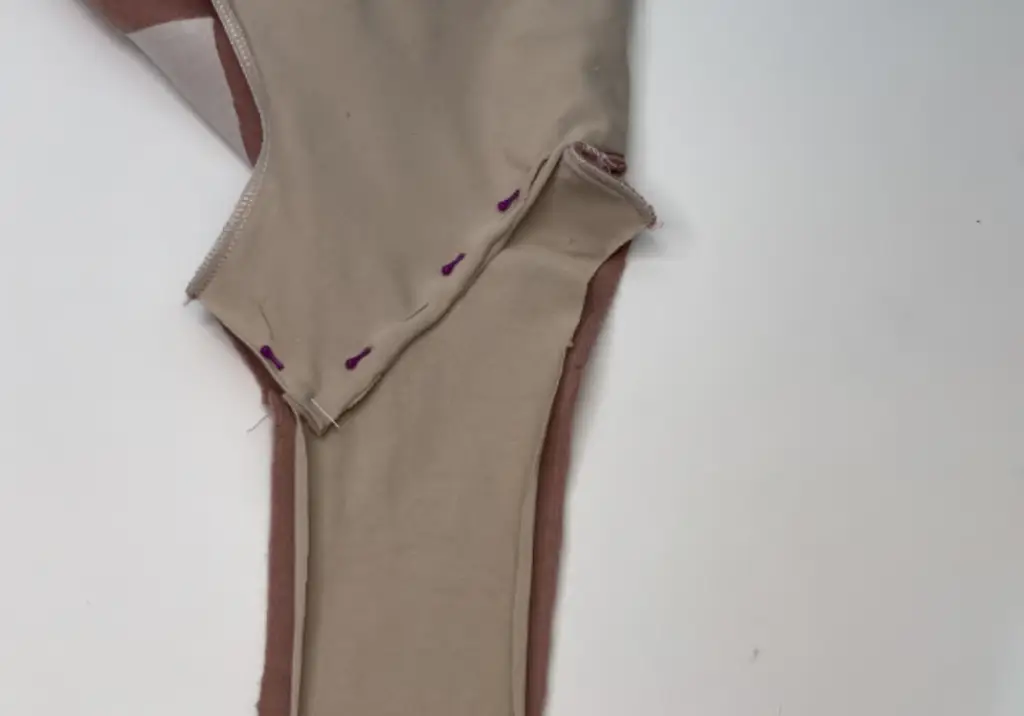
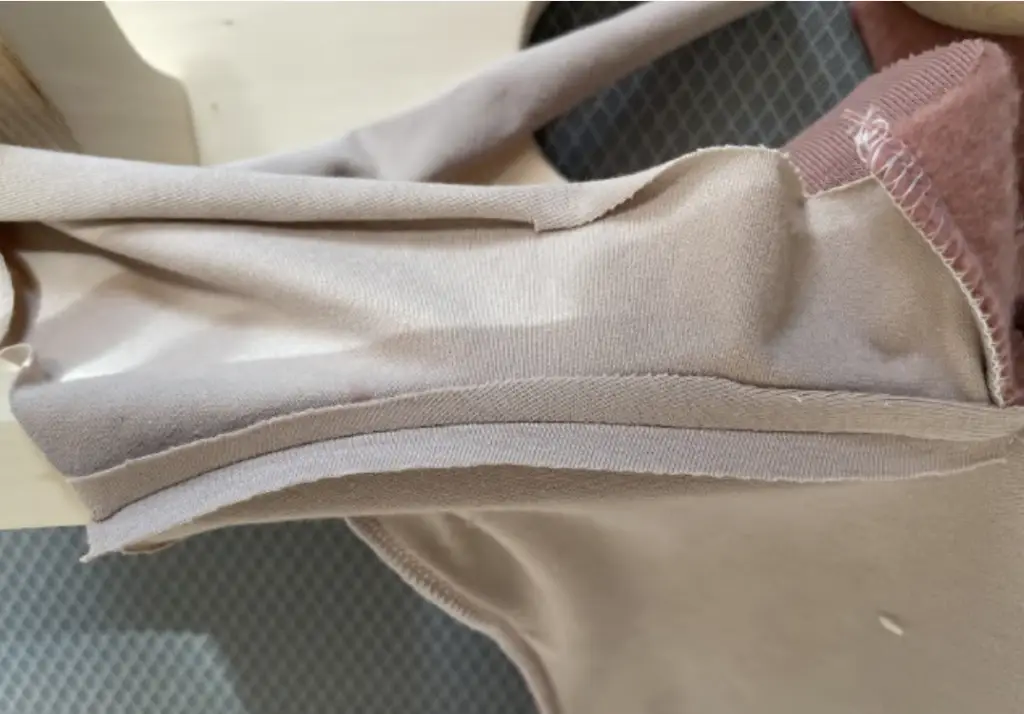
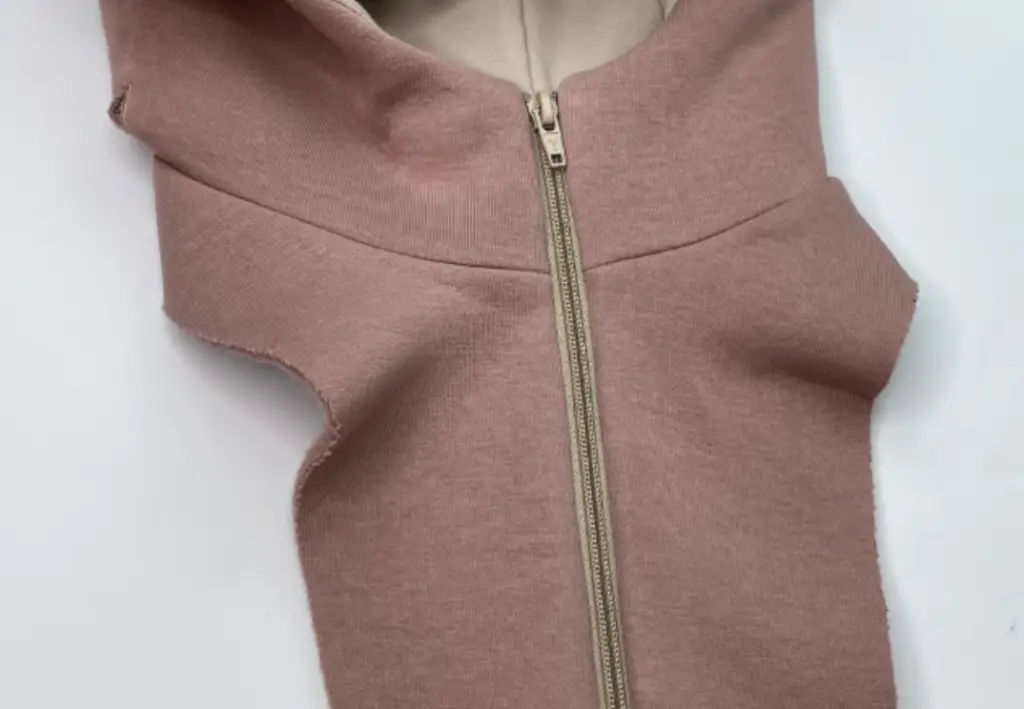
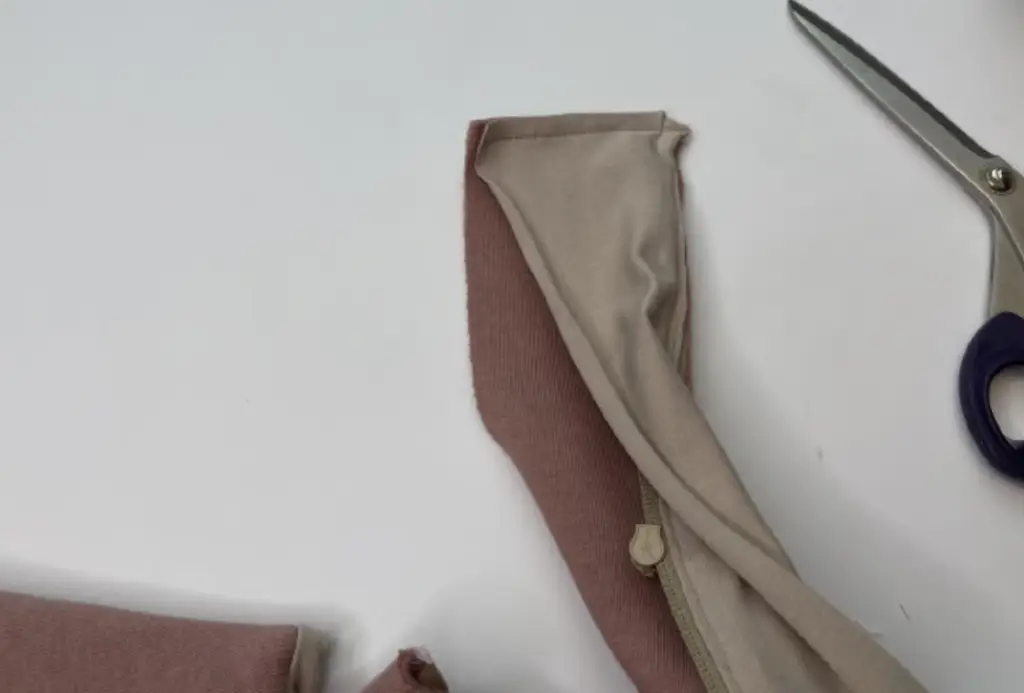
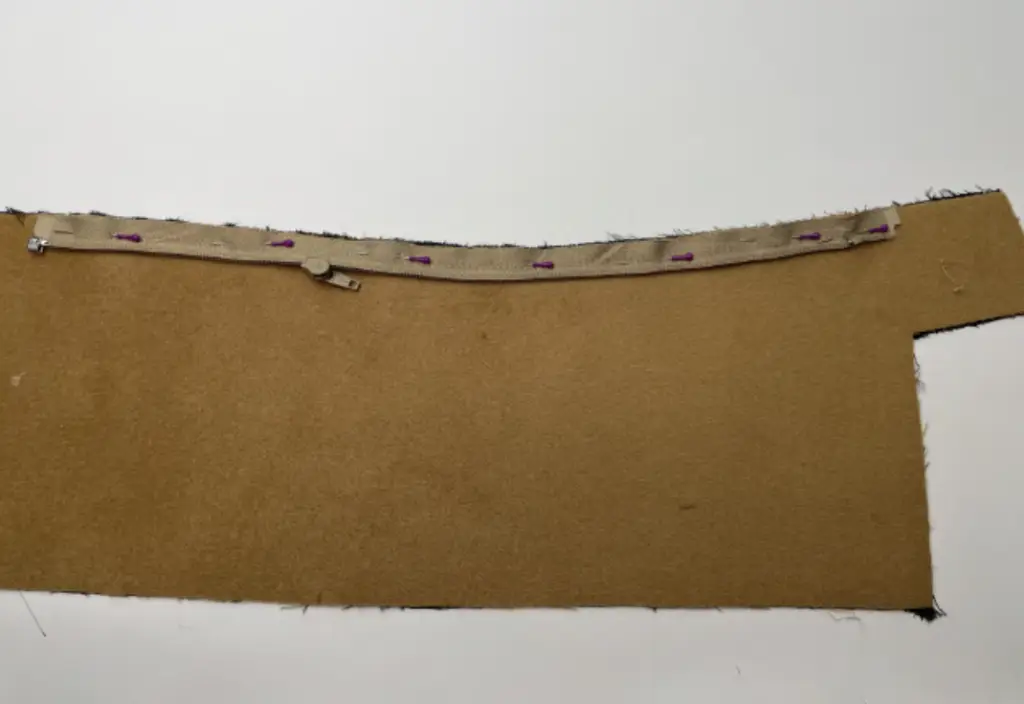
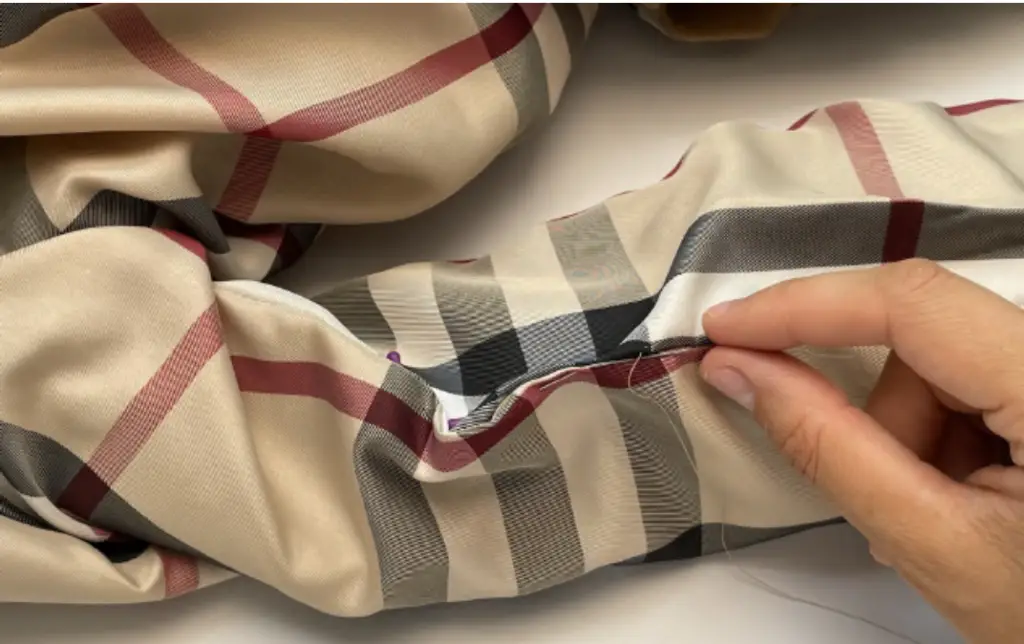
Pin the zipper to the main fabric bodice withthe right sides together. Pin the lining bodice over the zipper. Baste it. Sew in place, using zipper foot. Turn the bodice to the right side. Press it.

Zip up. Mark the neck line on the zipper.

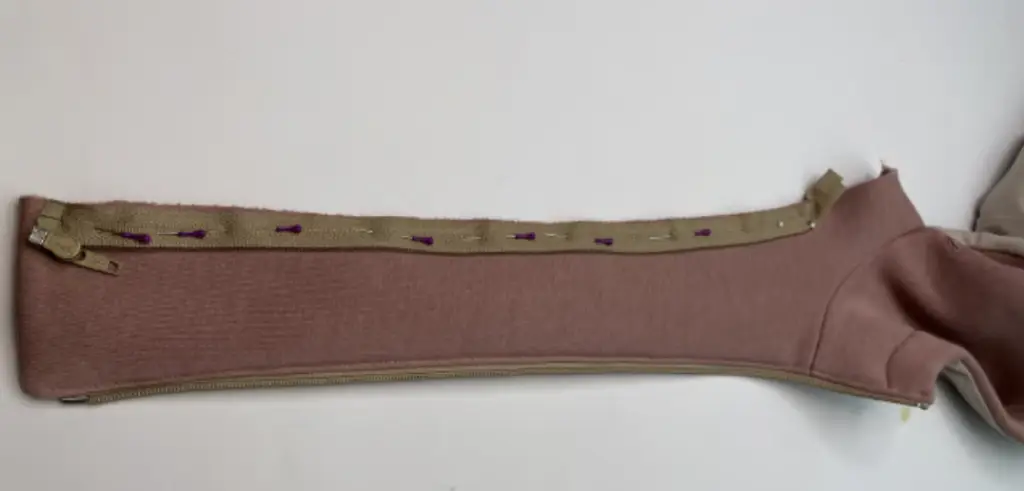
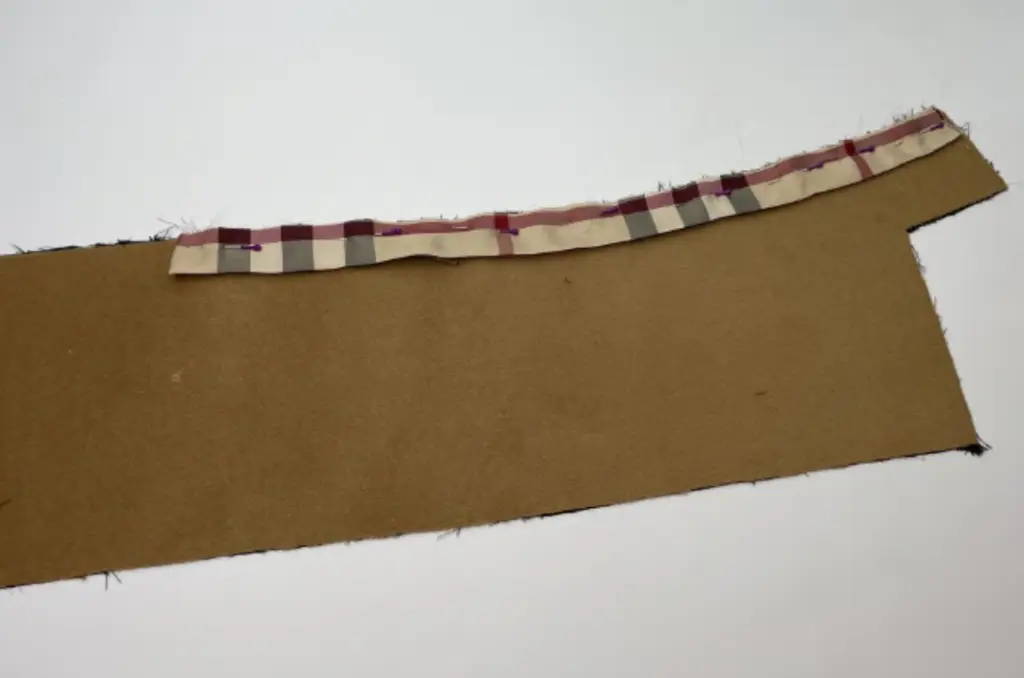
Pin the other part of the zipper to the main fabric bodice, aligning the marking to the neckline.
Pin the lining bodice over the zipper. Baste it. Sew in place using zipper foot.
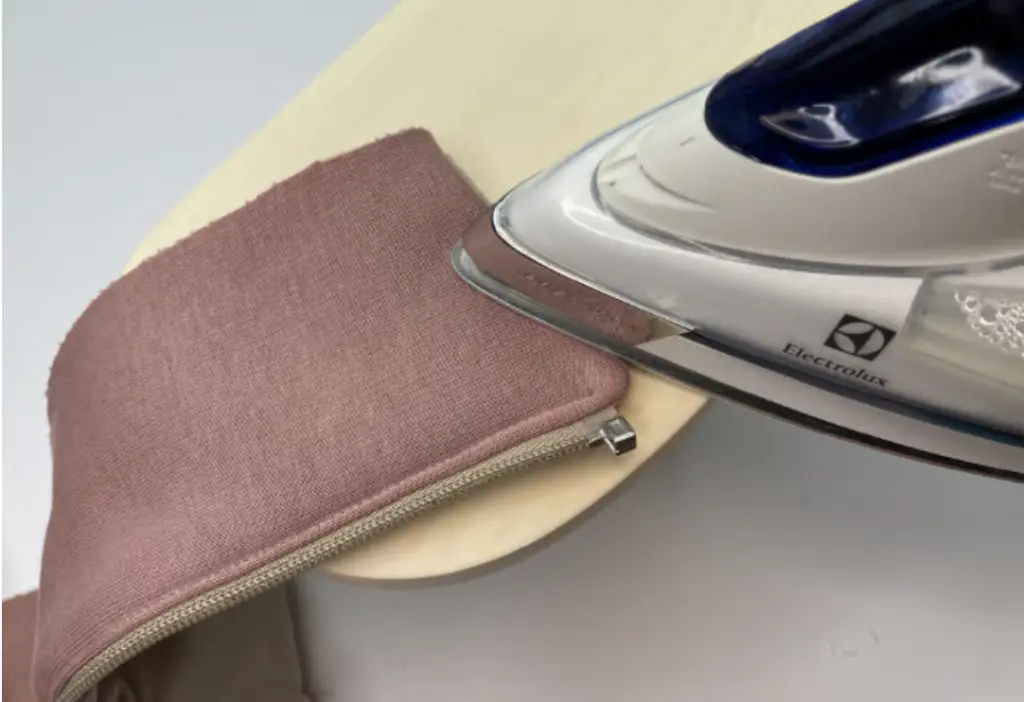
Turn the bodice to the right side. Press it.
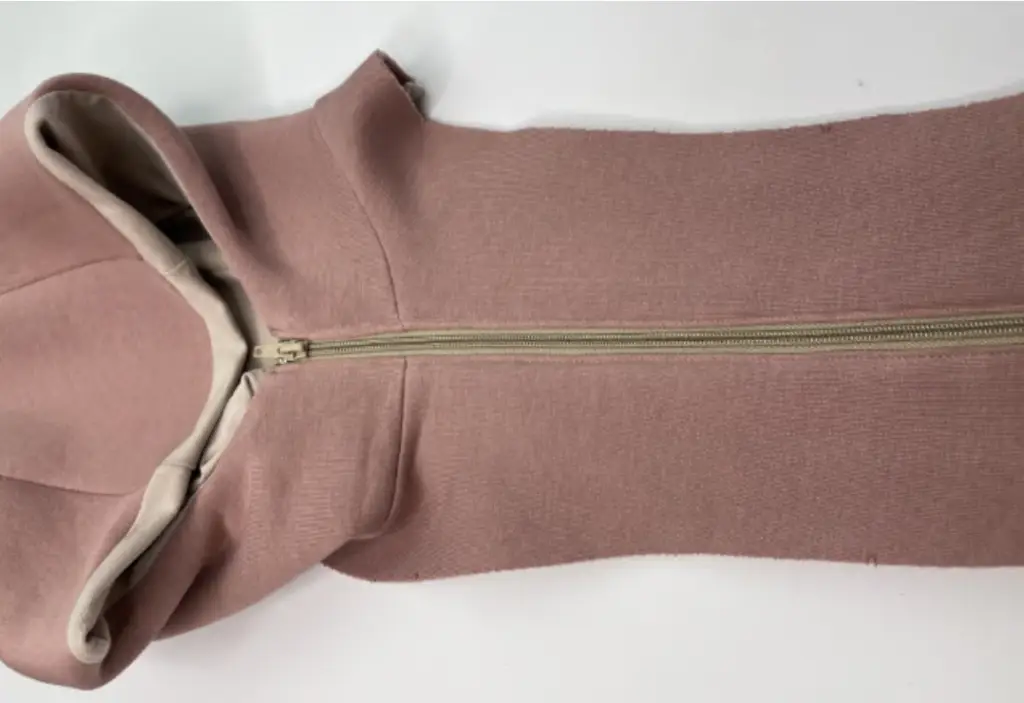
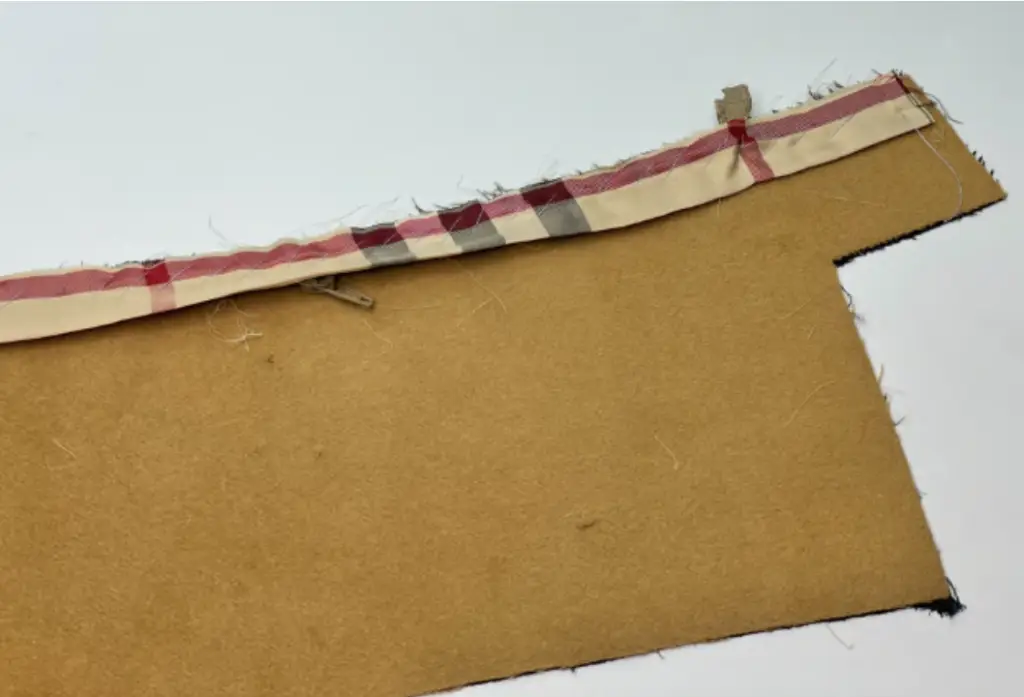
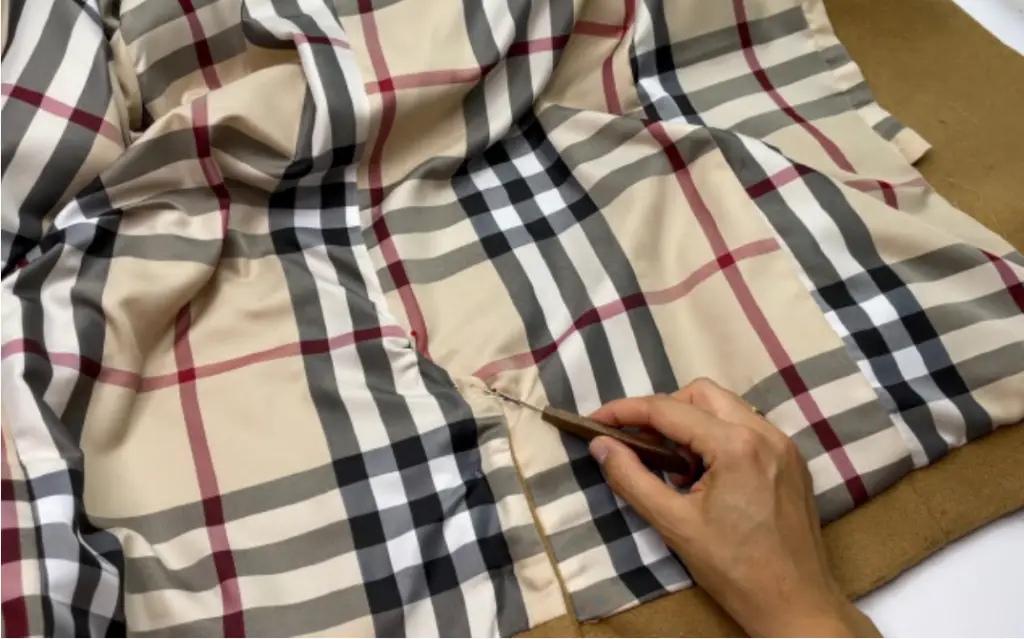
Top stitch the zipper.
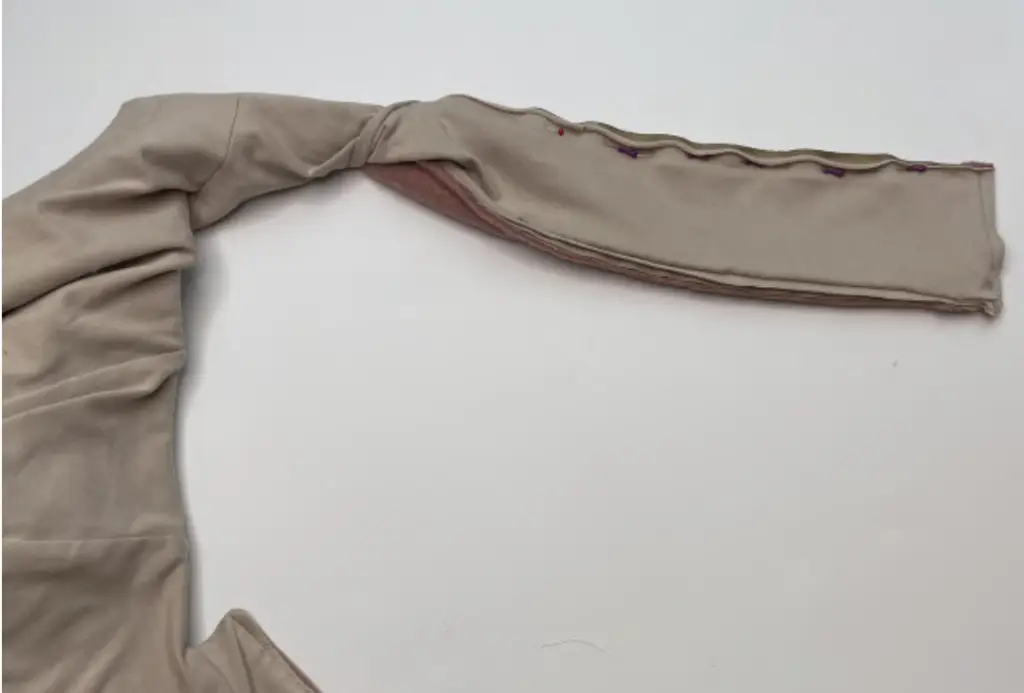
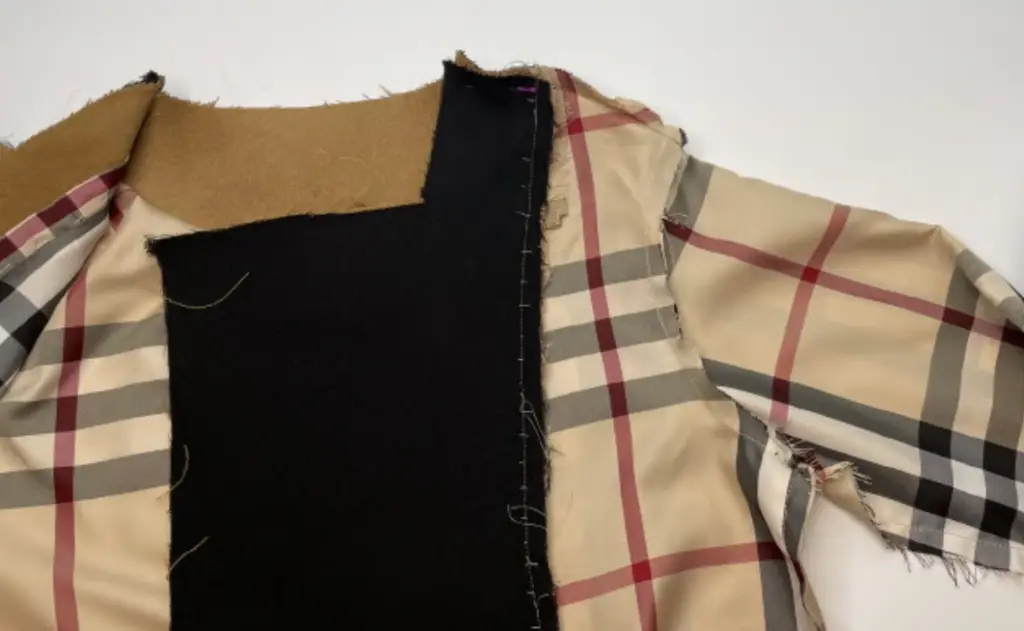
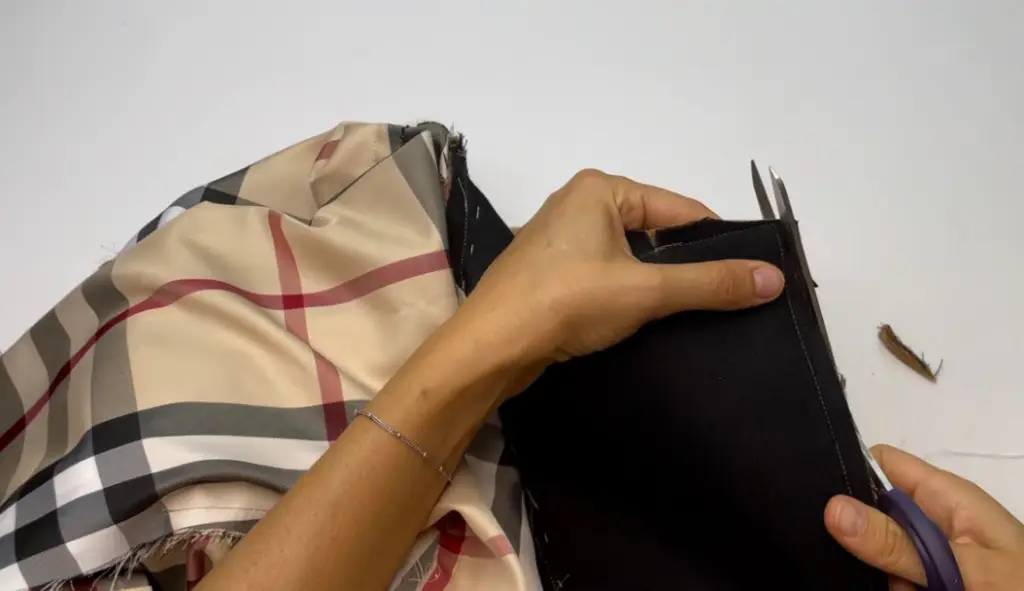
Pin the main fabric bodice and lining bodice with the right sides together along the bottom hem. Stitch it.
Clip the corners.
Turn to the face side and press it.
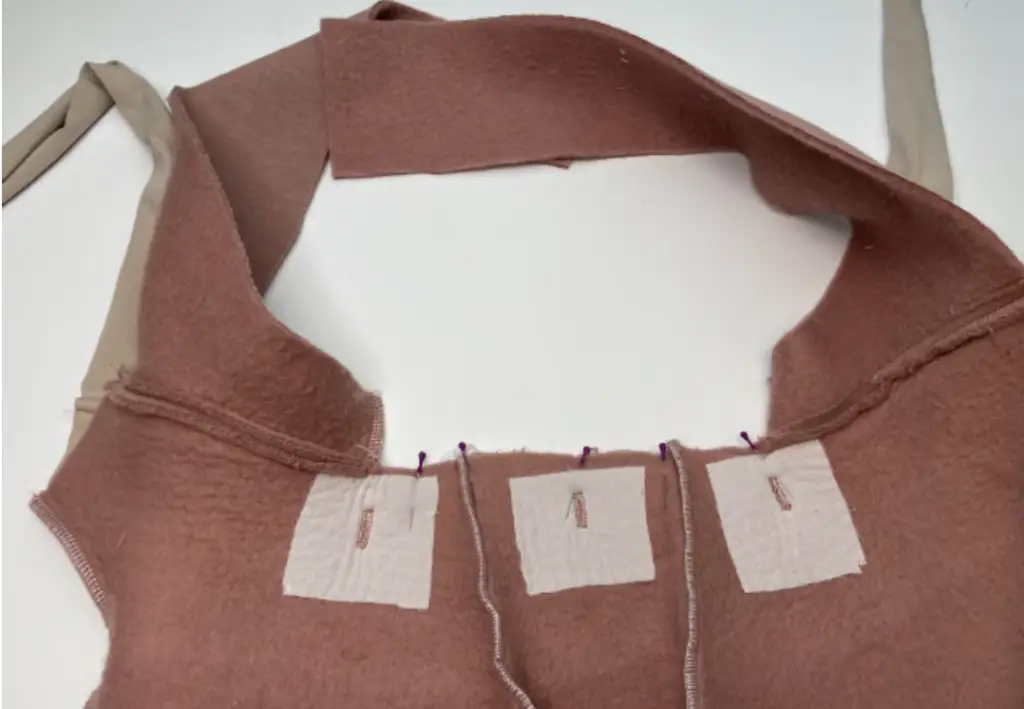
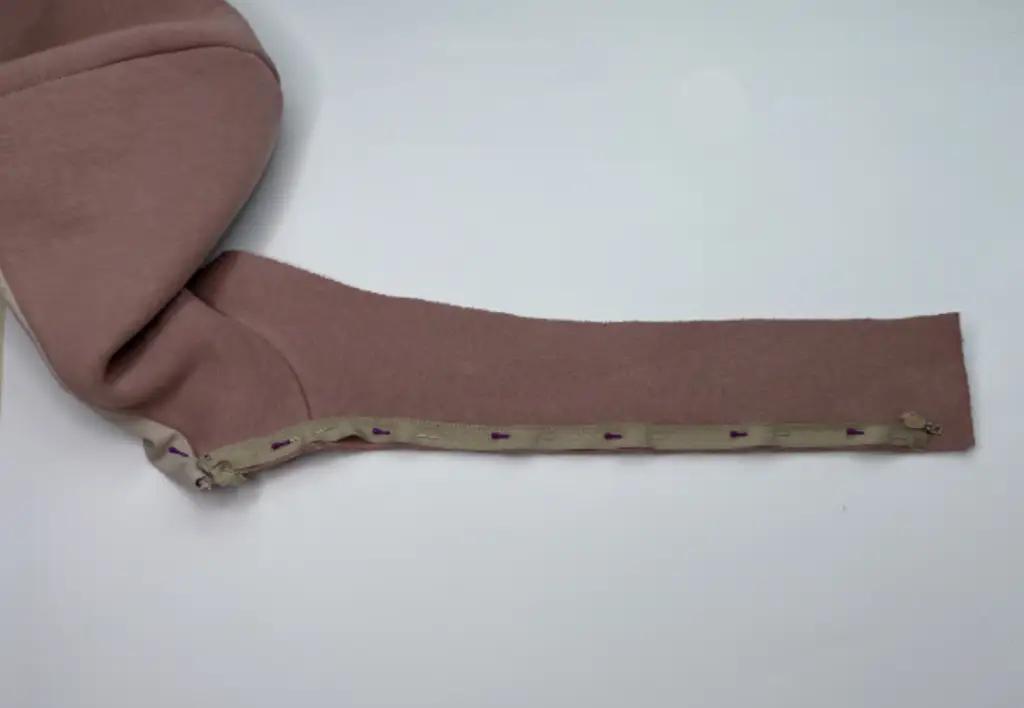
Lay the detachable hood and the bodice on the table and position the other zippers on the sides. Decide which part of the zipper sew to the bodice.
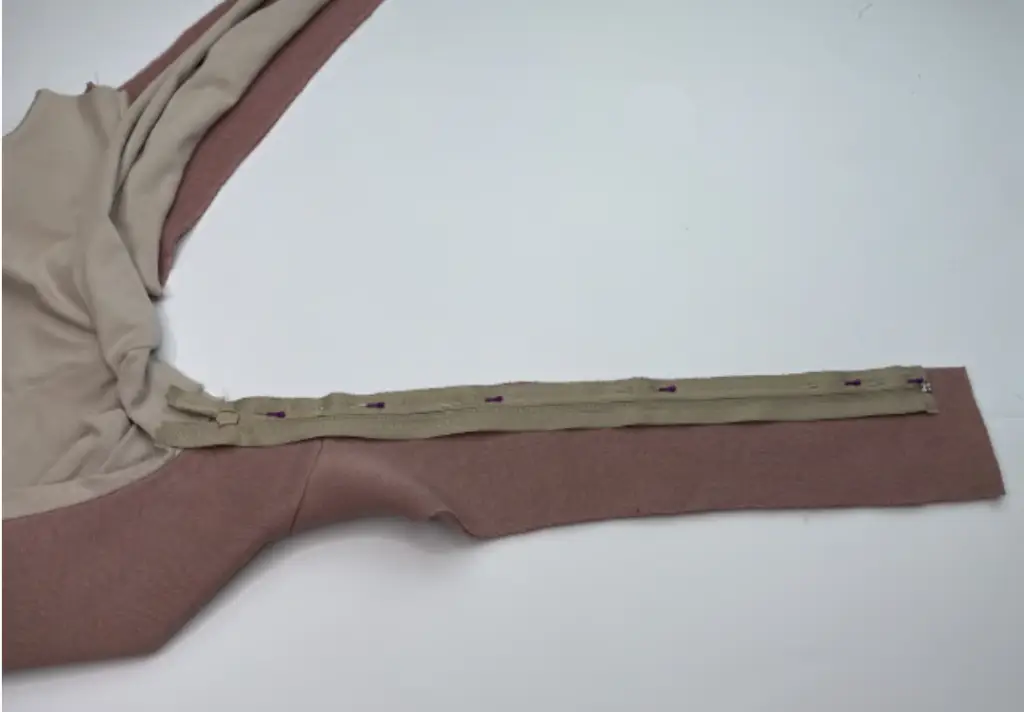
Pin the part of the zipper the the side edge of the main fabric bodice with the right sides together. Sew in place.

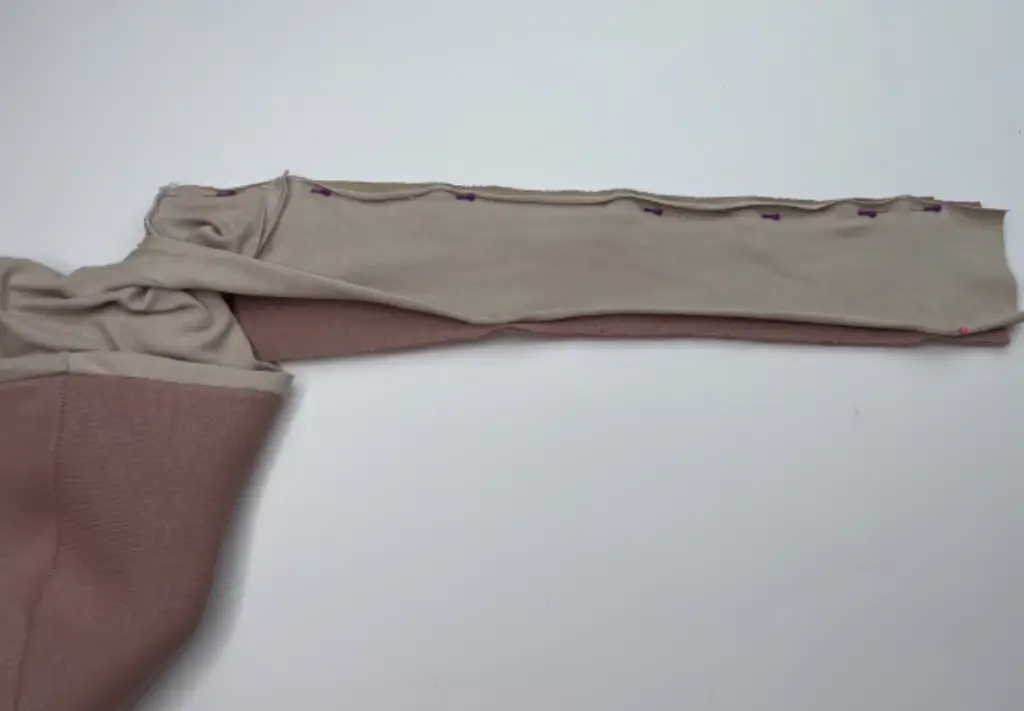
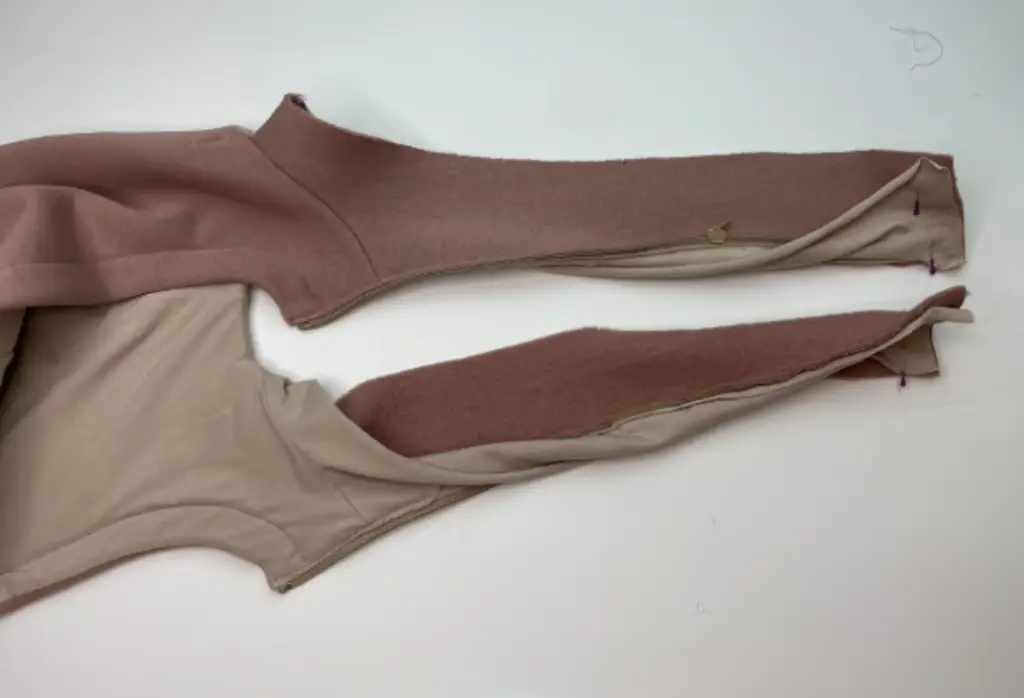
Pin the lining bodice over the zipper. Start from the top. Sew from the top to the possible length.
Turn to the right side.
Pin the lining bodice over the zipper, now starting from the bottom. Sew from the bottom to the possible length. Clip corners.
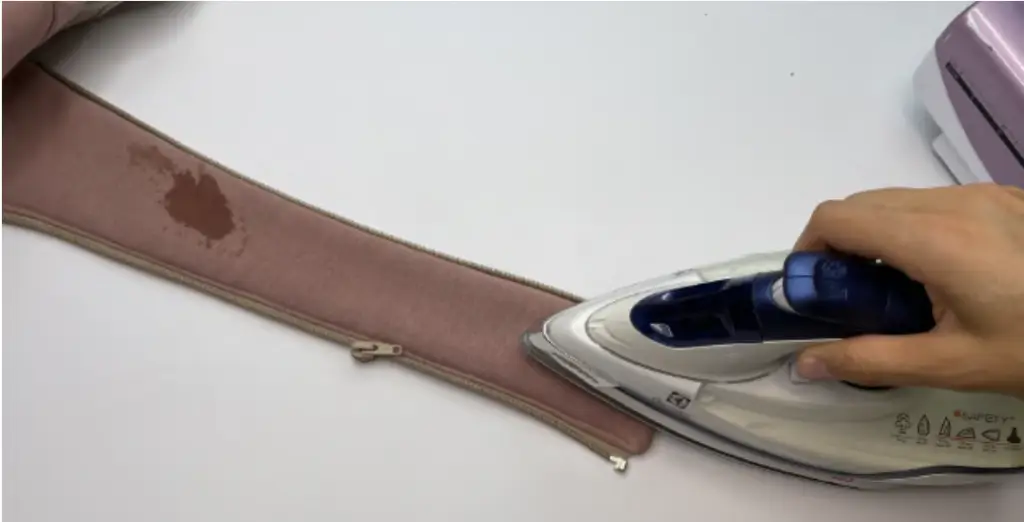
Turn to the right side. Press it.
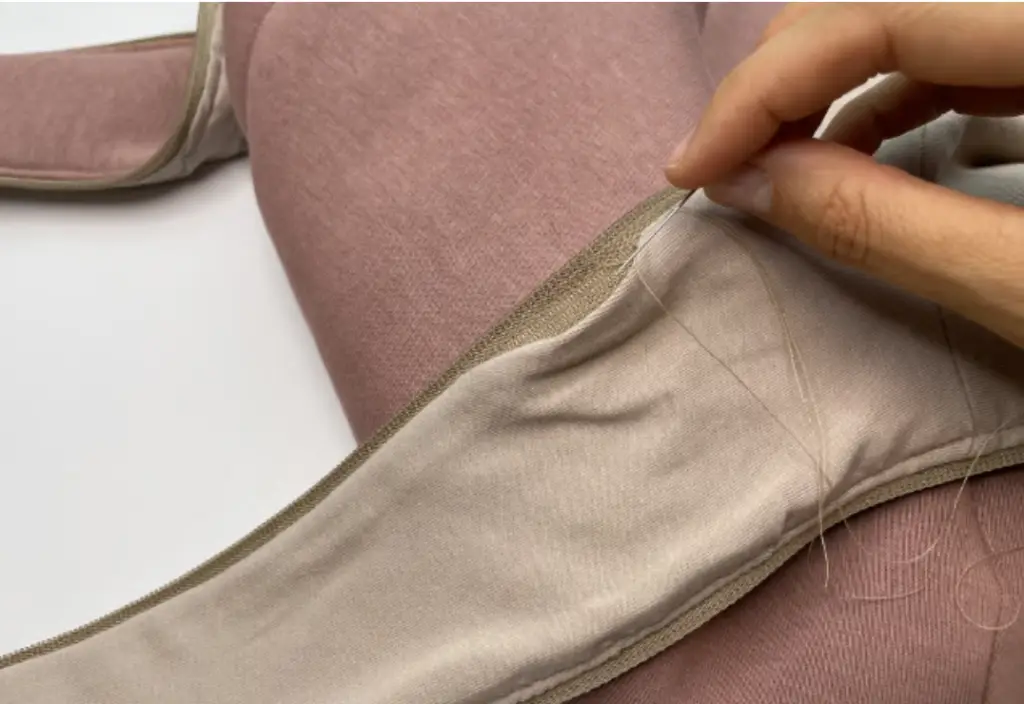
Whip stitch the hole.
Press it.

LINING. Pin the back panels with the right sides together along the center seam. Stitch it down to the notch. Press seam allowances to side.
Pin the pleat to the center of the back.

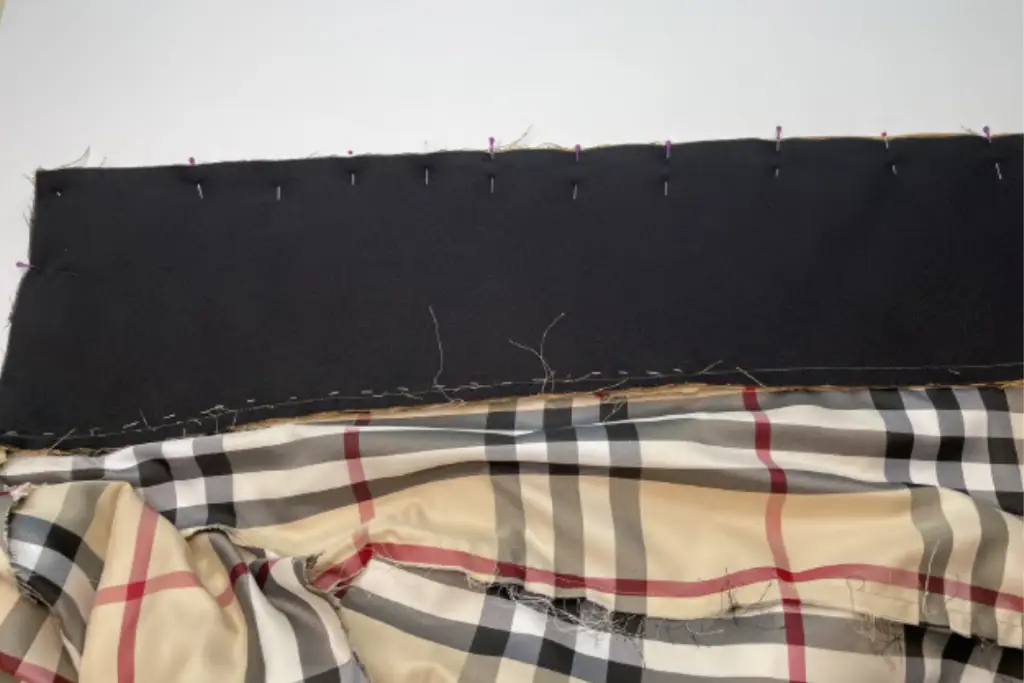
Pin the back facing to the lining back with the right sides together. Stitch it. Press seam allowances to the back.
Pin the lining Front and lining Back shoulder edges with the right sides together. Stitch it, not reaching 1 cm (0,39 in) to the Back Facing seam. Press seam allowances to the back.
Pin the sleeve into the open armhole, aligning the notches, right sides together. Sew in place. Press seam allowances to the sleeve.
Fold the sleeve in half and pin its side edges. Pin the Front and Back along the side edges with the right sides together. Sew in place.
Press seam allowances to the back.
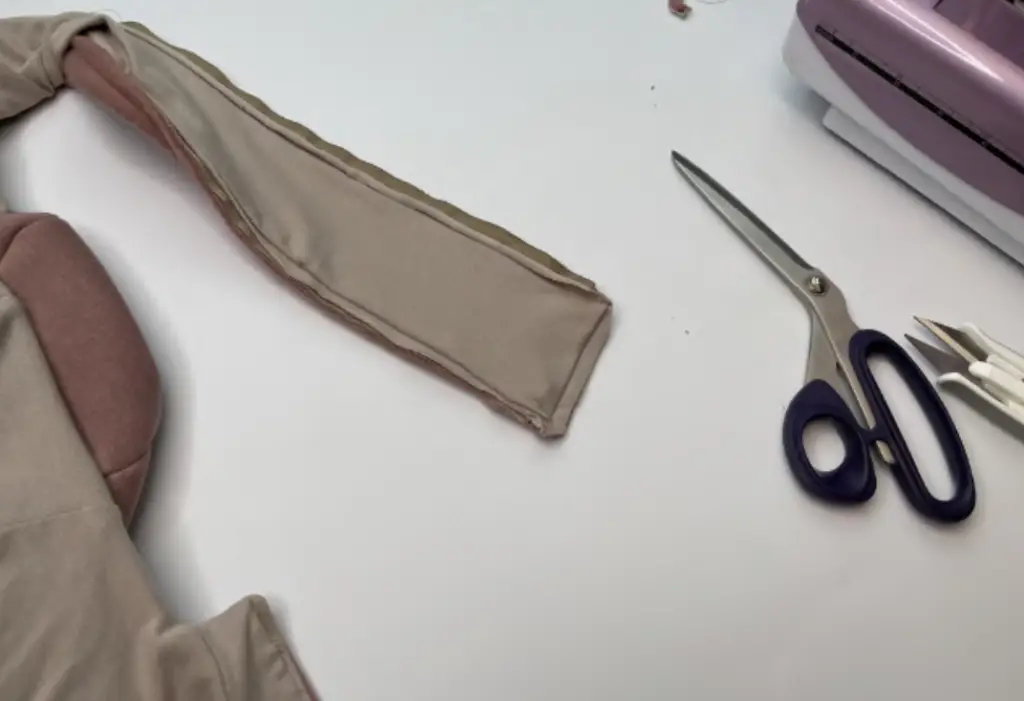
Fold in half zipper underlay and pin its bottom short raw edge with the right side together. Stitch.
Turn to the right side and press it.
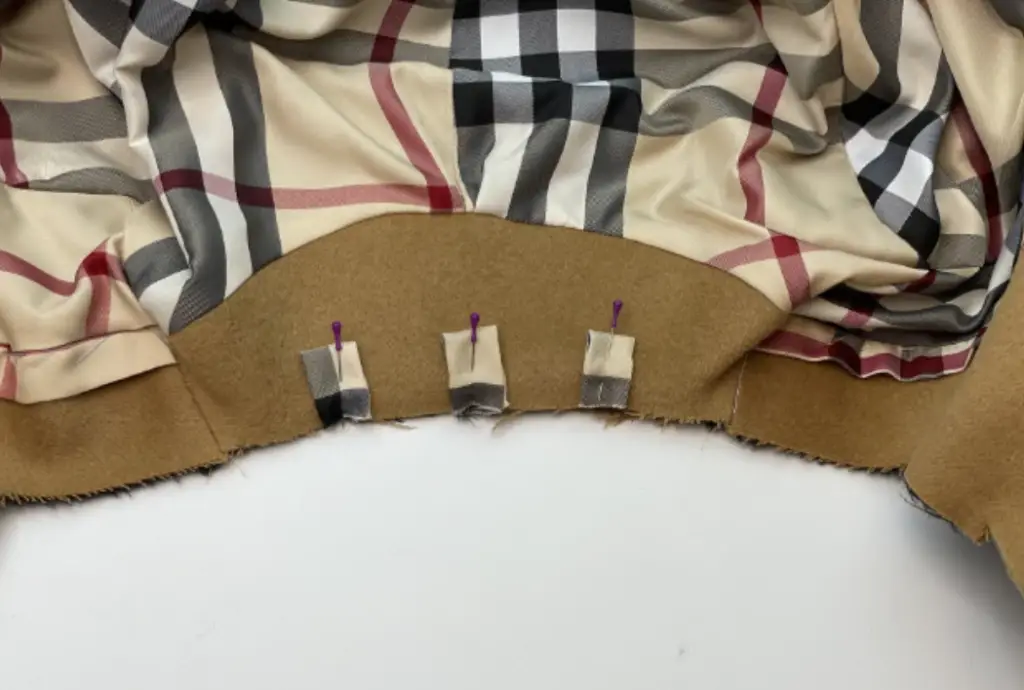
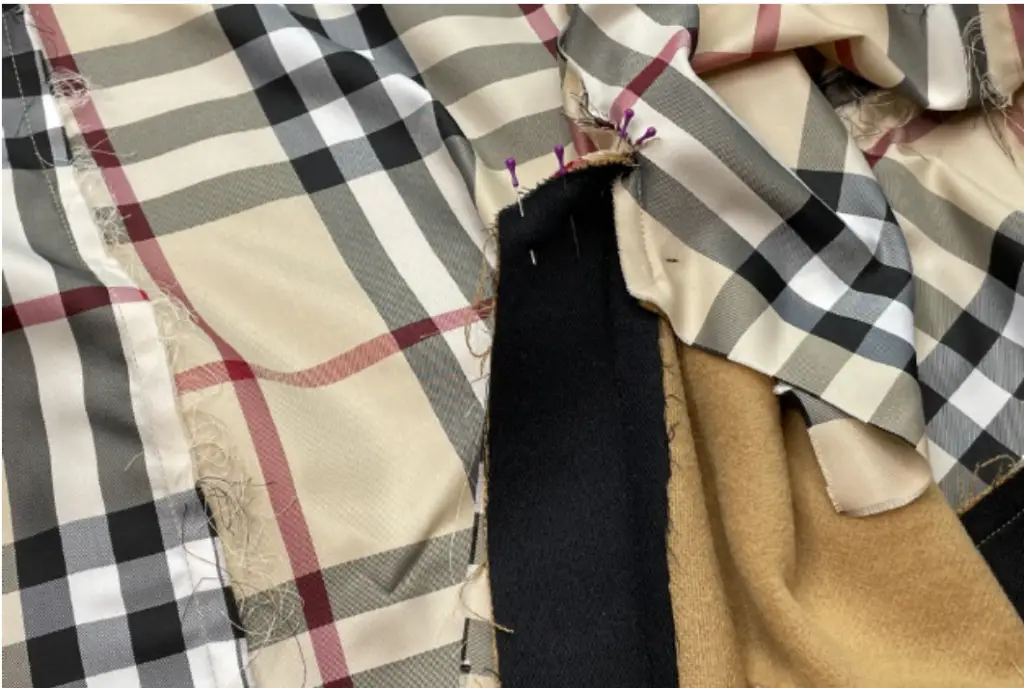
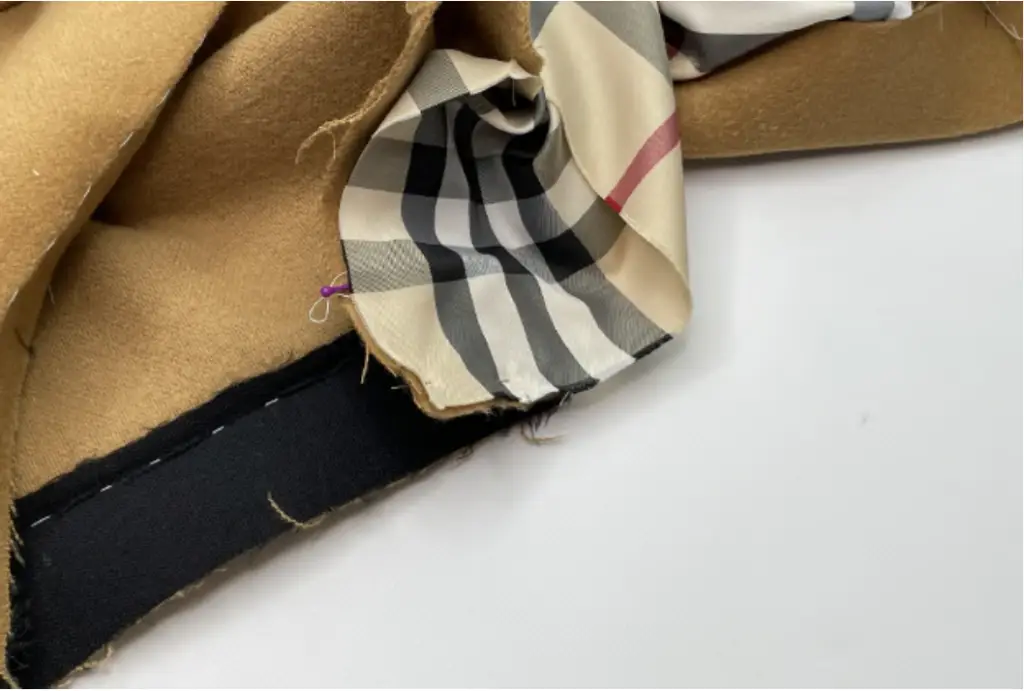
Pin the half of the zipper of the detachable hood to the Front facing detail. Pay attention to correct side matching. It is important that the half of the zipper on the left Front of the detachable hood matches to the half of the zipper on the left Front facing. The same matching on the right side.
Pin the zipper underlay over the zipper. Baste it.

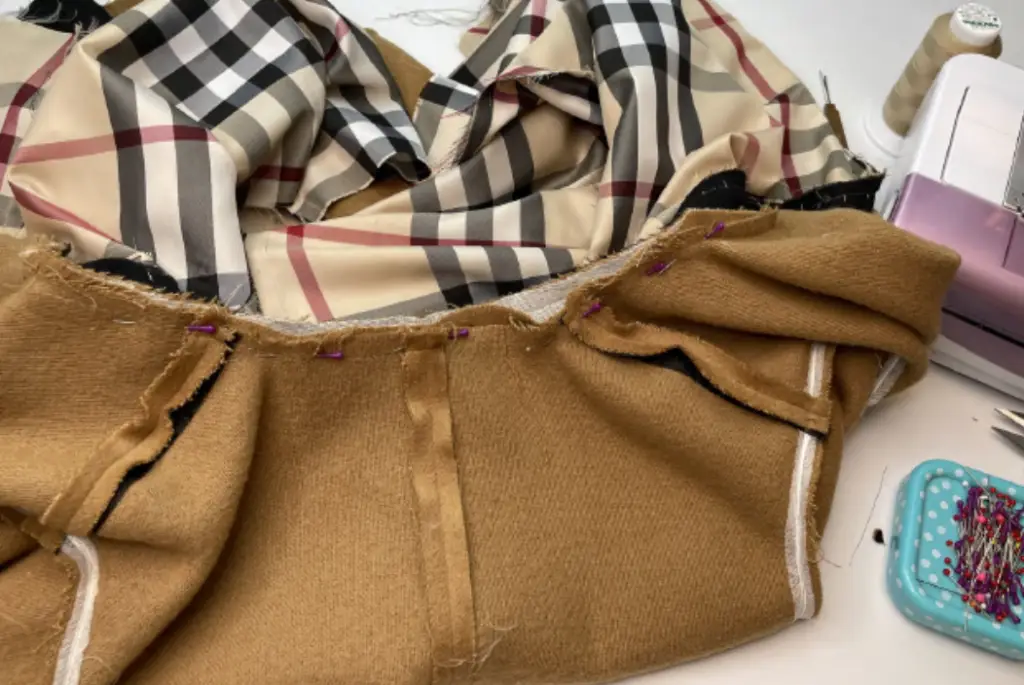
Pin the Front facing to the lining front with the right sides together. Baste it, if needed. Sew in place.
Pin the Front facing to the back facing along the shoulder edges, right sides together. Stitch it. Press seam allowances open.
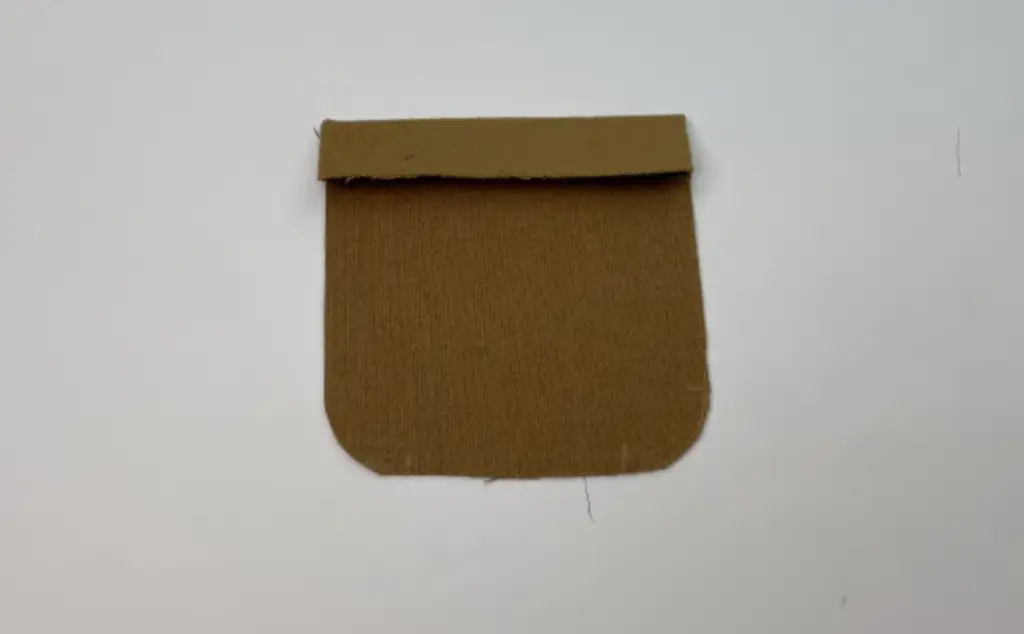
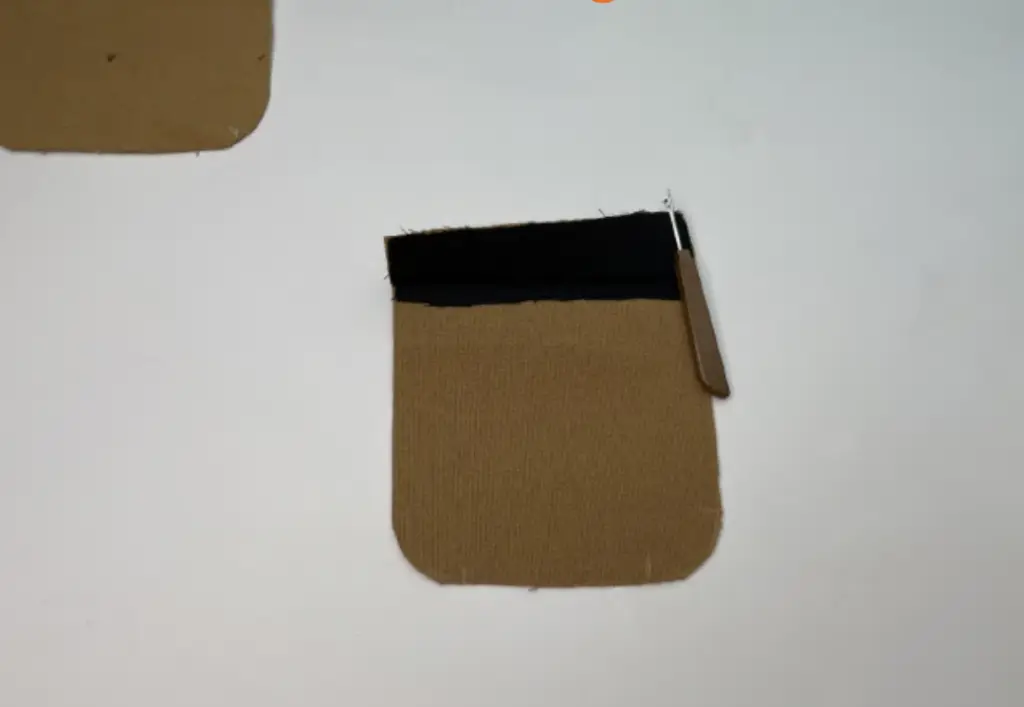
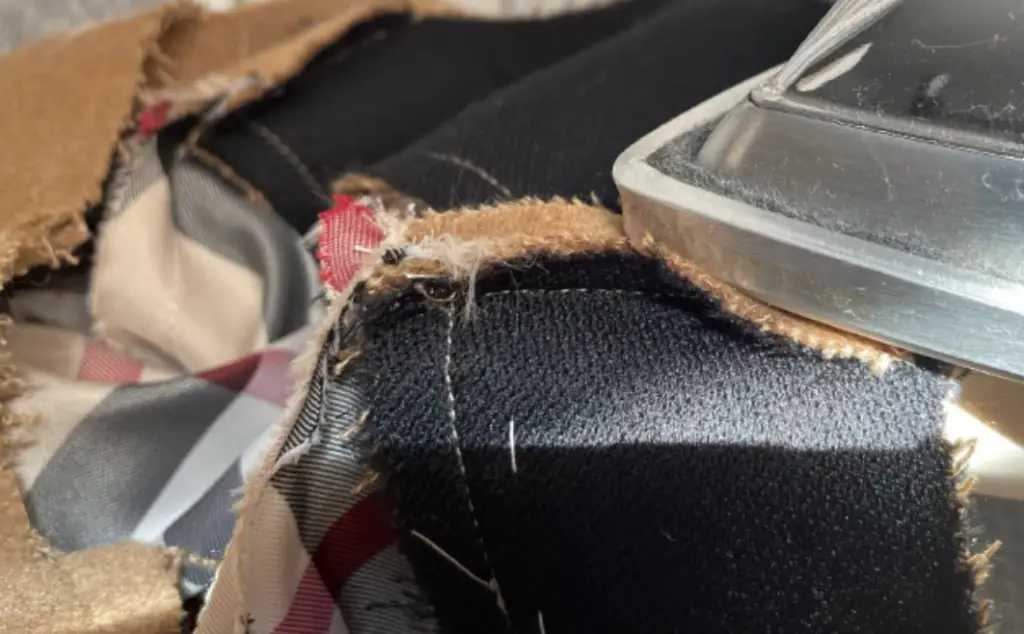
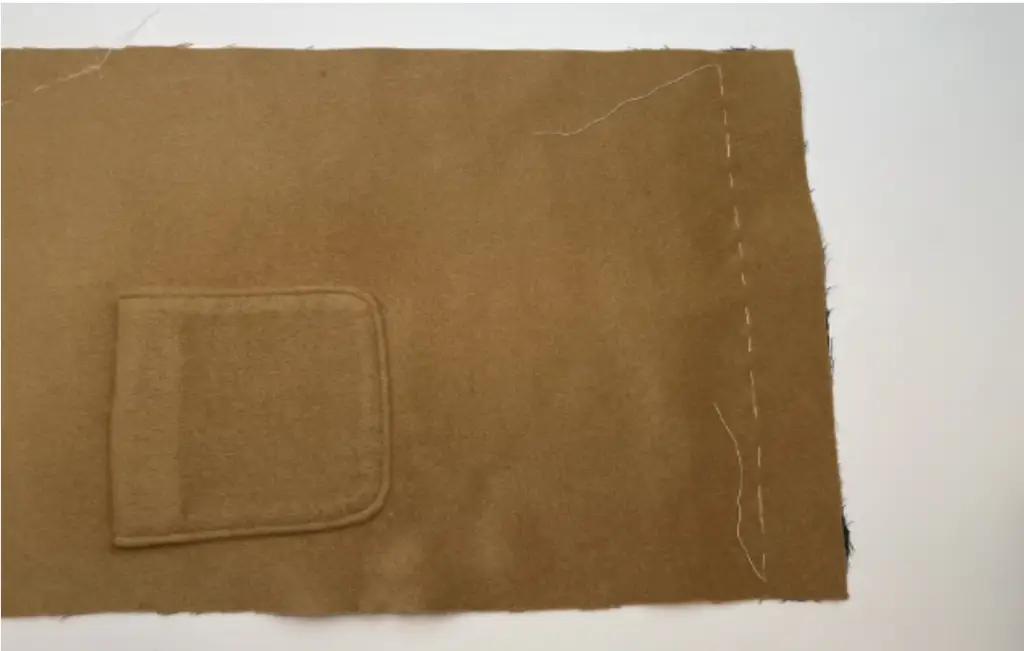
POCKET. Fold the upper hem of the pocket along the notches and press.
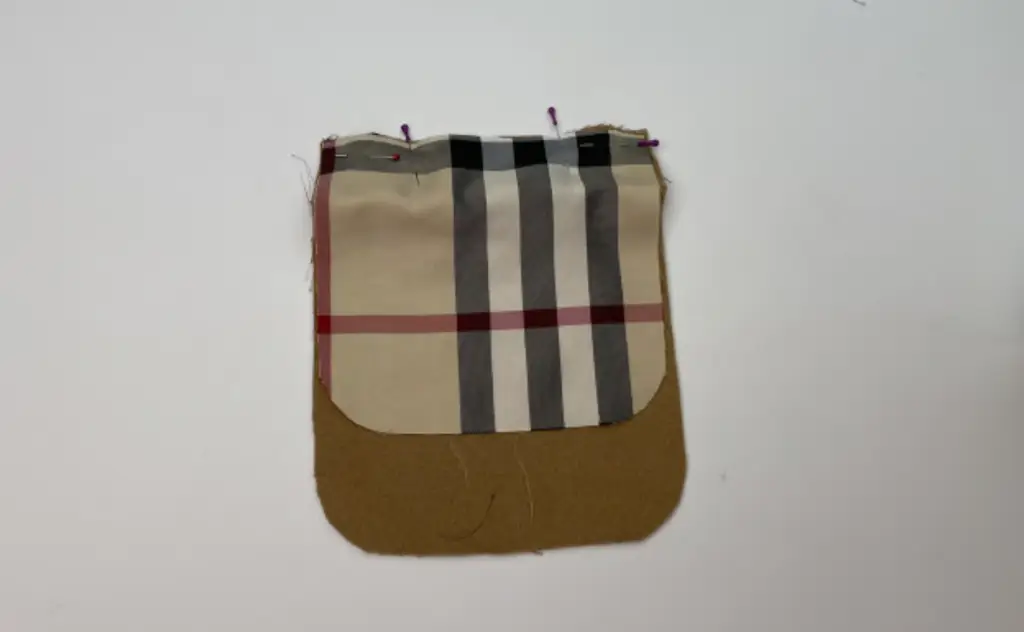
Pin the pocket lining to the pocket along the upper edge with the right sides together. Stitch it, leaving 3 cm (1,18 in) of turning out gap in the middle.
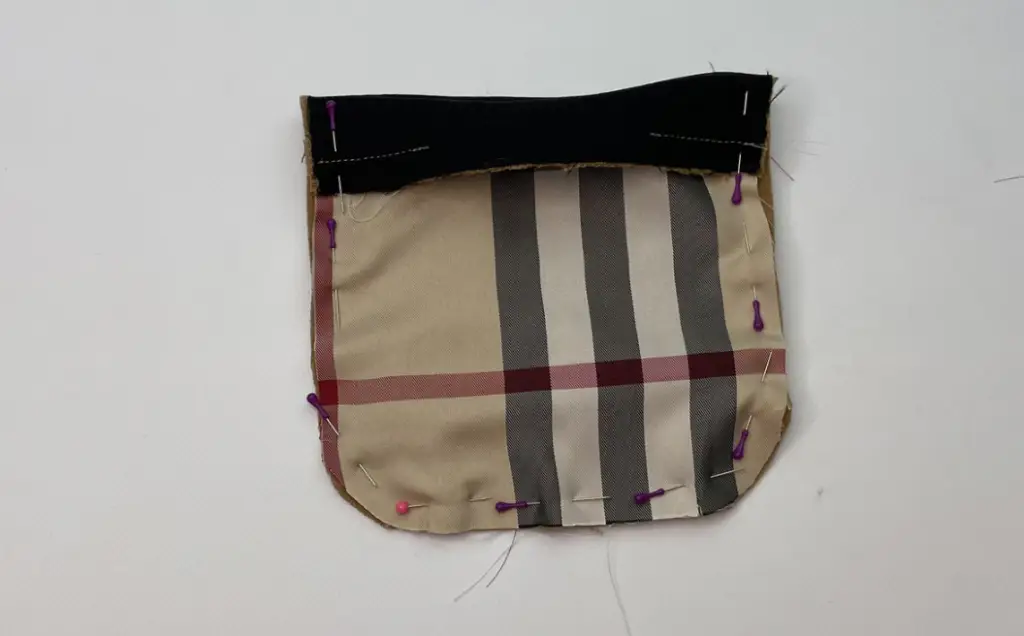
Pin the pocket lining to the pocket (main fabric) along the raw edge. Stitch it.
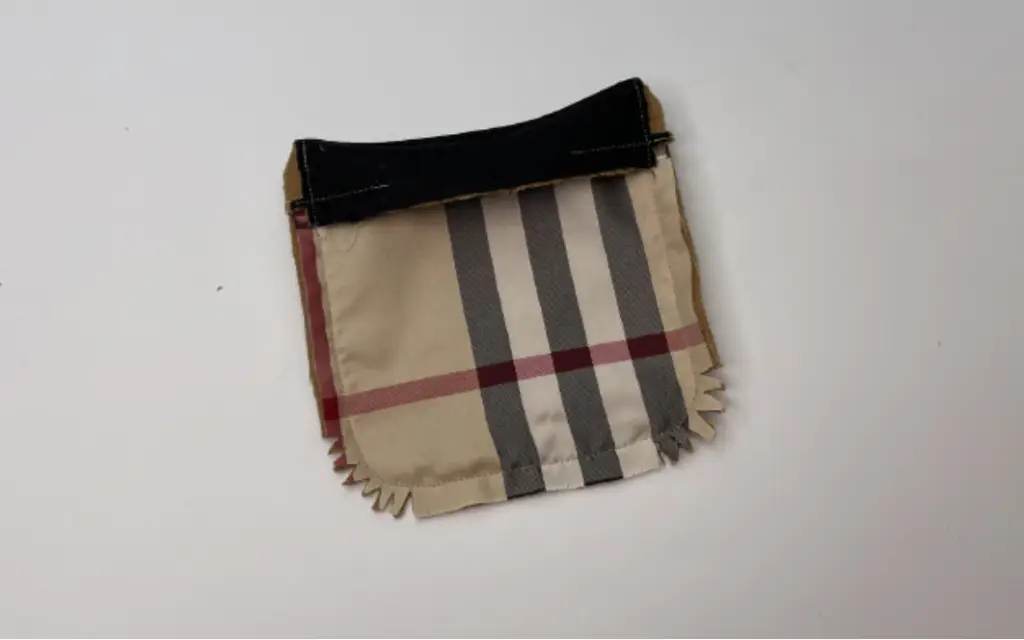
Clip all the curving edges.
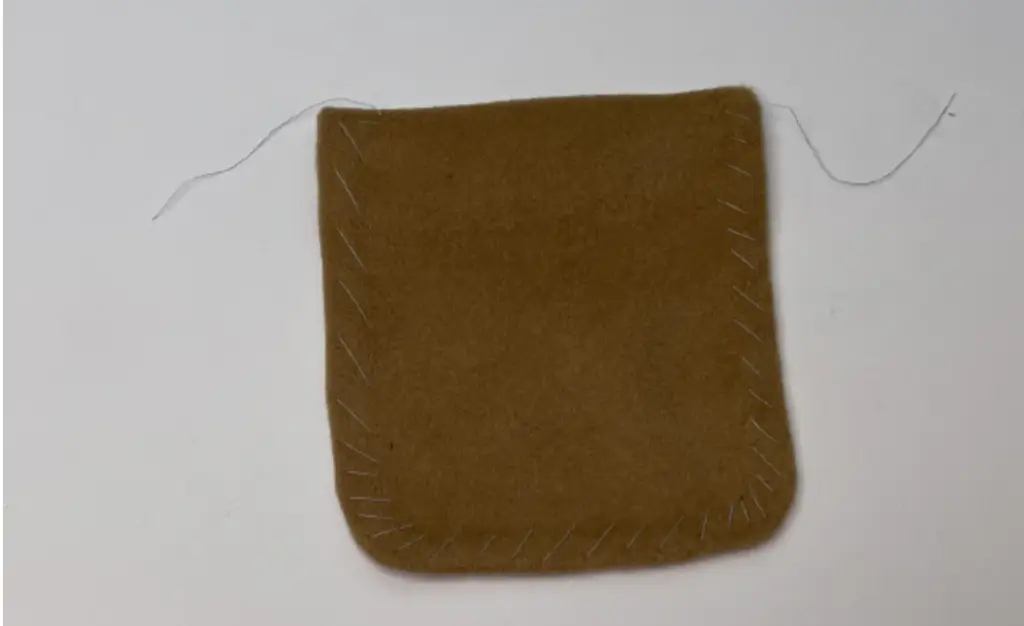
Turn the pocket to the right side. Baste stitch along the edge. Press it.

Close the gap with invisible stitch.
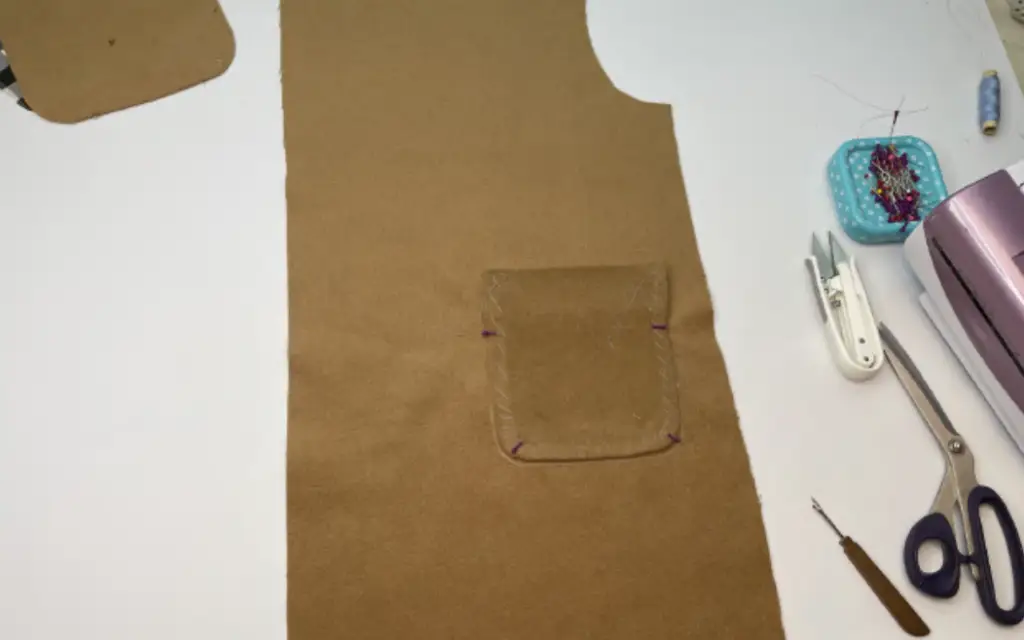
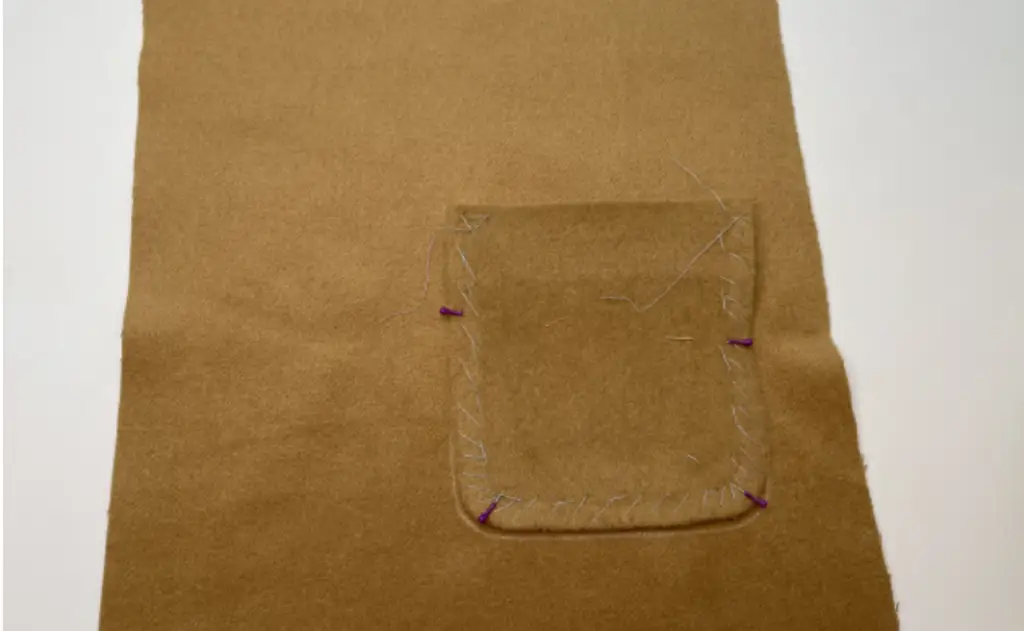
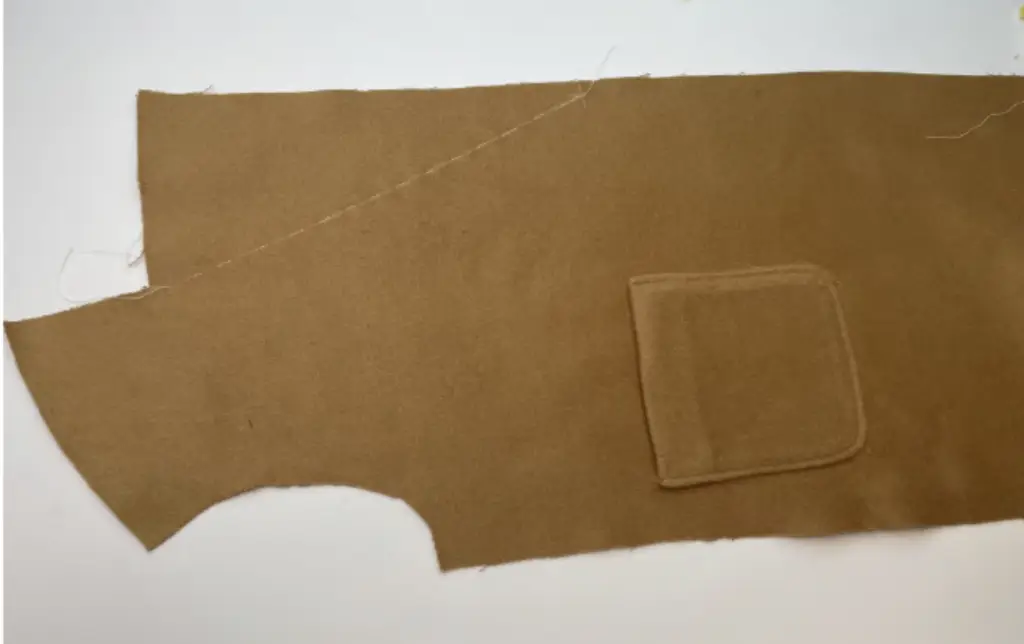
Chalk the pocket place on the Front panel. Pin the pocket along the lines.
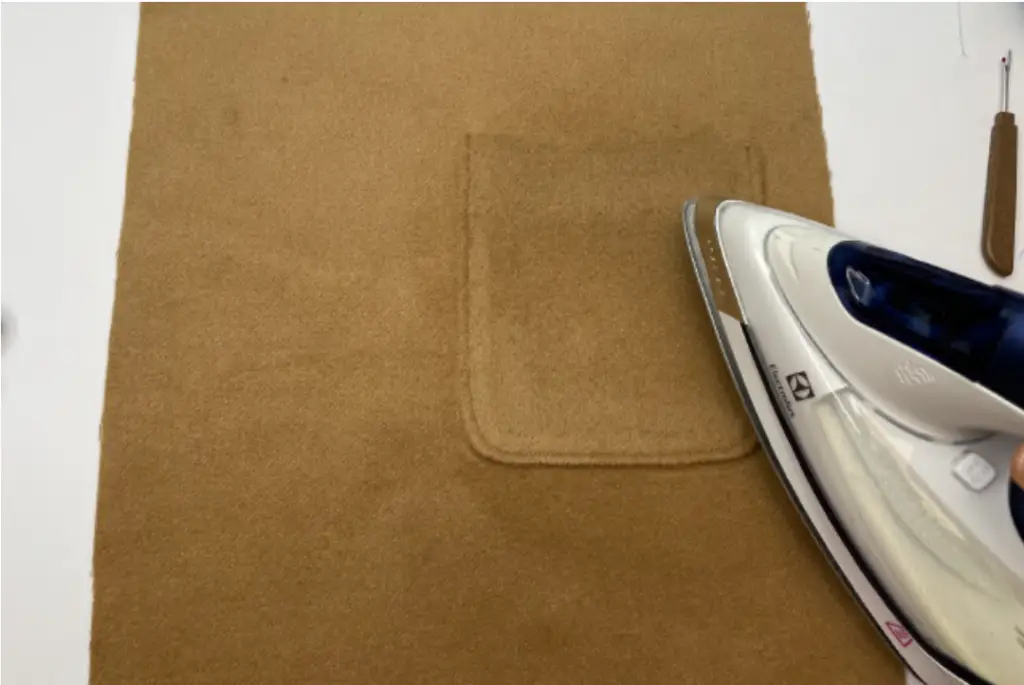
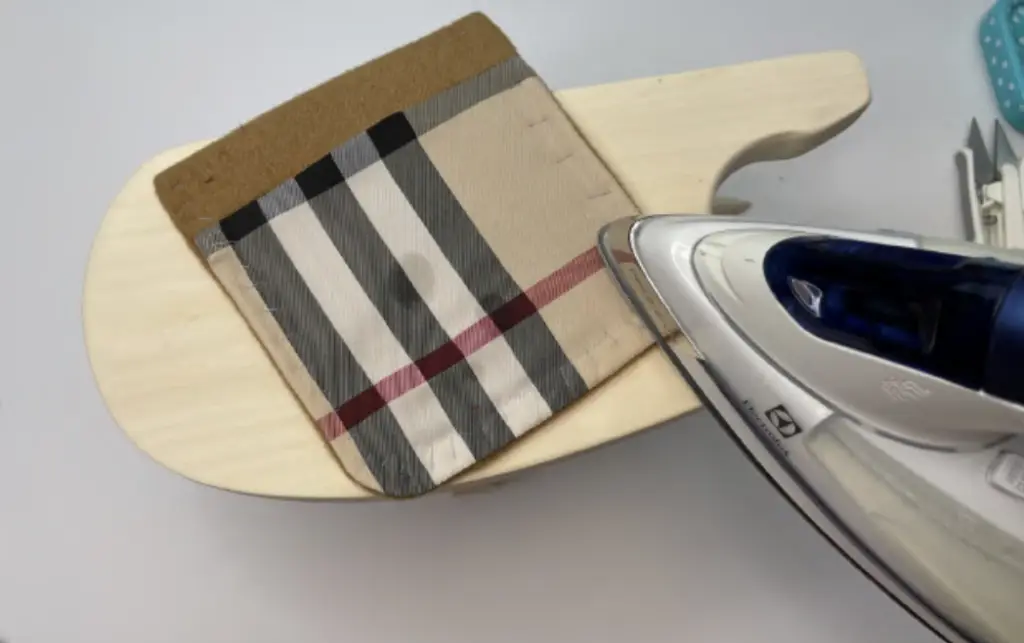
Sew the pocket in place 0,5 cm (0,2 in) from the edge. Press.
COLLAR. Pin the collar details together along the long edge, right sides together. Stitch it. Press seam allowances open.
Clip the corners.
Pin the collar details along the side short edges, right sides together. Stitch it. Press seam allowances open. Clip the corners.
Turn the collar to the right side, aligning the bottom raw edges. Make diagonal baste stitching along the side and upper edges.
Press it one more time.
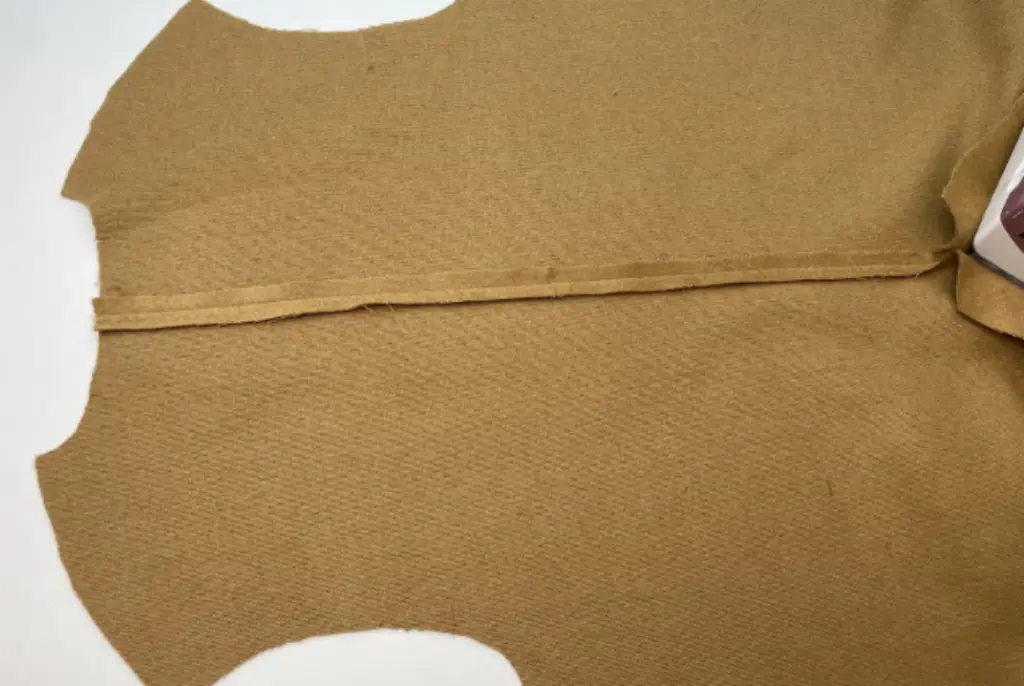
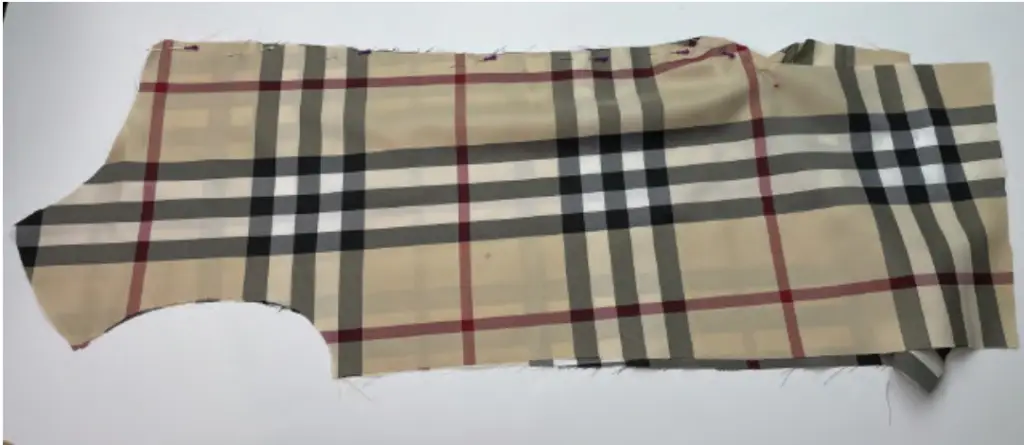
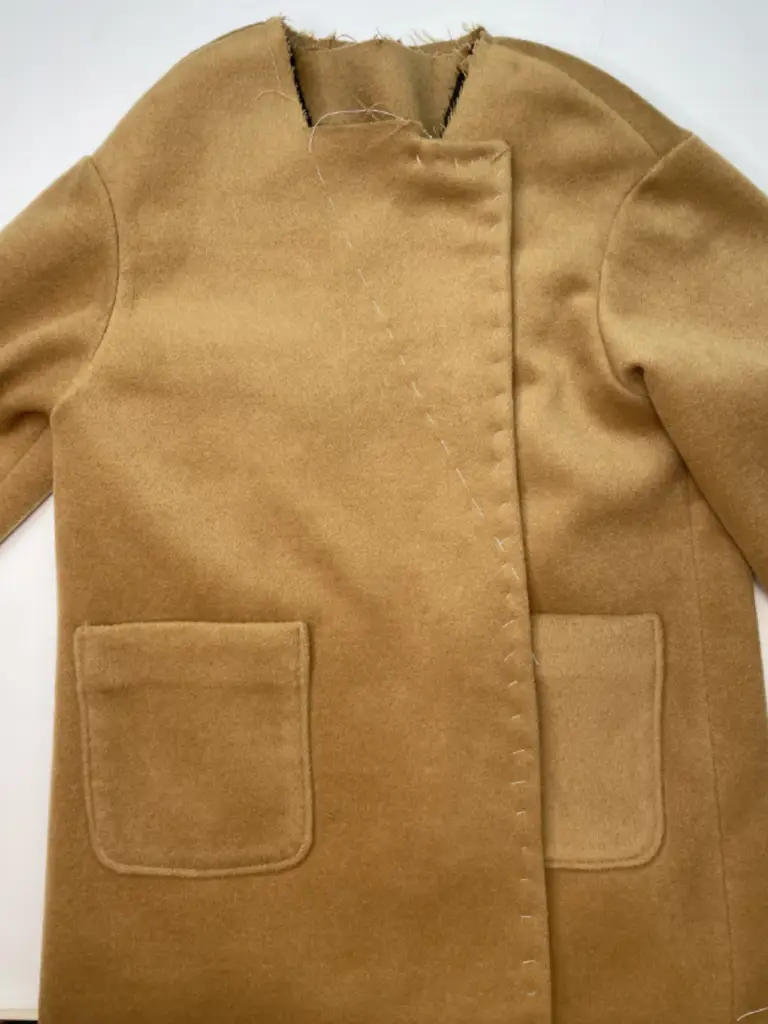
MAIN FABRIC. Pin the back details along the center edge, right sides together. Stitch it till the vent. Press seam allowances open.
Run stitches as the control lines for hem folding on the sleeves, fronts and back details, and lapel lines on the front panels.

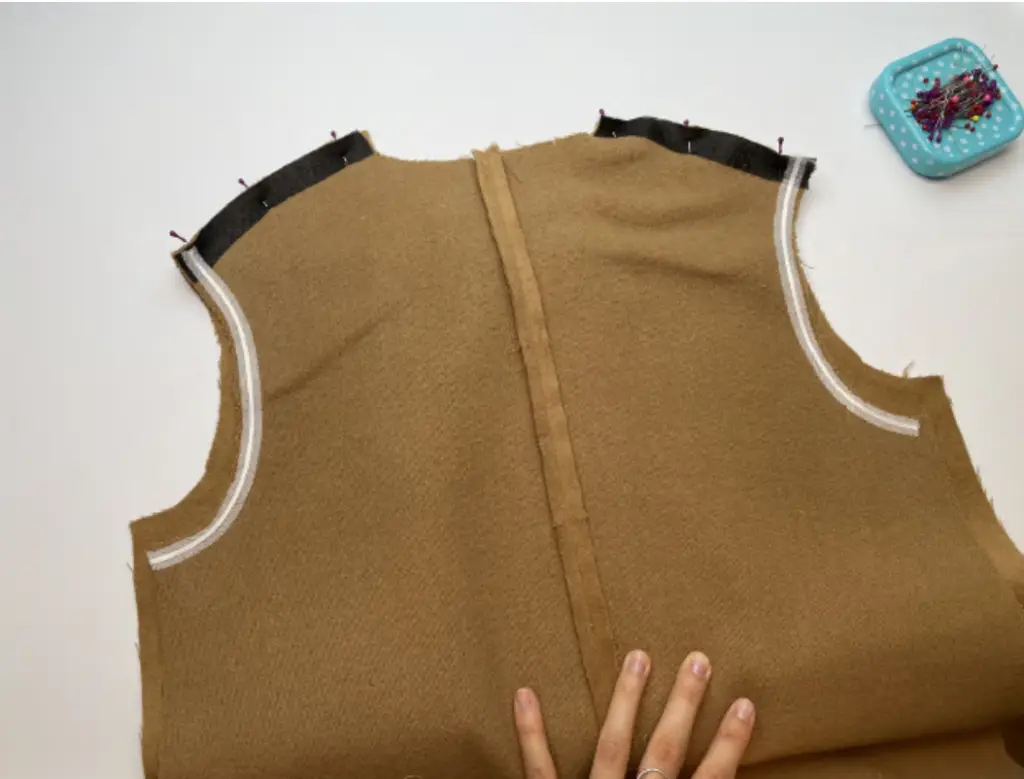
Pin the Front and Back along the shoulder edges with the right sides together. Sew in place.
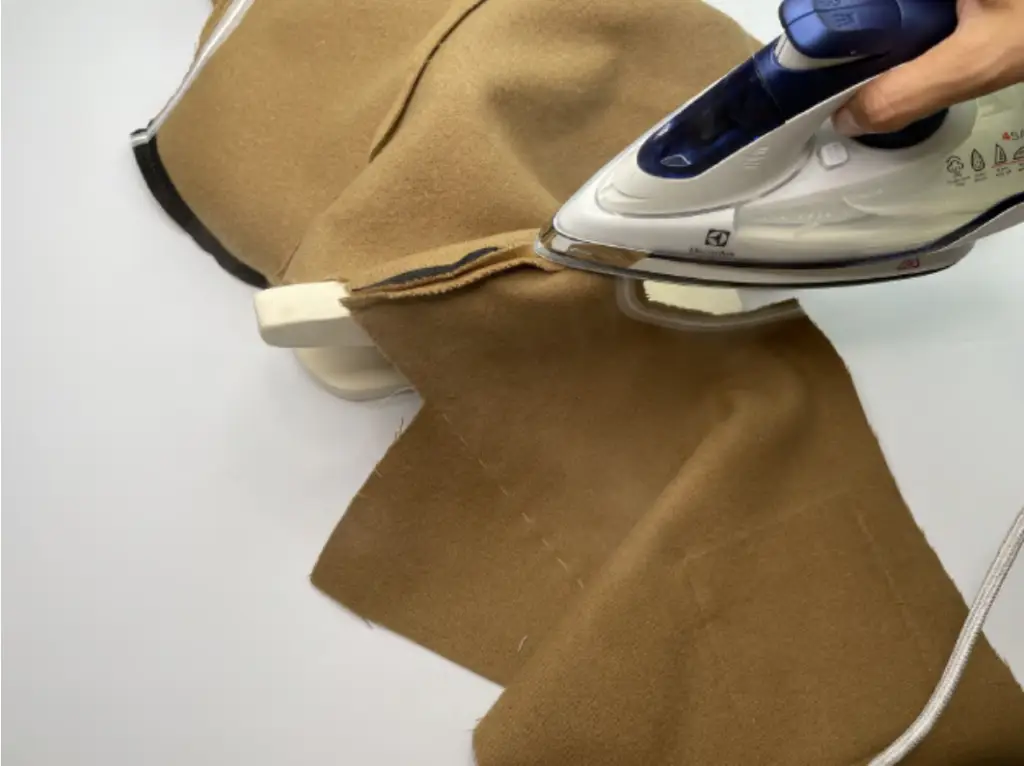
Press seam allowances open.

Pin the Front and Back along the shoulder edges with the right sides together. Sew in place.
Press seam allowances open.
Fold the sleeve bottom hem and press.
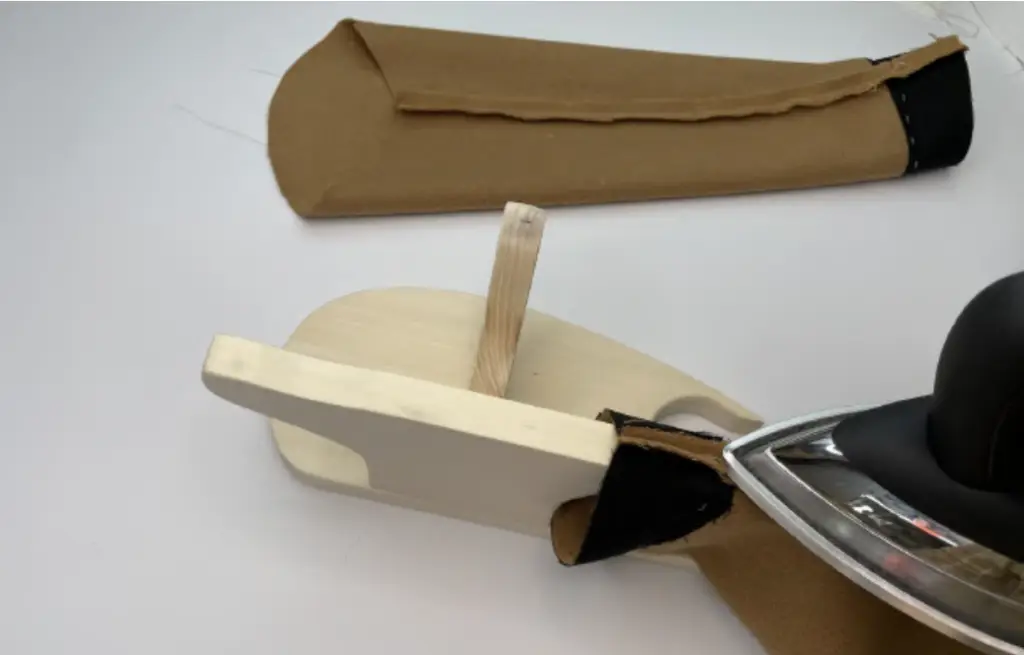
Fold the sleeve in half, right side together, and pin its side raw edges. Stitch it.
Press seam allowances open.

Pin the sleeve into the armhole, aligning the notches. Sew in place. Trim sleeve’s seam allowances.
Press seam allowances to the sleeve.

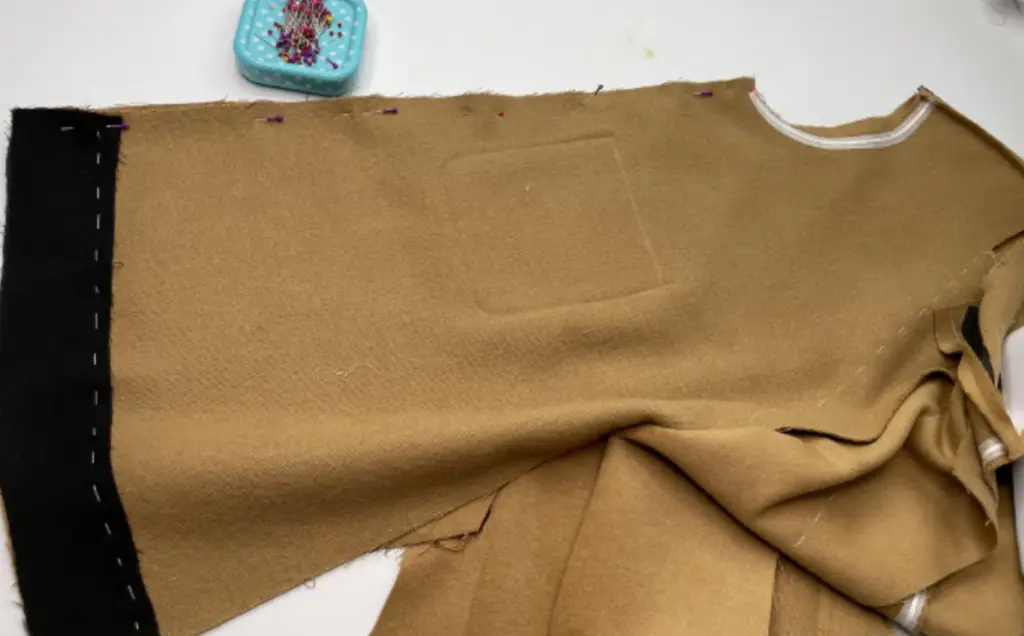
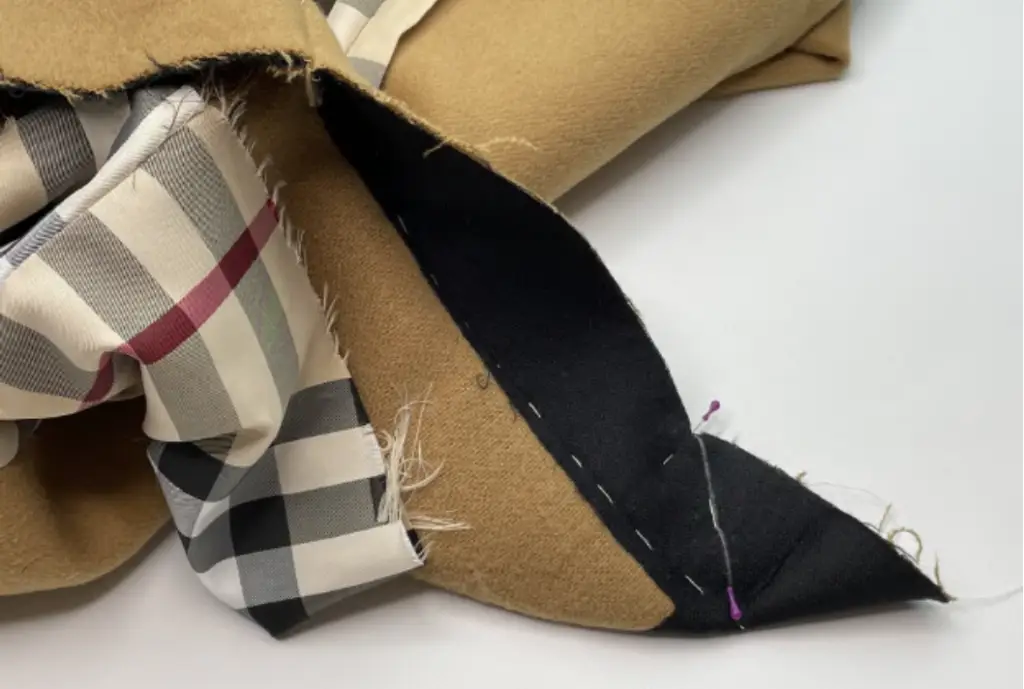
Pin the Front facing to the garment along the center edge and upper hem up to the marking (notch). Right sides together. Sew in place, not reaching 1 cm (0,39 in) till the bottom hem of the Front facing.Press seam allowances open. Trim Front facing’s seam allowances to reduce bulk.

Clip the allowances at the upper hem 0,1 cm (0,039 in) to the seam, where the marking is. Clip corners.
Turn the garment to the right side.
Make diagonal baste stitching along the side and upper edges.
Press it.
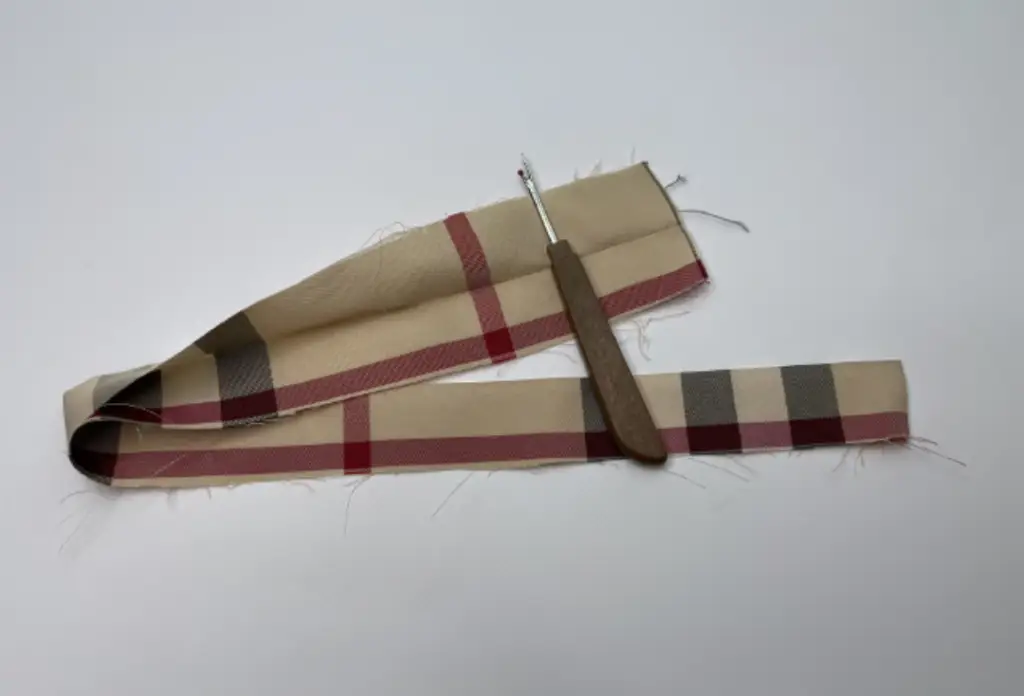
Make a loops for buttons from the lining. Fold the details in half and stitch along the side edge. Turn to the right side and press.
Fold the loop in half and pin to the lining’s neckline (shoulder seams and center).
Insert the collar into the neckline. Align the upper collar with the lining, bottom collar with the garment’s neckline. Side of the collar is straight at the seam of the front facing.
Make a notch at the corner of the Front panel, so to make it possible to line up the neckline.
Baste it if needed.
Sew in place the upper collar, and then bottom collar. Start stitching from the center back.

Whip stitch two collars together.
Make a catch stitch along the neckline, fixing collar to the garment so to avoid bubbles at the back.
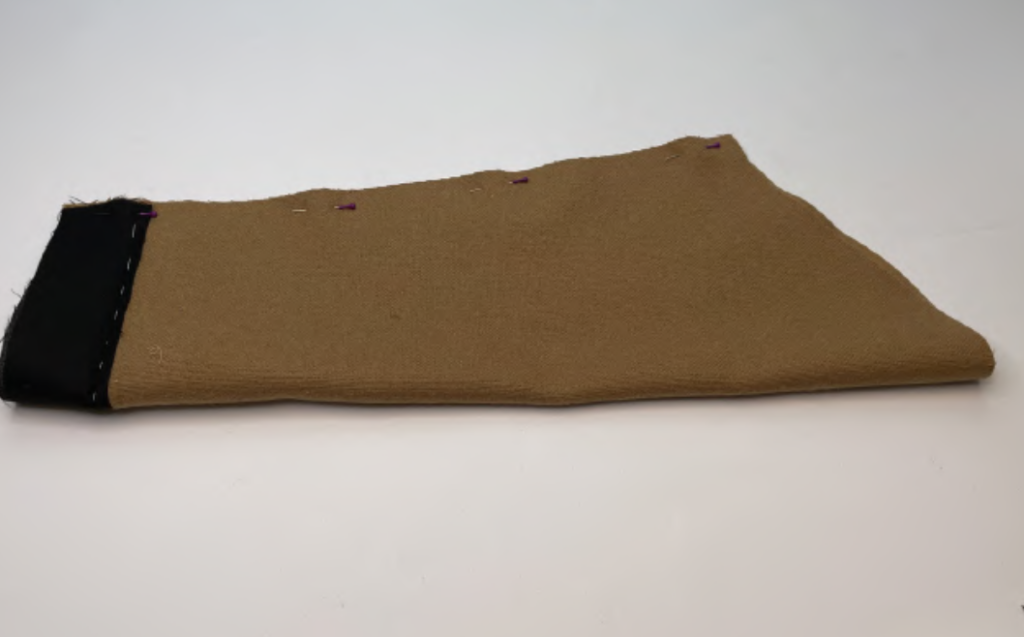
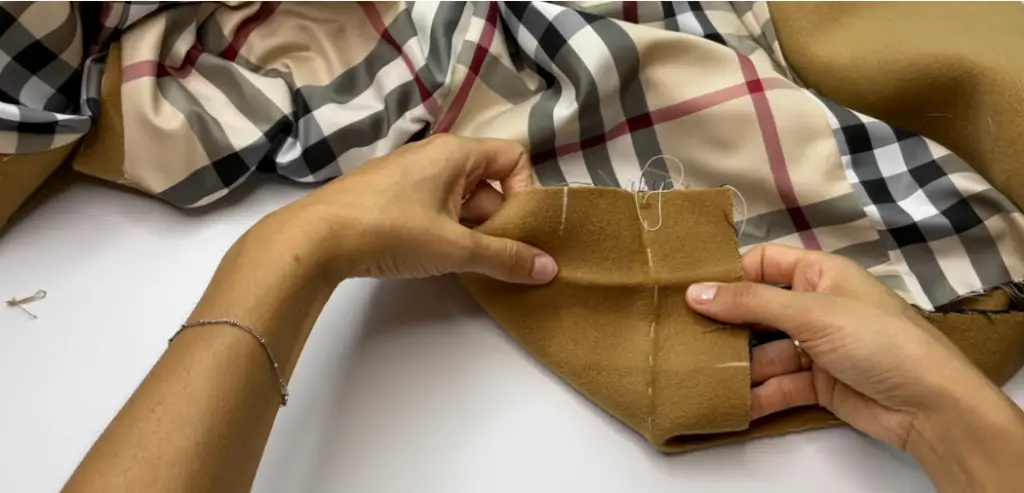
Pin the main fabric sleeve and lining sleeve along the bottom hem, right sides together. First, fold the bottom hem of the main fabric sleeve, then join the lining sleeve. Sew in place. Trim corners.
Make a catch stitch along the bottom hem of the sleeve, between the layers.
VENT. Pin the Lining and the vent along the upper edge, right sides together. Stitch it.
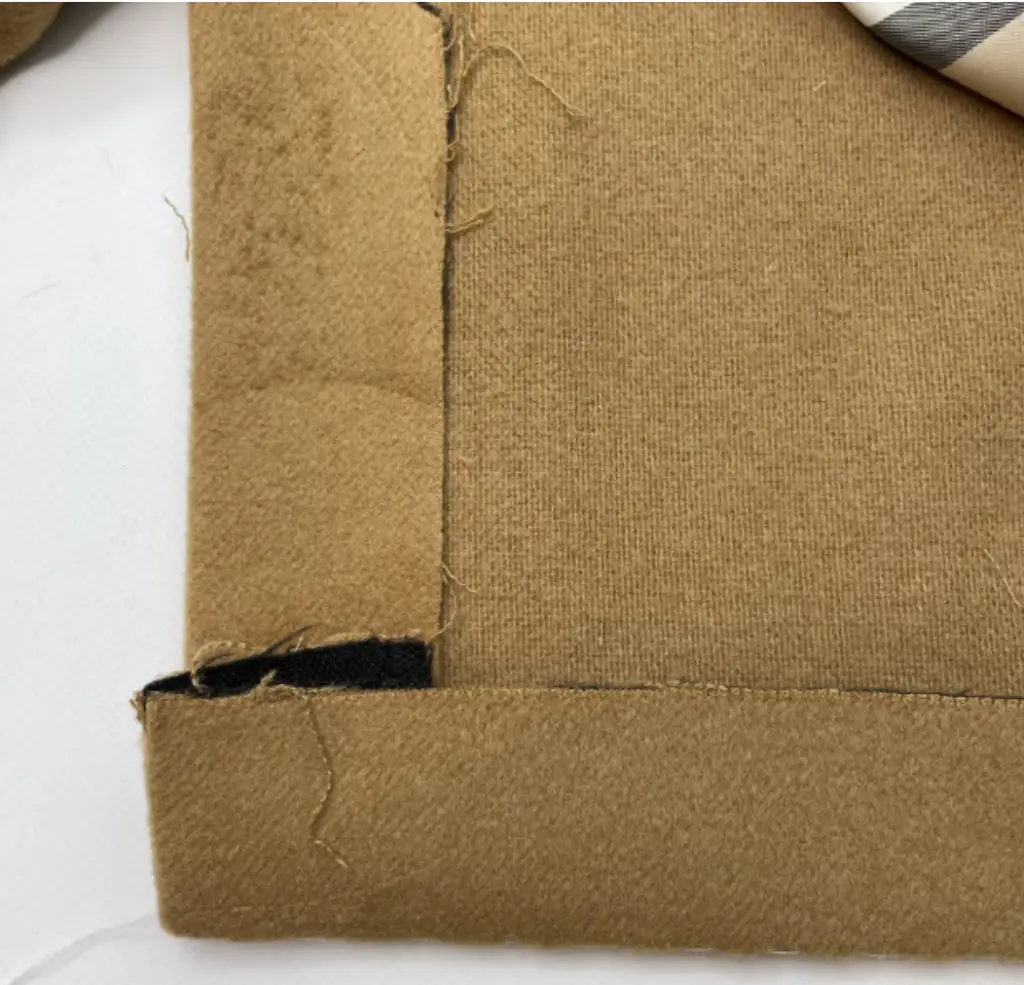

Fold and press the bottom hem of the coat. Inner vent fold to 0,3 cm (0,12 in) higher and press.
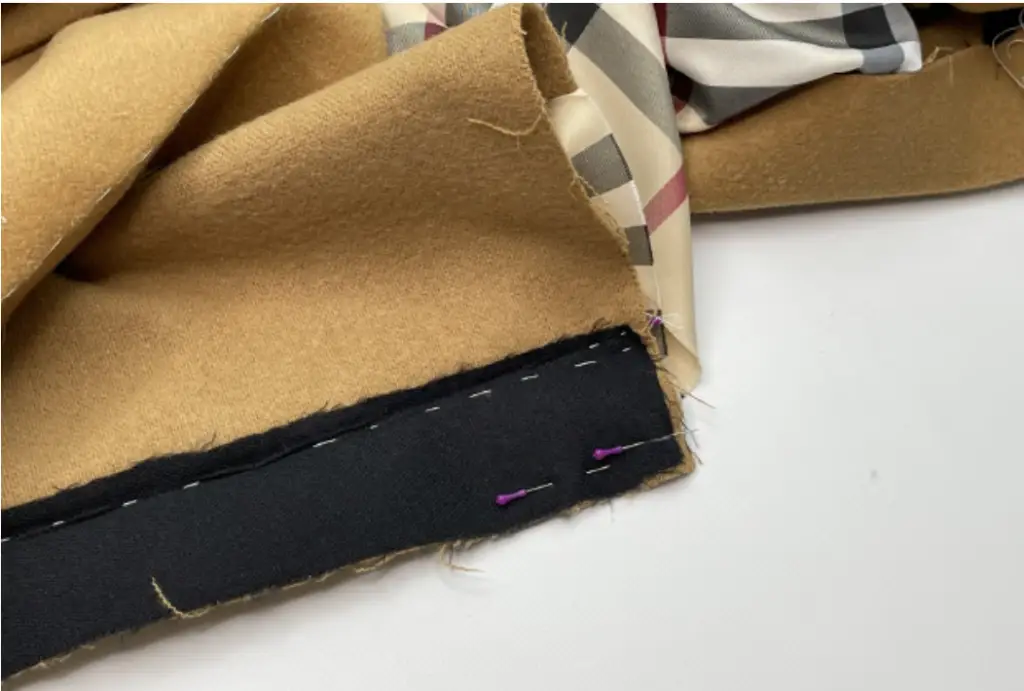
Pin the bottom hem of the inner vent and lining with the right sides together. Stitch 3-5 cm (1,18 – 1,97 in). Press seam allowances to the lining.
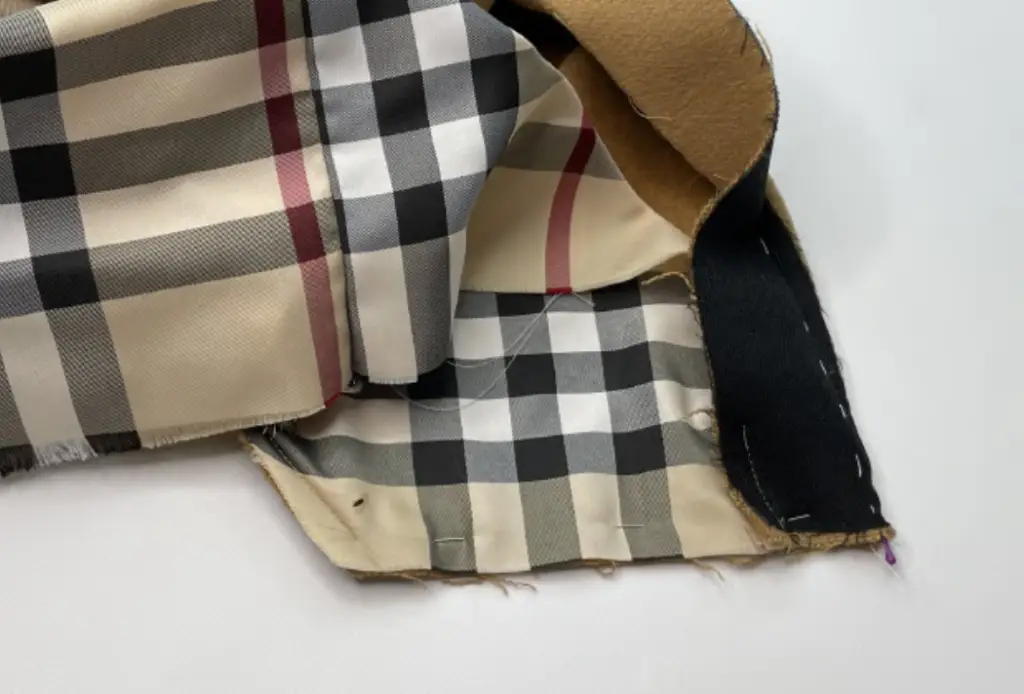
Pin the lining and the inner vent along the side edges. Right sides together. Stitch it.
Clip seam allowances at the corners. Turn to the right side. Press it.
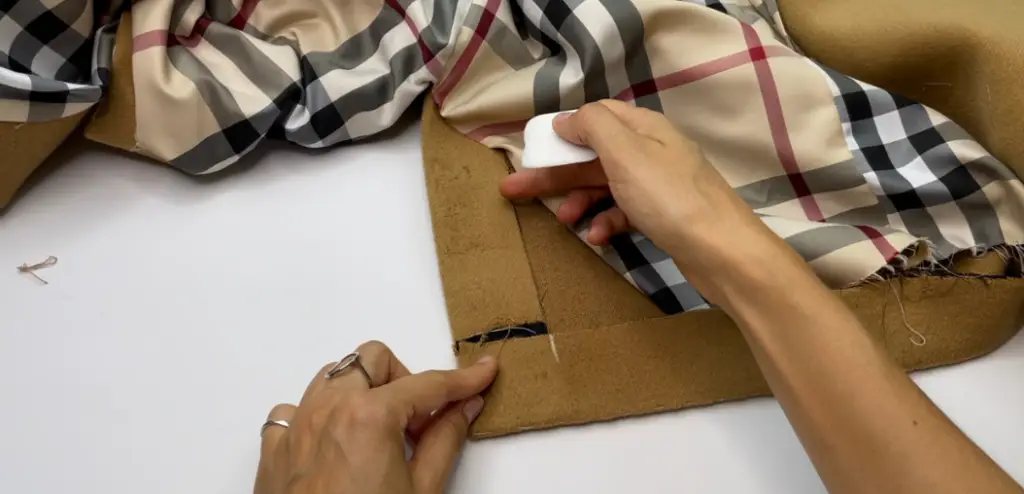
Press outer vent as it should be. Mark the lines.
Turn the vent to the wrong side and align the markings. Chalk the line up to the corner and stitch along this line.

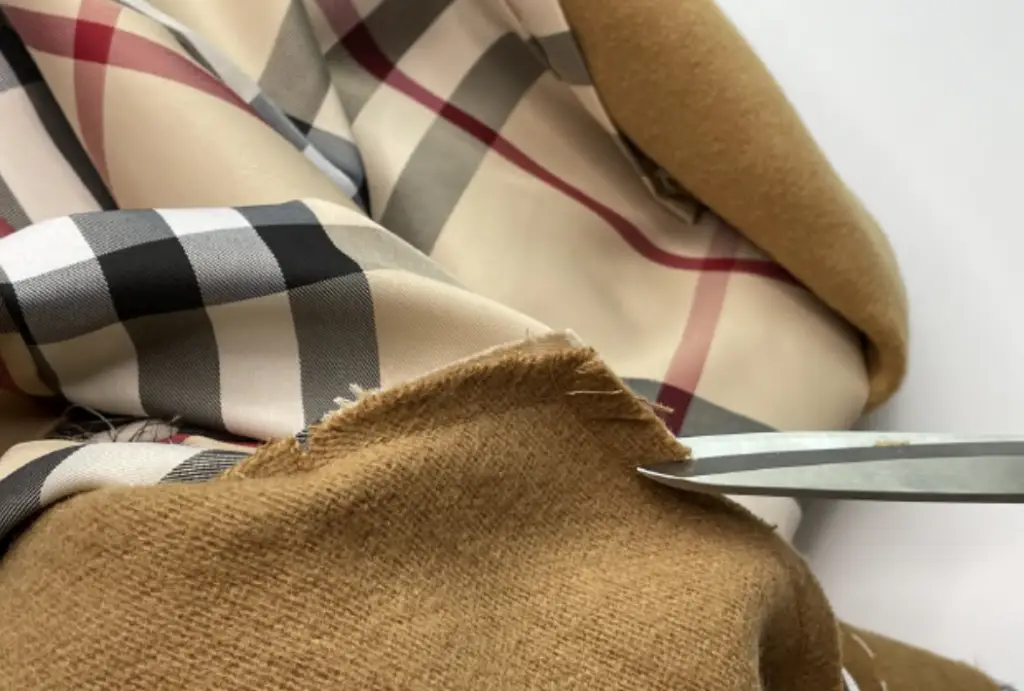
Cut off excess fabric, leaving 1 cm (0,39 in) allowances.
Press allowances open.
Trim corner.
Pin the lining and outer vent along the side edges and stitch, not reaching 1 cm (0,39 in) to the edge.
Press seam allowances to the lining.
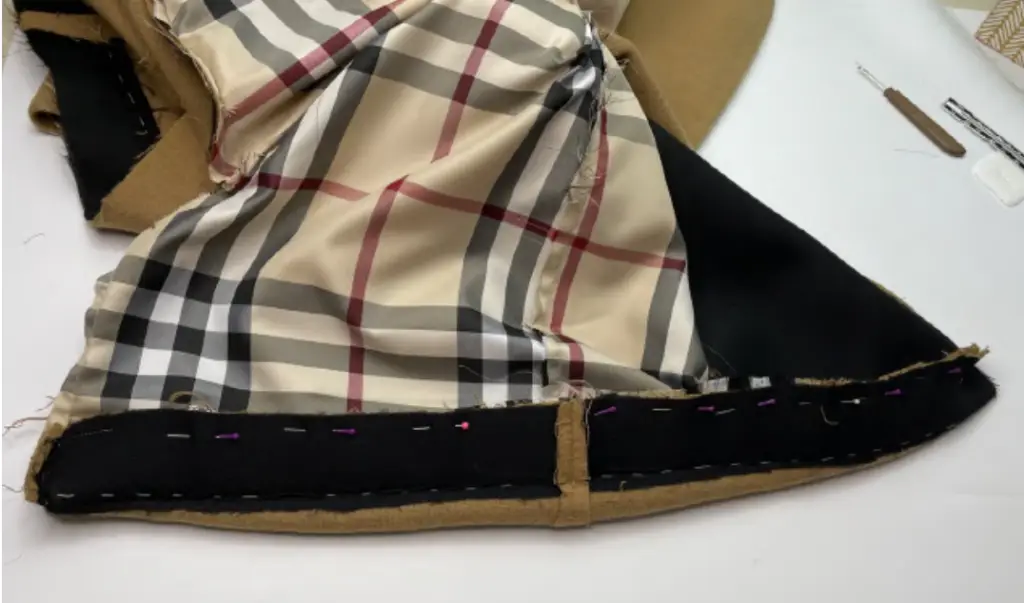
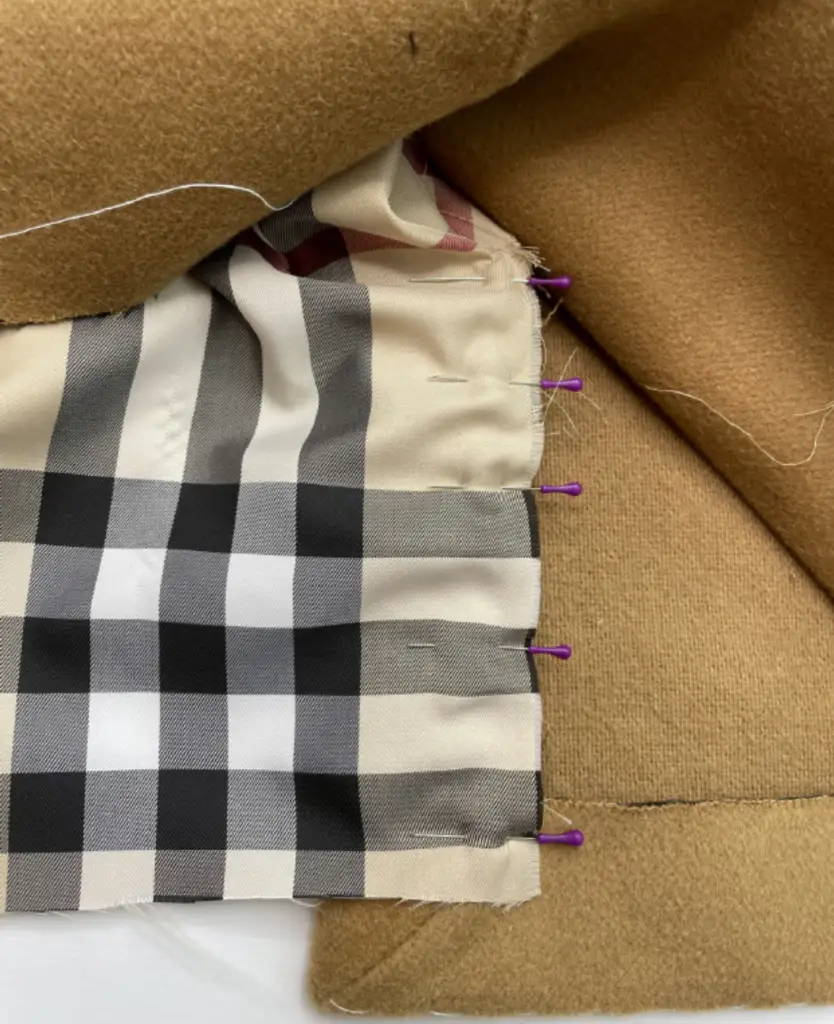
Pin the bottom hem of the lining and garment together, right sides together. Sew in place. Press seam allowances of the front facing open.
Pin the bottom hem and the front together and stitch.
Trim seam allowances.
Repeat the same with another side of the bottom hem.
Fix the lining to the garment with hand stitch: along the shoulder seams, side seams and back facing.
Turn the garment to the right side.
Close the turning out gap with invisible ladder stitch.
Lay the coat at the table , line up the vent.
Pin its upper edges.
Stitch it together diagonally.
Chalk the place of the buttonholes and buttons.
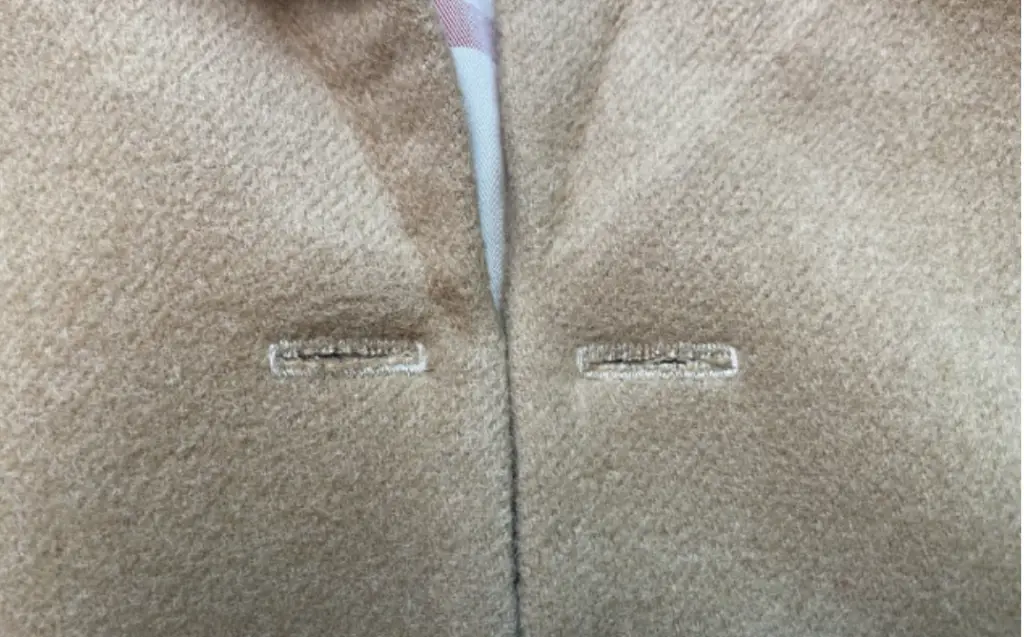
Stitch the buttonholes.
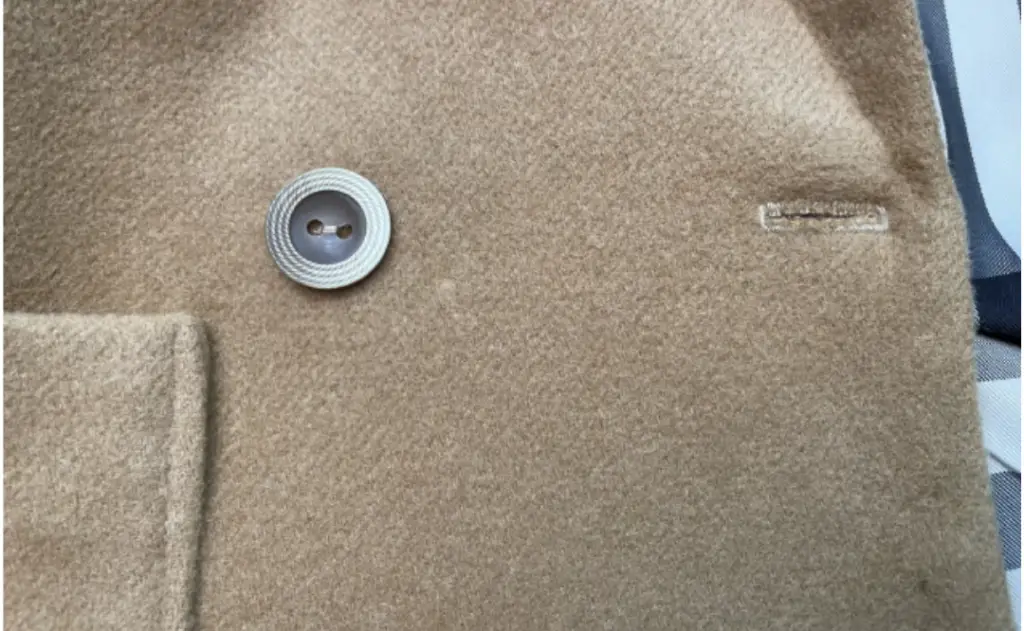
Sew buttons in place.
Fold the lapel along the basting stitches and press.