Create the stylish Lausanne women's jacket: detailed sewing instructions
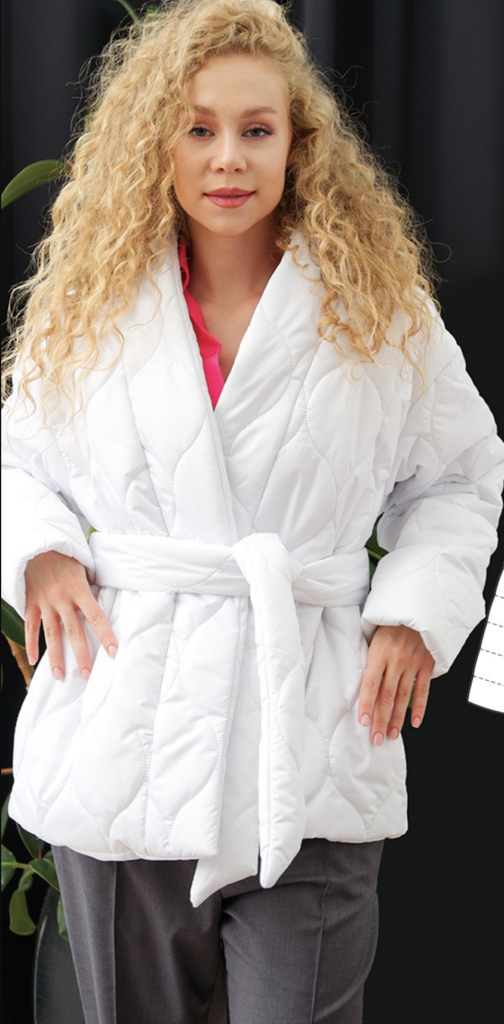
BEFORE SEWING
For sewing this jacket we suggest using a thin insulation of 100 g and a thin jacket fabric with a density of no more than 150 g.
For the jacket fabric, it is better to use special thin and sharp Microtex Needles and special foot (Presser feet with sliding sole). Very sharp pins are recommended in the process of cutting out parts from the membrane. Pin parts only within the allowances, as pin marks might remain on the fabric.
SUPPLIES
- Main fabric;
- Lining fabric;
- Insulation;
- Interfacing – 10 cm (3.94 in) with a width of 150 cm (59 in).
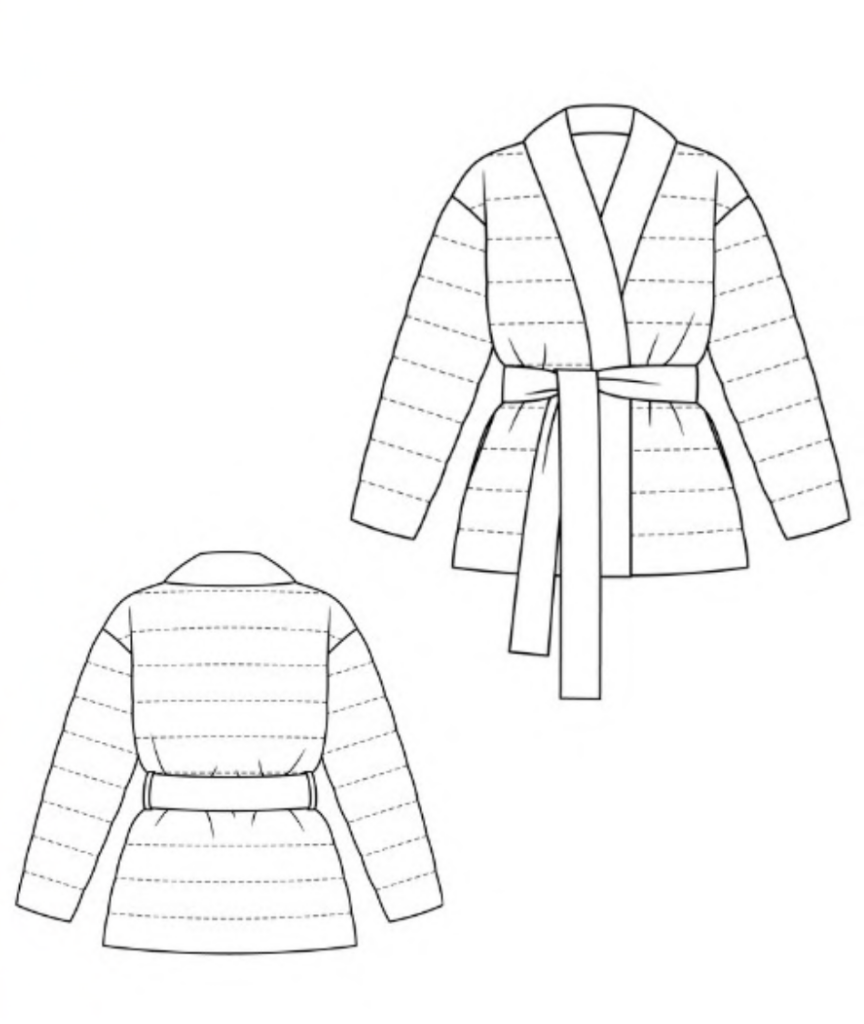
FABRIC REQUIREMENT (CM/IN)
for fabric width 1.40 m (55,12 in)
|
International Size \ European size |
XS / 36 |
S / 38 |
M / 40 |
L / 42 |
XL / 44 |
2XL / 46 |
3XL / 48 |
|---|---|---|---|---|---|---|---|
| Main fabric, m / in | 2,36 / 92,9 | 2,42 / 95,3 | 2,47 / 97,2 | 2,53 / 99,6 | 2,58 / 101,6 | 2,64 / 103,9 | 2,70 / 106,3 |
| Lining fabric, m / in | 1,45 / 57,1 | 1,50 / 59,1 | 1,55 / 61 | 1,60 / 63 | 1,64 / 64,6 | 1,69 / 66,5 | 1,74 / 68,5 |
MEASUREMENTS OF THE FINISHED PRODUCT (cm / in)
|
International Size \ European size |
XS / 36 |
S / 38 |
M / 40 |
L / 42 |
XL / 44 |
2XL / 46 |
3XL / 48 |
|---|---|---|---|---|---|---|---|
| Back length | 67,8 / 26,7 | 68,3 / 26,9 | 68,8 / 27,1 | 69,3 / 27,3 | 69,8 / 27,5 | 70,3 / 27,7 | 70,8 / 27,9 |
| Shoulder length + sleeve length | 71,5 / 28,1 | 72,2 / 28,1 | 72,9 / 28,7 | 73,6 / 29 | 74,3 / 29,2 | 75,0 / 29,5 | 75,6 / 29,8 |
| Back width under armhole | 57,3 / 22,5 | 59,3 / 23,3 | 61,3 / 24,1 | 63,3 / 24,9 | 65,3 / 25,7 | 67,3 / 26,5 | 69,3 / 27,3 |
SPECIFICATIONS
(№ – Name – Pieces’ quantity)
Main fabric:
1 – Front – 2
2 – Back – 1
3 – Shawl collar – 2
4 – Shawl collar facing – 2
5- Belt – 1
6 – Back facing – 1
7 – Loop – 2
8 – Sleeve – 2
Lining fabric
9 – Front – 2
10 – Back – 2
11 – Sleeve – 2
12 – Pocket piece – 4
Attention! All our patterns already contain 1 cm / 0.39 in seam allowances.
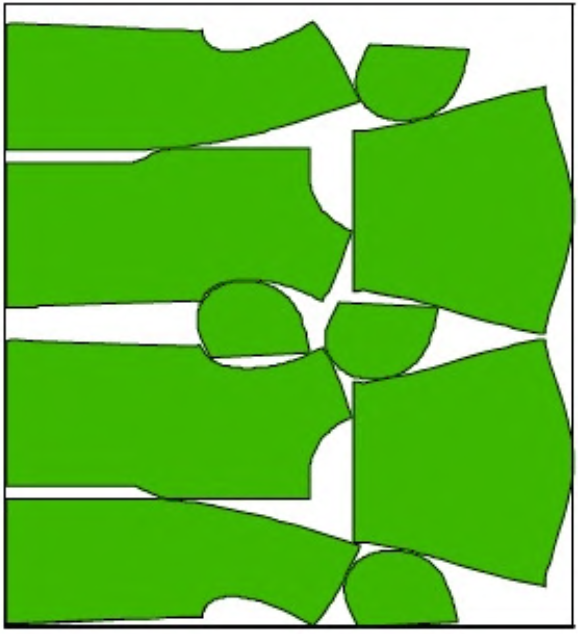
LAYOUT OF PARTS ON FABRIC
Main fabric
Width of fabric — 1.40 m (55,1 in)
Size — 36 (XS)
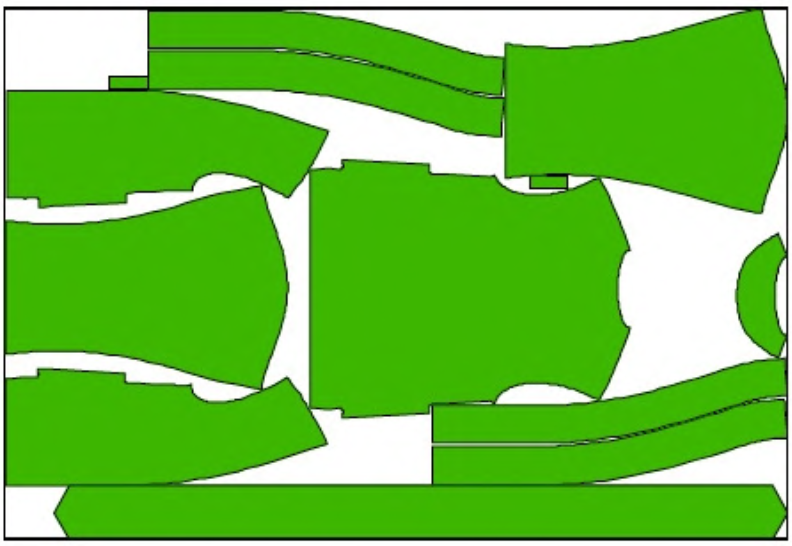
Size — 48 (XXXL)
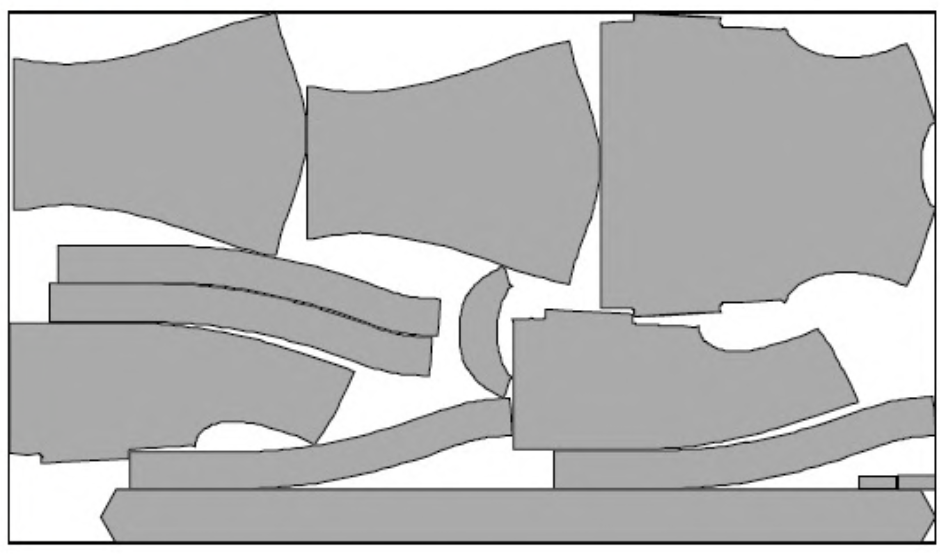
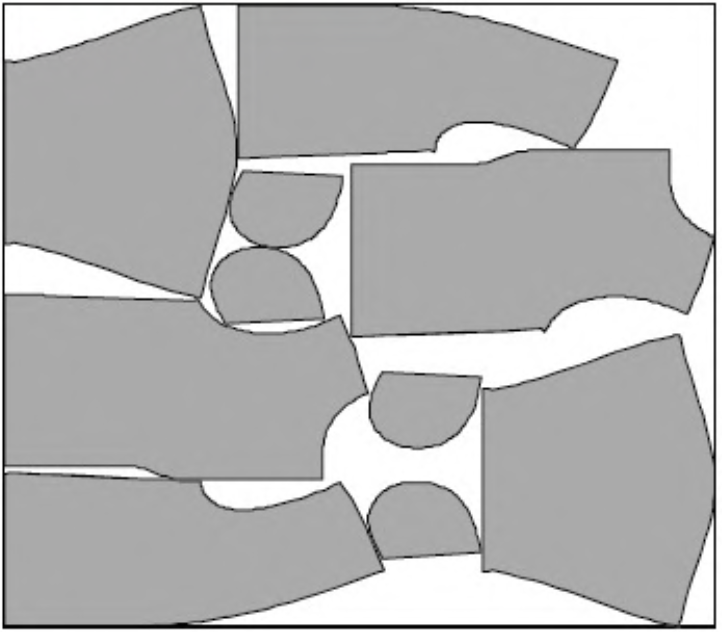
Lining fabric
Width of fabric — 1.40 m (55,1 in)
Size — 36 (XS)
Size — 48 (XXXL)
SEWING INSTRUCTIONS
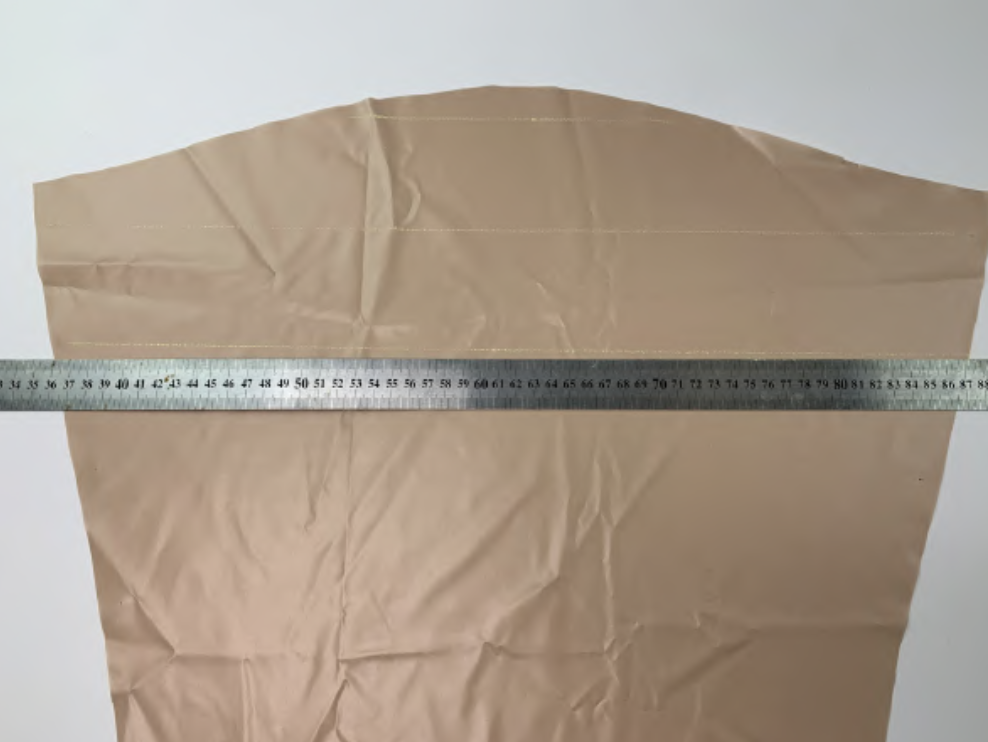
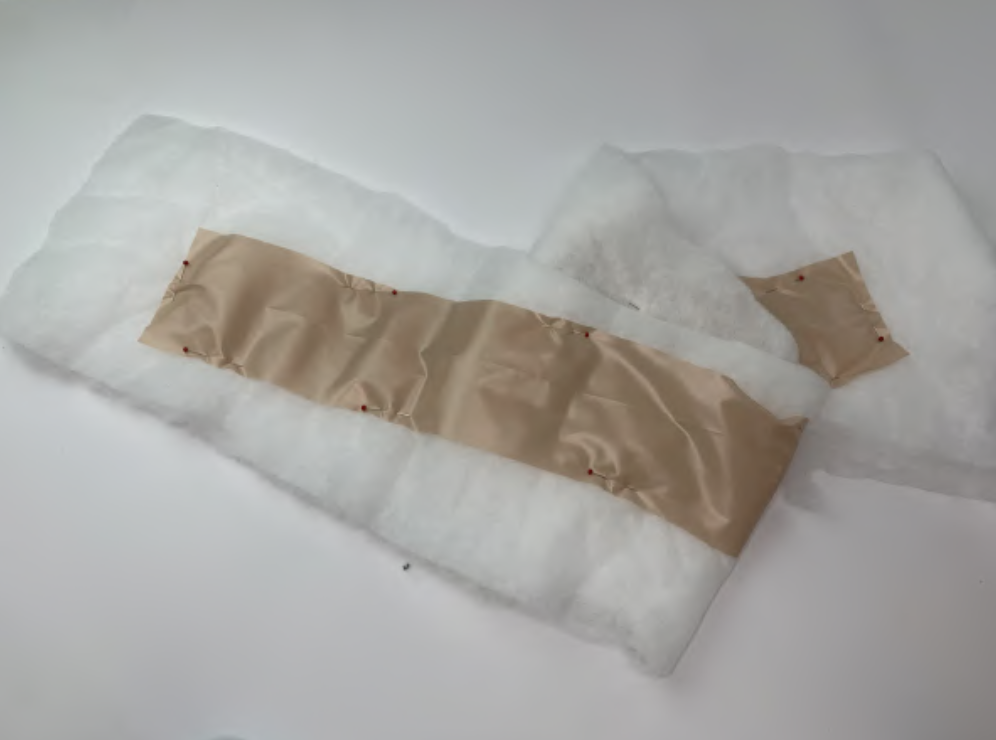
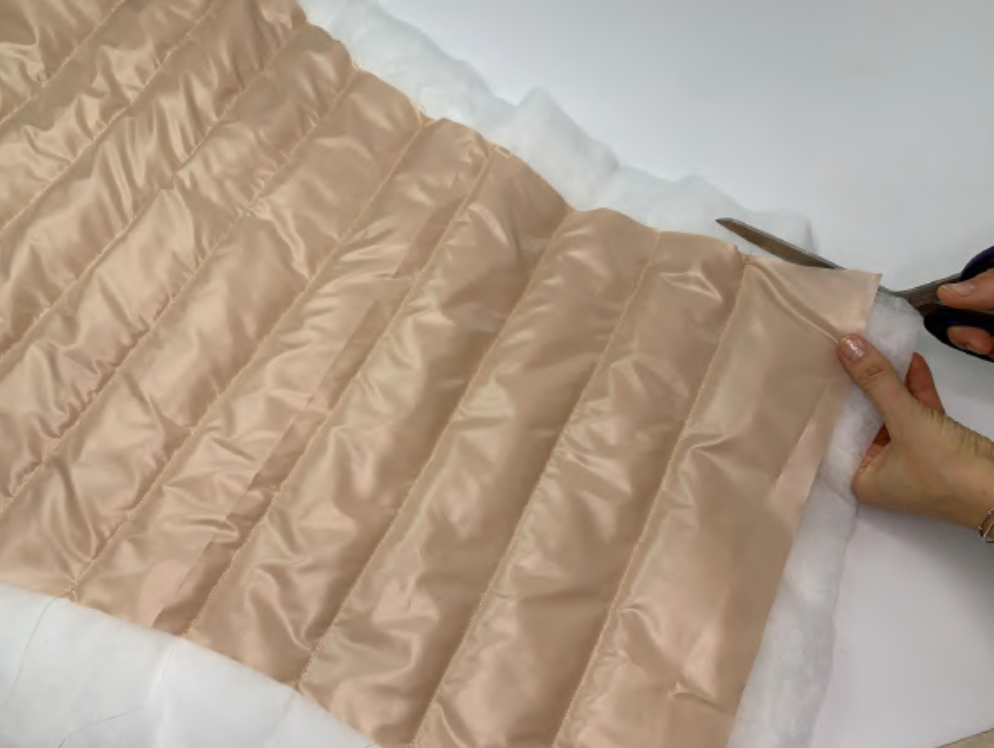
Mark the straight quilting lines with chalk on the cut pieces of the fronts, sleeves and back. Cut out insulation with a margin of 3-5 cm around the edges, pin it to the wrong side of the front / back.

Quilt along the lines. If desired, fix the insulation around the perimeter of the parts. Cut off excess insulation.
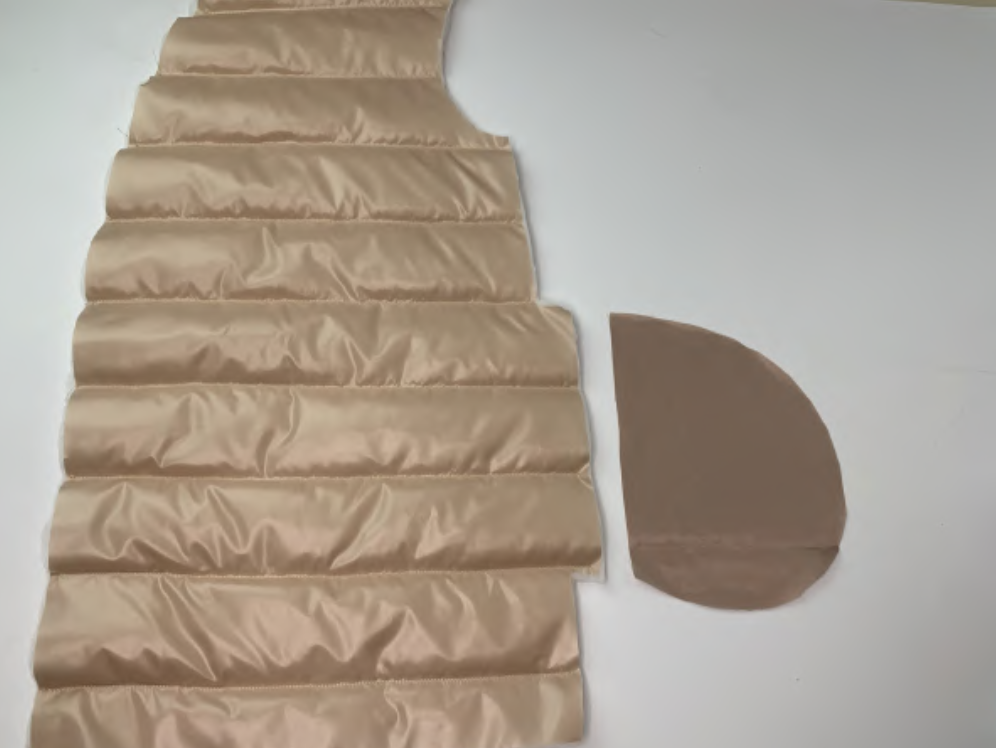
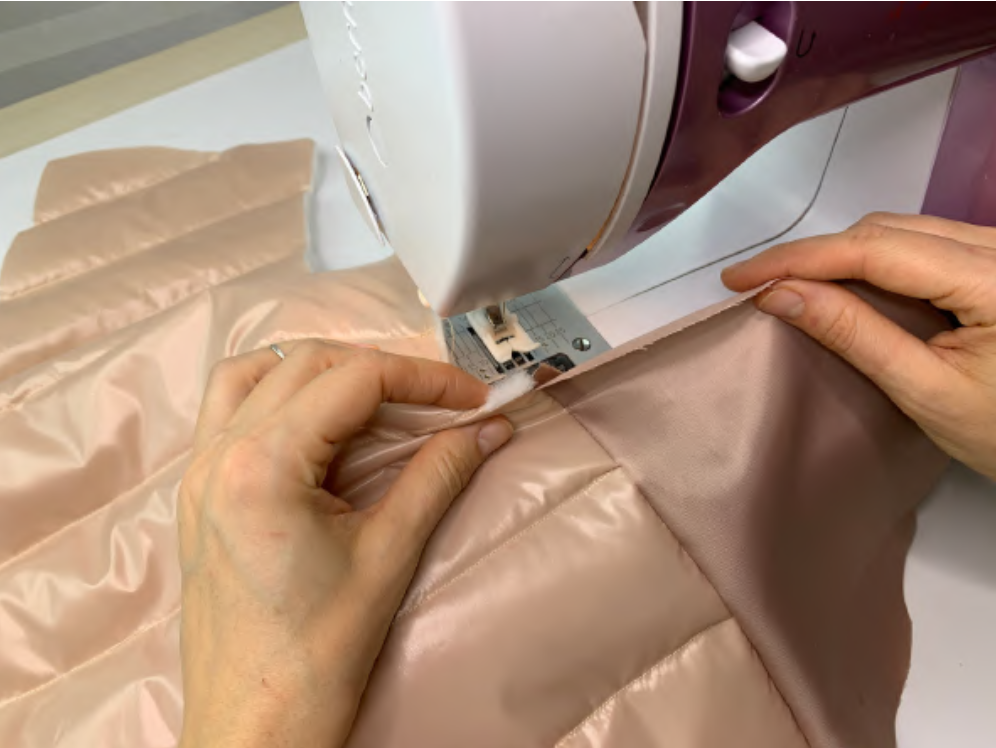
Pin the pocket piece to the front right sides together. Stitch them. Fix the allowances onto the pocket piece with a finishing line. Cut the insulation from the allowances.
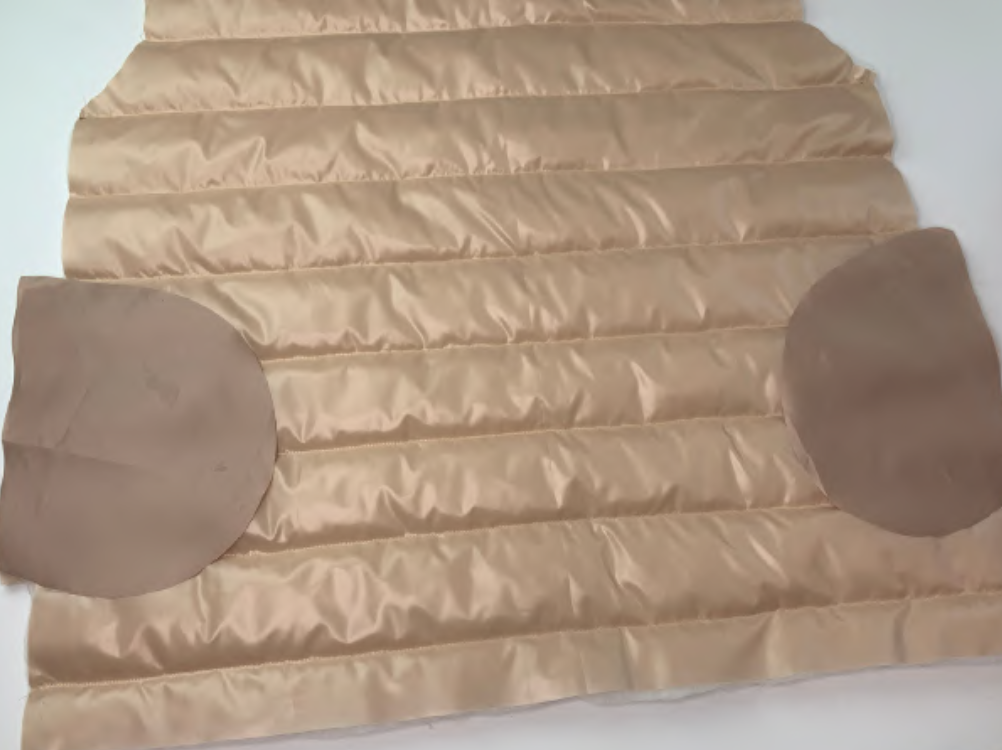

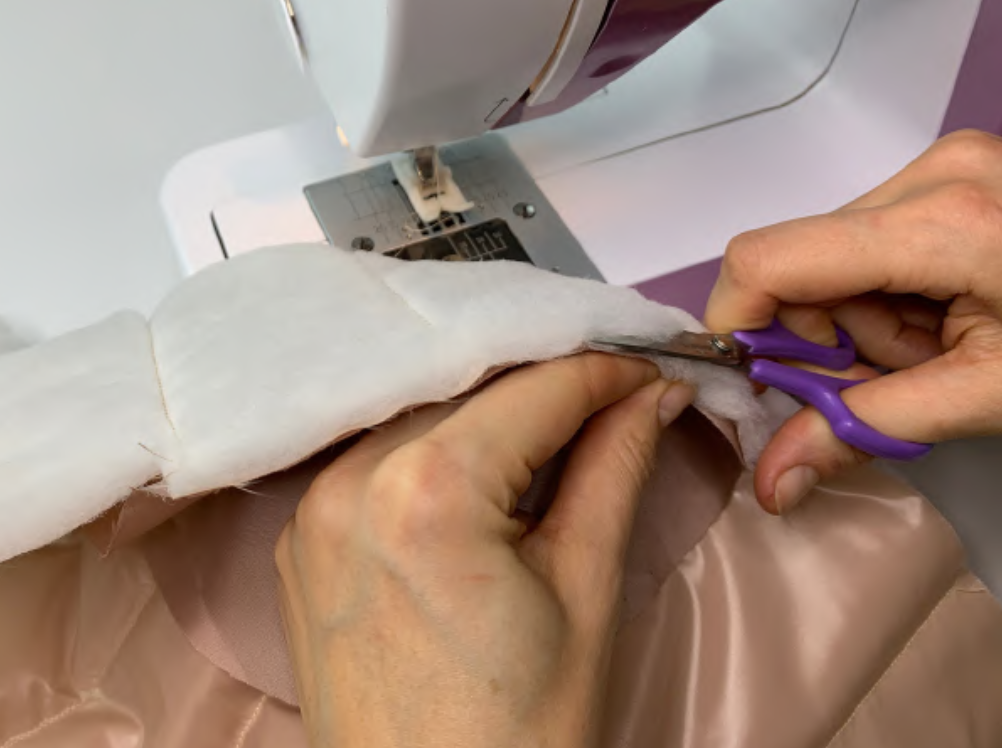
Pin the pocket piece to the back right sides together. Stitch them. Fix the allowances onto the pocket piece with a finishing line. Cut the insulation from the allowances.
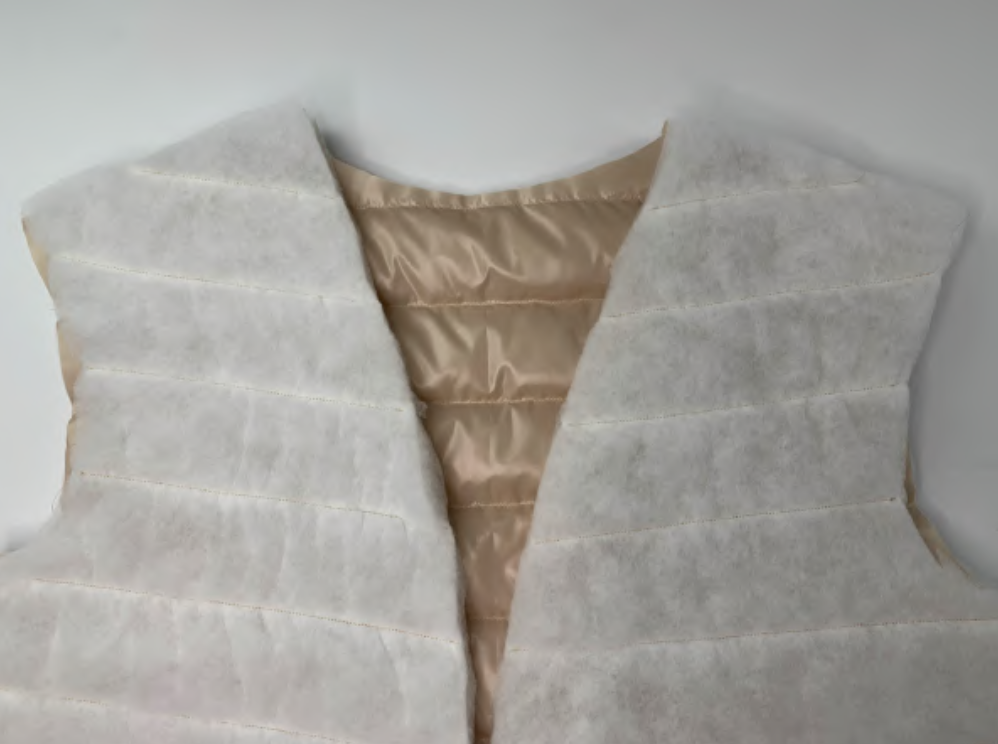
Pin the back and the fronts along the shoulder edges right sides together. Stitch them. Cut the insulation from the allowances.
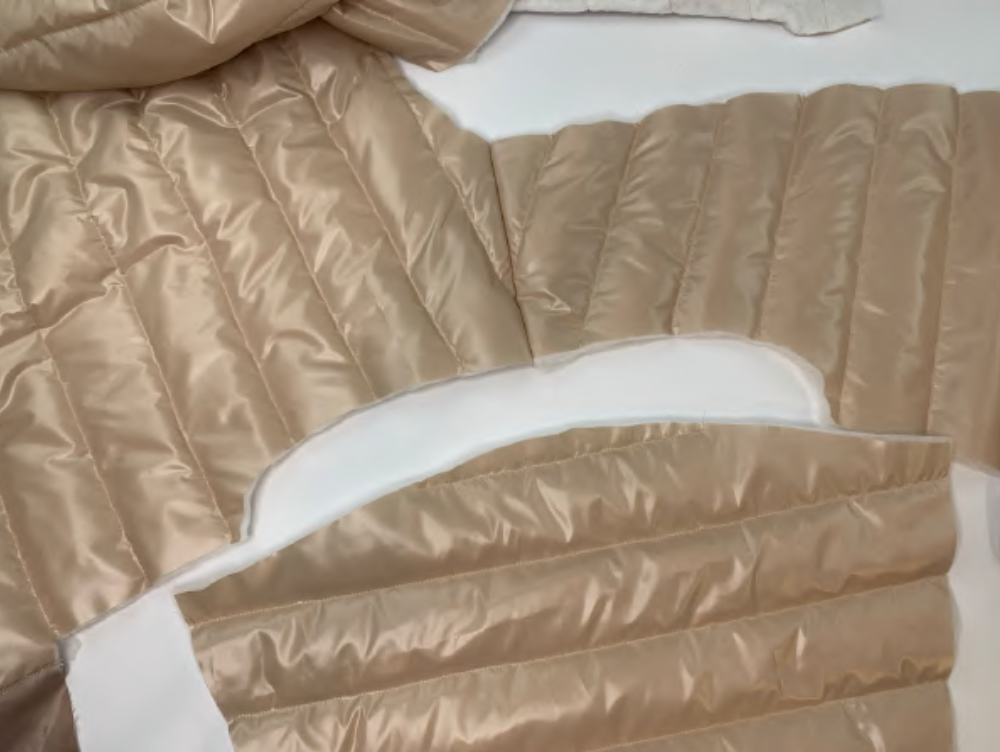
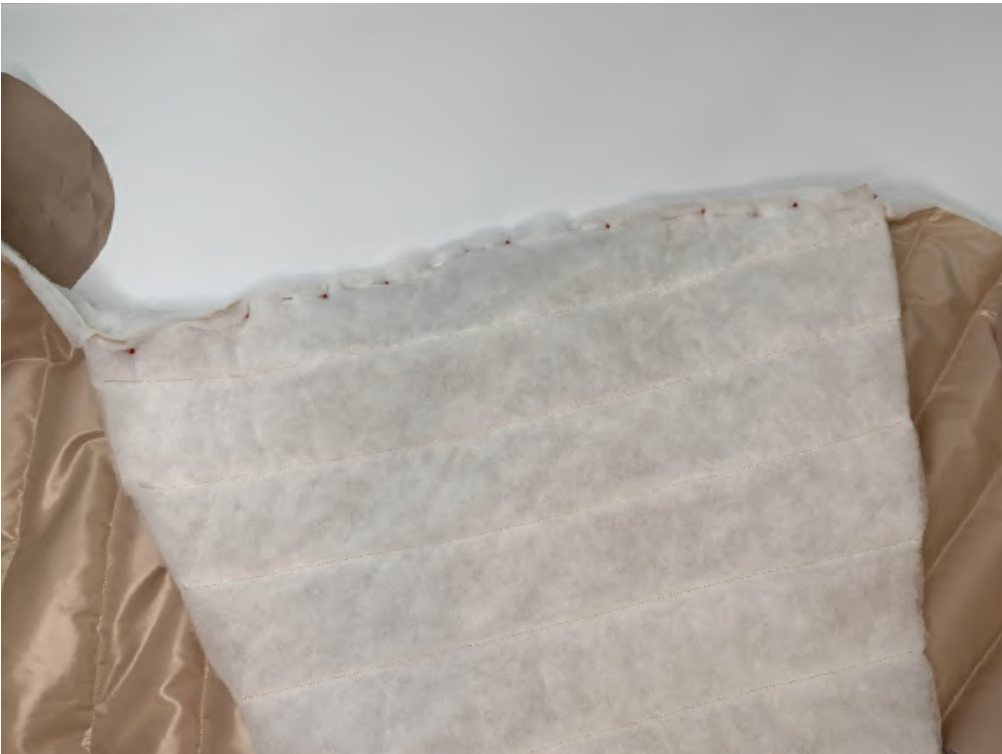
Pin the sleeve into the open armhole right sides together, matching the notches. Stitch in. Cut the insulation from the allowances.
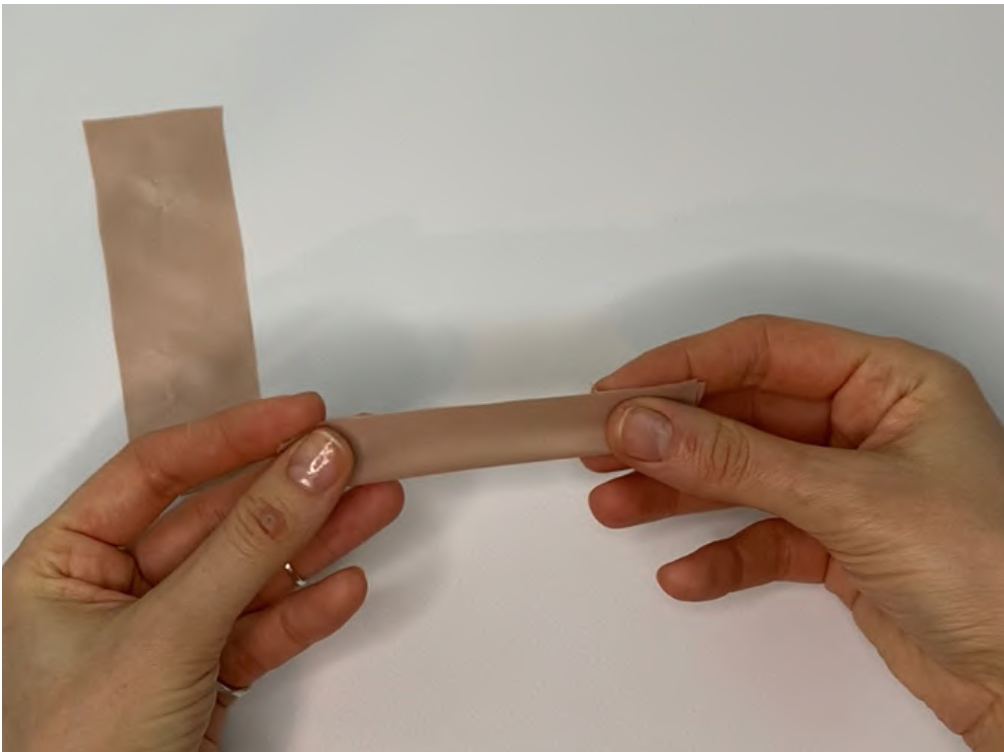
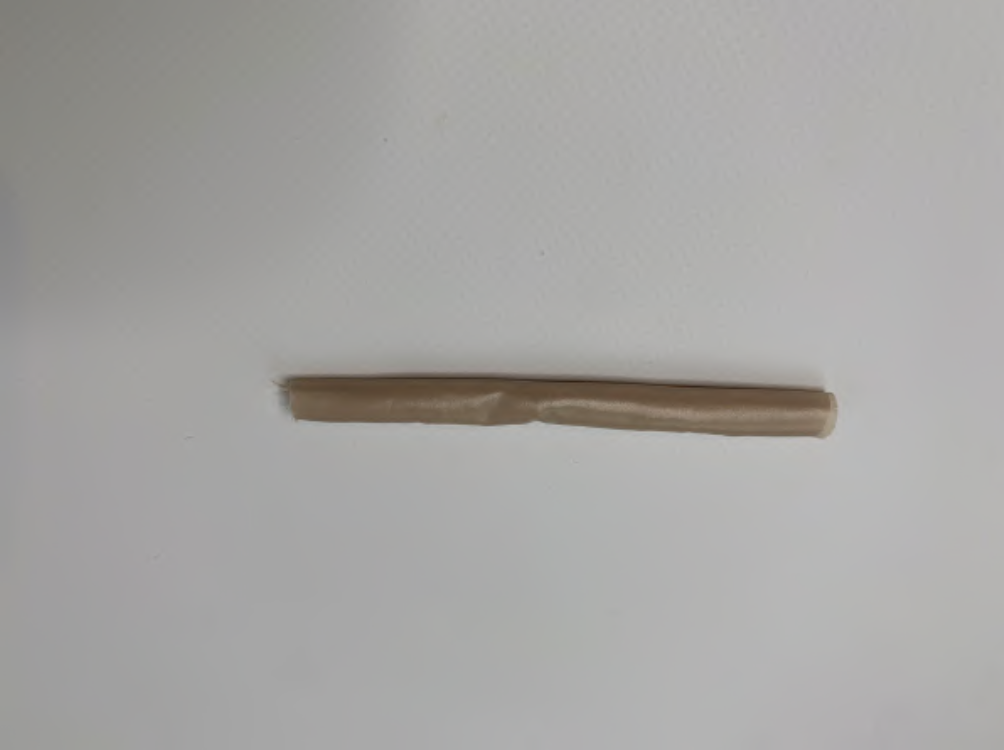
Cut out the pieces of the belt loops (2 pcs.) 13 cm (5.12 in) by 4 cm (1.57 in) each. Pin along the long edge and turn it to the right side.
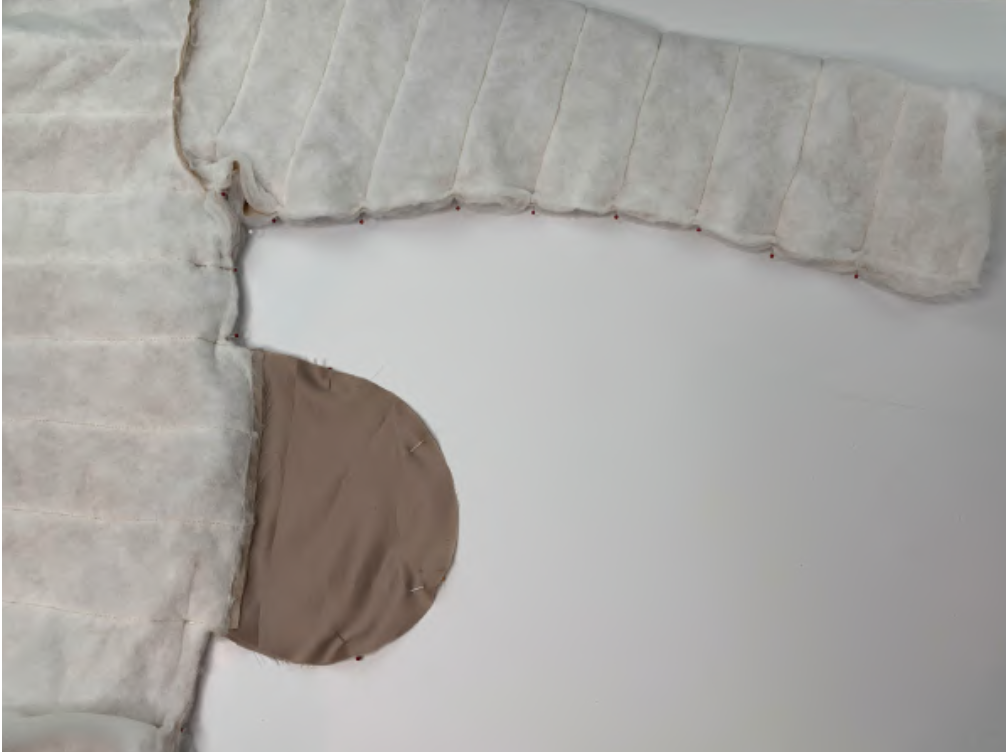
Pin the side edges of the sleeve, front and back right sides together. The quilt lines need to be aligned. Tip!
Pin closer to the line of the future seam, so it will be more accurate, and the layers will not shift under the machine’s foot. Pin together the pocket pieces.
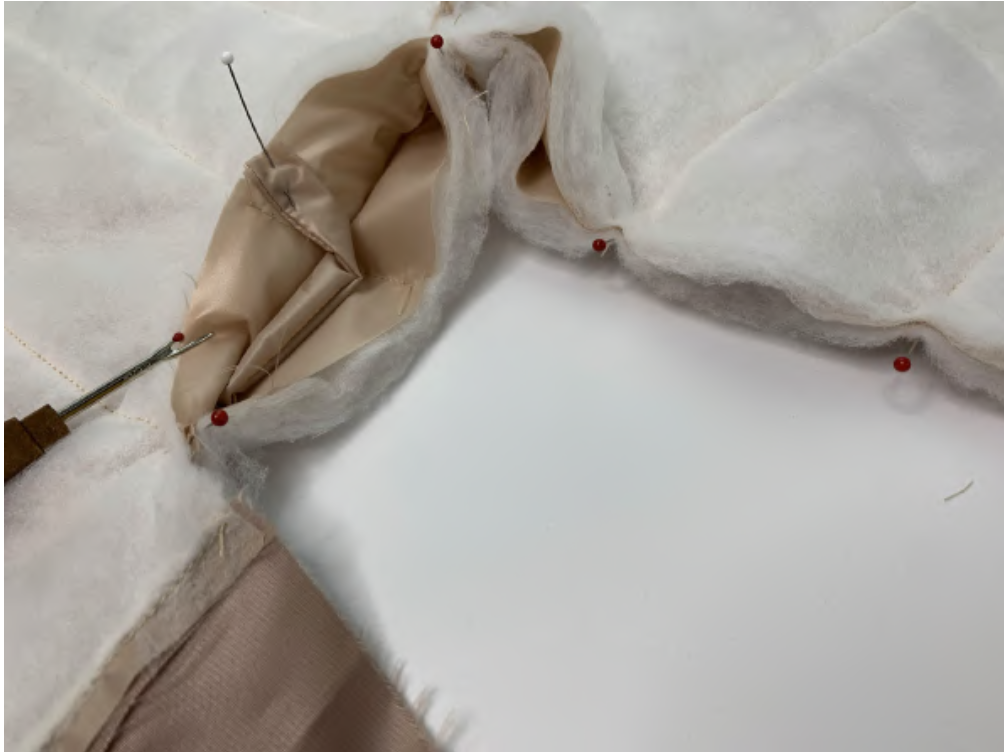
Pin the belt loops along the notches.
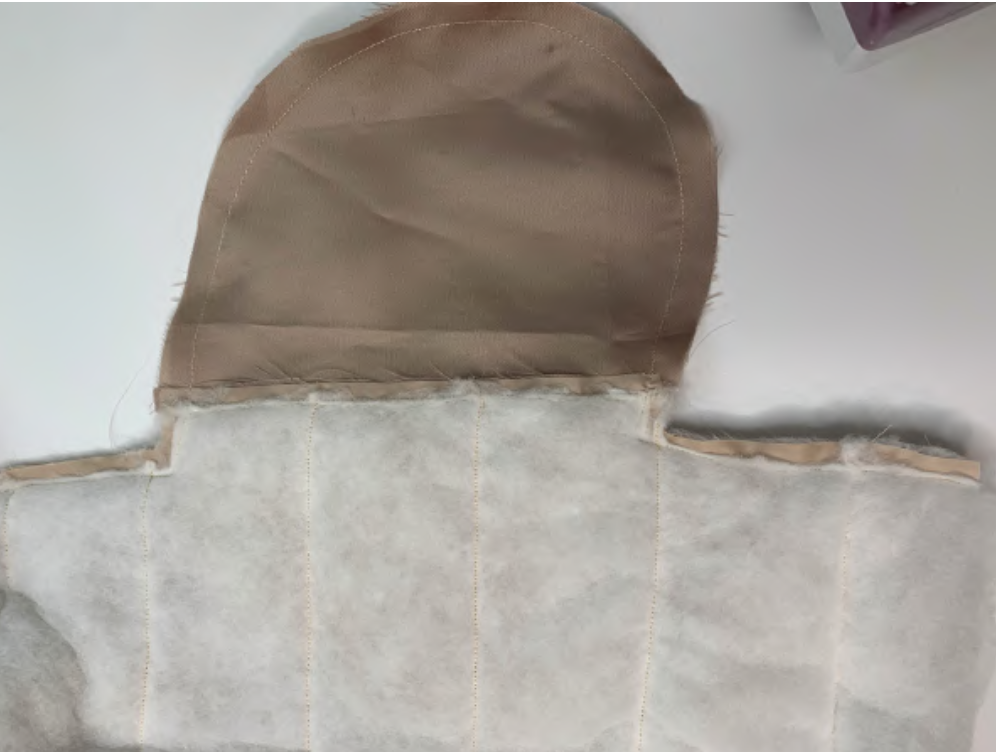
Stitch the side edges of the sleeve, front, back and pocket piece with one continuous line. Cut the insulation from the allowances.
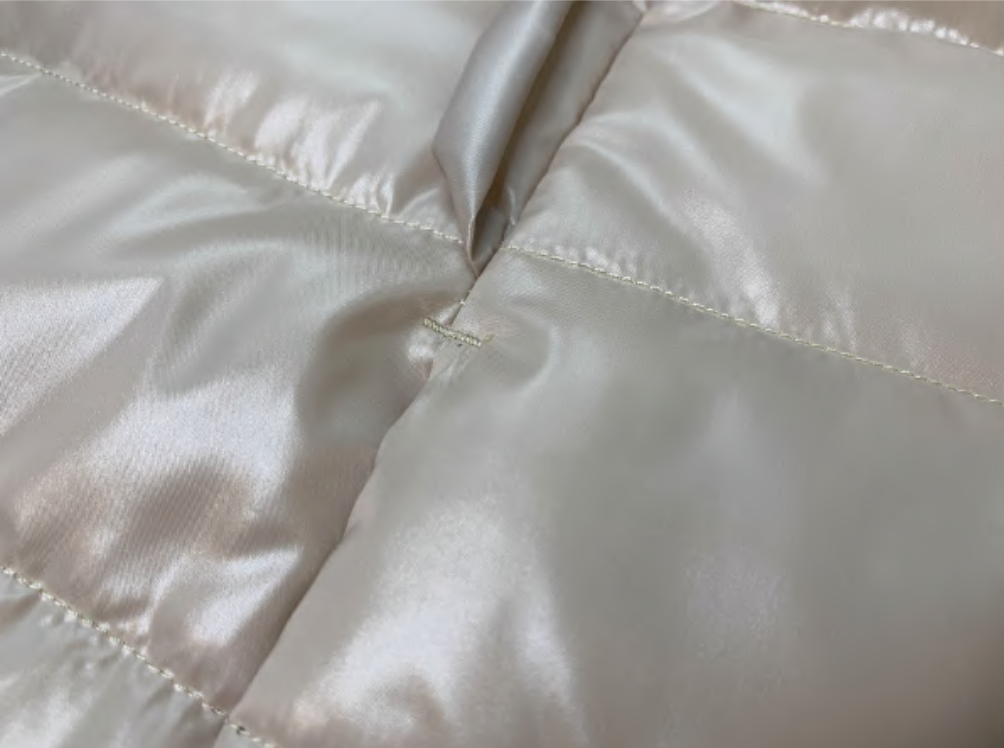
Place bartacks at the edges of the pocket entrance.
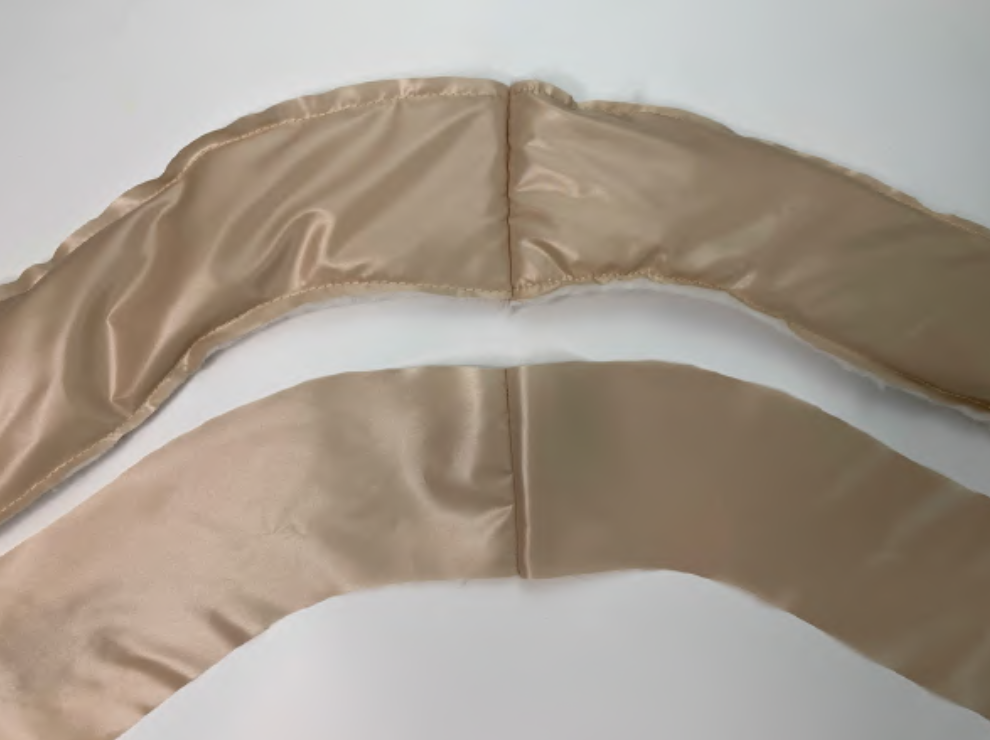
Pin the insulation to the wrong side of the shawl collar. Stitch the insulation around the perimeter of the shawl collar. Pin the shawl collar pieces along the short edge right sides together. Stitch them. Cut the insulation from the allowances.
Pin the shawl collar facing pieces along the short edge right sides together. Stitch them.
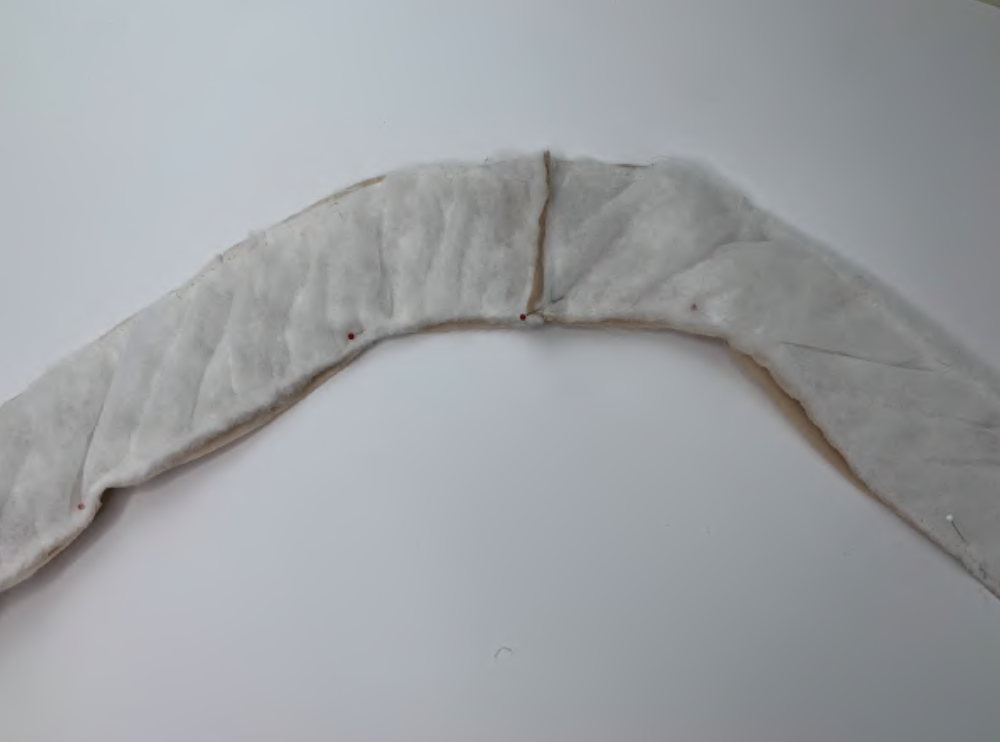
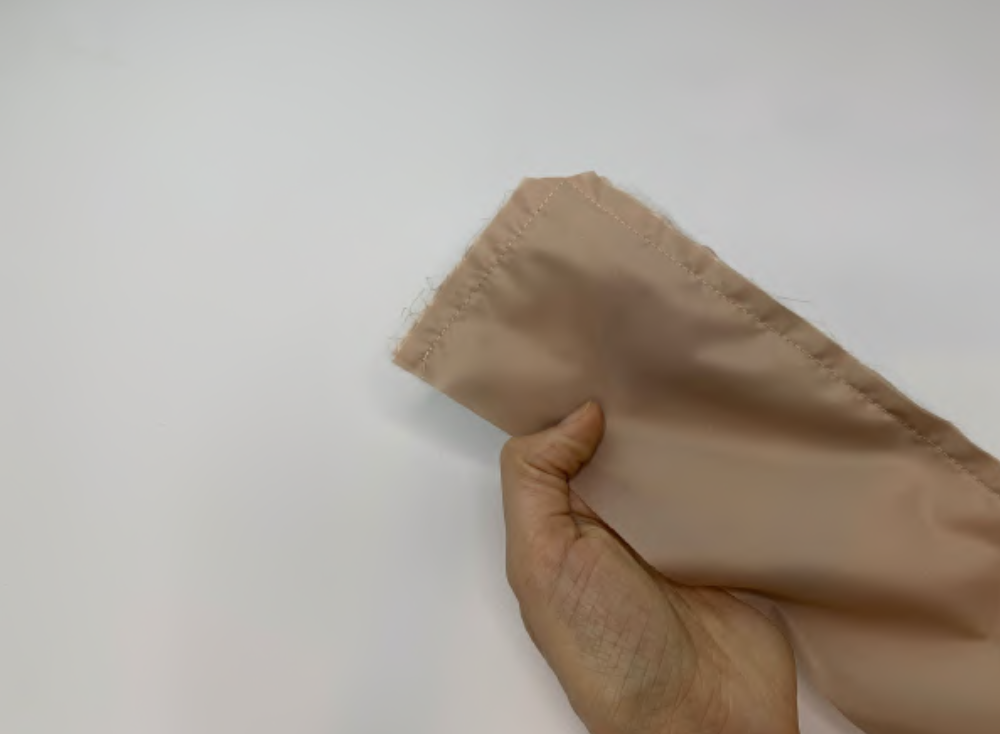
Pin the shawl collar and the facing along the inner arc and short edges right sides together. Stitch them. Cut the insulation from the allowances. Snip off the corners.
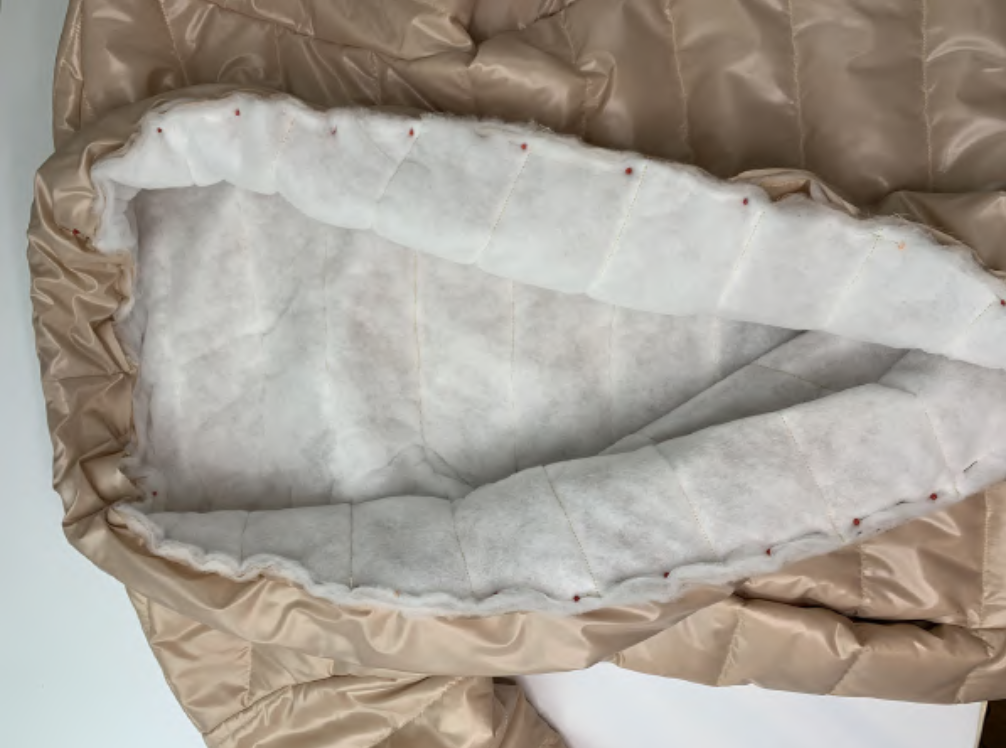
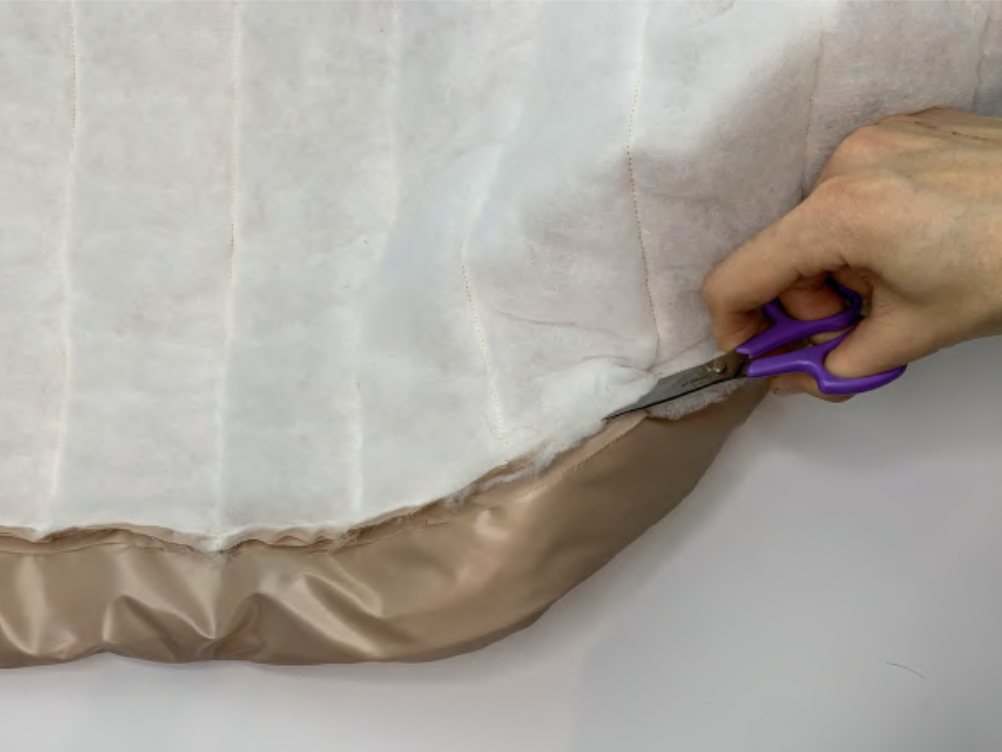
Pin the shawl collar to the garment along the notches right sides together. Stitch them. Cut the insulation from the allowances.
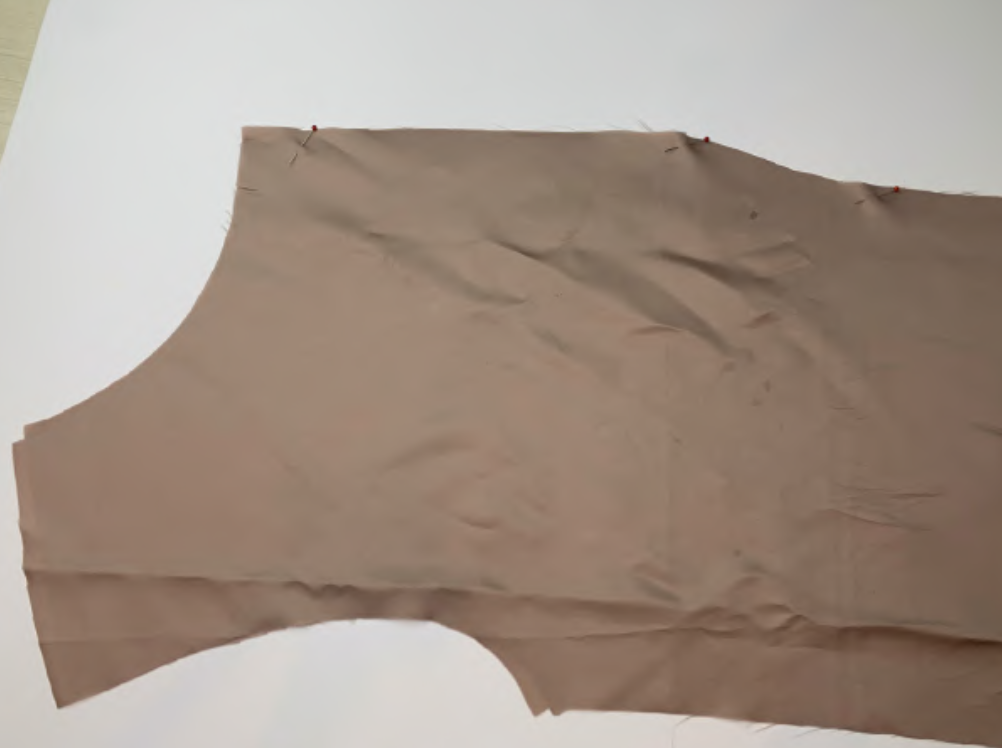
LINING. Pin the back pieces along the central edge right sides together. Stitch them. Press the allowances open.
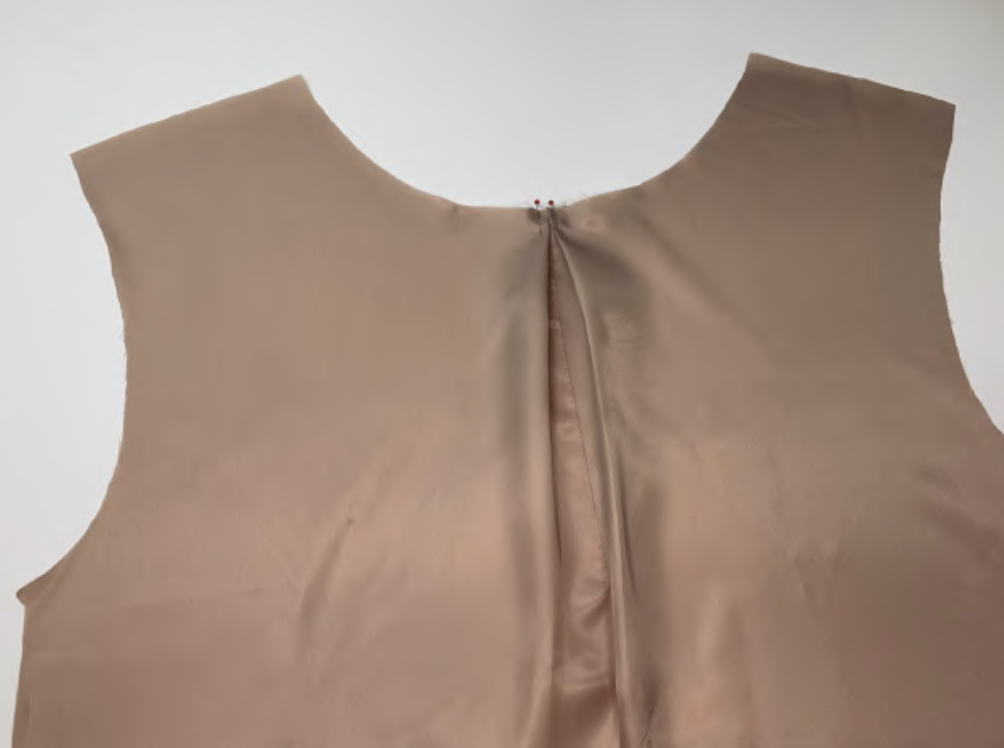
Form an inverted pleat on the back. Pin it together.
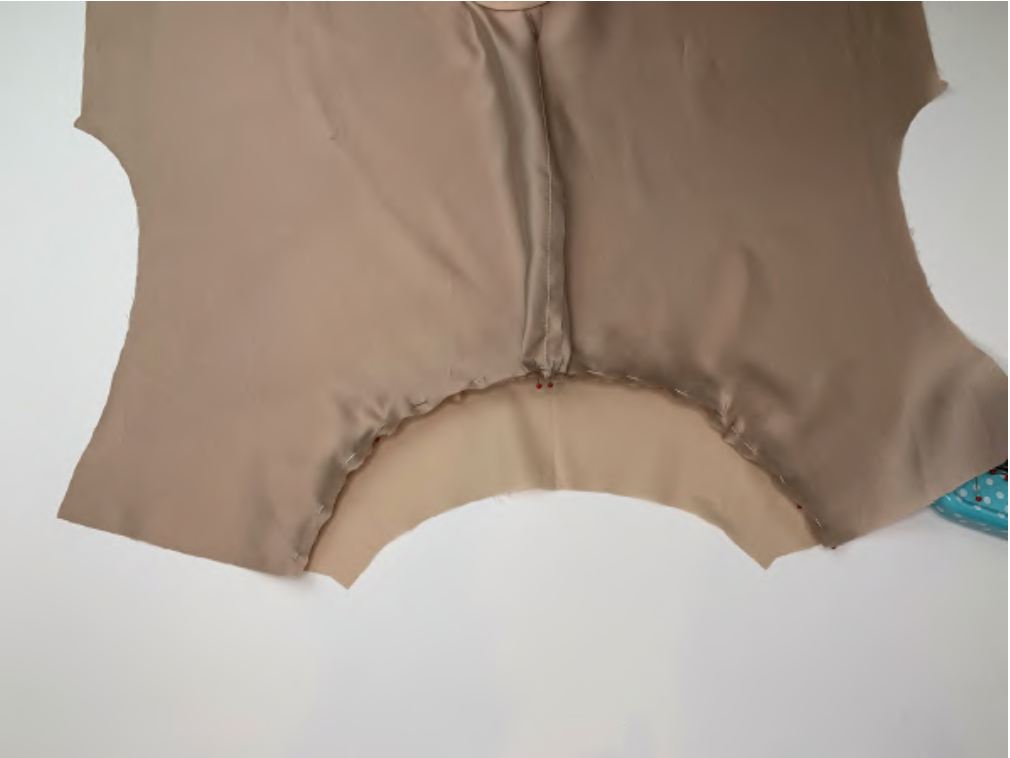
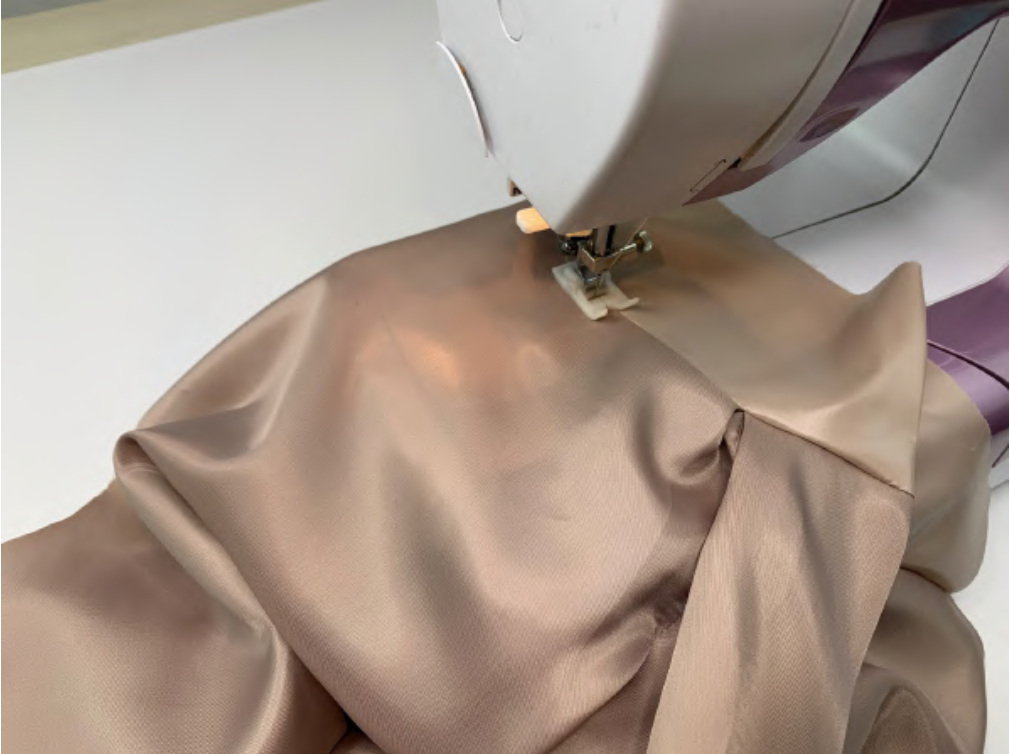
Pin the neckline facing to the back right sides together. Stitch them. Fix the allowances onto the back with a finishing line.
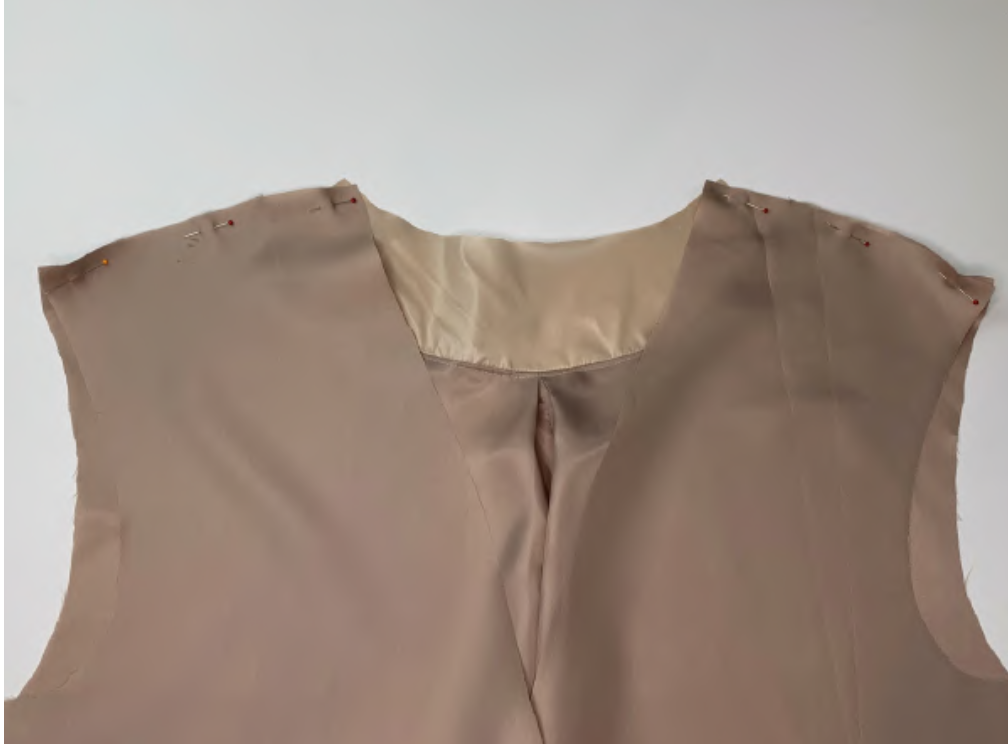
Pin the fronts and the back along the shoulder edges right sides together. Stitch them.
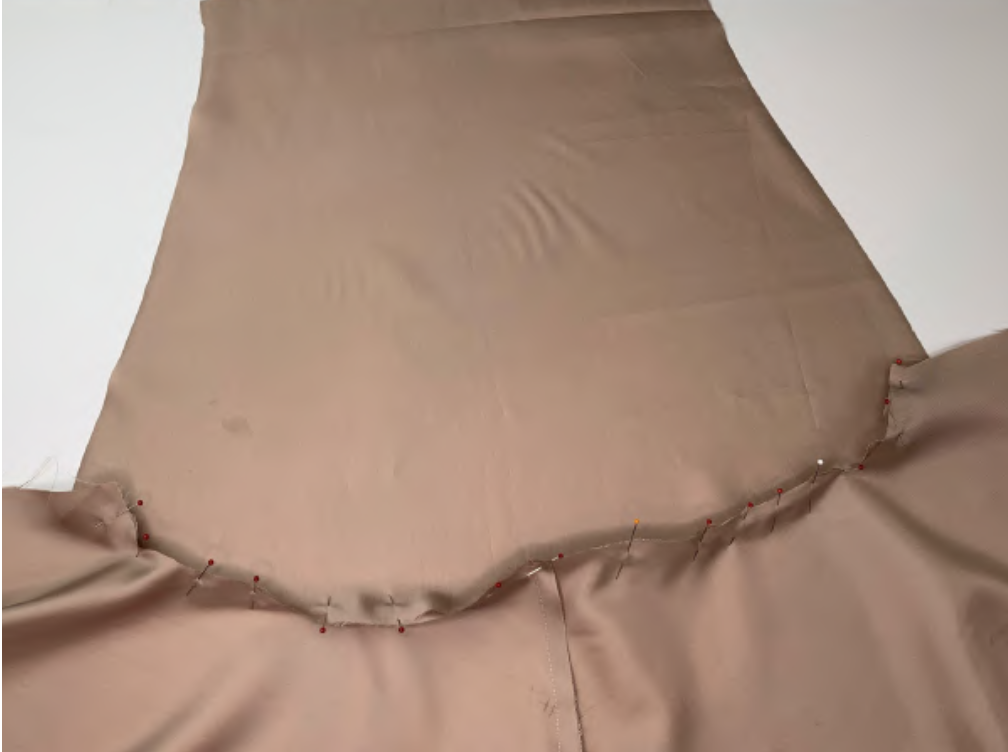
Pin the sleeve into the open armhole. Stitch in. Press the allowances onto the sleeve.
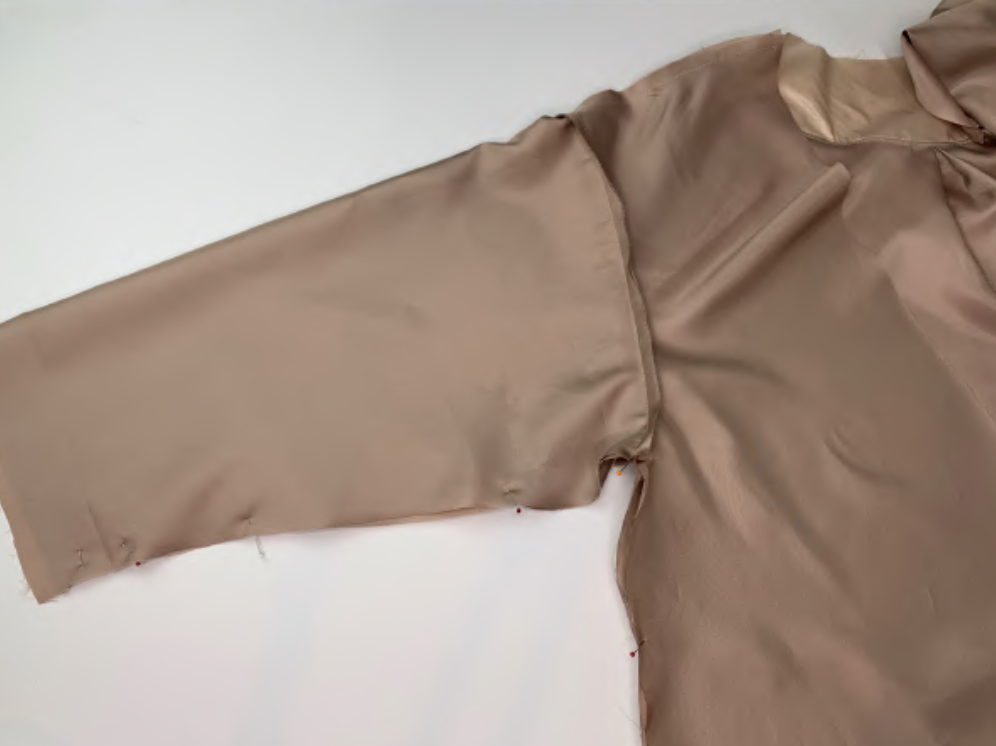
Pin the side edges of the sleeve, front and back right sides together. Stitch them. Press it. Do not forget to leave a hole in the side edge of one of the sleeves for turning out.
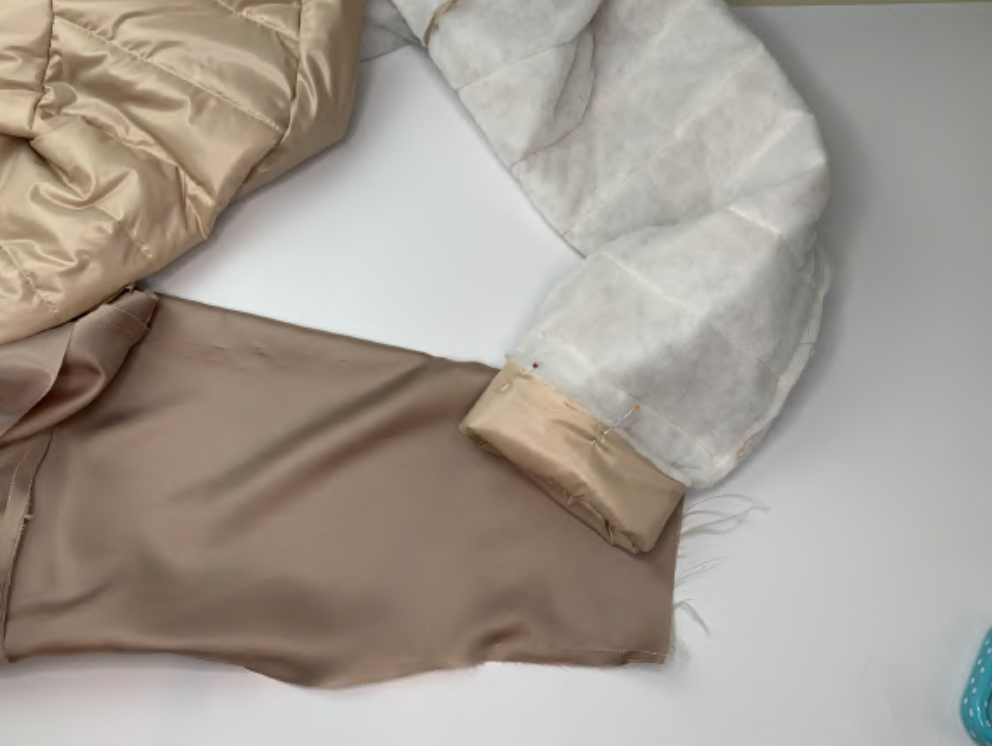
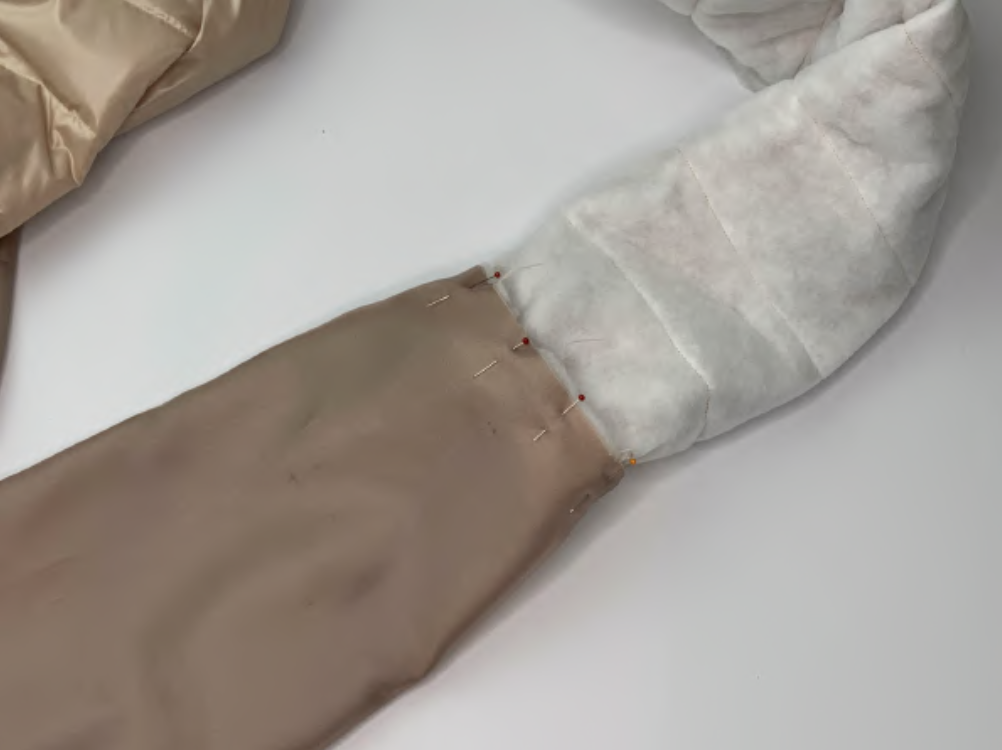

Fold the bottom edge of the jacket sleeve. Pin the bottom edges of the sleeve of the lining and the sleeve of the garment right sides together. Stitch them. Cut the insulation from the allowances.
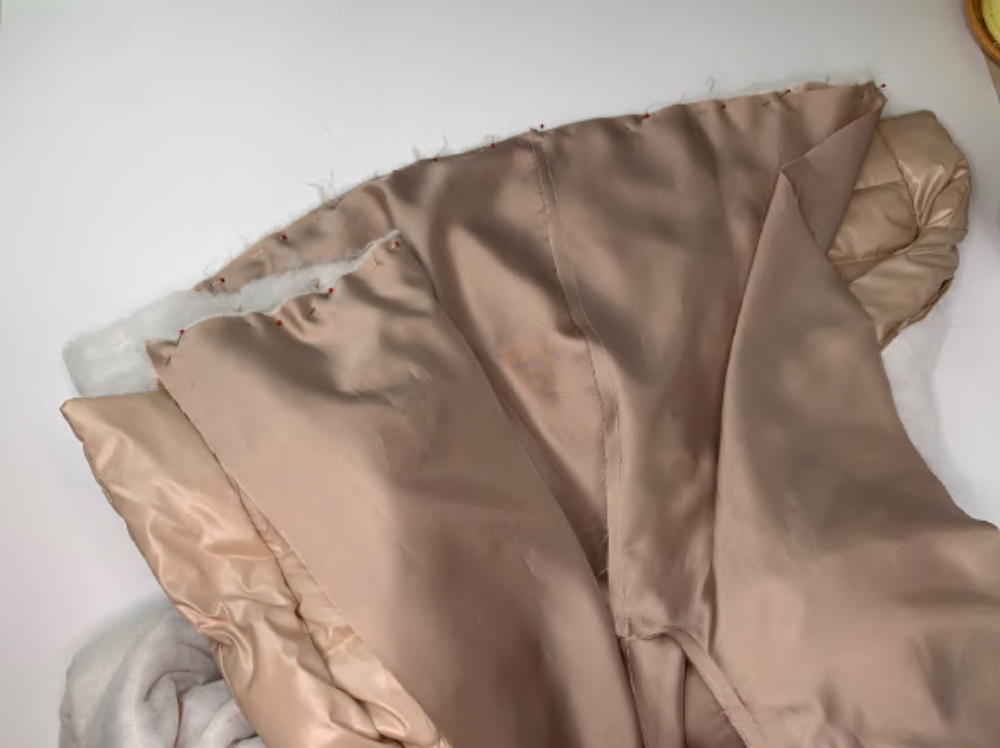
Pin the garment and the lining along the bottom edge right sides together. Stitch them. Cut the insulation from the allowances.
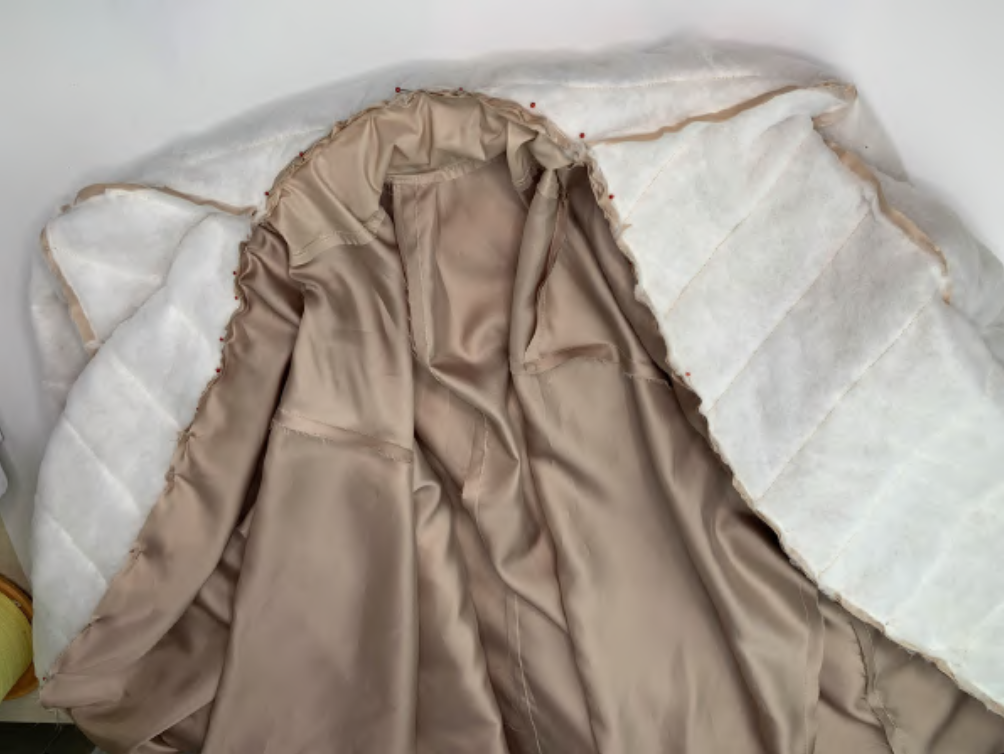
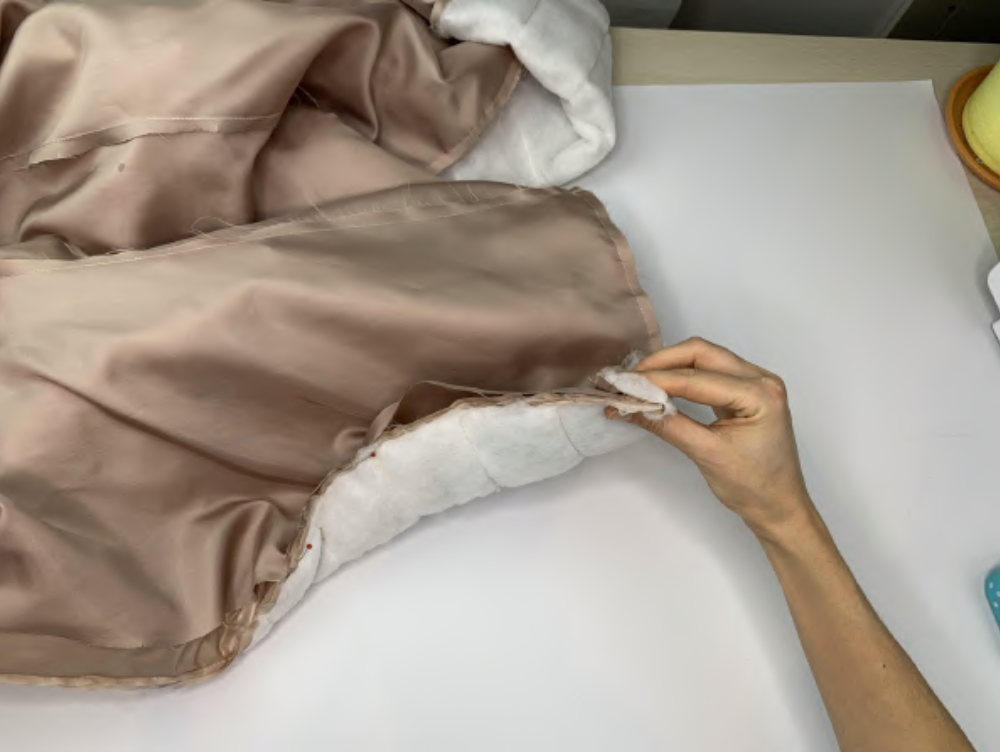
Pin the lining to the garment to the shawl collar seam. Pin the shawl collar along the notches, fold the bottom of the garment and pin it over the shawl collar. Stitch them. Cut the insulation from the allowances.
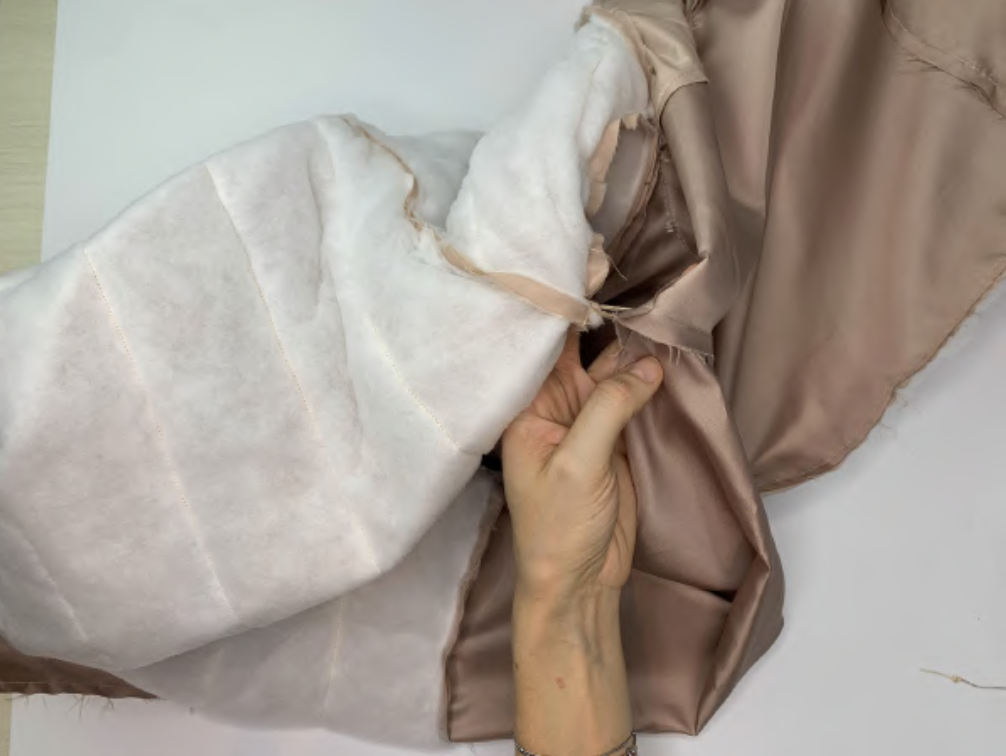
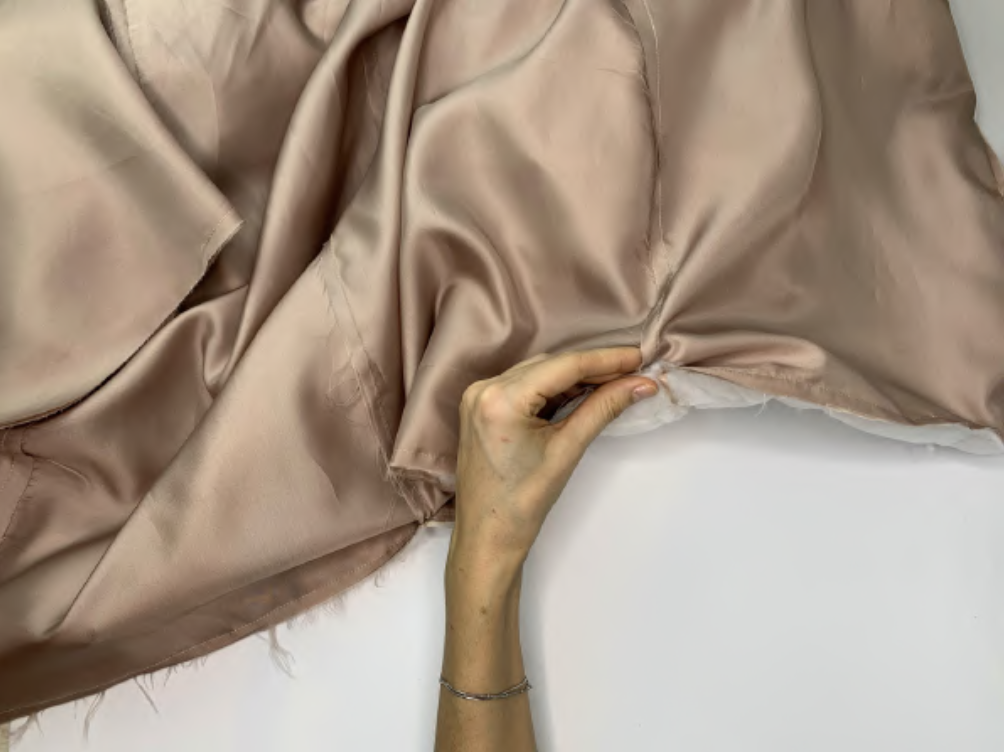
Tack shoulder seams to allowances. Tuck and fix the bottom of the product along the line of the side seam. Hand stitch the bottom of the garment to the lining with a catch stitch (also you can stitch on a sewing machine right to the quilt line).
Turn the garment to the right side. Close the hole for turning out with a invisible seam or on a sewing machine.
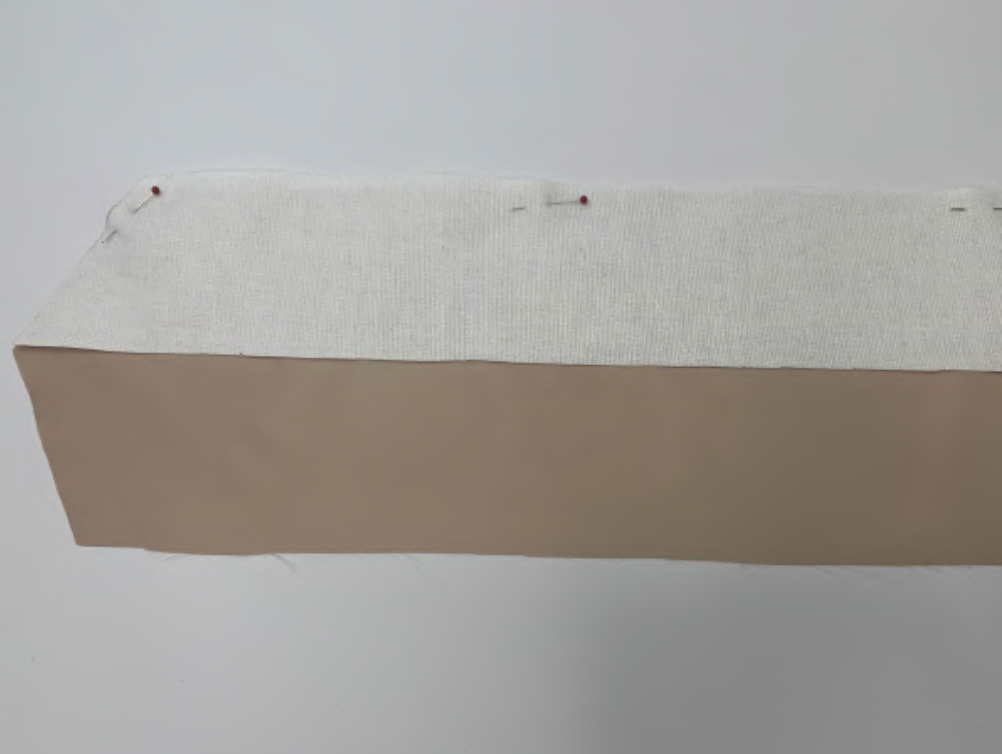
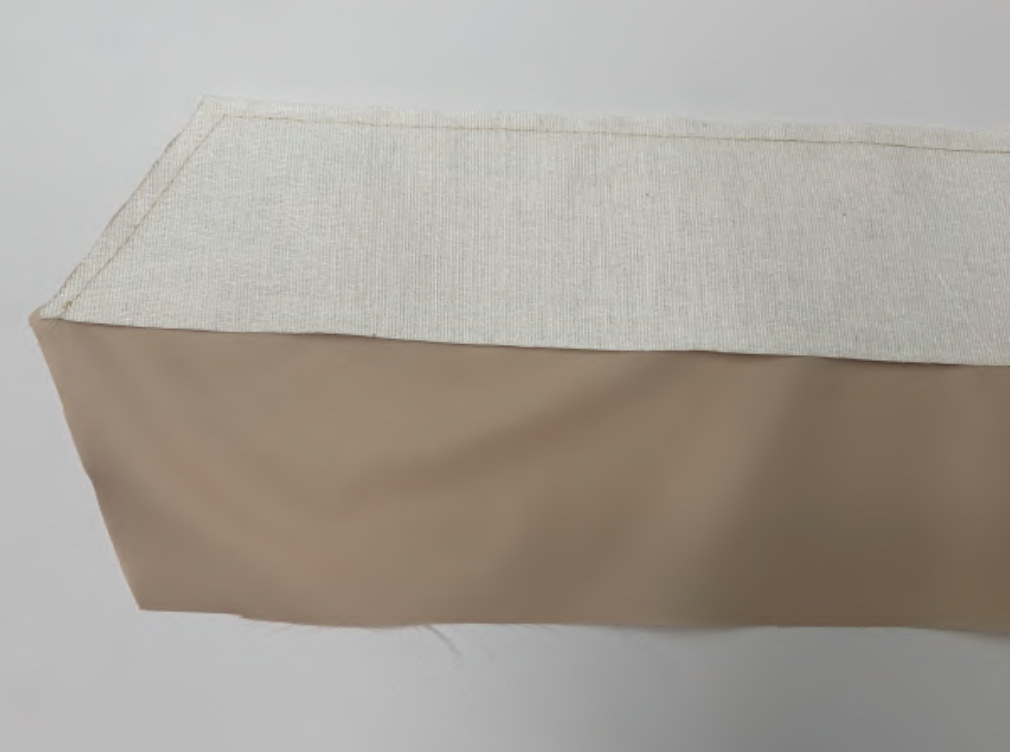
BELT. Iron interfacing to the belt (half of the belt) as follows: cut out a piece of cotton fabric for half of the belt. Iron woven interfacing to the piece. Stitch the interfacing piece halfway to the belt at a distance of 0.5 mm from the edge (do not stitch at the bend).
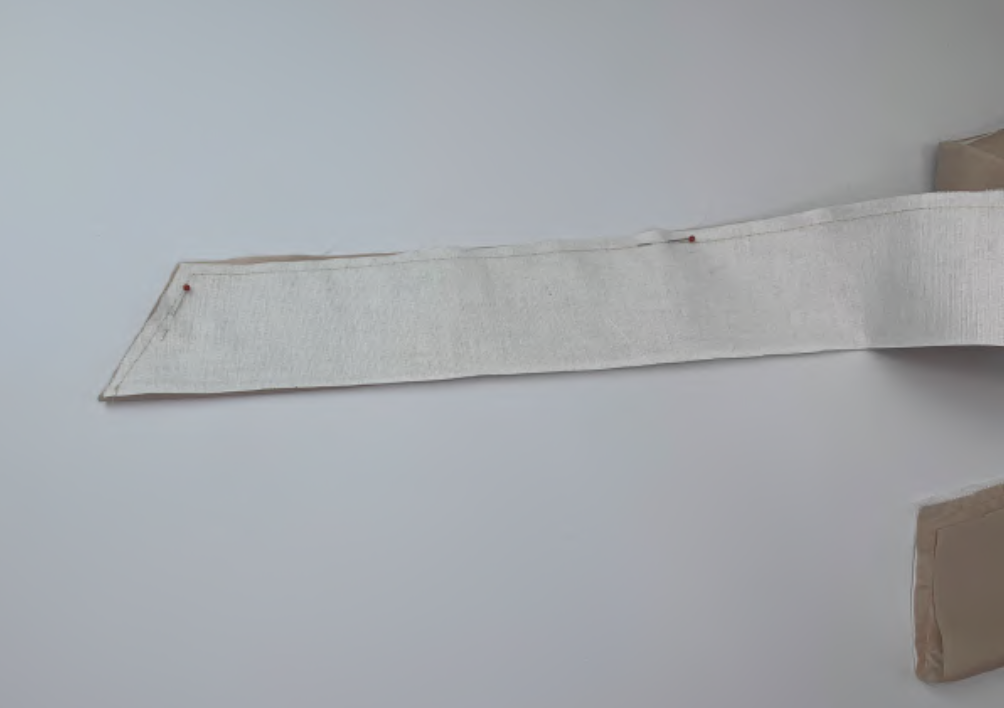
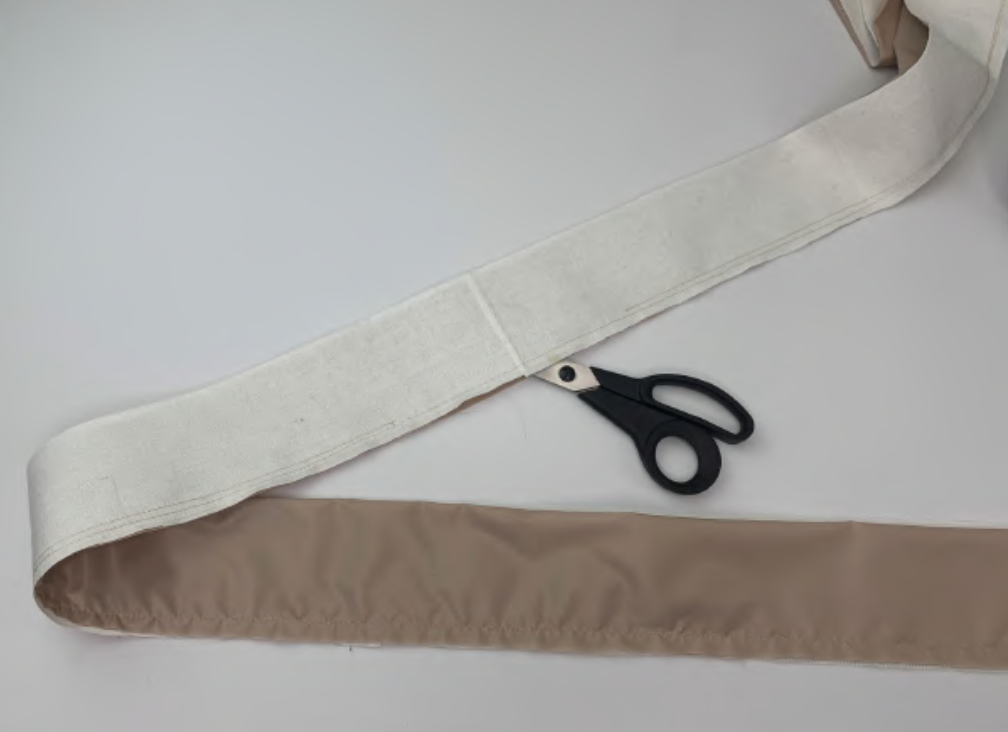
Pin the belt right sides together. Stitch the short and long edges. Leave a hole in the long edge for turning out. Trim the allowances of the interfacing piece. Turn the belt out to the right side and close the opening with an invisible stitch or machine stitch.
