
How to Sew Your First Summer Dress — Even If You've Never Sewn Before
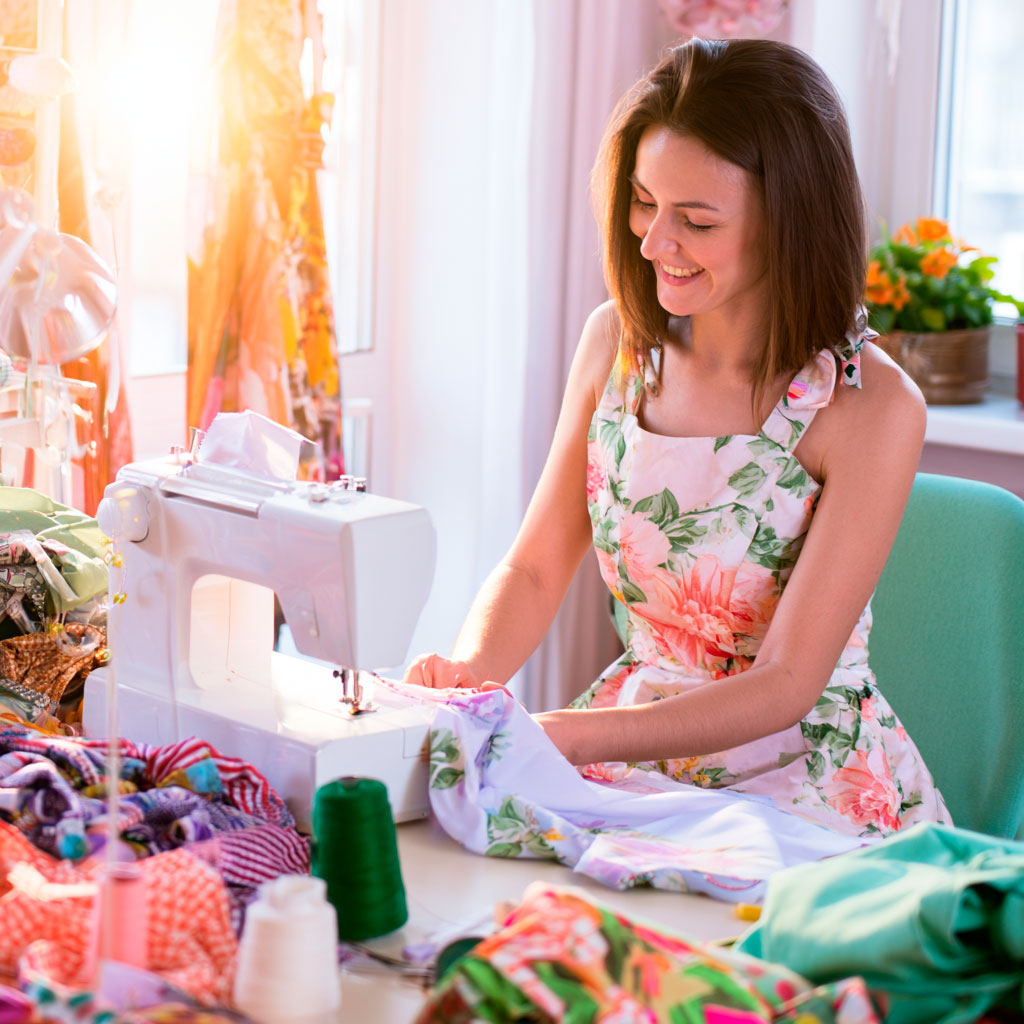
Let's start with the thing nobody says clearly enough: sewing your first dress is not as difficult as it looks. The result — a wearable, beautiful garment made by your own hands — looks impressive to people who've never sewn. But the process, with the right pattern and the right guidance, is genuinely manageable for someone who has never threaded a machine.
This guide is for the complete beginner. Not the person who "did a bit of sewing at school twenty years ago" (though welcome to you too), but the person starting from zero: who has a sewing machine or is about to buy one, who has never cut a piece of fabric from a pattern, and who wants to make a summer dress. It'll tell you honestly what you need, what to expect, and how to make your first project a success rather than a source of frustration.
Choose a beginner-friendly pattern (few pieces, loose fit, no zip or a simple one, and a video tutorial), gather a minimal tool kit, measure yourself by body — not by shop size, pre-wash your fabric, cut carefully, and sew slowly while pressing every seam. Some things will go slightly wrong — that's normal and fine. The finished dress will be beautiful, and the second one is far easier than the first.
What to Look For in a Beginner Pattern
Before you buy fabric or set up your machine, choose the right pattern — this single decision determines whether your first sewing experience is joyful or demoralising. Here's what a beginner-friendly pattern looks like.
| Look for… | Why it matters |
|---|---|
| Few pieces (4–6) | Fewer seams, less matching, fewer chances for something to go wrong. |
| Loose or semi-fitted shape | An A-line, shift, or elasticated waist forgives small measurement variations. |
| No zip or a simple zip | Pull-over-the-head or tie fastenings remove the most intimidating step. |
| A video tutorial | You can watch each technique, pause, and rewind — far easier than written instructions alone. |
What You Actually Need
This is a deliberately minimal list. You don't need to buy every sewing notion that exists before you start. You need:
- A sewing machine — basic and affordable is fine. A straight stitch and a zigzag from a reliable brand (Brother and Singer both make good beginner machines) is all you need. Not sure you'll continue? Borrow one for your first project.
- Sharp fabric scissors (20–23 cm) — used only on fabric, never paper. Paper blunts blades, and blunt scissors cut fabric badly.
- A flexible tape measure — for measuring yourself and checking as you work.
- Dressmaking pins — to hold pattern pieces to fabric and fabric pieces together.
- Good-quality thread — matching your fabric, or slightly darker. Cheap thread breaks and frustrates.
- A seam ripper — to undo stitches cleanly. Every sewist uses one. It's not failure, it's standard.
- An iron and ironing board — the tool beginners underestimate and experts swear by. Not optional.
Measure Yourself Accurately
One of the most common reasons a first dress doesn't fit is choosing the wrong pattern size — and the most common reason for that is using your usual clothing size rather than your actual measurements.
Sewing pattern sizes are based on body measurements — bust, waist, and hips — not on the numbers in shop-bought clothing. A size 38 in a pattern may correspond to a 12, 14, or 16 in a high-street shop depending on the brand. The numbers mean different things. Before choosing your size, measure:
- Bust: around the fullest part of your chest, tape parallel to the floor.
- Waist: around your natural waist — the narrowest part of your torso (bend to the side to find it). Don't suck in.
- Hips: around the fullest part of your hips and seat, usually 20–23 cm below the natural waist.
Compare these to the size chart on your pattern and choose the closest match. If you fall between sizes — bust in one, hips in another — choose the size for your largest measurement and adjust the smaller area, or look up "grading between sizes." Fabrico patterns include a full size chart, and the video tutorial helps you choose.
Step 3Pre-Wash Your Fabric
This step is skipped by many beginners and regretted by all of them. Wash your fabric before you cut it — using the same method you'll use for the finished garment — then let it dry fully and press it before cutting.
Why? Because almost all natural fabrics — cotton, linen, viscose — shrink slightly when first washed. If you cut and sew from unwashed fabric, then wash the finished dress, it may shrink. Not dramatically, but enough to be noticeable and disappointing.
Pre-washing takes ten minutes of your time and saves a potentially frustrating result. Do it every time.
Step 4Cutting: The Step That Determines Everything
The quality of your sewing is built on the quality of your cutting. A seam sewn from accurately cut pieces looks clean and professional. A seam sewn from pieces cut slightly off-grain, or where the pattern wasn't quite properly pinned, will be off in ways that are difficult to correct later.
Take your time. Pin the pattern pieces firmly to the fabric, with the grainline arrow parallel to the fabric's selvedge (the woven edge). Cut smoothly and deliberately — long strokes rather than short snips. Mark any dots, notches, or other markings on the fabric before removing the pattern pieces.
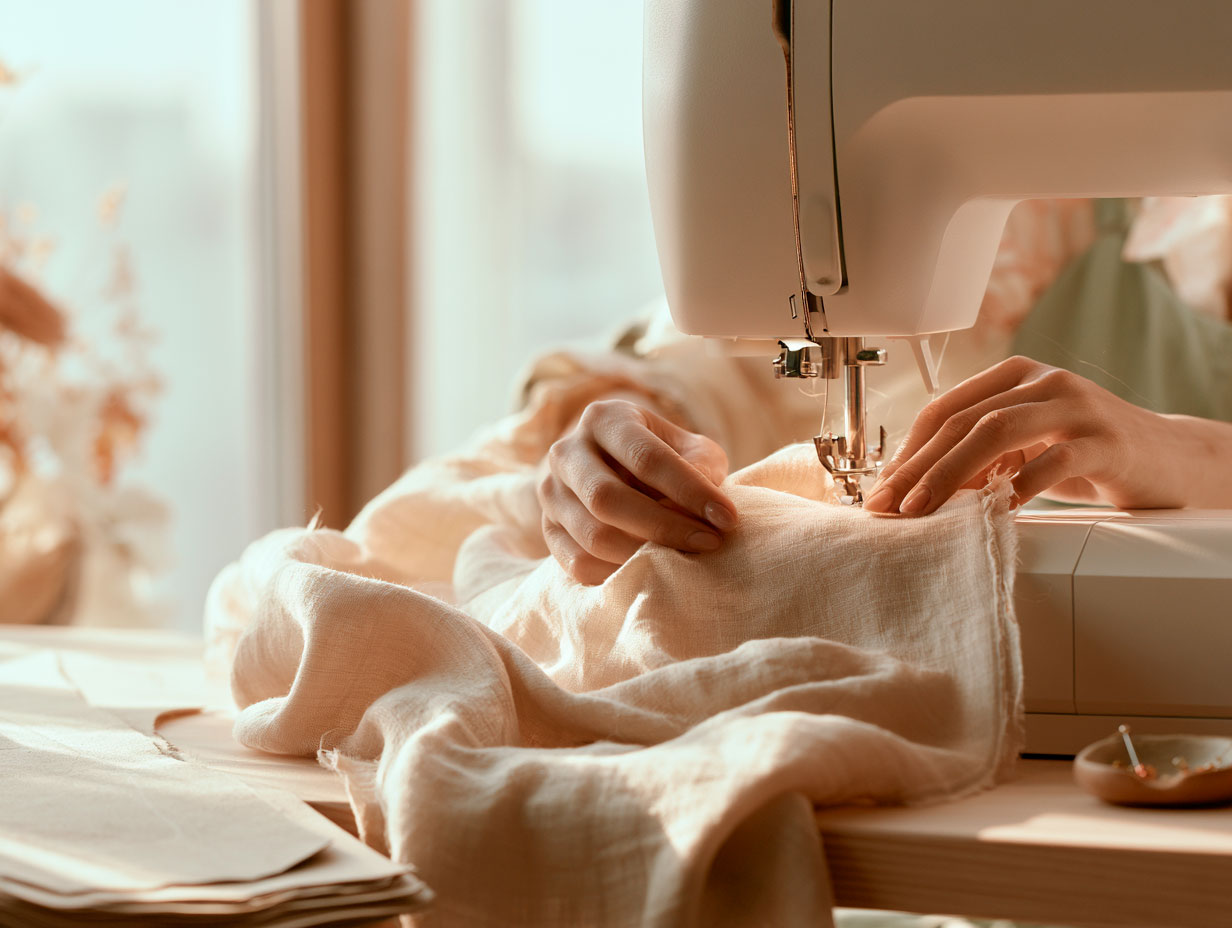
Sewing: Go Slow, Press Often
When you sit down at the machine, two things make the biggest difference to your results.
Slow down. Machines can go very fast, and for a beginner, very fast is the enemy of accuracy. Use the foot pedal lightly and sew at a pace where you can guide the fabric carefully along the seam-allowance line. Most machines have a speed control — use it. A slowly, carefully sewn seam looks exactly the same as a fast one, and is considerably more likely to be straight.
Press every seam before you sew the next. This can't be said enough. After each seam, take the garment to the ironing board and press it open or to the side (your instructions will specify), then return to the machine. This habit produces the clean, flat seams that make a home-sewn garment look professional rather than homemade.
Step 6The Things That Will Go Slightly Wrong (And That's Fine)
On your first dress, some things won't be exactly perfect. A seam might be slightly wavy in one place. A hem might be a millimetre higher on one side. The zip, if there is one, might not lie perfectly flat.
These things are normal. They happen to experienced sewists too. The difference is that experienced sewists know they're normal and don't let them derail the project.
The First Time You Put It On
There's a particular feeling every sewist remembers from their first finished garment: the moment you hold up something you made yourself, slip it over your head, look in the mirror, and realise it's an actual dress. That it fits. That it looks like something you might buy in a shop — except that it's in the exact fabric you chose, cut to your exact measurements, and made by your own hands.
It's a very good feeling. It's worth the afternoon of careful cutting, the pressing, the slight anxiety about the zip.
The second dress is considerably easier than the first. By the third, you'll be adapting the pattern, choosing fabrics with confidence, and wondering why you waited so long to start.
Start Here
The best patterns for a first summer dress at Fabrico — each an instant PDF download with a complete video tutorial, so you can print it at home, cut it out, and start today.
Frequently Asked Questions
Is it hard to sew a dress as a beginner?
No — sewing your first dress is not as difficult as it looks, provided you start with the right pattern. A beginner-friendly pattern has few pieces (four to six), a loose or semi-fitted silhouette, no zip or a simple one, and a video tutorial. The result looks impressive, but the process is genuinely manageable for someone who has never threaded a machine.
What do I need to sew my first dress?
A deliberately minimal kit: a basic sewing machine with straight and zigzag stitches, sharp fabric scissors (used only on fabric), a flexible tape measure, dressmaking pins, good-quality matching thread, a seam ripper, and an iron with an ironing board. You don't need to buy every notion that exists before you start.
What is the easiest dress pattern for a beginner?
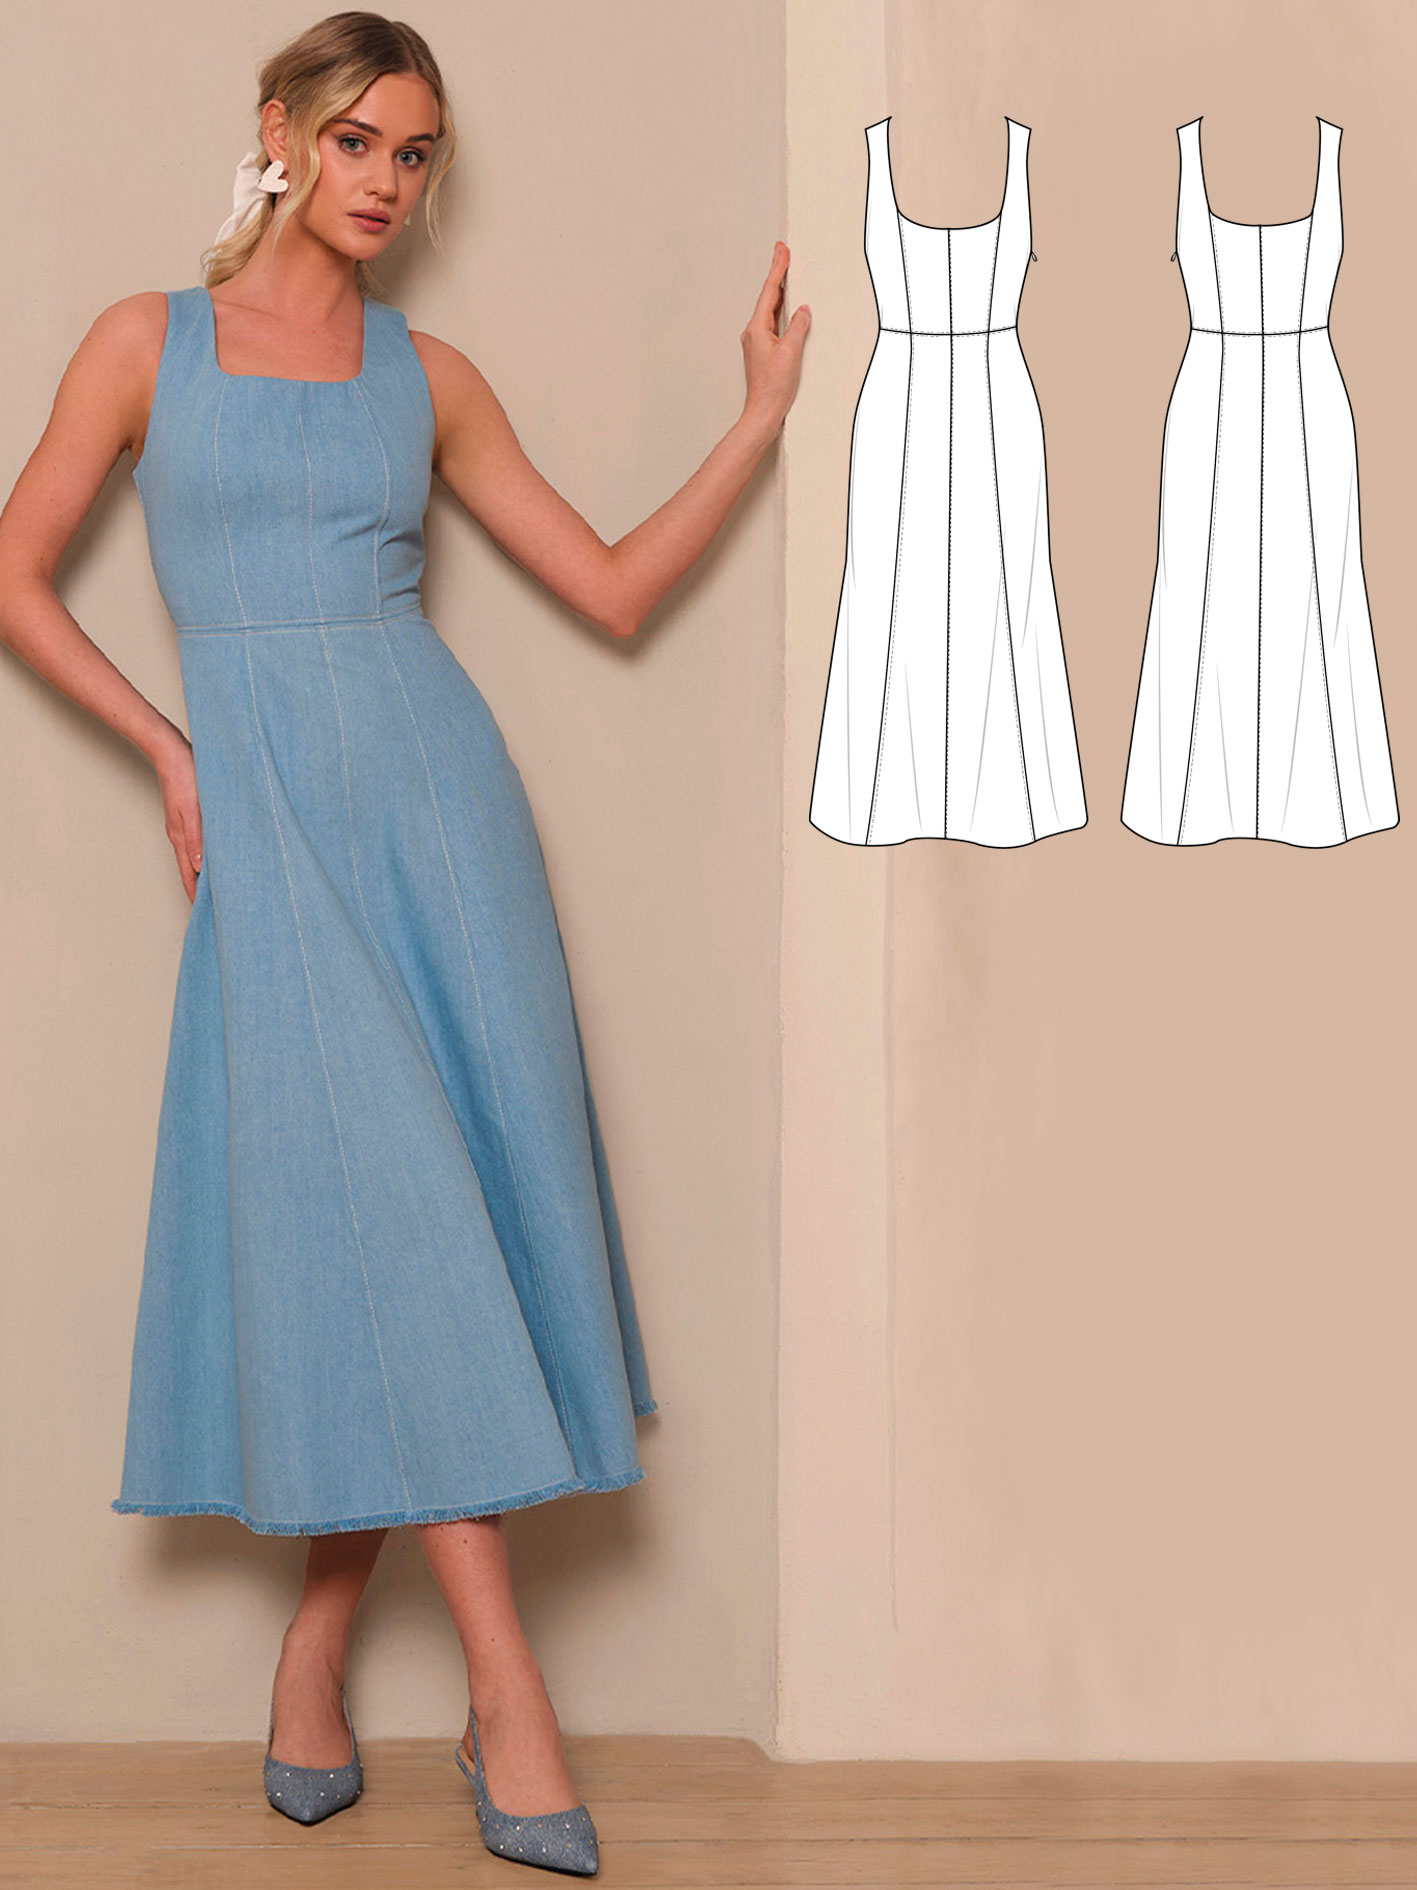
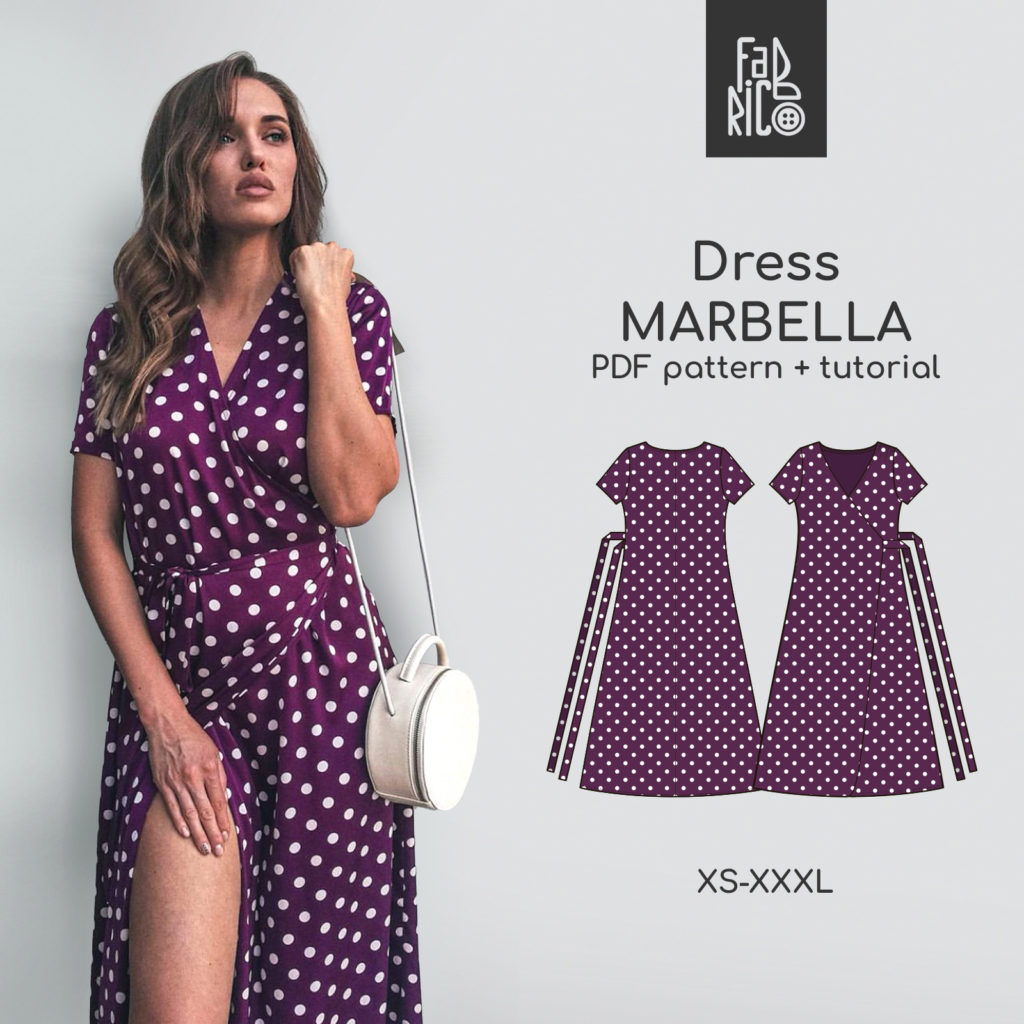
The easiest beginner dress pattern has four to six pattern pieces, a loose or semi-fitted A-line or shift silhouette, no zip or a simple invisible zip, and a step-by-step video tutorial. The Victoria V-neck dress is an excellent first project: the A-line silhouette is forgiving, the construction is straightforward, and the video covers every stage from cutting to hem.
How do I choose the right sewing pattern size?
Use your actual body measurements — bust, waist, and hips — not your usual shop clothing size. Sewing pattern sizes are based on body measurements, and the numbers mean something different from high-street sizing. Measure yourself, compare to the pattern's size chart, and choose the size that corresponds most closely. If you fall between sizes, choose the size for your largest measurement and adjust the smaller area.
Do I need to pre-wash fabric before sewing?
Yes. Wash your fabric before cutting — using the same method you'll use for the finished garment — then dry and press it. Almost all natural fabrics (cotton, linen, viscose) shrink slightly when first washed. If you sew from unwashed fabric and then wash the finished dress, it may shrink enough to be noticeable. Pre-washing takes ten minutes and saves a frustrating result.
How long does it take to sew a first dress?
Plan for a weekend rather than an afternoon for your very first dress. The cutting stage alone often takes longer than the sewing, and that's entirely normal. Going slowly and pressing each seam as you sew produces far better results than rushing — and the second dress is considerably faster than the first.
What sewing machine should a beginner buy?
A basic, affordable entry-level machine from a reliable brand with a straight stitch and a zigzag stitch is everything you need for a first dress. It doesn't need to be expensive or sophisticated. If you're not sure you'll continue sewing, consider borrowing a machine for your first project before investing in your own.
Why do I need to press seams while sewing?
Pressing each seam before sewing the next one is what produces the clean, flat seams that make a home-sewn garment look professional rather than homemade. It's the tool most beginners underestimate and experienced sewists swear by. Every seam should be pressed — open or to the side, as the pattern specifies — before the next step is sewn.
Shop these patterns

Keep reading
Thread, Click, Sew.
Free online sewing resources every beginner should know — courses, channels, and communities worth bookmarking.
Read more
Why Choosing the Right Fabric Matters
The right fabric makes a first project easier; the wrong one makes it frustrating. Here's how to choose.
Read more
Press to Impress
The ironing trick that instantly upgrades your sewing — the silent hero of every well-finished garment.
Read more
Behind the Pattern
What actually goes into the PDF that lands in your inbox — and why a well-graded pattern is worth more than its price tag.
Read more
Beyond the Seam
From sewing alone to finding your creative community — where to look and what changes when you do.
Read more
From Tossed to Treasured
A quiet revolution in sewing rooms — turning fast-fashion castoffs into the wardrobe you actually want.
Read more