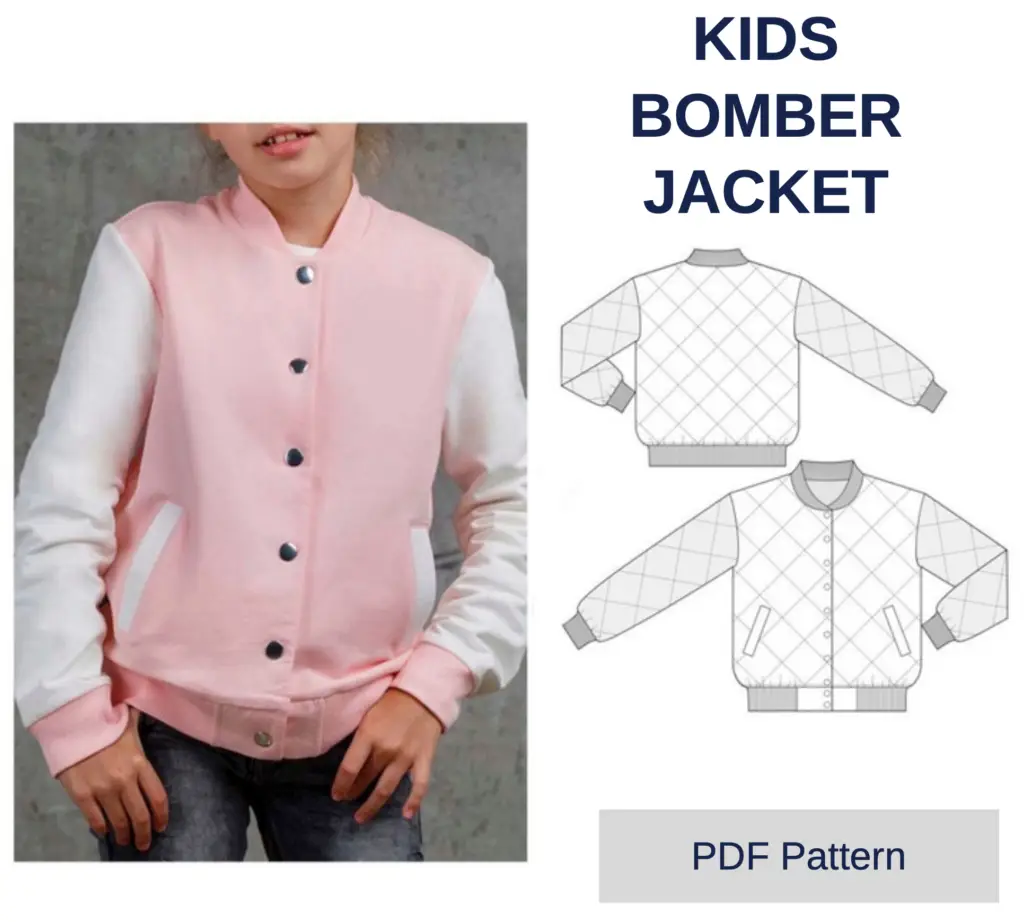
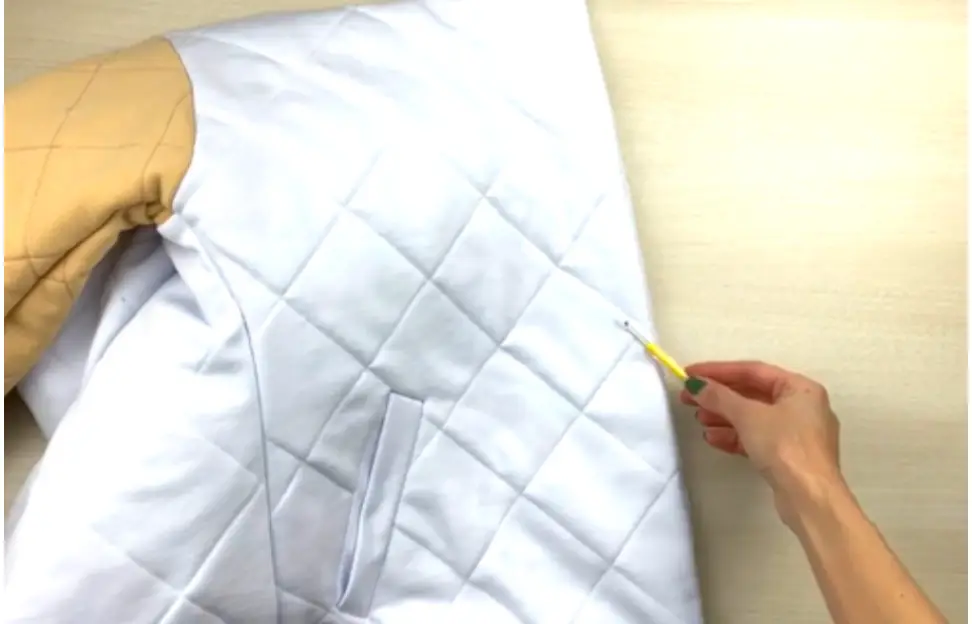
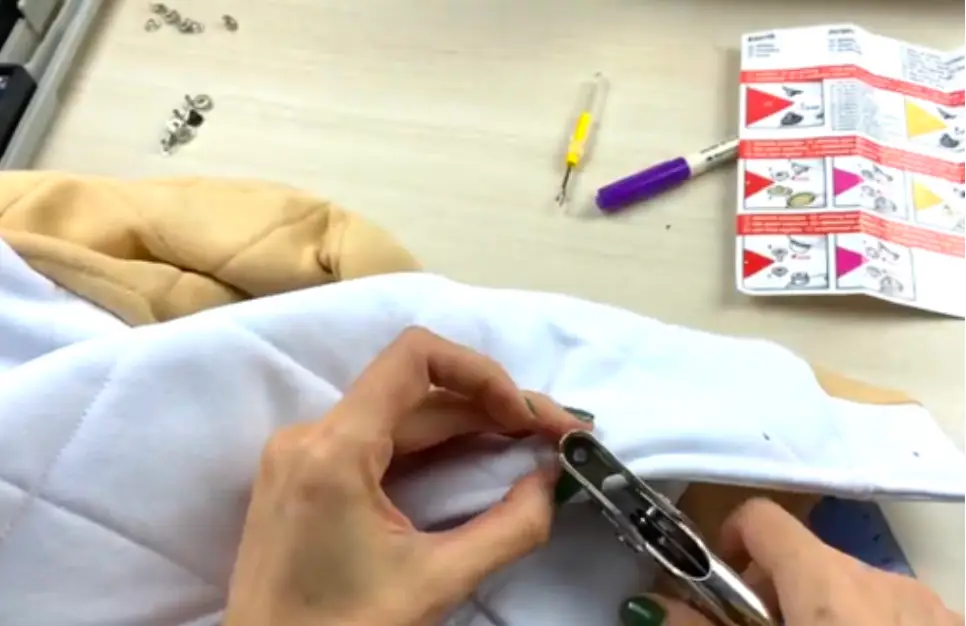
A quilted bomber jacket with a snap-front placket, ribbed collar, cuffs and hem, and welt pockets at the hip — insulated for cooler days.
A quilted bomber jacket with a snap-button front placket, ribbed collar, cuffs, and waistband, plus welt pockets at the hip and a patch pocket sewn inside the lining.
Cut from soft, dense fabric such as jersey or french terry, with a thin insulation layer between the main fabric and lining, this pattern is sized 3 to 10 years.
We recommend using soft and dense fabrics. A tight knit is perfect, such as jersey or french terry.
Any thin jersey will work for the lining. As the insulation, izosoft 70–100 grams is suitable.
For the collar, cuffs, and waistband, kashkorse or ribbing is suitable.
| Size | 3 – 8 years | 9 – 10 years |
|---|---|---|
| Main fabric width 180 cm |
50 cm 19.7" |
100 cm 39.4" |
| Lining width 180 cm |
50 cm 19.7" |
100 cm 39.4" |
| Insulation width 150 cm |
120 cm 47.3" |
140 cm 55.1" |
| Cuff fabric width 120 cm |
25 cm 9.8" |
25 cm 9.8" |
| Size | Front width | Sleeve length | Back length |
|---|---|---|---|
| 3 years | 18 cm 7.09" | 44 cm 17.32" | 37 cm 14.57" |
| 4 years | 18.5 cm 7.28" | 46 cm 18.11" | 39 cm 15.35" |
| 5 years | 19 cm 7.48" | 48 cm 18.9" | 40.5 cm 15.94" |
| 6 years | 20 cm 7.87" | 50.5 cm 19.88" | 42 cm 16.54" |
| 7 years | 20.5 cm 8.07" | 52.5 cm 20.67" | 44 cm 17.32" |
| 8 years | 21 cm 8.27" | 54 cm 21.26" | 45.5 cm 17.91" |
| 9 years | 22.5 cm 8.86" | 55.5 cm 21.85" | 47 cm 18.5" |
| 10 years | 23.5 cm 9.25" | 57.5 cm 22.64" | 48.5 cm 19.09" |
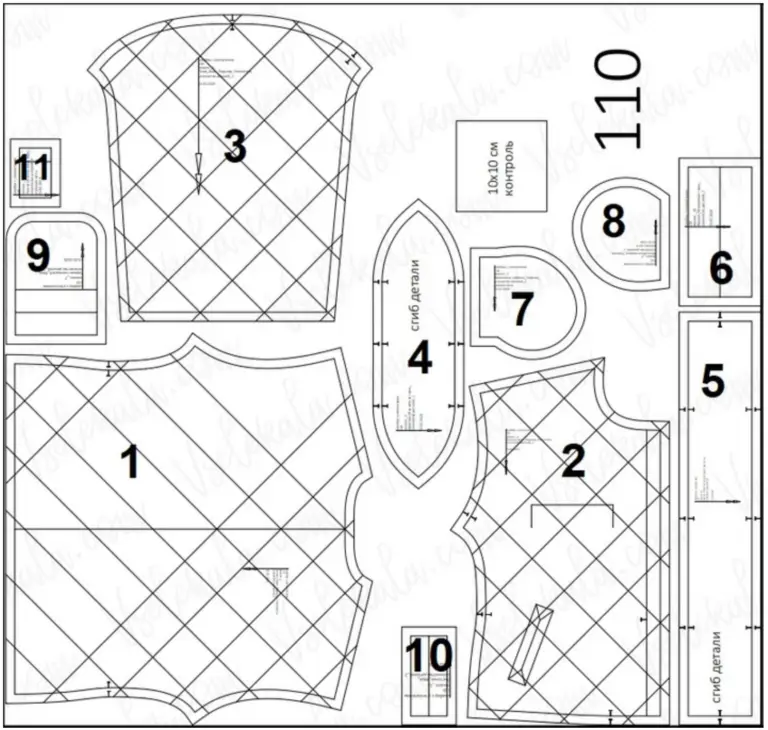
| Pattern piece | Qty |
|---|---|
| 1 — Back | 1 |
| 2 — Front | 1 |
| 3 — Sleeve | 2 |
| 4 — Collar | 1 |
| 5 — Placket (bottom facing) | 1 |
| 6 — Cuff | 2 |
| 7 — Inner pocket piece | 2 |
| 8 — Outer pocket piece | 2 |
| 9 — Patch-pocket | 1 |
| 10 — Pocket welt | 2 |
| 11 — Placket (front hem facing) | 4 |
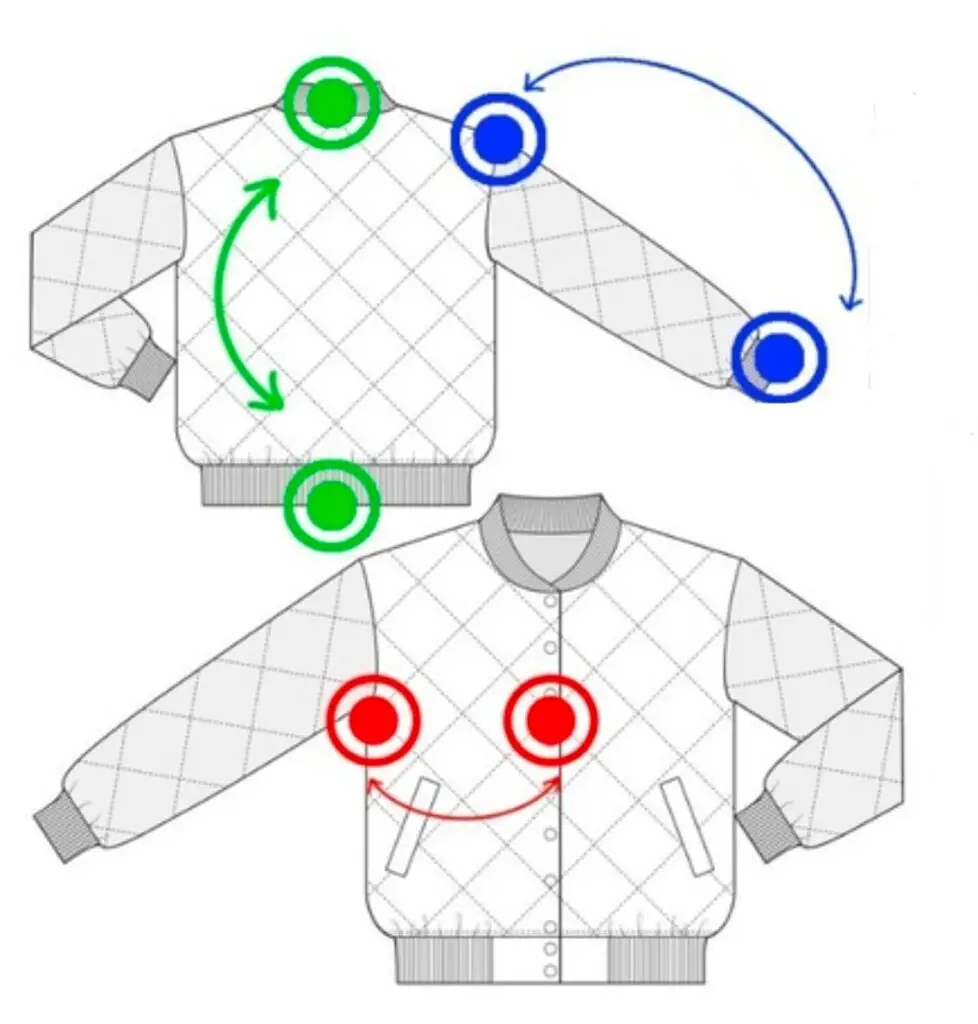
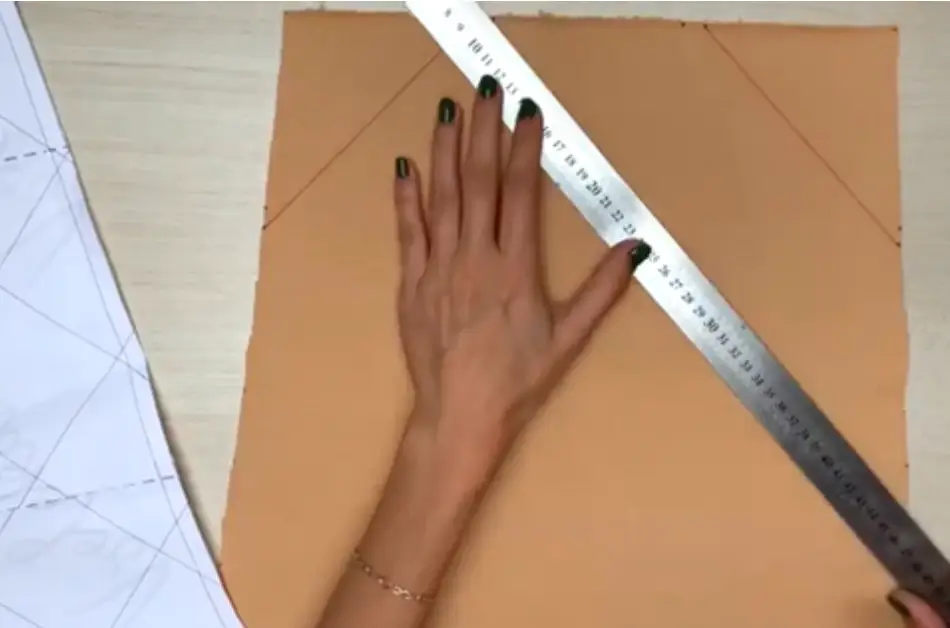
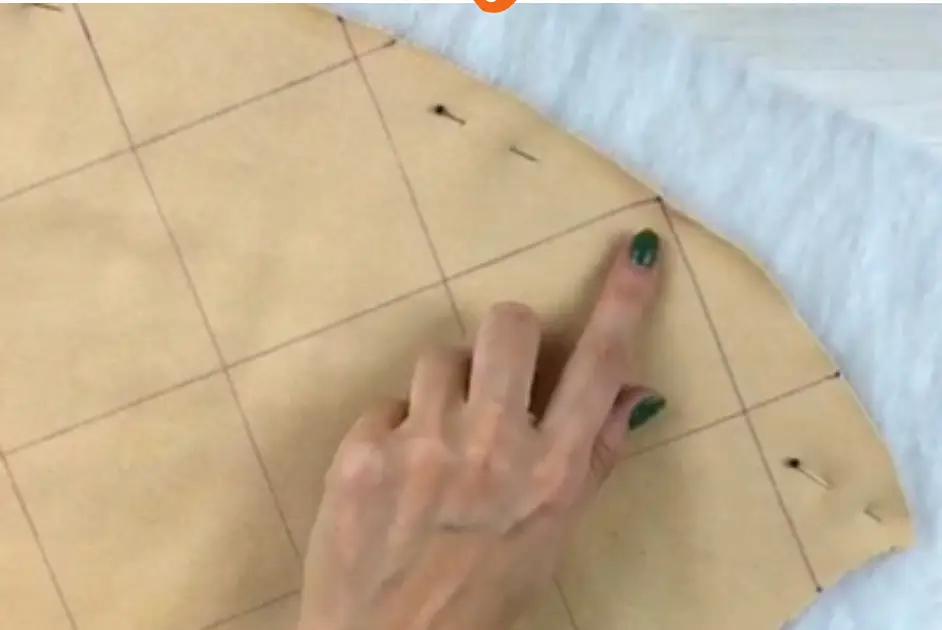
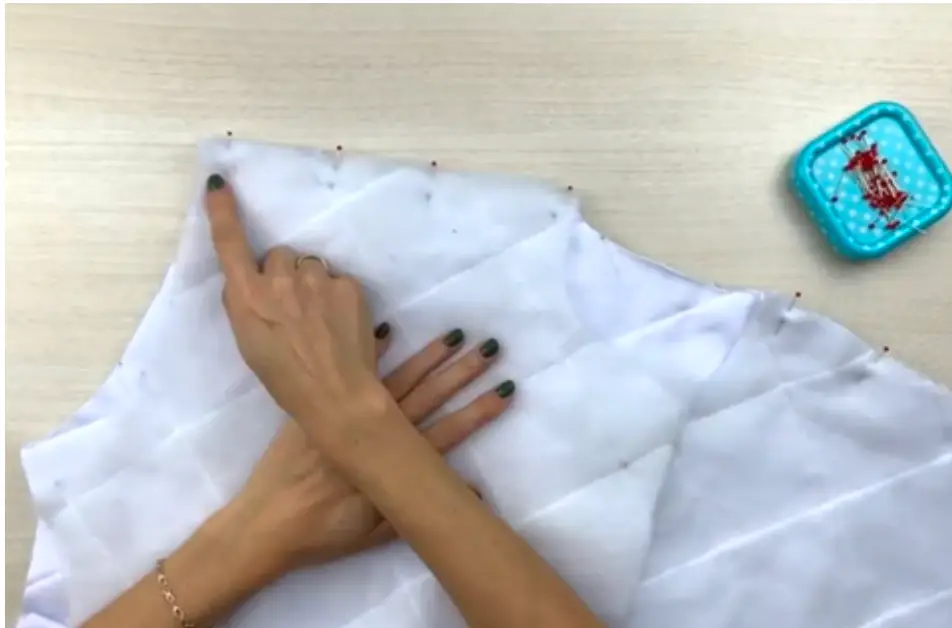
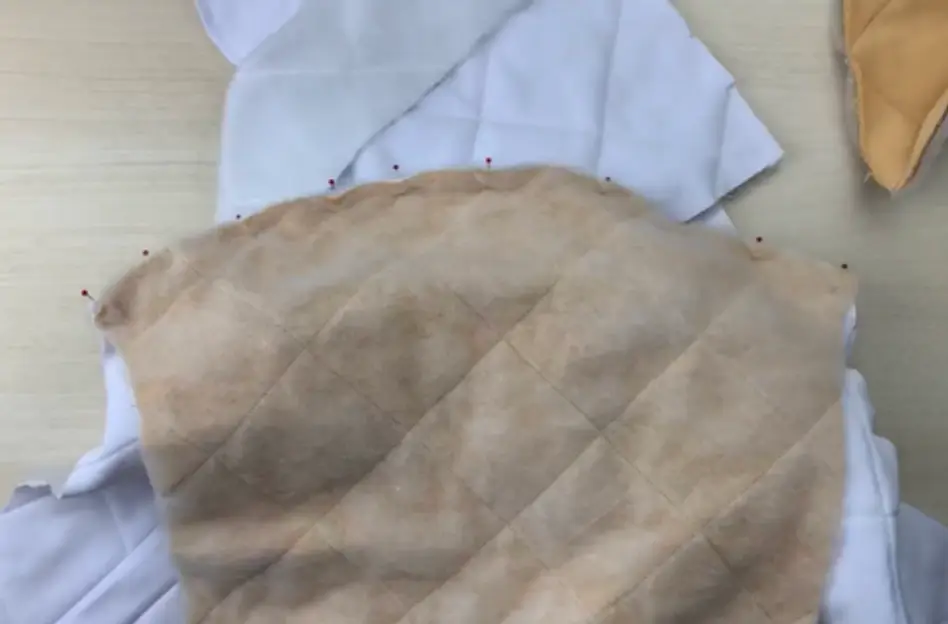
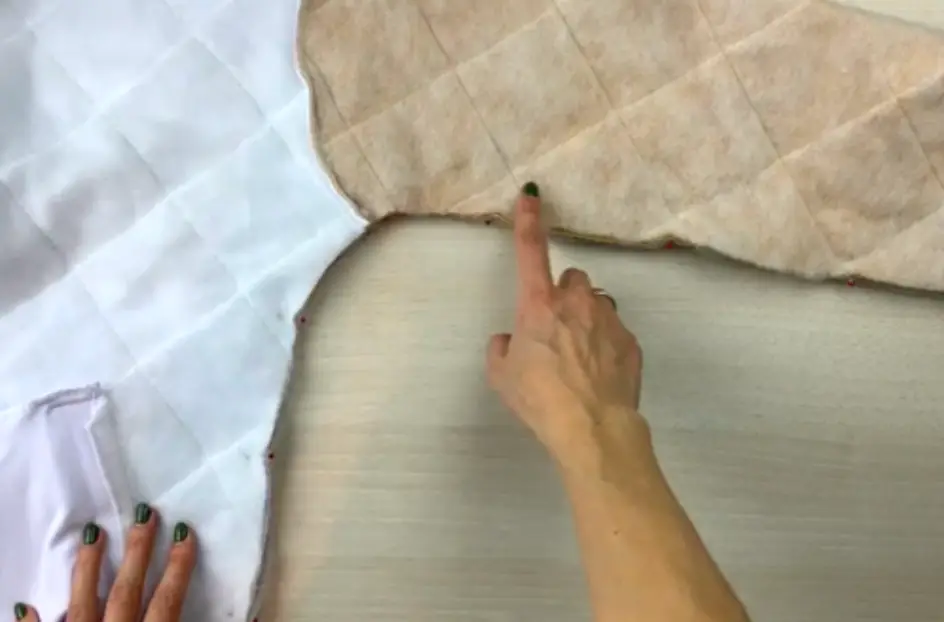
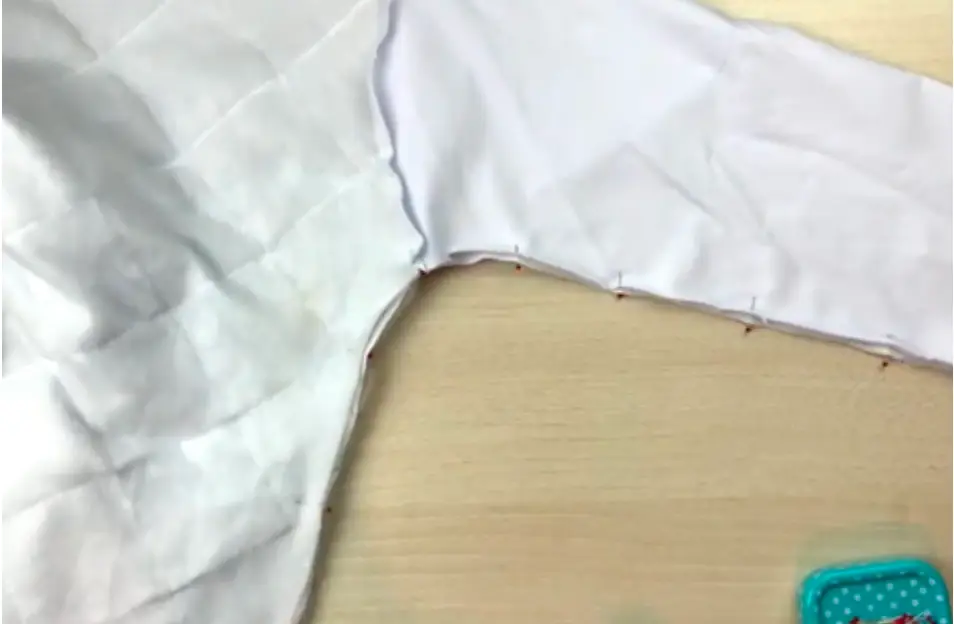
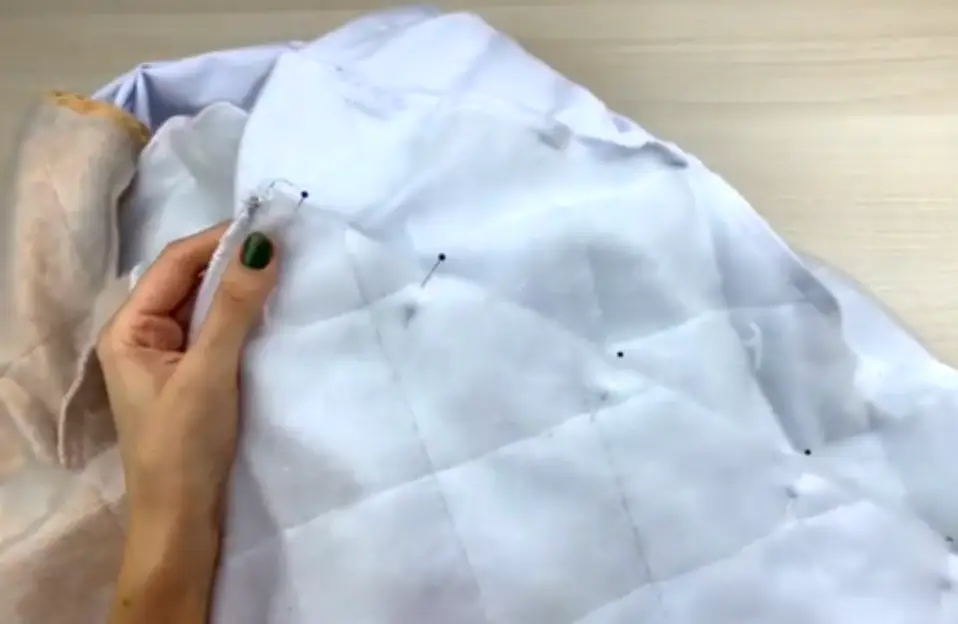
Outline the lines on the pieces that need to be quilted. Draw the lines. Align the pieces from the main fabric with the insulation. Stitch along the lines. The lining can also be quilted if desired — it is sufficient to process only the front and the back.
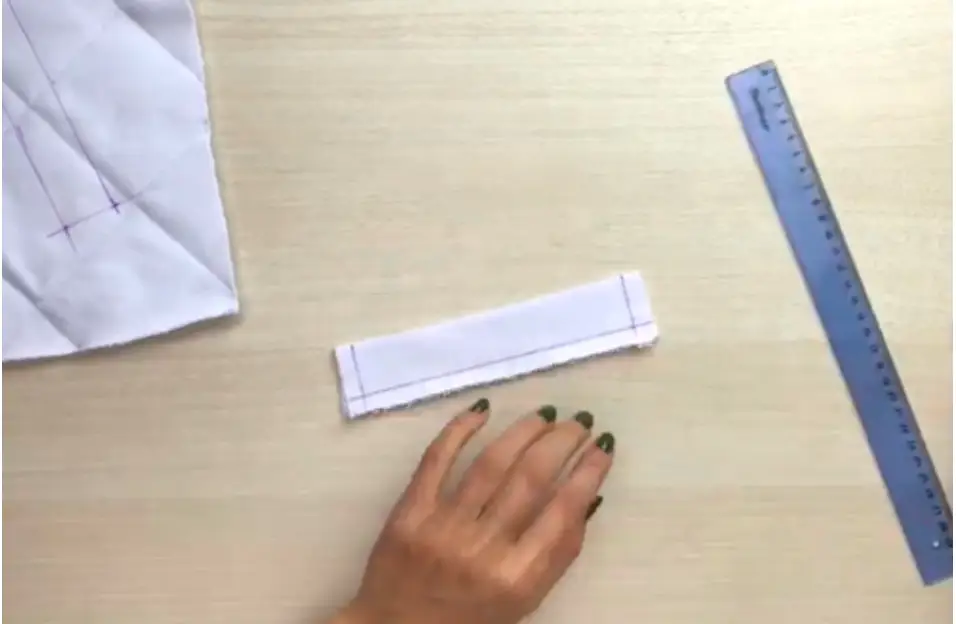
Fold the pocket welt in half and iron it. Mark the lines for the allowances. On the front piece, mark the lines of the pocket to stitch the pocket welt and the inside pocket piece. Mark the lines of the allowances on the inside pocket pieces.
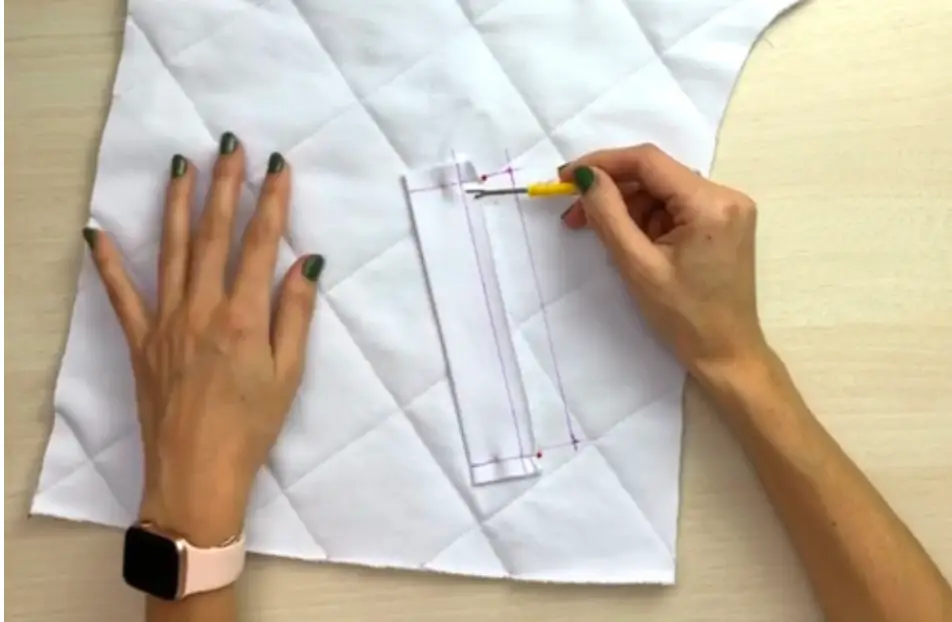
Pin the pocket welt to the line that is closer to the center of the front, with the raw edge to the side seam.
Important! Match the lines on the front with those on the pocket welt, especially where they intersect. Stitch.
Pin the right side of the inner pocket piece to the parallel line of the pocket. Stitch it.
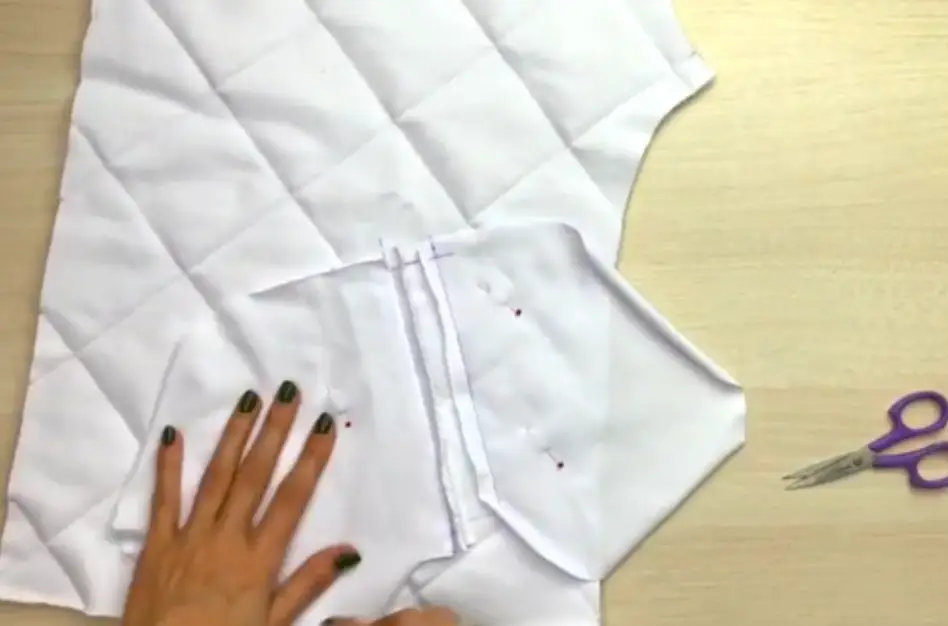
Pin the outer pocket piece to the top of the pocket welt. Sew in place. Make sure that the pieces are sewn straight and correctly positioned.
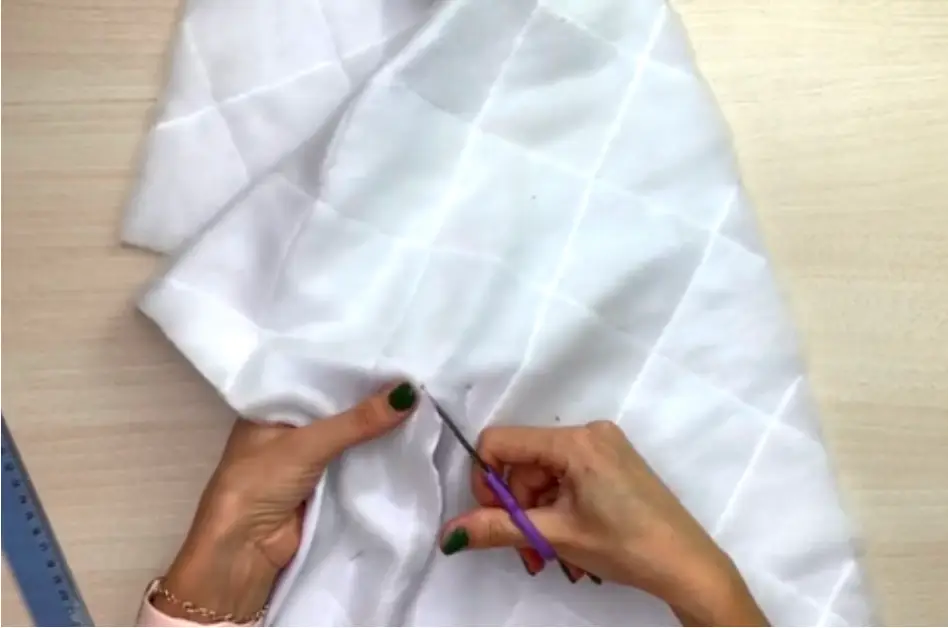
Mark the cut lines of the entrance to the pocket. Draw a line in the middle of the pocket frame 1.5 cm (0.59") short of the edge. Then draw lines to the corners of the frame. Cut the lines 1 mm (0.04") short of the corner edges.
Turn the pieces inward.
Sew the corners with the valance and the welt close to the frame.
Topstitch the entrance to the pocket. Fold the outer pocket piece to the other side. Overlock stitch the details of the inside pocket piece. Press it.
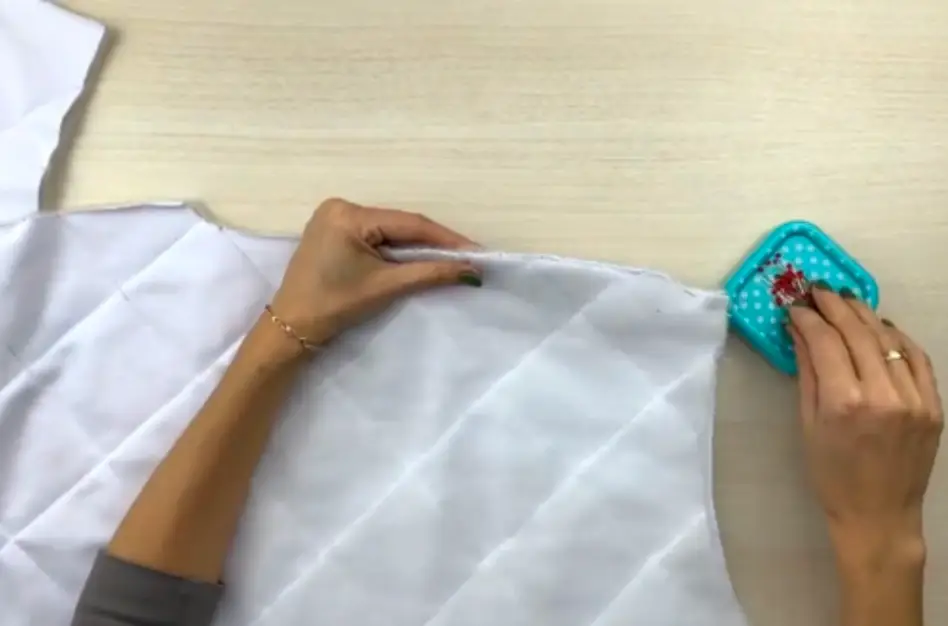
Pin together the right sides of the shoulder seams. Overlock stitch and iron them onto the back.
Pin the sleeve face-to-face into the open armhole. Stitch in. Iron the seams onto the sleeve.
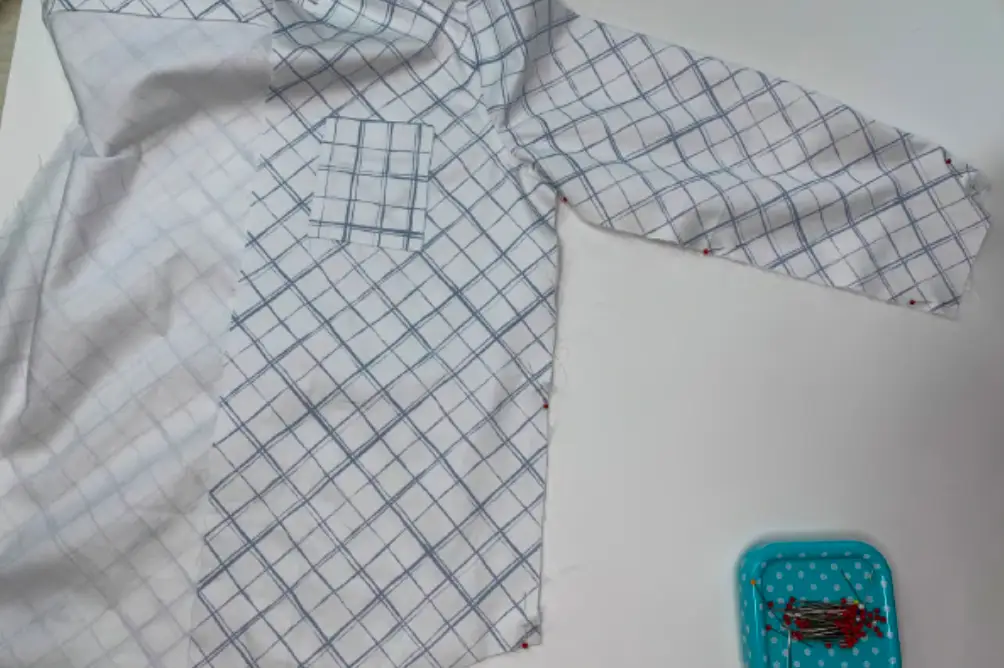
Pin together the right sides of the sleeve edges and the bodice side edges. Stitch. Press the seams onto the back.
Assemble the lining in the same way. Leave space for turning the product onto the right side on one of the sleeves or in the side seam.
Iron inward the allowances of the patch pocket. Overlock stitch and iron inward the upper edge. Stitch the pocket along the marked lines onto the front of the lining. Iron.
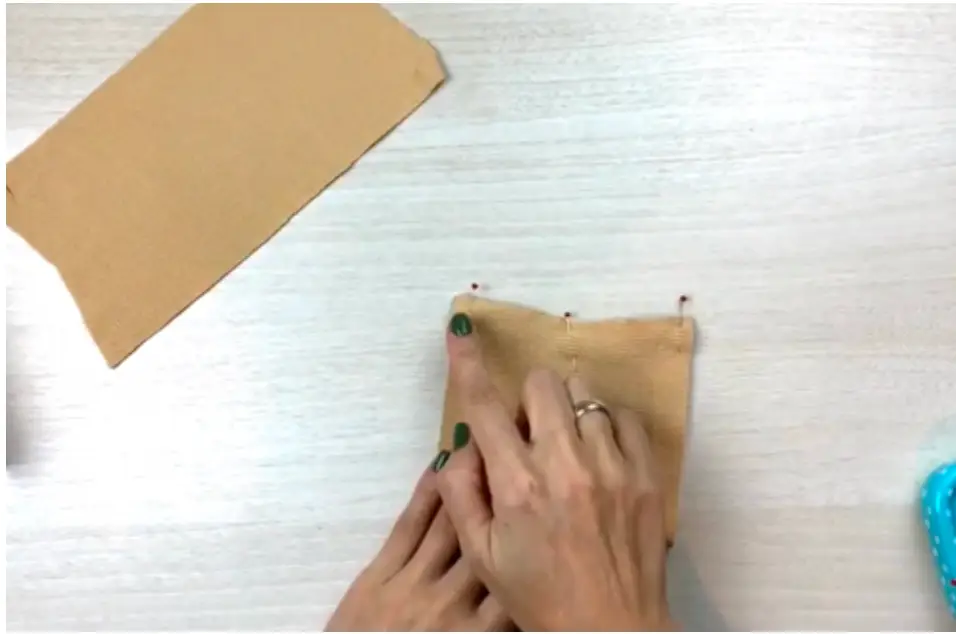
Pin together the right sides of the cuffs along the short edge and stitch on a sewing machine. Iron the seams open.
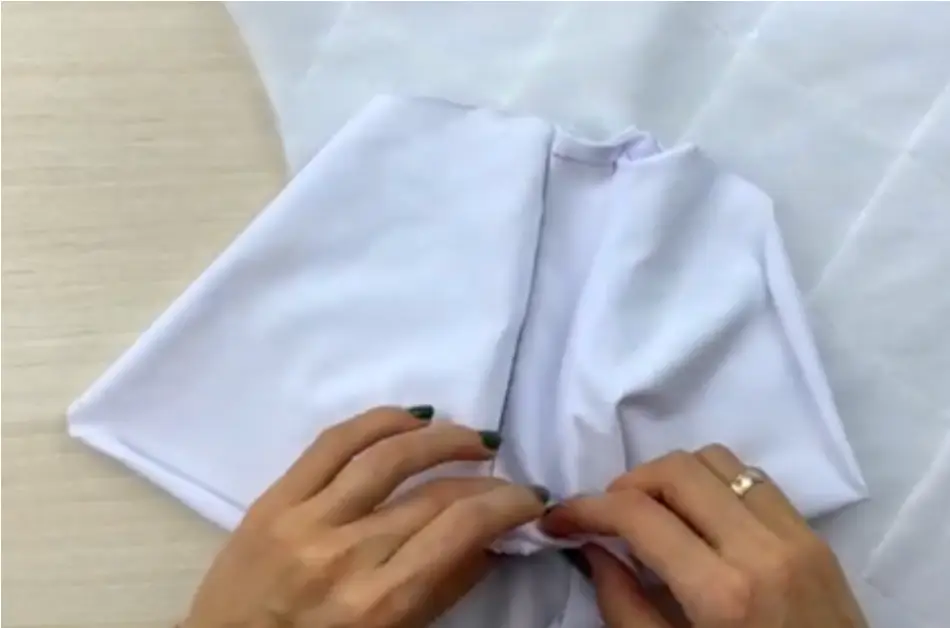
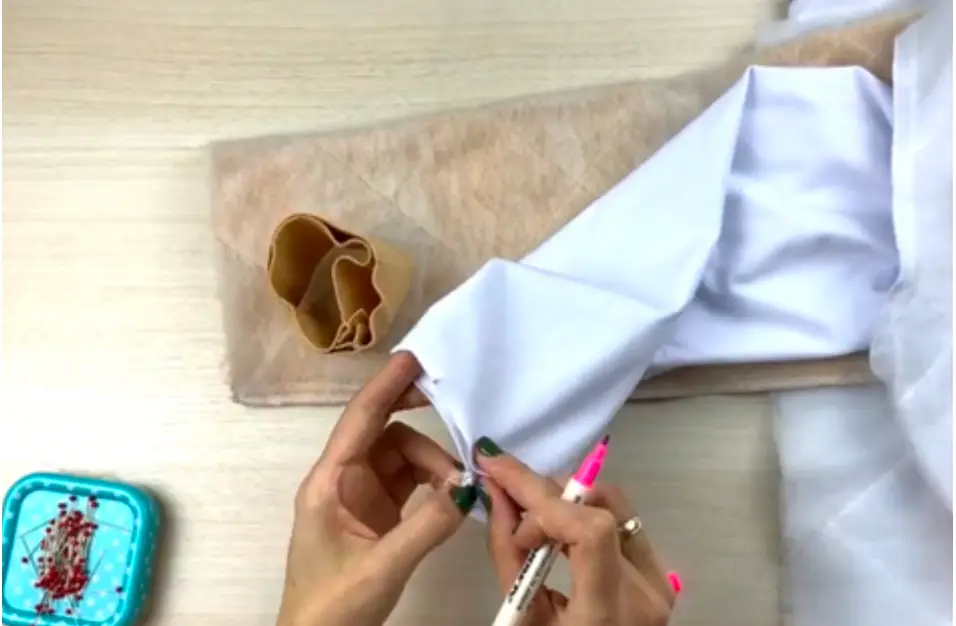
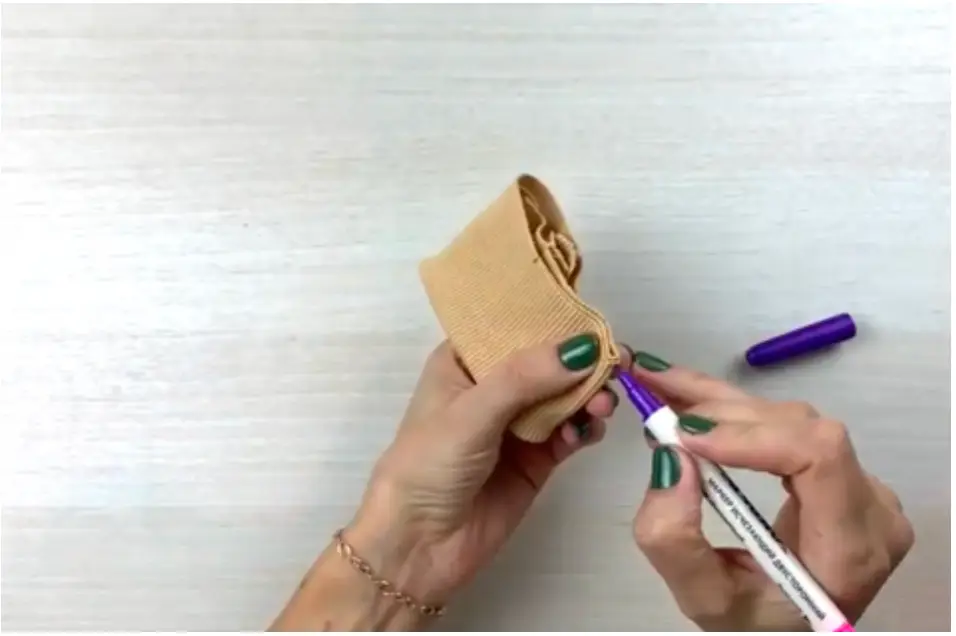
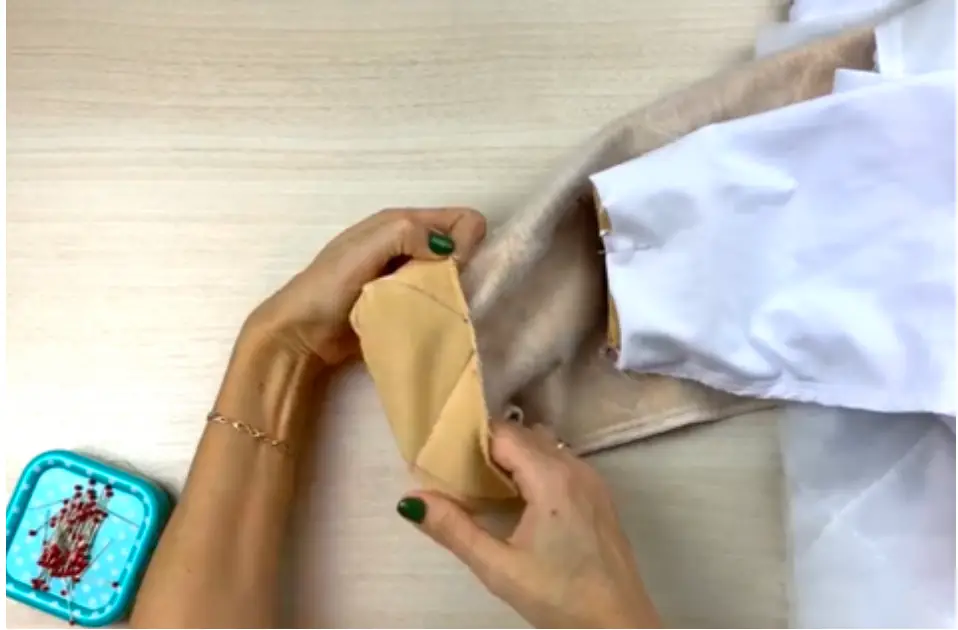
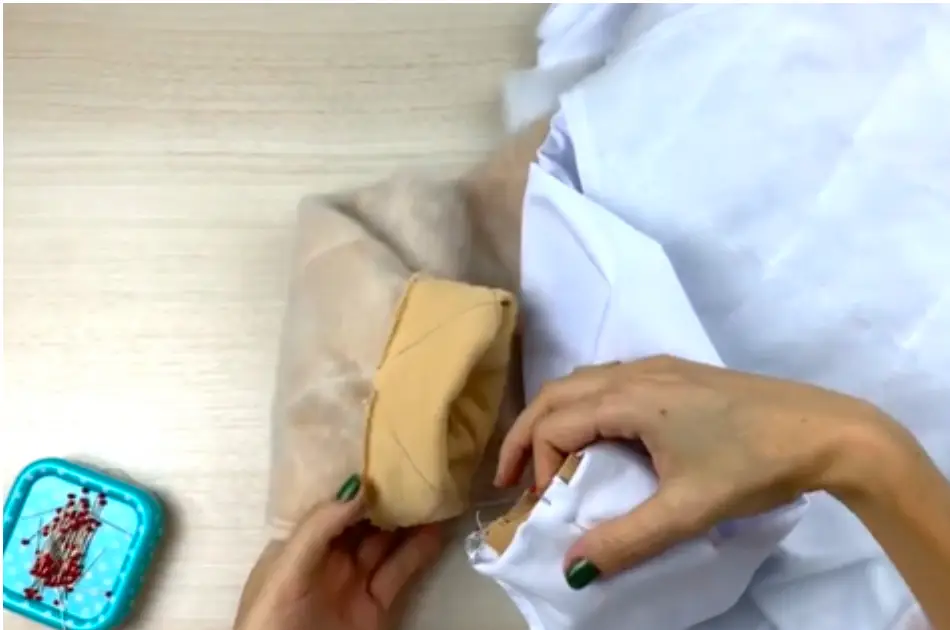
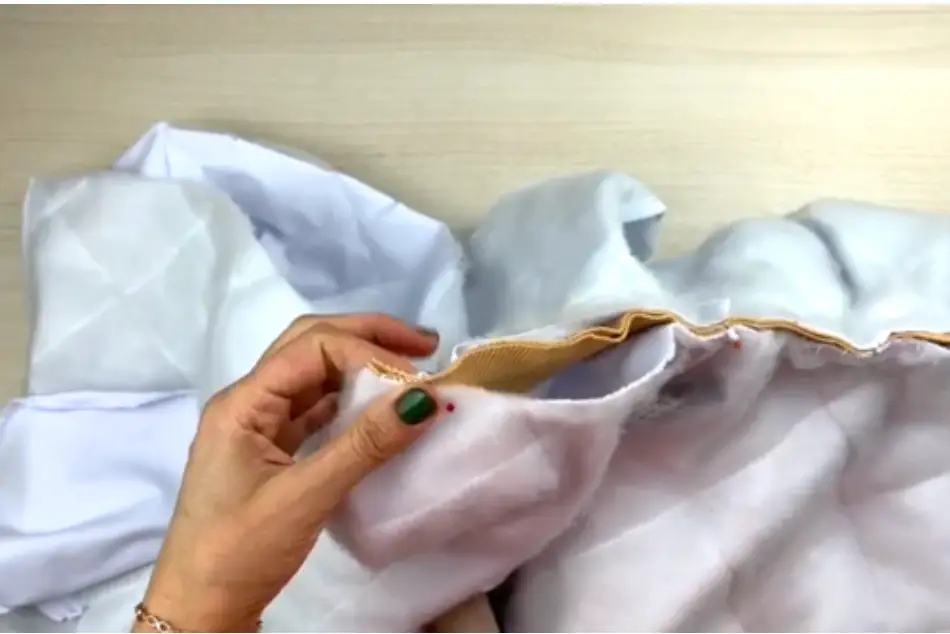
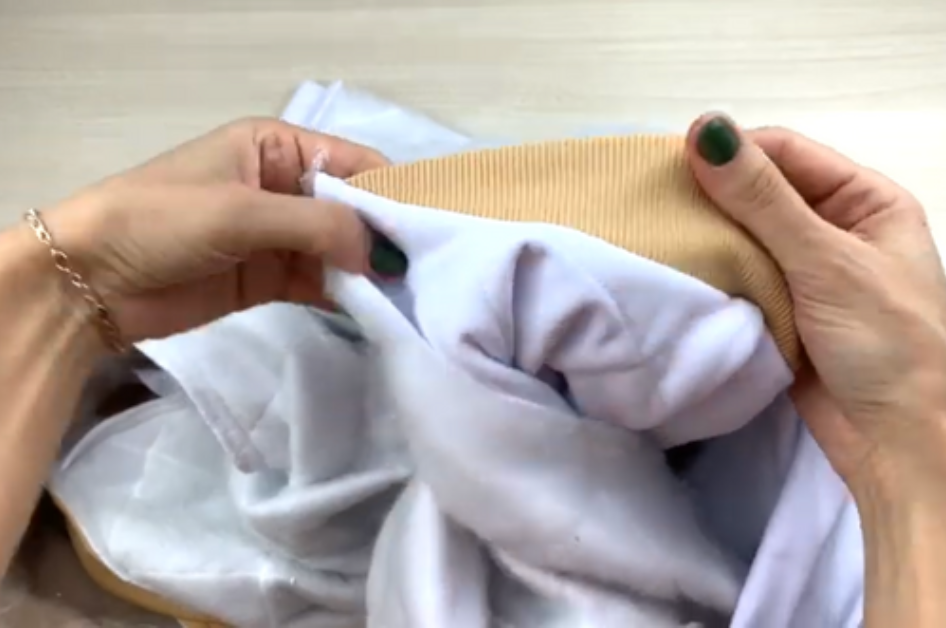
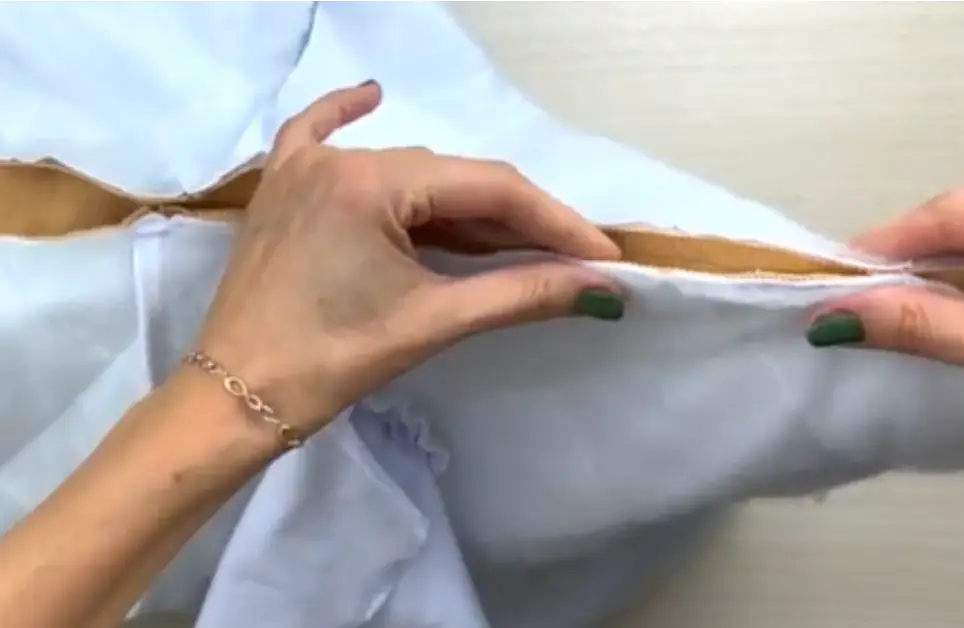
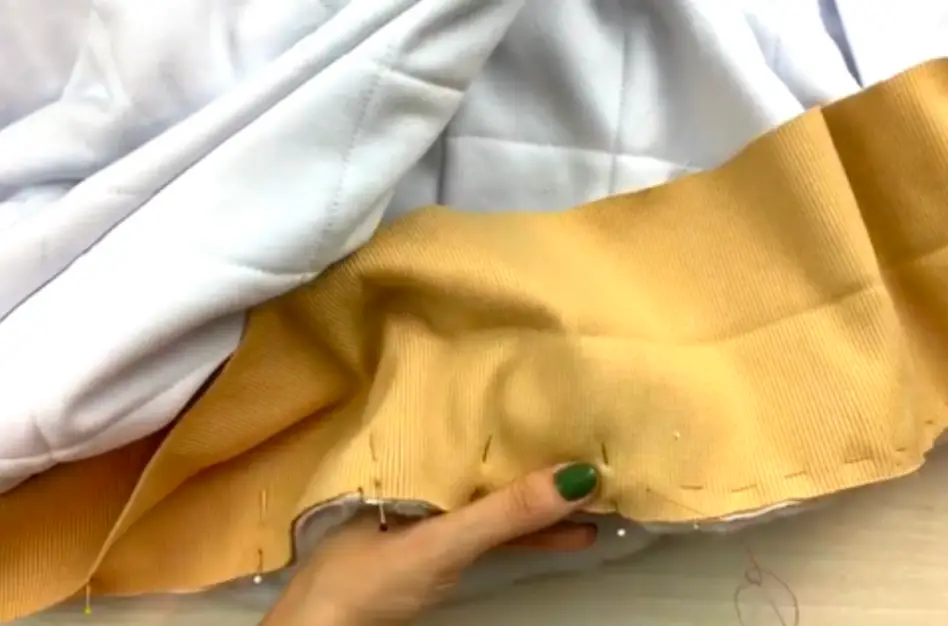
Pin the cuff into the bottom of the sleeve from the lining. On the sleeve from the main fabric, fold the bottom 5 cm (2") down (the garment is turned to the wrong side, the bottom of the sleeves is folded 5 cm (2") to the right side) and pin the cuff face to face. Be careful not to twist the sleeve. Overlock stitch the pieces of the sleeves and the cuff. Iron.
Fold the neckline facings in half and iron them.
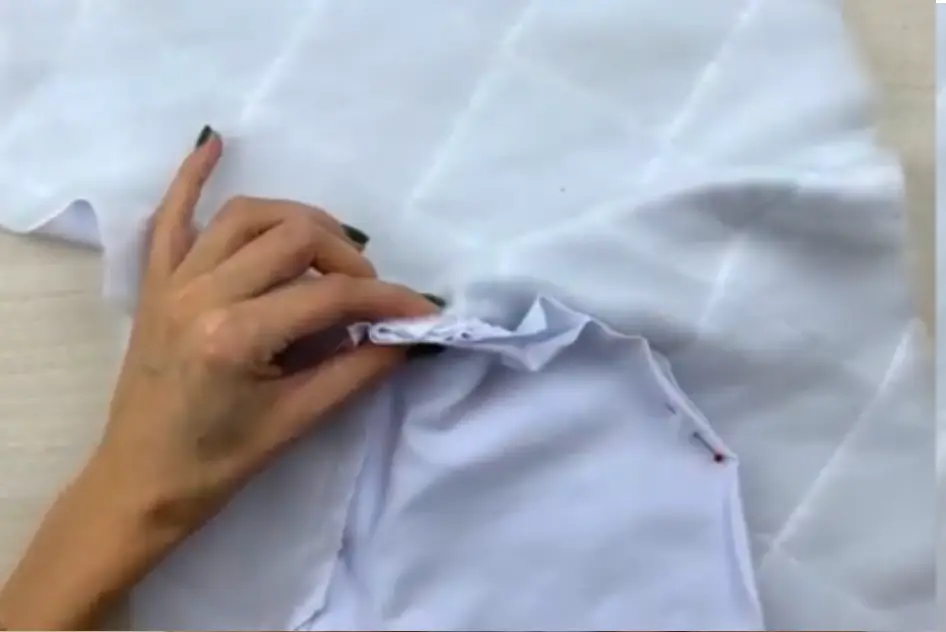
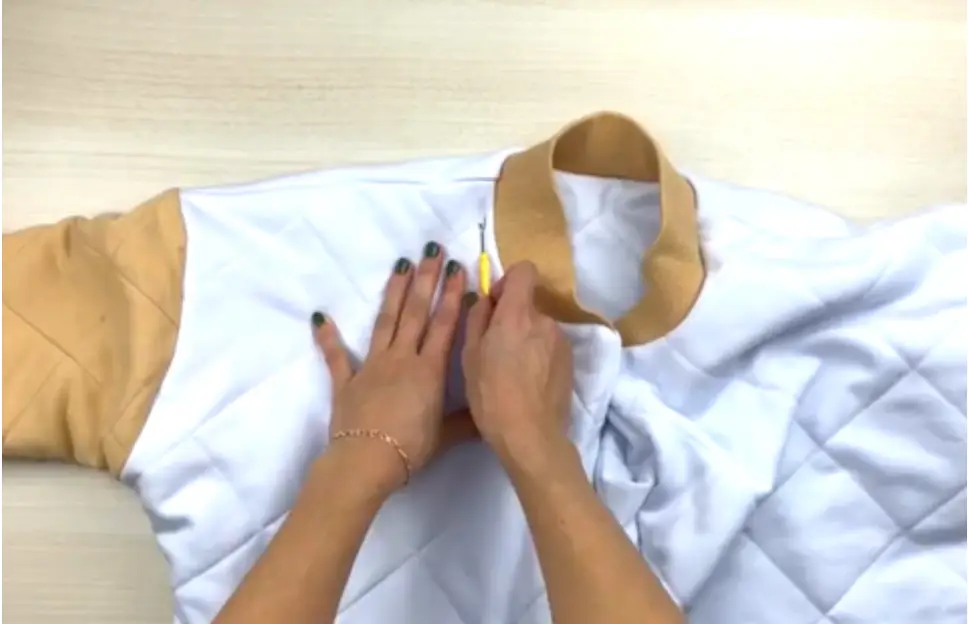
Pin the neckline facing first to the garment, matching the notches, and then to the lining. Overlock stitch. Iron.
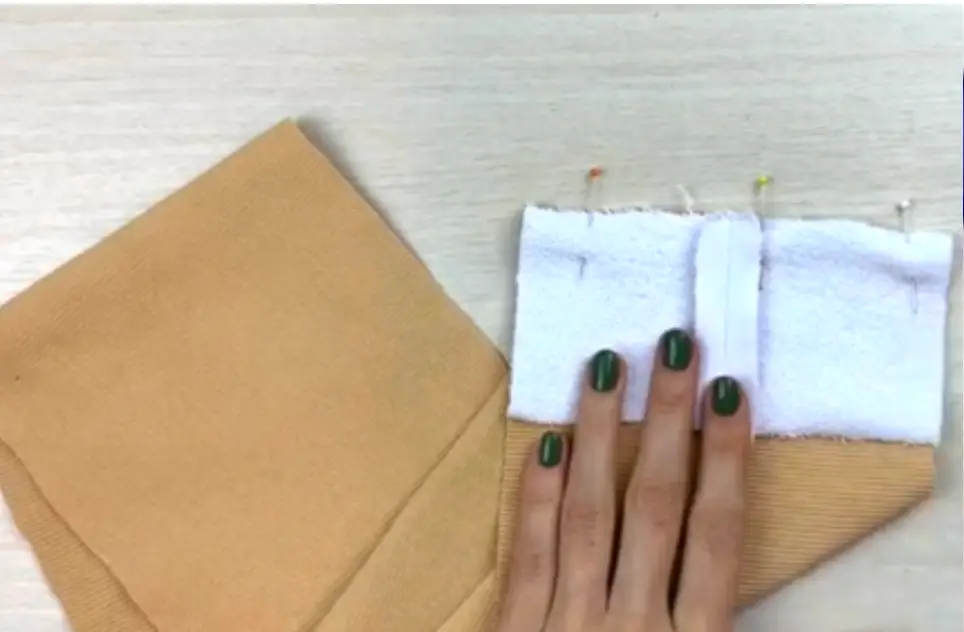
Pin face to face and stitch the lower edges of the bottom facing from the main fabric. Iron.
Pin the kashkorse placket to the facing of the bottom and stitch. Iron.
With right sides together, pin the upper edge of the bottom facing to the garment. Stitch them. Topstitch seam allowances to the garment.
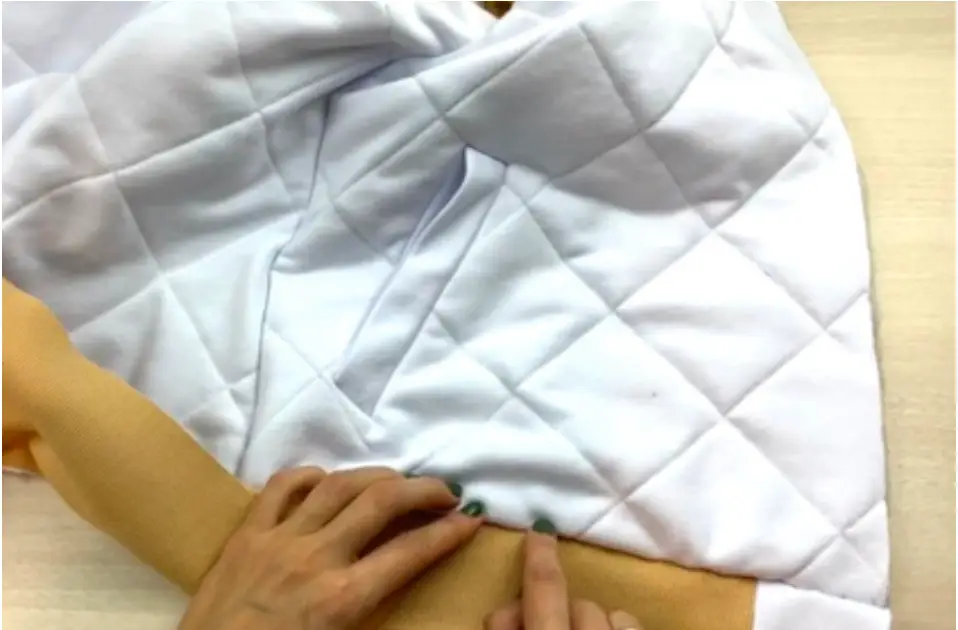
With right sides together, pin the bottom edge of the facing to the lining. Stitch. Iron the seams onto the product.
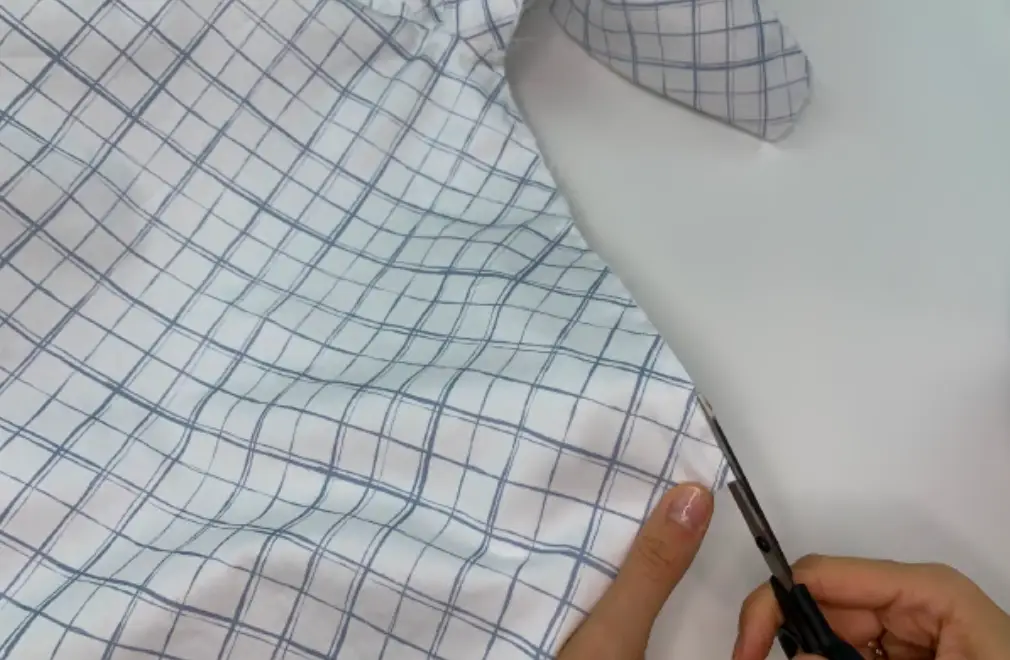
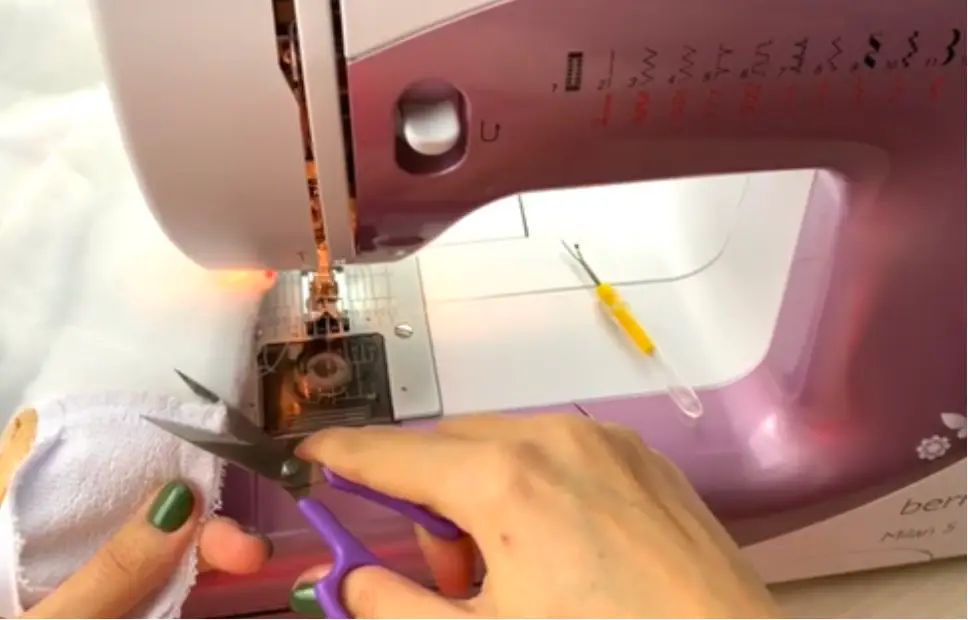
With the right sides together, pin the raw edges of the garment facings to the lining. Stitch with an overlock or sewing machine. Turn out to the right side and iron the seam. Stitch the placket's allowances together.
Topstitch the neckline and the center of the garment.
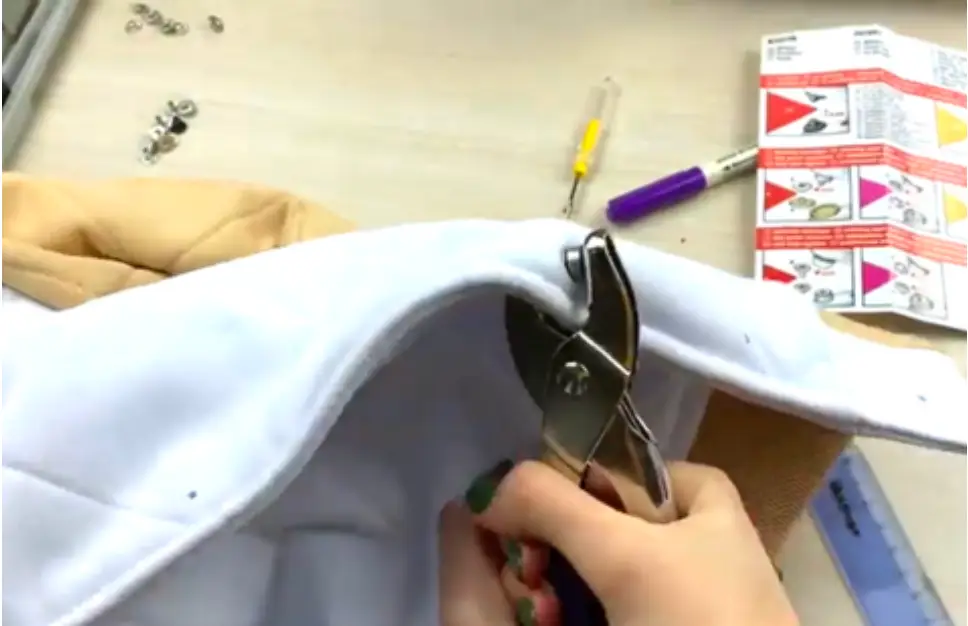
Install the buttons where marked.