

Main fabric: We recommend using fine knitwear.
Collar: we used cotton.
We recommend to use Jersey needle for your sewing machine. Use Double Needle to finish a hem.
In case you don’t have serger you can use any stretching stitch on your sewing machine: Zigzag or special stretch stitch.
| Size |
8 years 128 |
9 years 134 |
10 years 140 |
11 years 146 |
12 years 152 |
|---|---|---|---|---|---|
|
Main fabric (Short sleeve) |
0.53 20.9" |
0.55 21.7" |
0.57 22.4" |
0.59 23.2" |
0.61 24" |
|
Main fabric (Long sleeve) |
0.53 20.9" |
0.68 26.8" |
0.81 31.9" |
0.96 37.8" |
1.1 43.3" |
| Fabric for collar |
0.15 5.9" |
0.15 5.9" |
0.15 5.9" |
0.15 5.9" |
0.15 5.9" |
When buying fabric, keep in mind that the material can shrink, so take with a margin of 5 – 10%.
Size – 8 years (Height 128 cm)
Layout width – 1.5 m (59.1″)
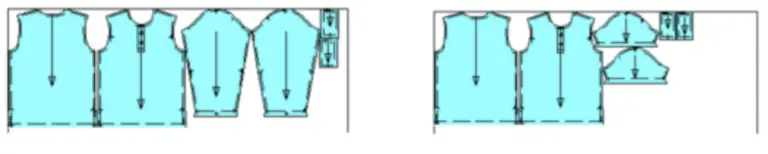
Size – 12 years (Child’s height 152 cm)
Layout width – 1.5 m (59.1″);

Main fabric
| № | Patterns |
Number of patterns |
Number of pieces |
|---|---|---|---|
| 1 | Back | 1 | 1 |
| 2 | Front | 1 | 1 |
| 3 | Long sleeve | 1 | 2 |
| 4 | Short sleeve | 1 | 2 |
| 5 | 1 | 2 |
Fabric for collar
| № | Pattern |
Number of patterns |
Number of pieces |
|---|---|---|---|
| 6 | Inner collar | 1 | 1 |
| 7 | Outer collar | 1 | 1 |
| 8 | Collar stand | 1 | 2 |
Attention! All our patterns already contain 1 cm / 0.39 in seam allowances.
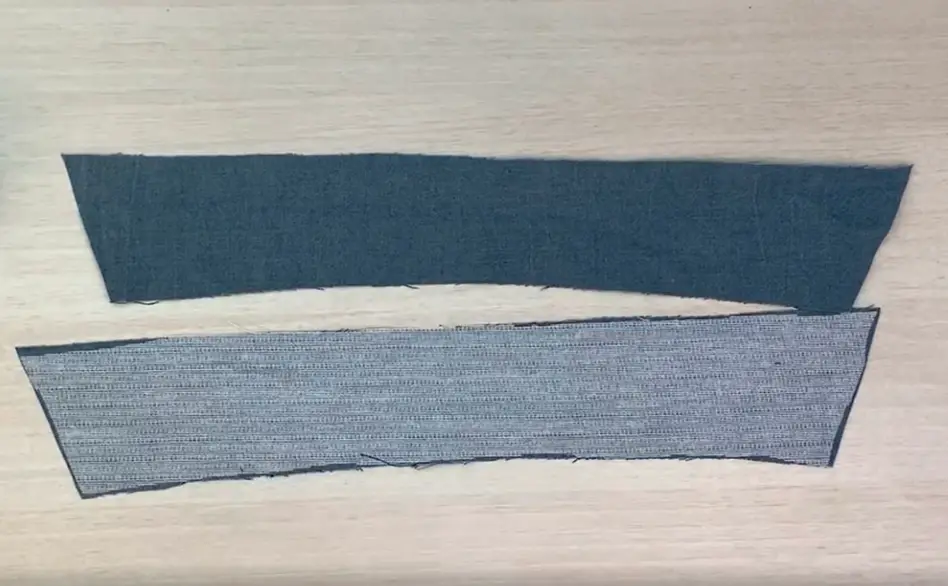
Before sewing, iron the interfacing to the plackets details and the collar details.
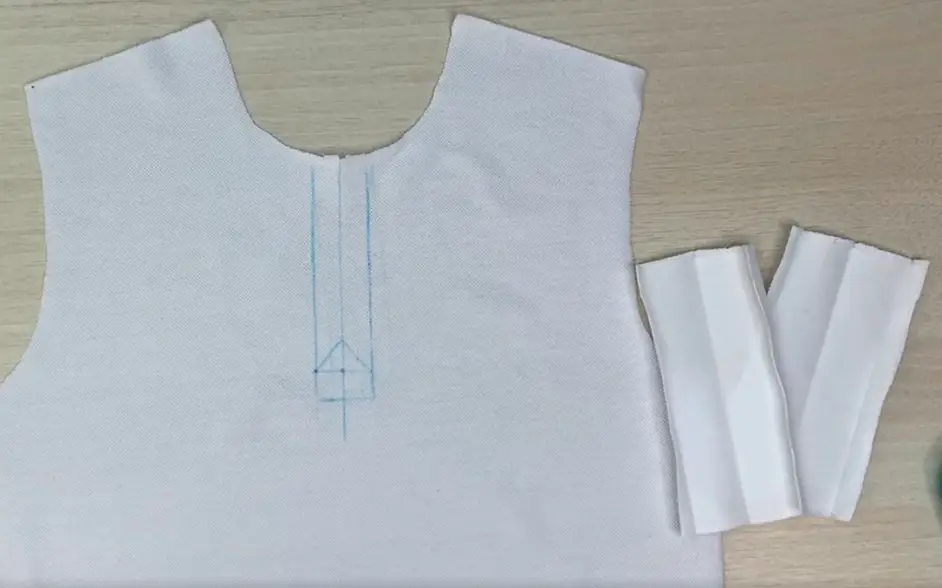
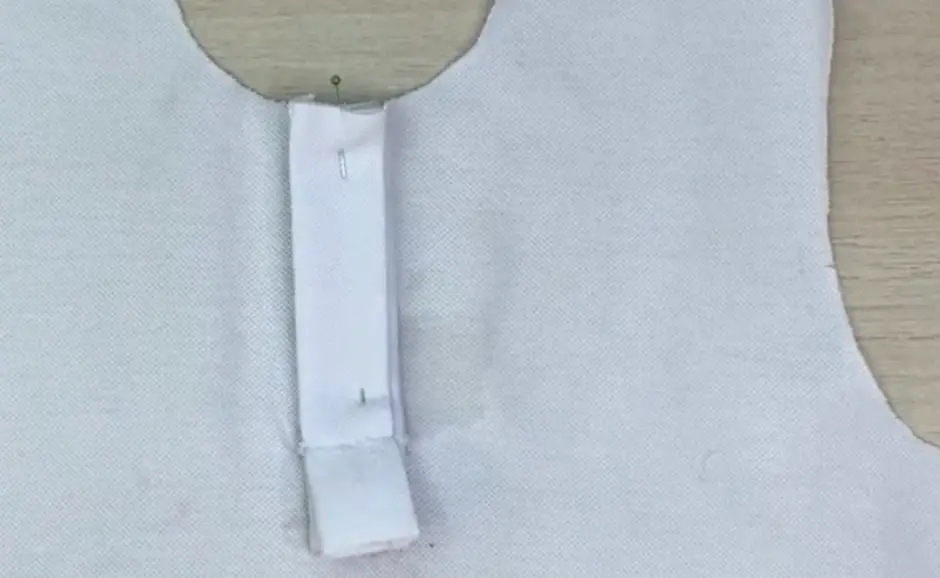
Fold the plackets in half with the wrong sides and press. Also press the seam allowances on the side edges of the planks.
Mark the sewing lines and the cut line on the front panel of the polo.
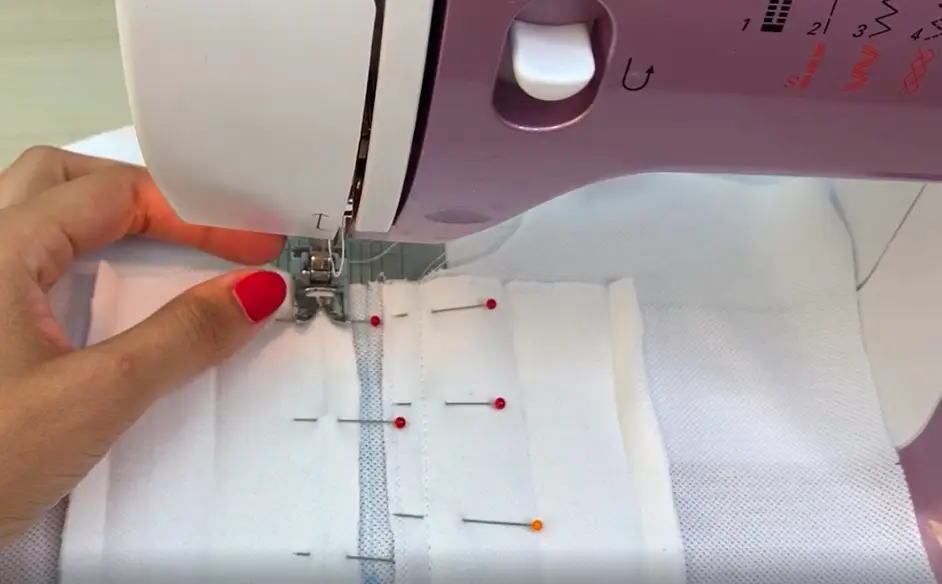
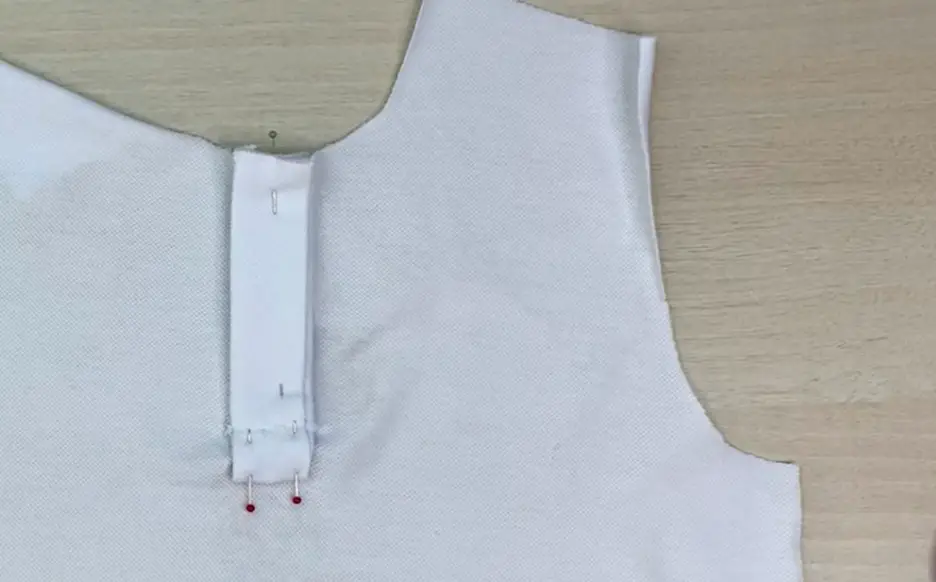
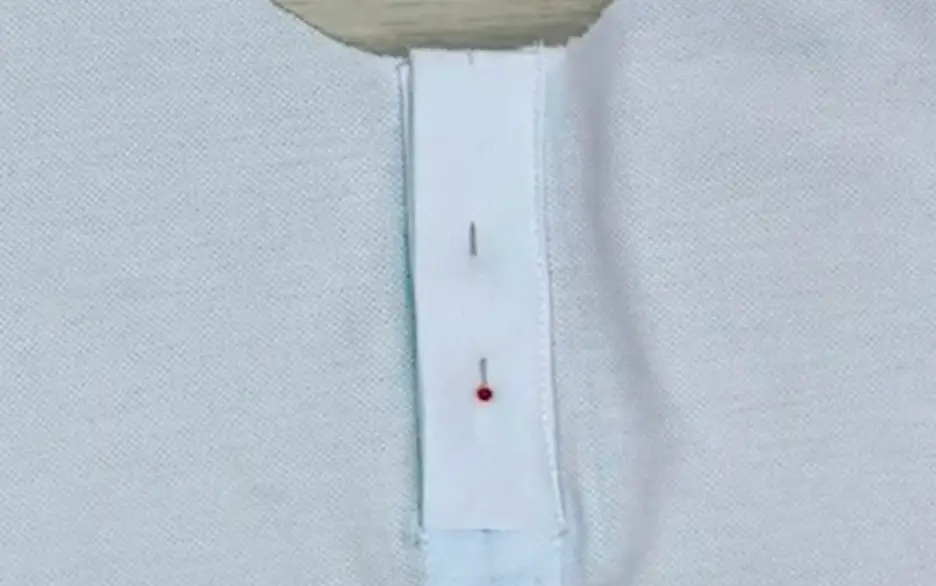
Pin the plackets on the stitching line so that the pressed edge of the seam allowance runs exactly along this line. Baste it. Sew them in place.
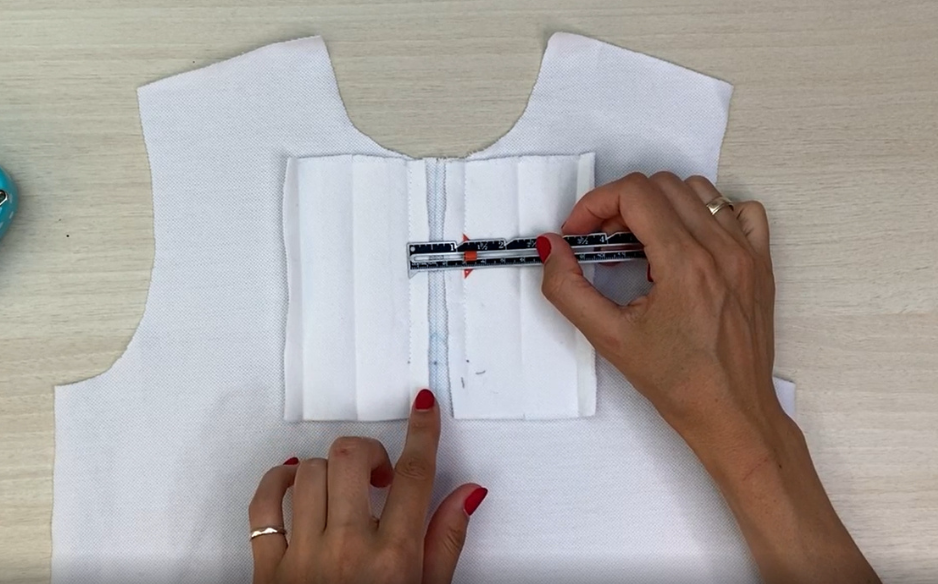
Check with a ruler that the plackets are stitched straight and the same distance are between the lines.
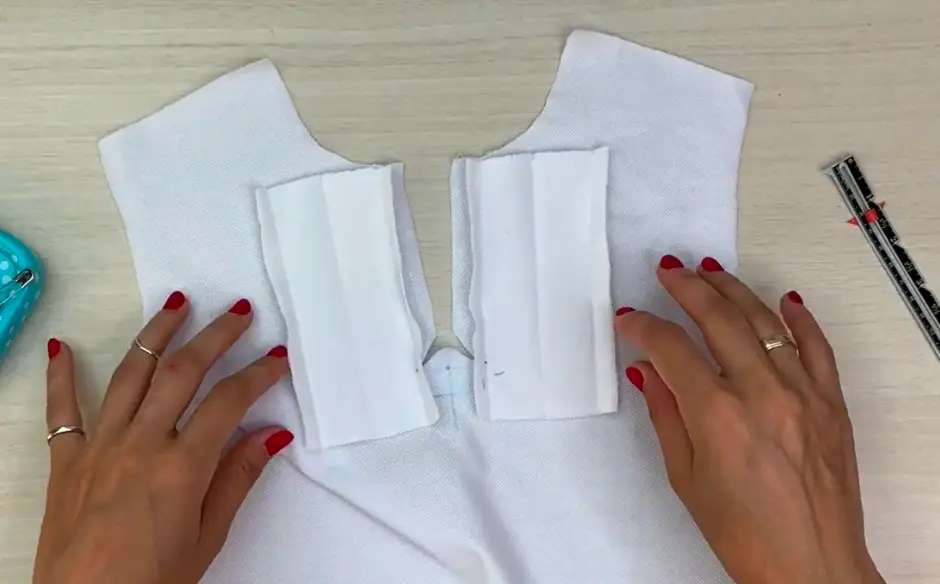
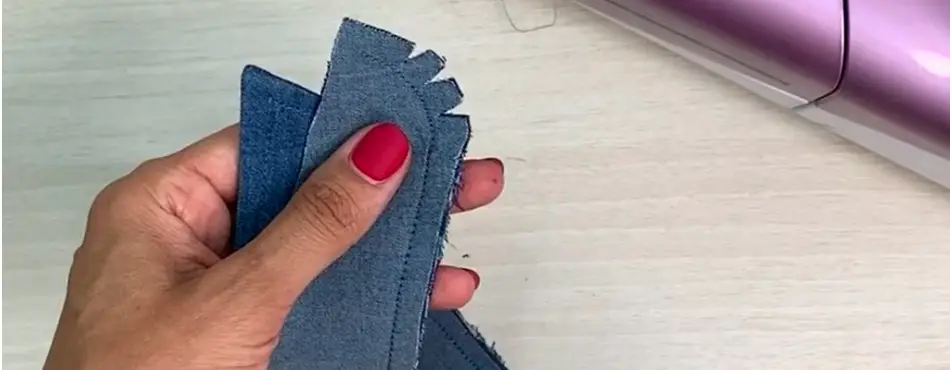
Cut in the middle of the marked lines (along the cut line), not reaching 1.5 cm / 0.59 in to the edge, and then cut to the corners.
Fold the plackets in half, hide the
allowances inward and turn
everything out to the wrong side. If
necessary, you can cut the
allowances.
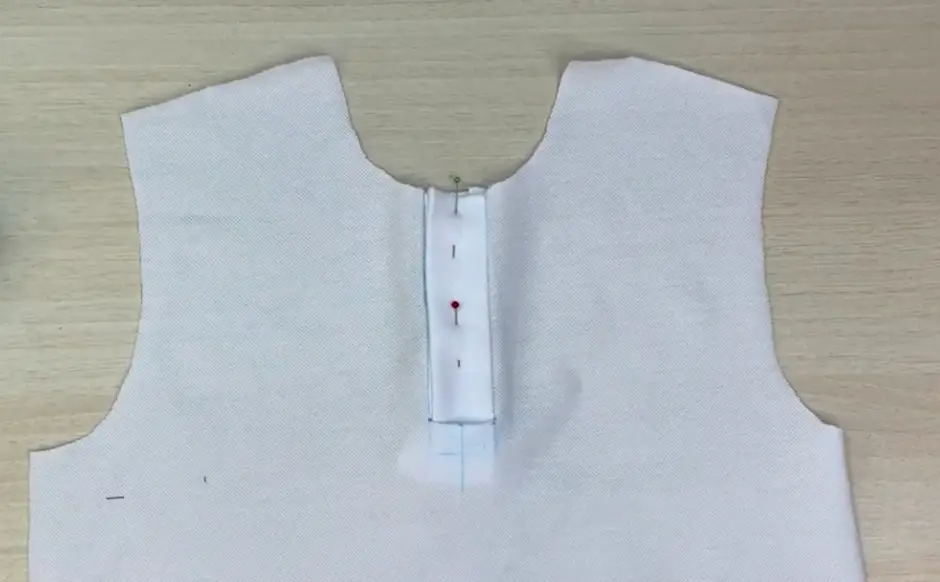
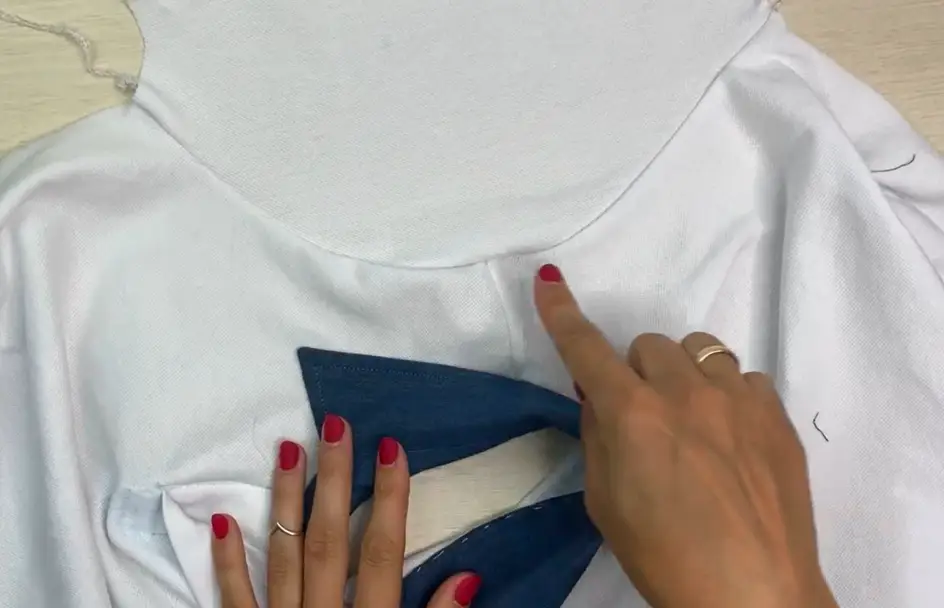
Fix the triangle and the plackets with a straight machine stitch.
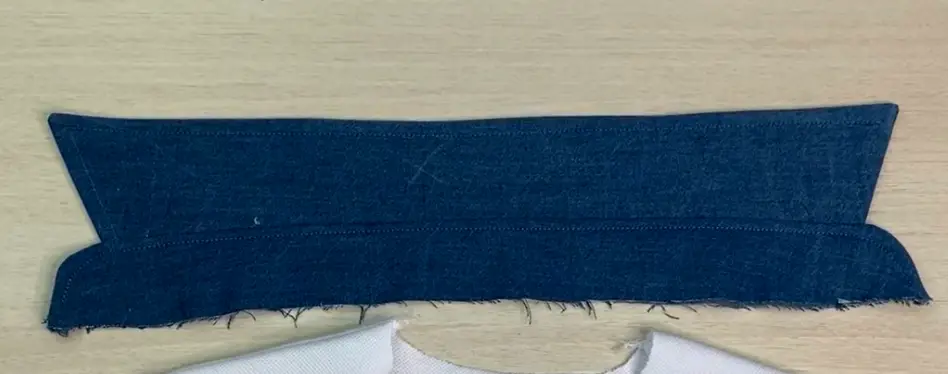
Trim the bottom edge of the bottom placket. Cut one layer at the lower edge of the upper placket (reduce the bulk) and fold it so that no open sections remain. Baste it. Top stitch on the right side.
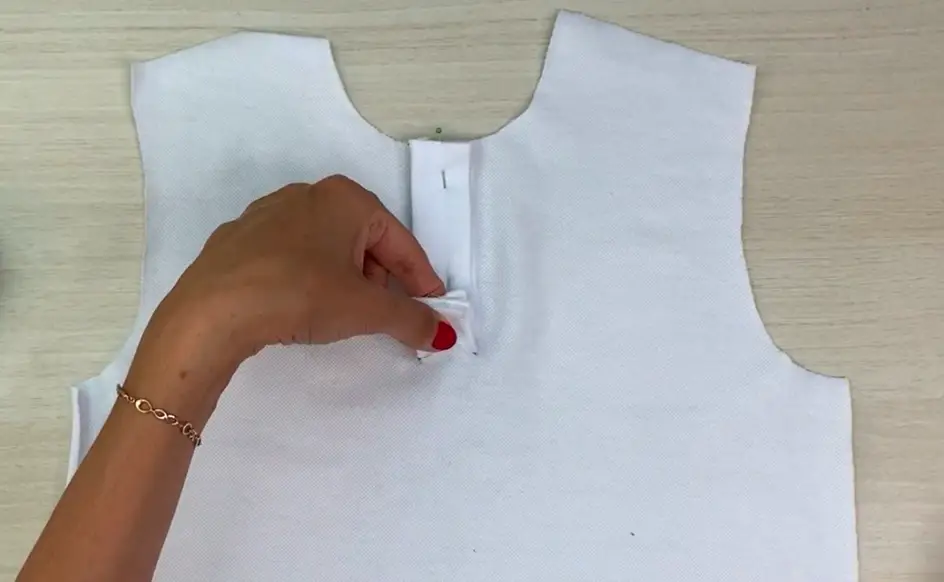
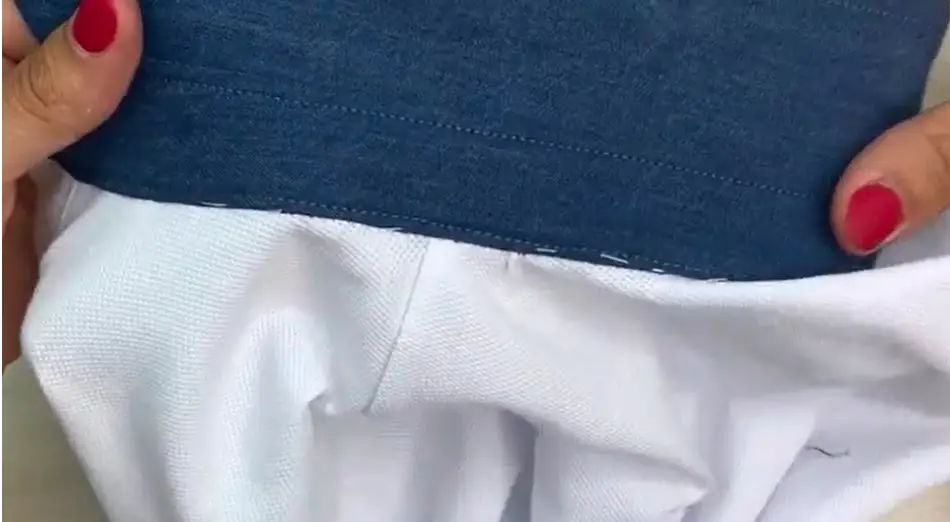
Align the plackets, fold in half, hide the seam allowances inward. It is necessary that the bottom placket overlap the stitching line by 0.1 cm / 0.03 in. Baste it.
Topstitch along the placket on the right side 0.1 cm / 0.03 in from the edge.
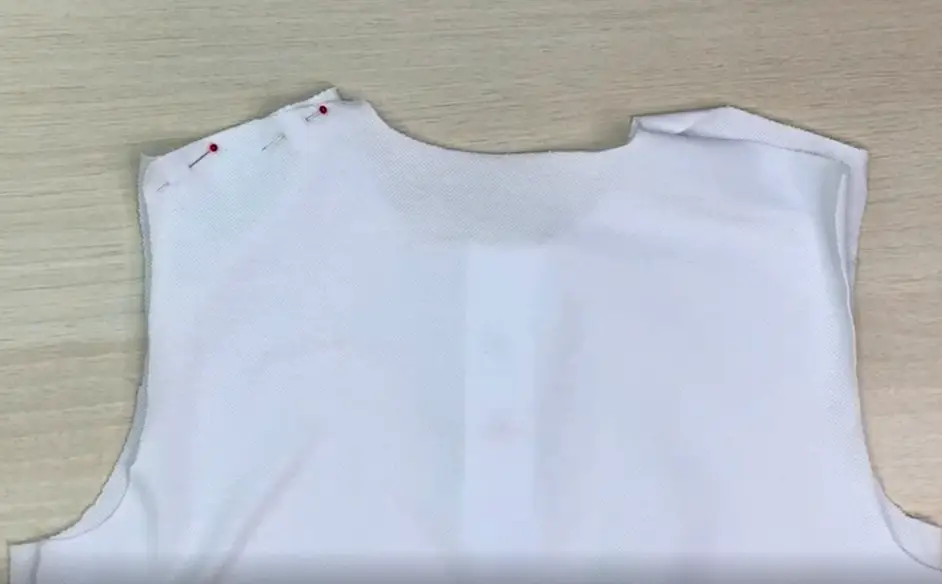
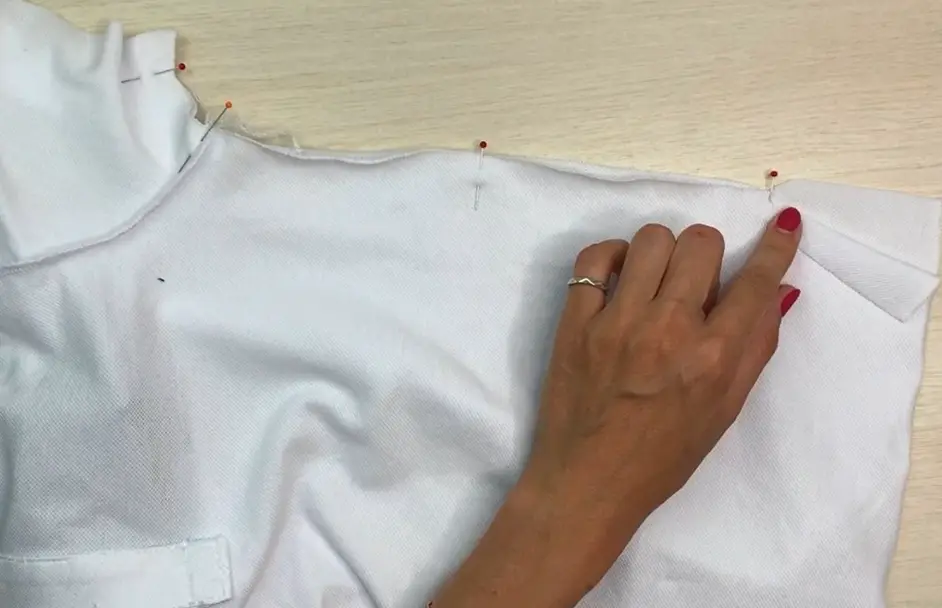
Pin together the shoulder edges of the front and back panels. Serge it. Press the seam allowances to the back.
Prepare the collar.
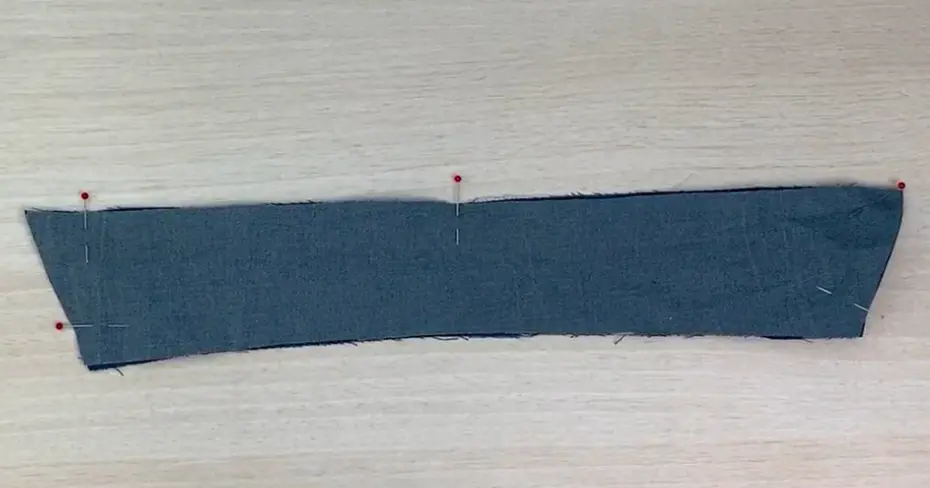
Pin collar pieces with the right sides.
Sew the side and long upper edges on the sewing machine.
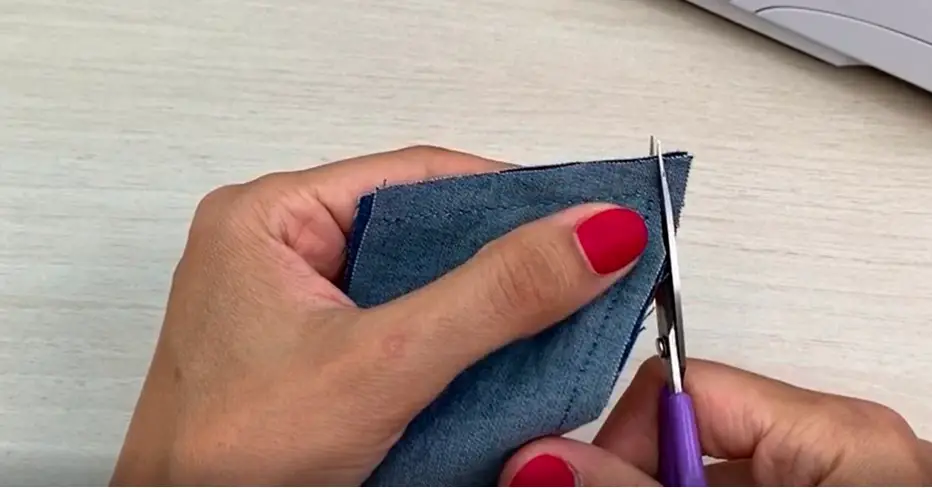
Clip the corners. Turn to the right side.
Press.
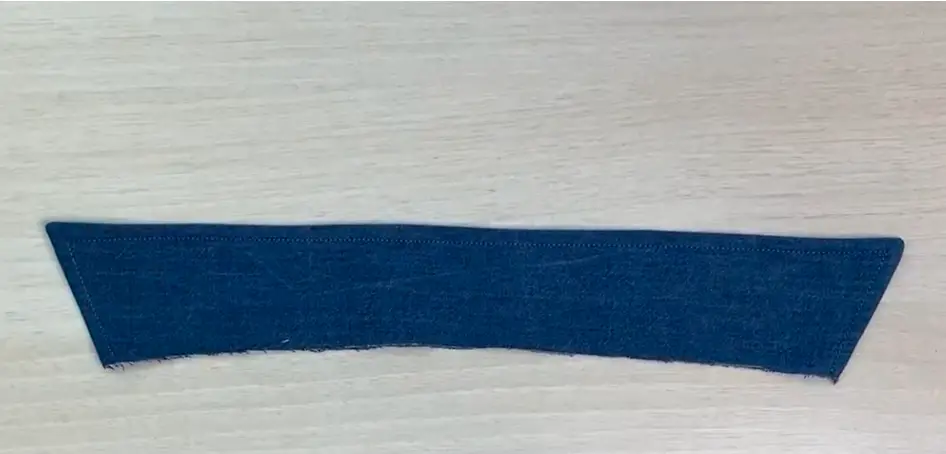
TopStitch the collar.
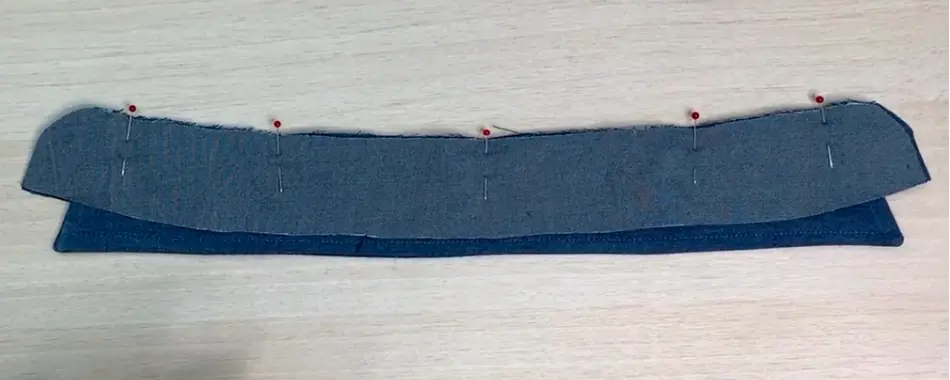
Pin the collar stand piece (with the right sides) with a rounded edge to the open edge of the collar, align the notches. The edge of the collar lies exactly along the notch.
Repeat with the second part of the collar stand. Stitch it.
Clip triangles at the rounded edge.
Turn to the right side.
Press.

Mark where the inner collar is! Pin the collar to the garment’s neckline (inner collar to the front side of the garment). Start pinning from the center back notch. Align the notches. Sew in place. You need to start sewing in from the center of the back. Press the seams allowances to the inner collar stand.

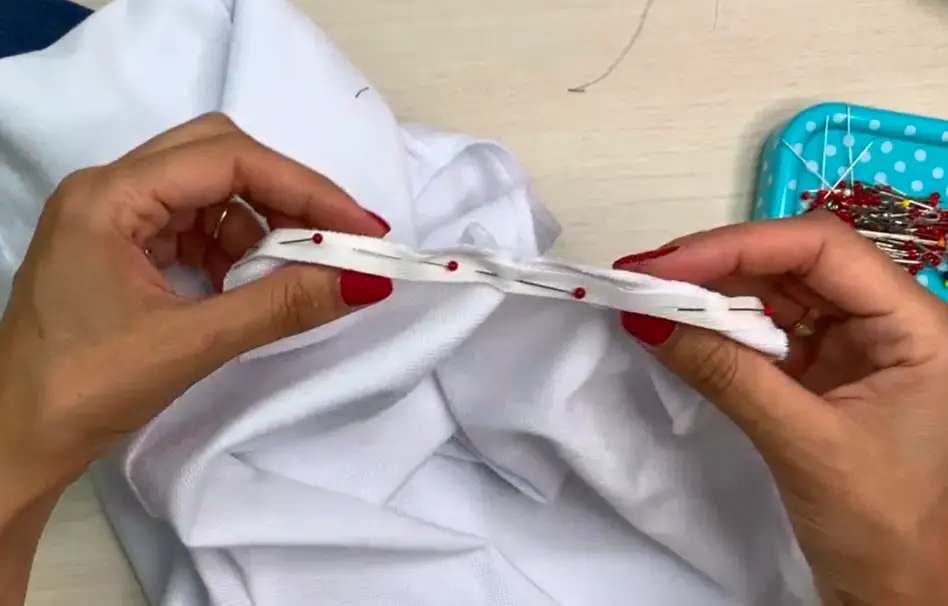
Fold the seam allowances of the outer collar stand inward and pin.
Baste it.
Stitch the seam allowance and topstitch around the entire perimeter of the collar stand with one stitching line.
Pin into the open armhole sleeve and serge in. Press the seam allowances on the side of the sleeve.
Pin the front and back side edges together with the right side, fold sleeves in half with the right sides and pin. Serge with one stitch to the cut line, then bend one piece and serge to the bottom hem.
Fold the bottom hem of the sleeves and sew with a twin needle. Press.
Fold the bottom hem and top stitch it on a sewing machine with a twin needle. Press it.
Finish the side vents with bias tape sewing along the edges.
Stitch the buttonholes and sew in the buttons.
Perform a final wet heat treatment (iron).