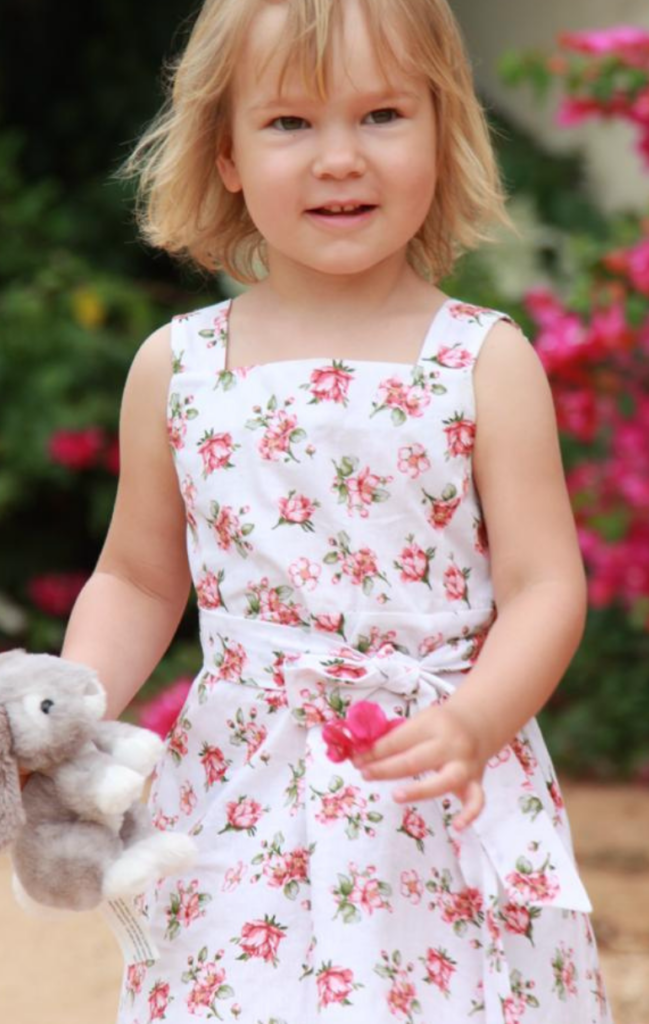
Sardinia girls sundress sewing tutorial
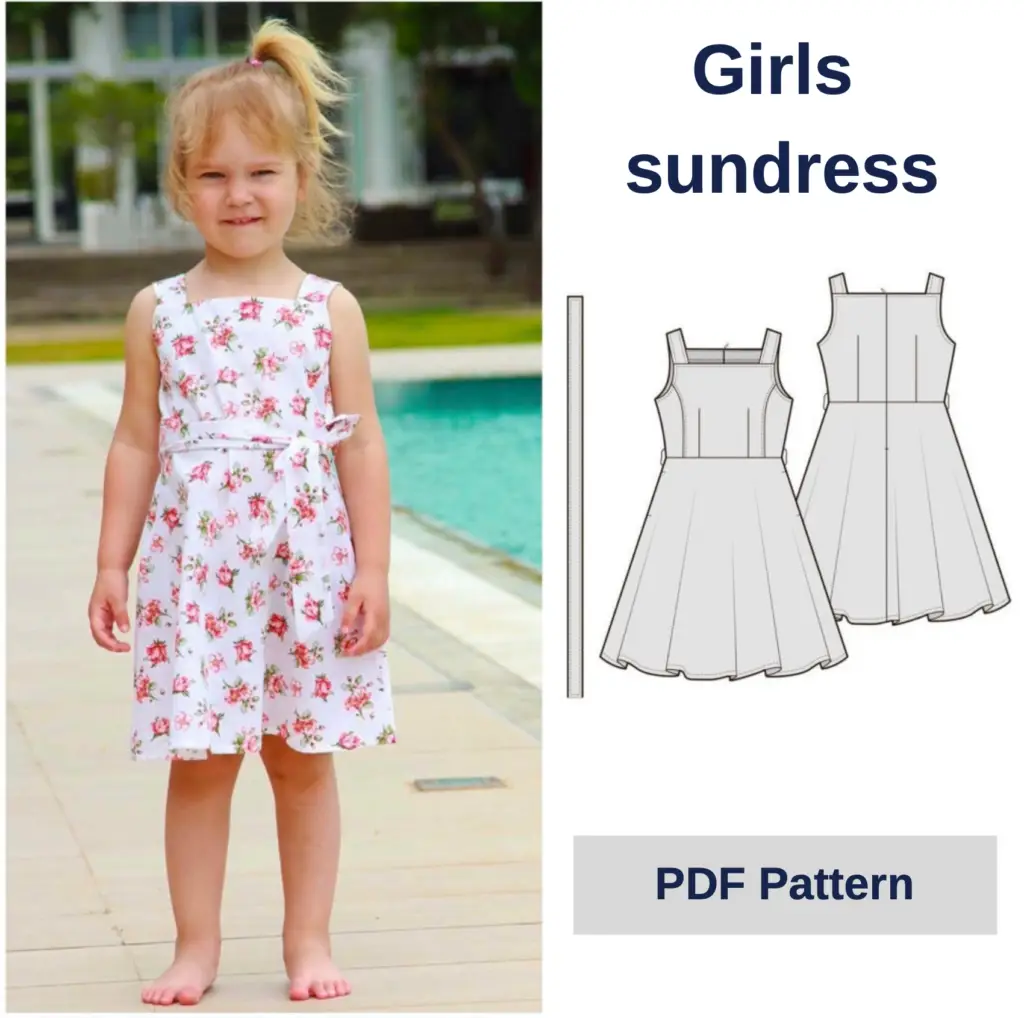
Before sewing
For sewing this sundress, we recommend using thin and medium-weight dress fabrics: cotton, viscose, linen, polyester.
For sewing a flight version of a sundress, use light cotton fabrics.
For sewing a sundress for cool weather, you can use jeans or thick cotton.
Supplies
- Main fabric;
- Interfaicing – 0.3 m (11.8″);
- Invisible zipper.
Fabric consumption (cm / in)
(With a fabric width of 180 cm / 70.9 in)
| Size |
18 months 86 |
2 years 92 |
3 years 98 |
4 years 104 |
5 years 110 |
6 years 116 |
7 years 122 |
8 years 128 |
9 years 134 |
10 years 140 |
|---|---|---|---|---|---|---|---|---|---|---|
| Main fabric |
1.25 49.2" |
1.28 50.4" |
1.31 51.6" |
1.34 52.7" |
1.37 53.9" |
1.40 55.1" |
1.43 56.3" |
1.46 57.5" |
1.48 58.3" |
1.5 59.1" |
When buying fabric, keep in mind that the material can shrink, so take with a margin of 5 – 10%.
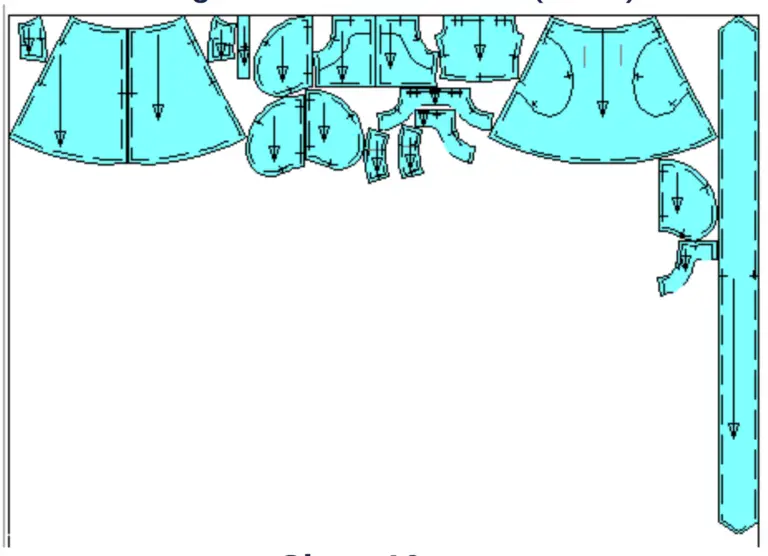
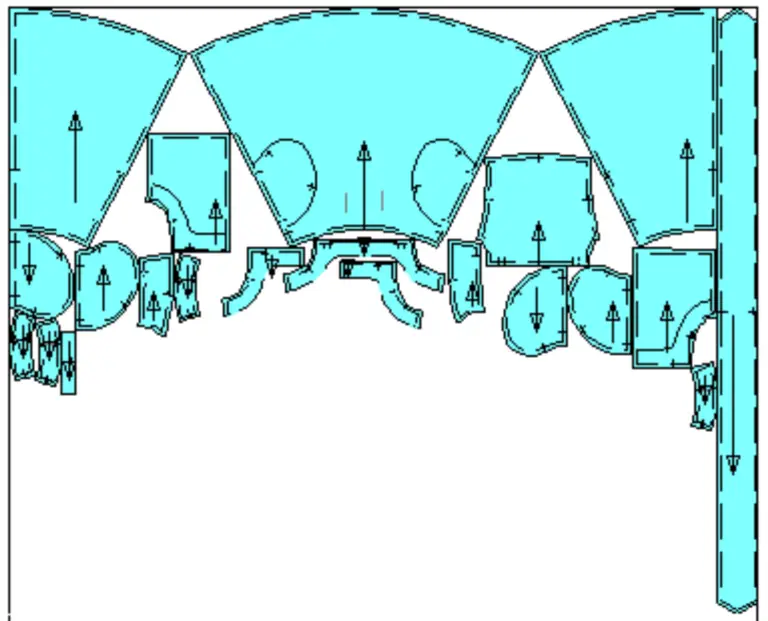
Layout of parts on fabric
Width of fabric - 1.8m (70.87")
Main fabric
Size – 18 months
Length of fabric – 1.25 m (49.2″)
Size – 10 years
Length of fabric – 1.47 m (57.9″)
Specification
Main fabric
| № | Patterns |
Number of patterns |
Number of pieces |
|---|---|---|---|
| 1 | Front skirt | 1 | 1 |
| 2 | Back skirt | 1 | 2 |
| 3 | Center front | 1 | 1 |
| 4 | Side front | 1 | 2 |
| 5 | Back | 1 | 2 |
| 6 | Front facing | 1 | 1 |
| 7 | Back facing | 1 | 2 |
| 8 | Pocket piece | 1 | 4 |
| 9 | Loop | 1 | 1 |
| 10 | Strap | 1 | 4 |
| 11 | Belt | 1 | 2 |
Attention! All our patterns already contain 1 cm / 0.39 in seam allowances.
Description of tailoring
Skirt Assembly:
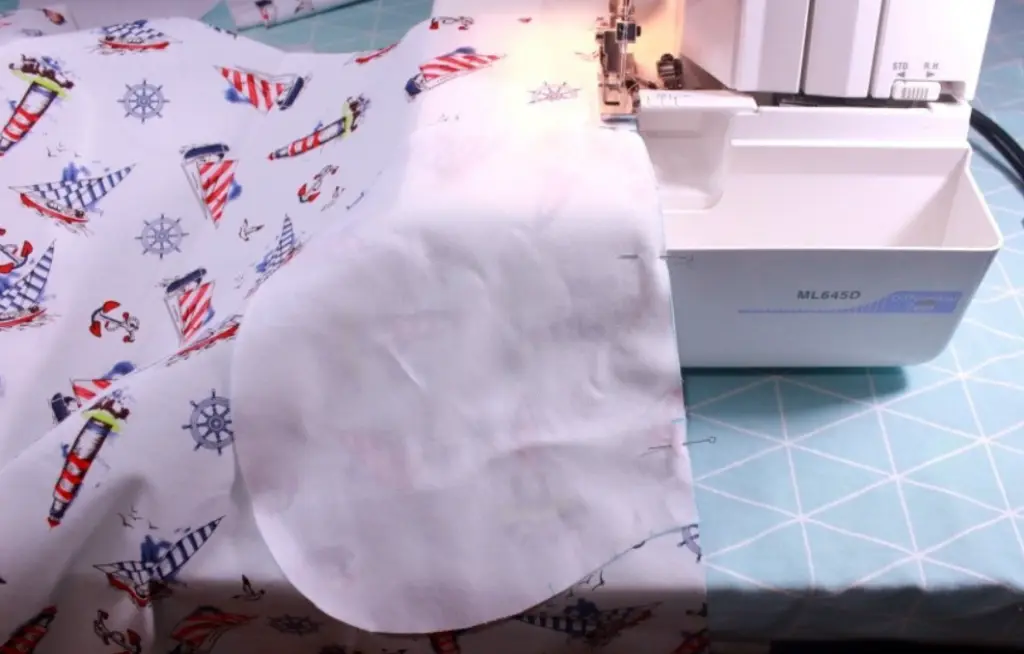
Serge the pocket pieces to the side edges of the front and back parts of the skirt at the location of the notches.
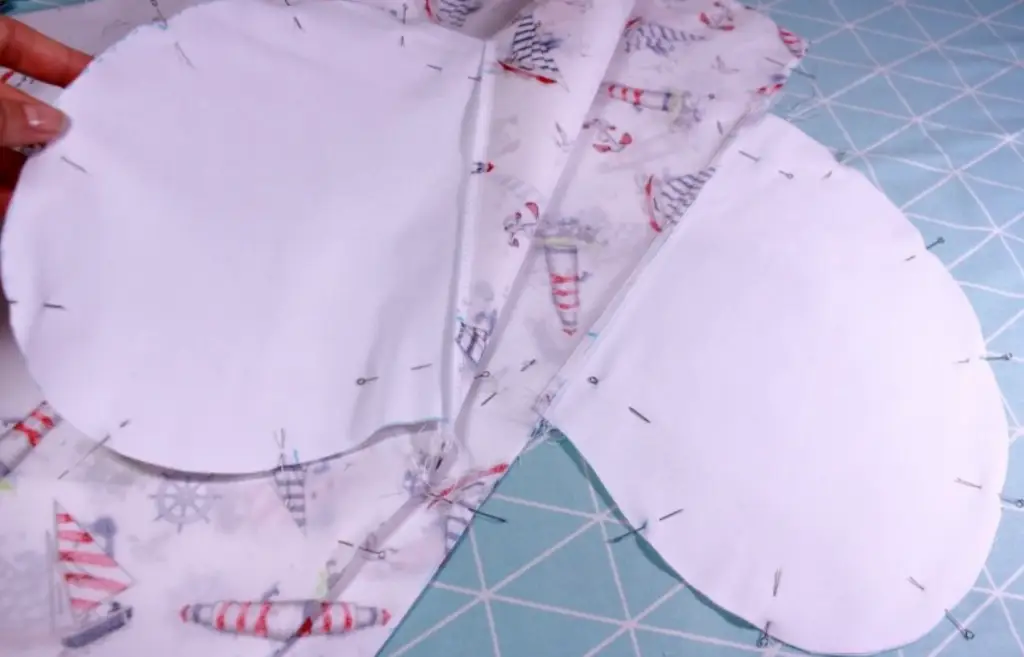

Stitch the front and back of the skirt along the side edges, simultaneously overlocking the pocket pieces.
Top Assembly:
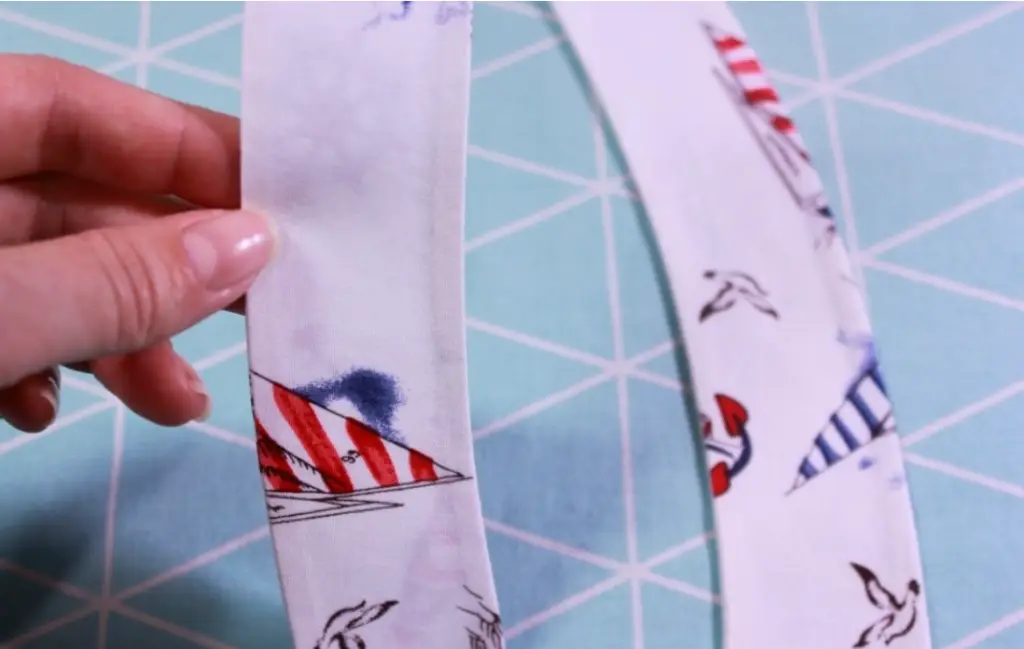
Place the right sides of two strap pieces together, straight stitch along the long edges, turn it out and press it. Repeat on both straps.
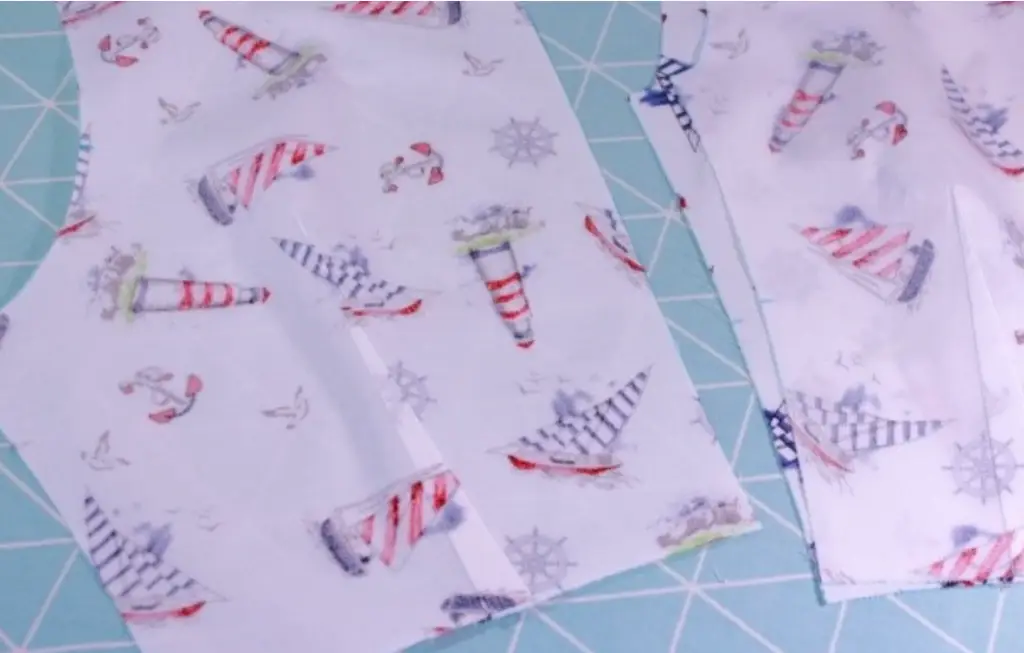
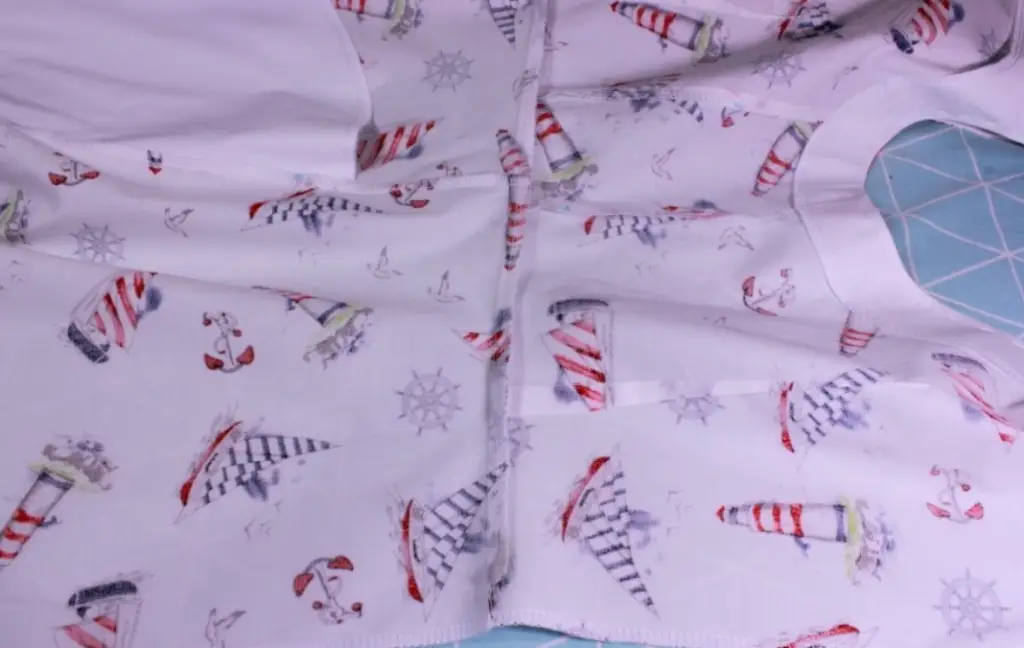
On the front center piece, straight stitch the darts and press them to the center.
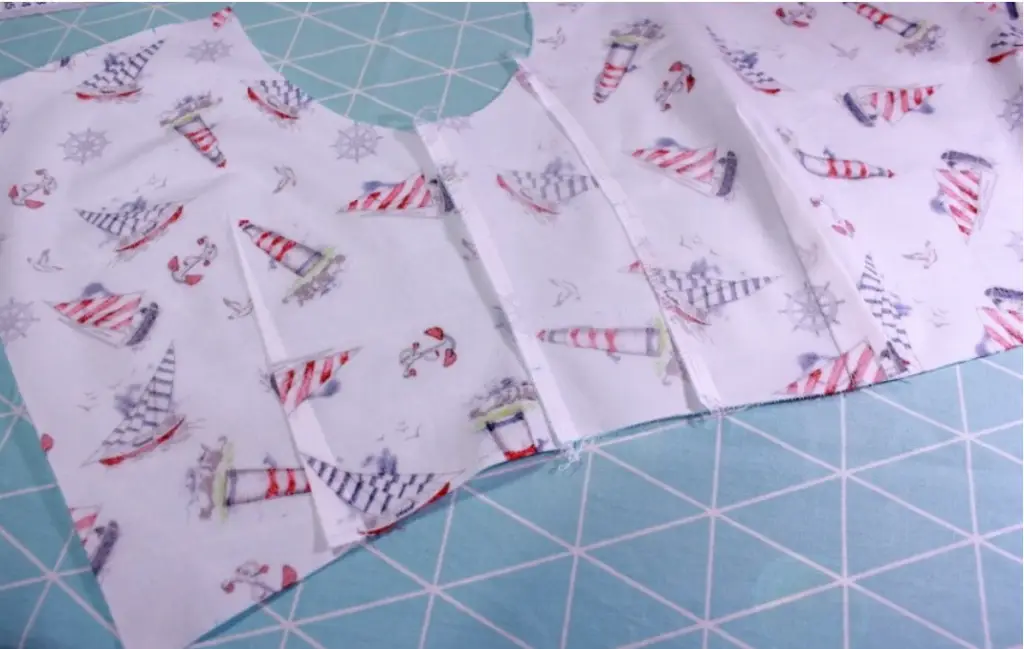
Stitch the front side pieces to the front center piece, serge the seams and press to the center.
Stitch the back side pieces to the front center pieces, serge the seams and press to the center.
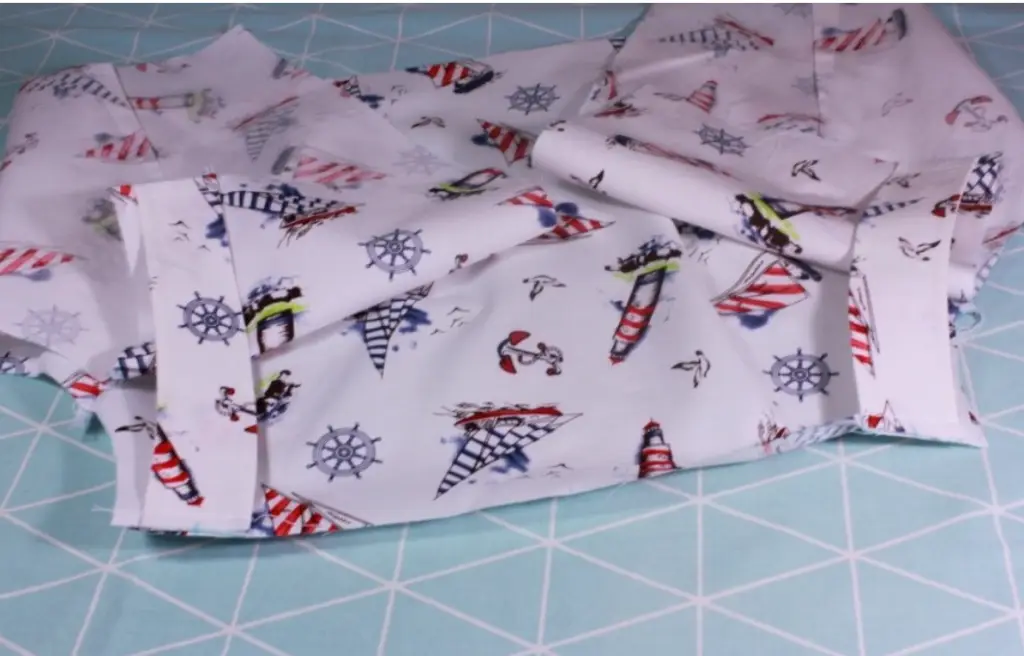
Stitch the strap pieces to the upper edges of the front and back, matching the location of the straps with the notches.
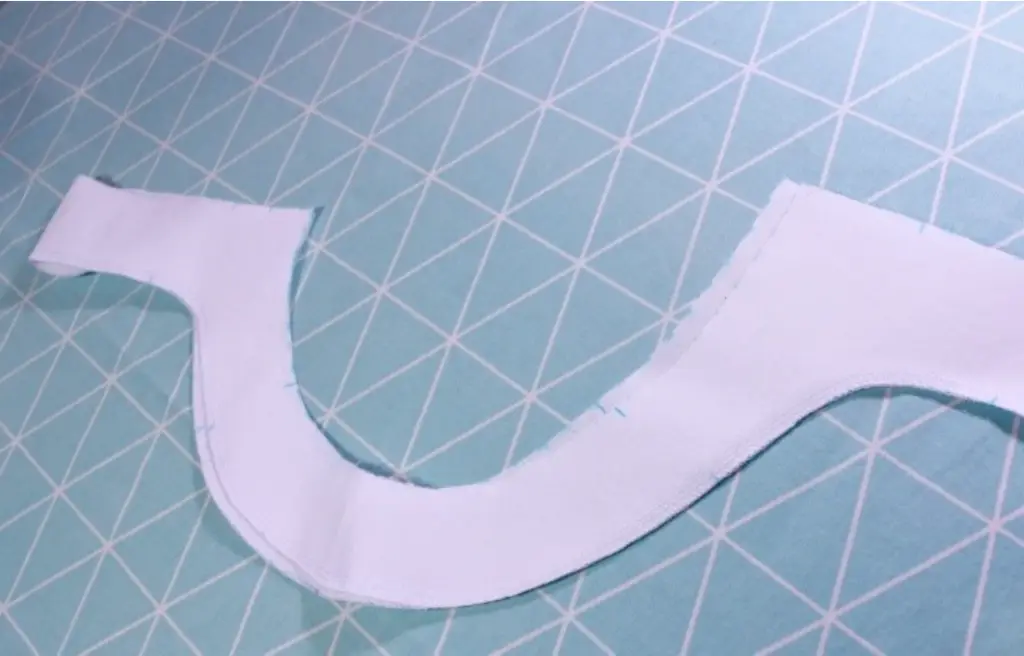
Iron the interfacing made of non- woven fabric to the facing of the front and back, serge along the side edges, press the seams onto the front. Serge the bottom edge of the finished facing.
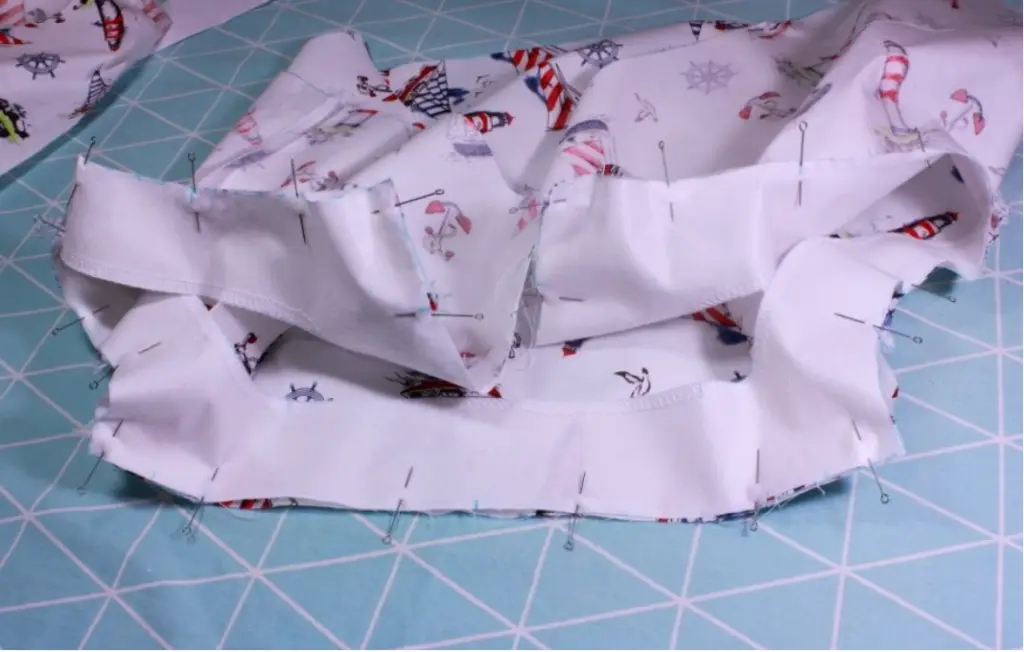
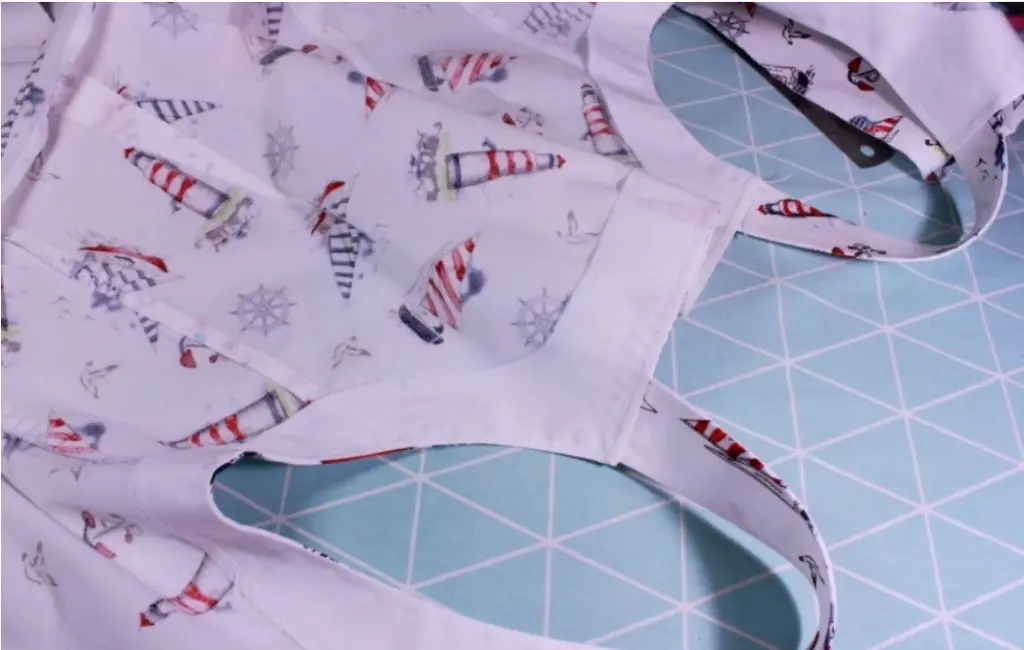
Stitch the finished facing to the assembled top of the sundress along the upper edges of the front, back and armholes, aligning the side seams on the armhole, leaving unstitched areas 3-4 cm (1,2-1,6″) from the center back seam.
Sundress Assembly:
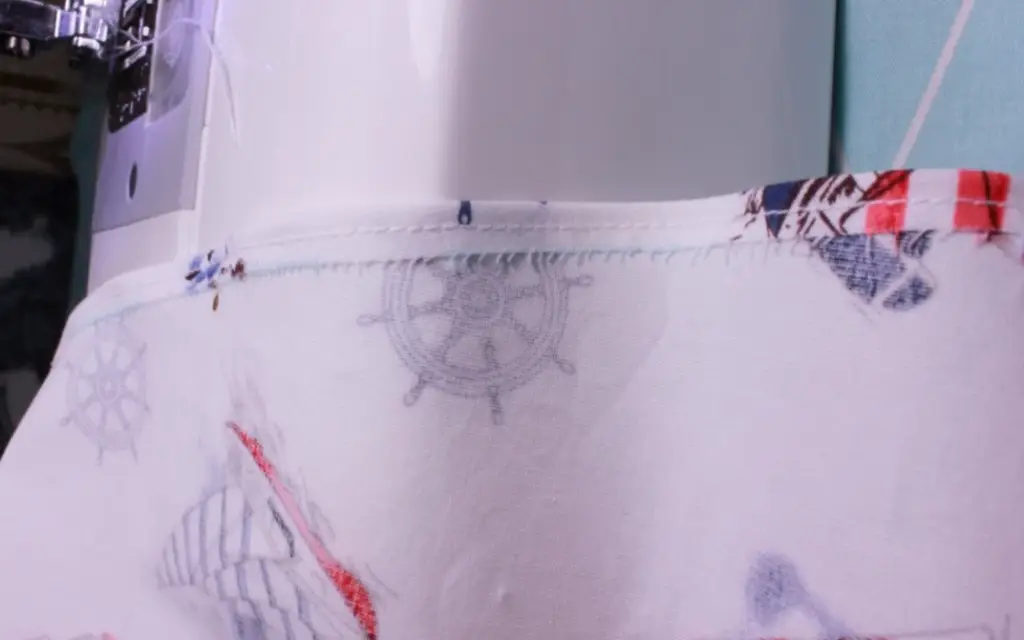
Serge the assembled top of the sundress to the finished skirt of the sundress along the waist line, aligning the side seams.
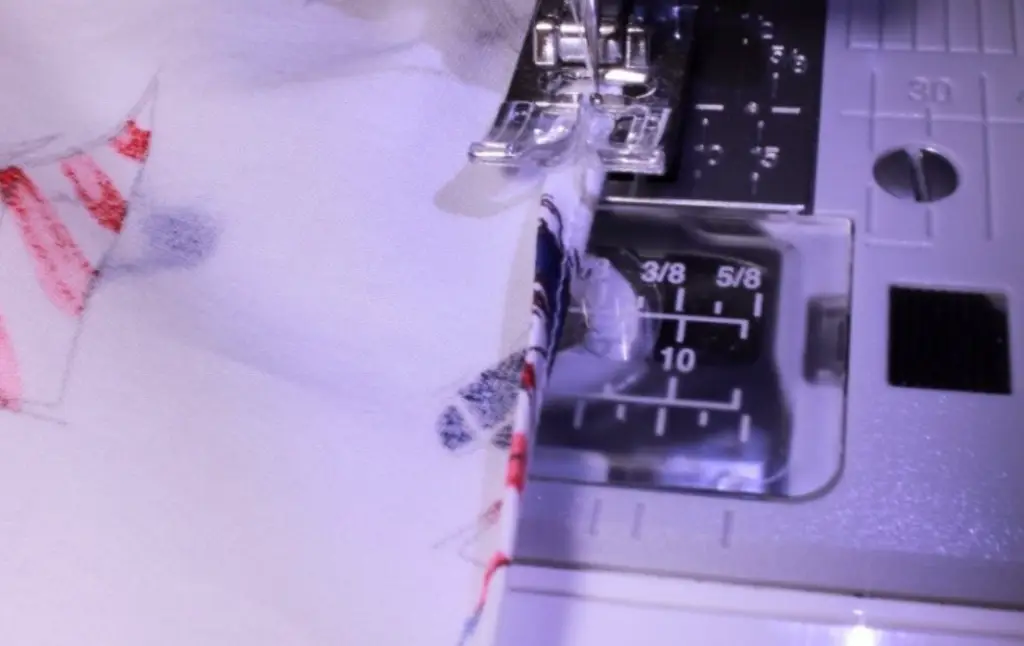
Serge the center raw edges of the back of the sundress. Stitch a section of the center back seam of the skirt to the zipper notch to a seam width of 1.5 cm. (0.59″).

Sew an invisible zipper to the serged center edges of the back with a zipper foot.
Stitch the short edges of the facing to the zipper to a seam width of 5 mm. Bend the zipper to the wrong side towards the facing.
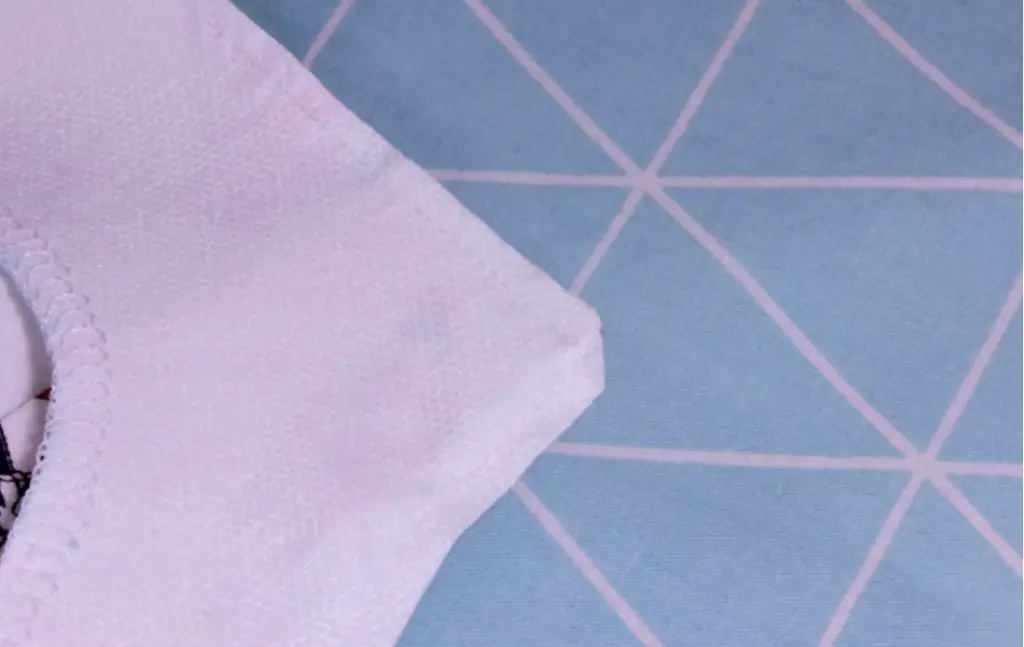
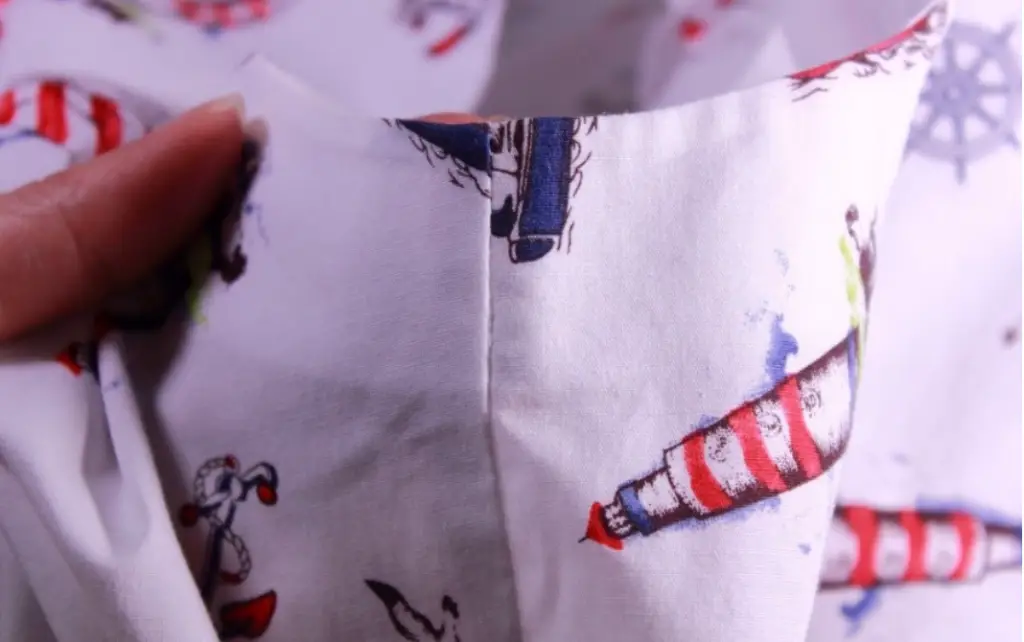
Finish the unstitched sections of the facing along the upper edge to the end to the zipper. Cut off the ends of the zipper. Notch the allowances for stitching the facing to the sundress in the places where the armhole is rounded, stitch them 1 mm from the seam towards the facing. Turn the facing to the wrong side of the sundress, straighten the zipper, press the upper seam of the sundress.
Stitch the facing to the side seams of the sundress.
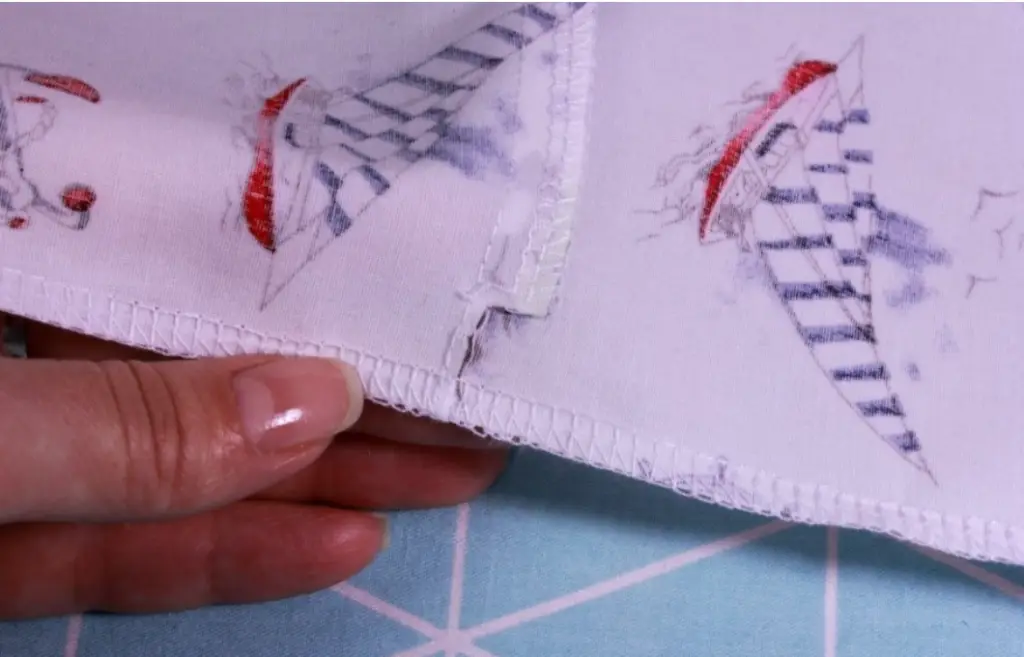
Fold the bottom of the sundress twice by 1 cm (0,39″) and stitch it.
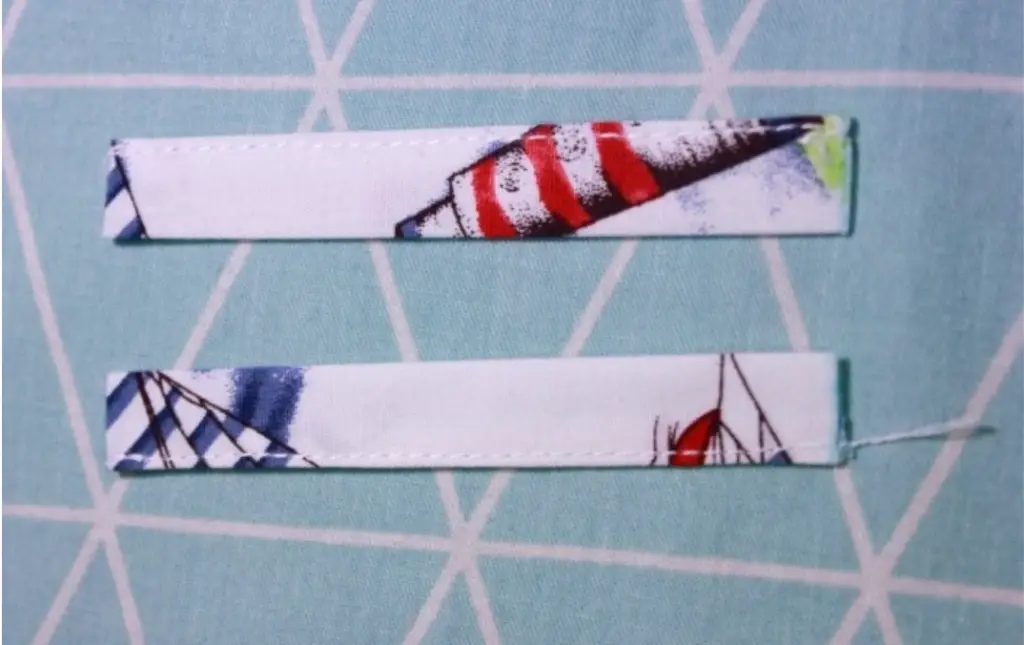
Stitch the loops, folding the allowances inward. Cut them in half. Press them.
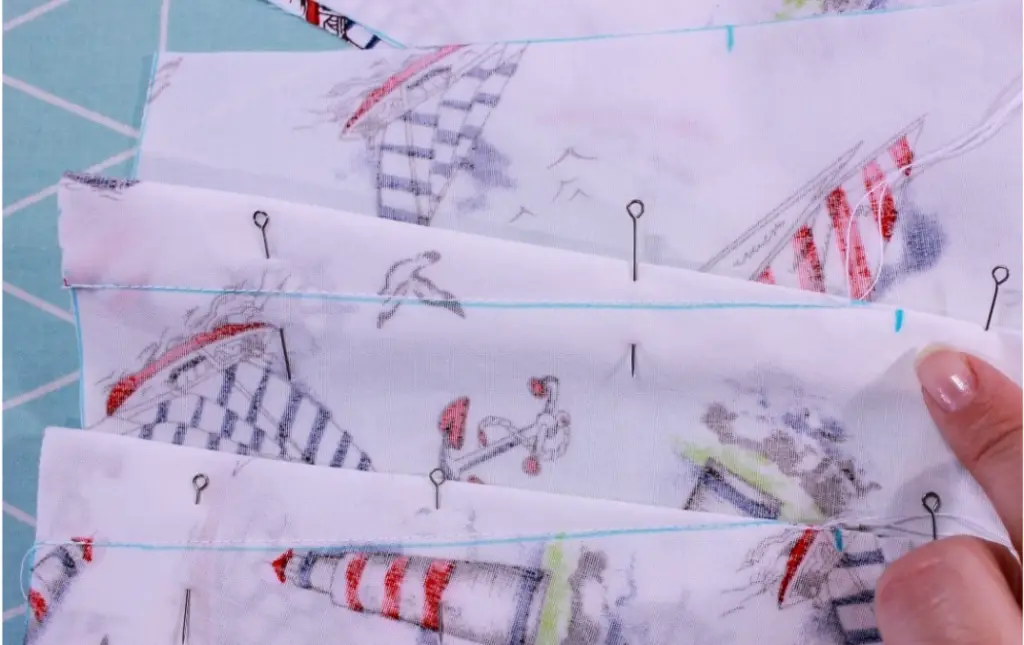
Turn up the sleeve allowance by 0,5 cm (0,2″) and pin it. Baste it. Stitch the allowances 0,5 cm (0,2″) from the seam. Press it.

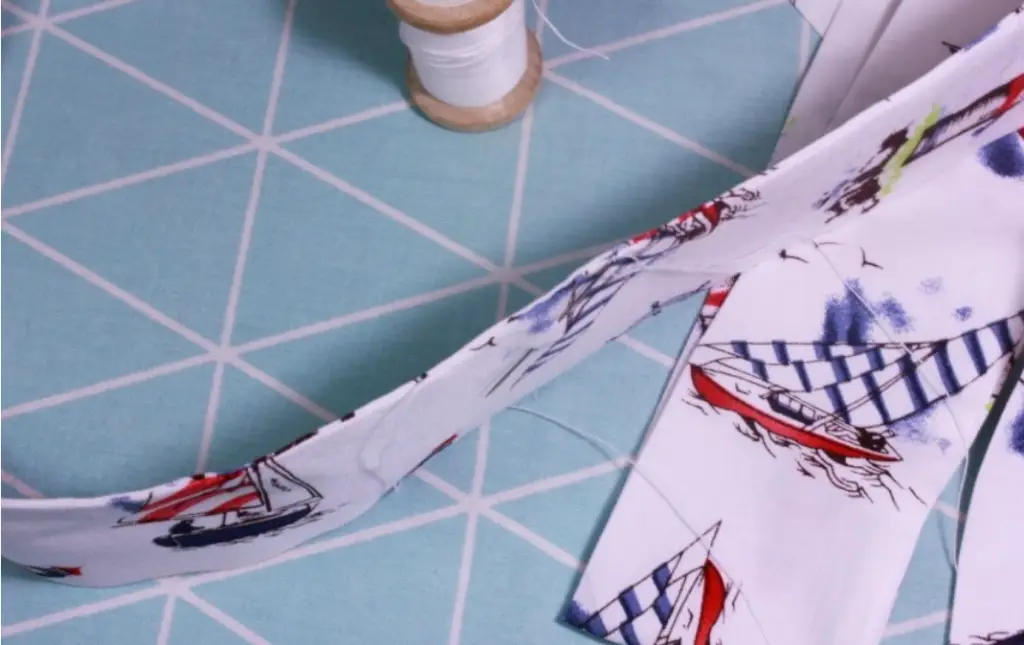
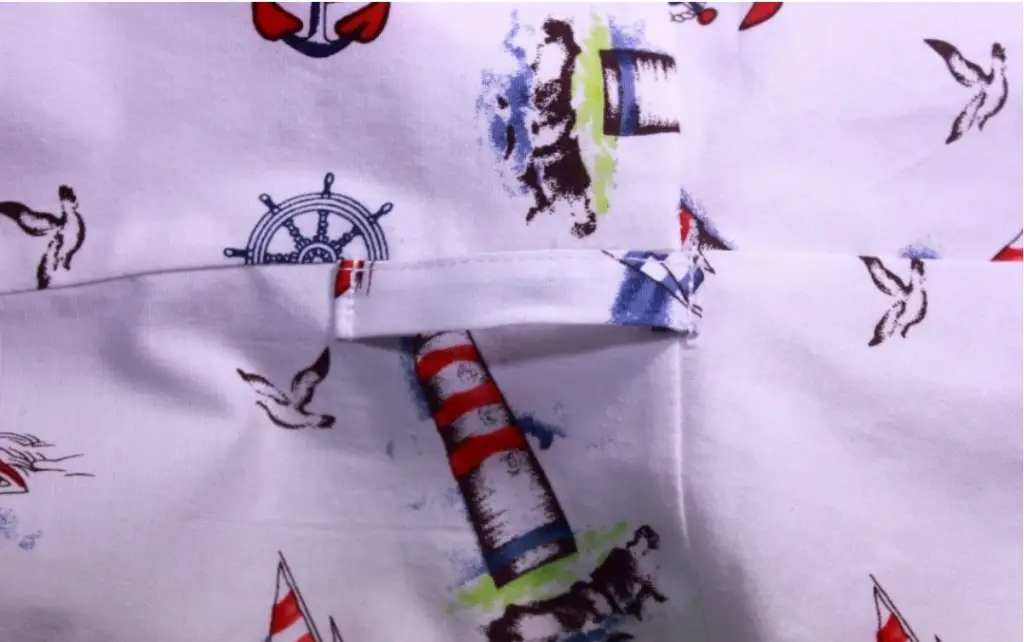
Pin the belt right sides together. Stitch the short and long edges. Leave a hole in the long edge for turning out. Trim the allowances in the corners. Turn the belt out to the right side and close the opening with a hand invisible stitch or machine stitch.
The sundress is ready!