

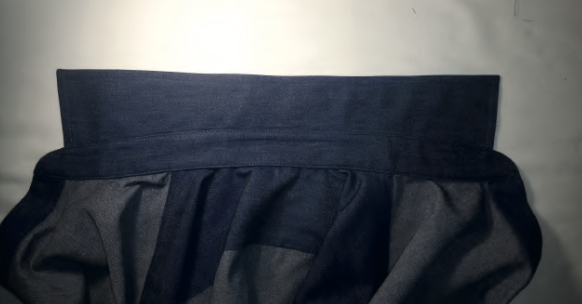
For sewing shirts, we recommend using shirting fabrics such as shirt cotton, satin, cotton poplin, linen, light denim, etc.
| SIZE / HEIGHT |
M / EU 42 |
L / EU 44 |
XL / EU 46 |
XXL / EU 48 |
|---|---|---|---|---|
| Main fabric, 178 / 69,3" |
160 / 63" |
176 / 65,7" |
174 / 68,5 |
180 / 70,9" |
| Main fabric, 182 / 71,6" |
170 / 66,9" |
177 / 69,7" |
184 / 72,4" |
190 / 74,8 |
| SIZE / HEIGHT |
M / EU 42 |
L / EU 44 |
XL / EU 46 |
XXL / EU 48 |
|---|---|---|---|---|
| Width at chest line (176 / 69,3") | 109,5 / 43,1" | 113,5 / 44,7" | 117,5 / 46,3" | 121,5 / 47,8" |
| Width at chest line (182 / 71,6") | 109,5 / 43,1" | 113,5 / 44,7" | 117,5 / 46,3" | 121,5 / 47,8" |
| Center back length (176 / 69,3") | 74 / 29,1" | 74 / 29,1" | 74 / 29,1" | 74 / 29,1" |
| Center back length (182 / 71,6") | 77 / 30,3" | 77 / 30,3" | 77 / 30,3" | 77 / 30,3" |
| Sleeve + cuff length (176 / 69,3") | 65,5 / 25,8" | 65,5 / 25,8" | 65,5 / 25,8" | 65,5 / 25,8" |
| Sleeve + cuff length (182 / 71,6") | 67,5 / 26,6" | 67,5 / 26,6" | 67,5 / 26,6" | 67,5 / 26,6" |
| Shoulder length (176 - 182) | 15,8 / 6,2" | 16,1 / 6,3" | 16,4 / 6,5" | 16,7 / 6,6" |
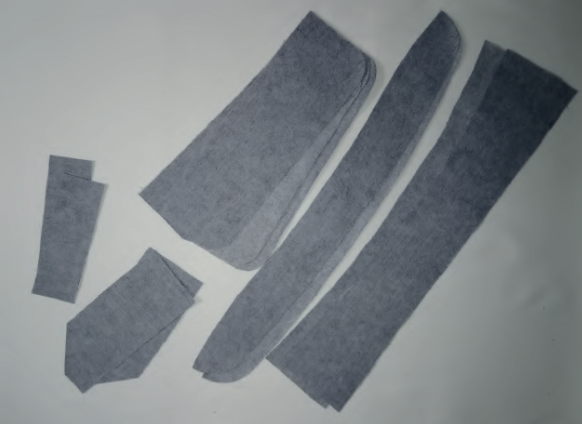
(№ – Name – Pieces’ quantity)
Main fabric:
1 – Back – 1
2 – Left front- 1
3 – Right front – 1
4 – Sleeve – 2
5 – Back yoke – 2
6 – Collar – 2 + Interfacing
7 – Inner collar stand – 1 + Interfacing
8 – Outer collar sttand – 1 + Interfacing
9 – Cuff – 4 + Interfacing
10 – Cuff placket underlap – 2 + Interfacing
11 – Cuff placket overlap – 2 + Interfacing
12 – Pocket – 1
Support pattern:
13 – Mark buttons – 1
14 – Mark buttonholes on cuff placket – 1
15 – Mark buttonholes on cuff placket – 1
16 – Mark buttons on cuff placket underlap – 1
17 – Mark buttonholes and button – 1
Pattern pieces already include 1 cm (3,8”) seam allowances for all edges except collar, collar stand, cuff, hem allowance. Garment collar, collar stand, cuff allowance is 0,7 cm (0,27”). Garment hem allowance is 1,5 cm (0,59”).
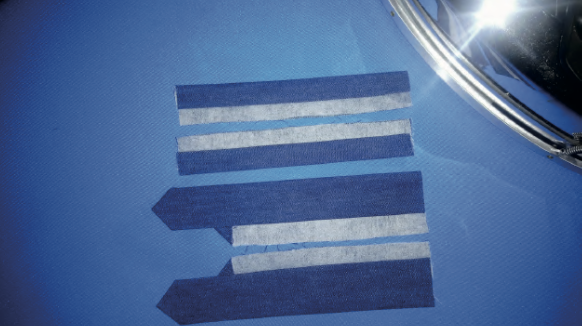
Iron the facing tape to the front detail (2, 3) along the center edge. Сollar (6), Inner Collar stand (7), Outer Collar stand (8), Cuff (9), Cuff placket underlap (10), Cuff placket overlap (11).

Iron the facing tape to the front detail (where the buttonholes are to be) along the center edge. Fold the center edge twice and press.

Topstitch the placket at 1 mm (0,04″) from the folded edge.
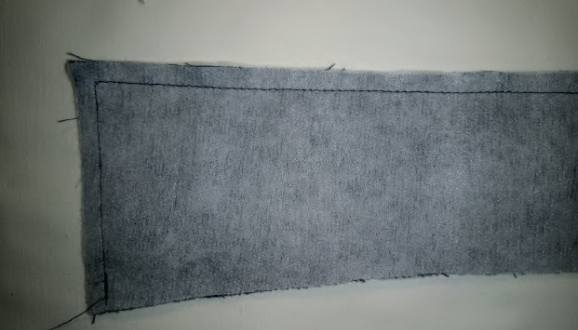
Fold the bottom and side raw edges of the patch pocket at 1 cm to the wrong side. Fold the upper hem at 2 cm. Press it.
Serge the upper hem. Bend the upper hem wrong side up and stitch its corners at 1 cm (0,39″) seam allowances.
Turn to the right side and topstitch at 1 mm (0,04″) from the edge. Press it.
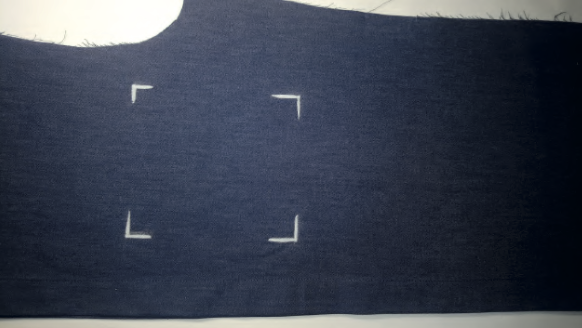
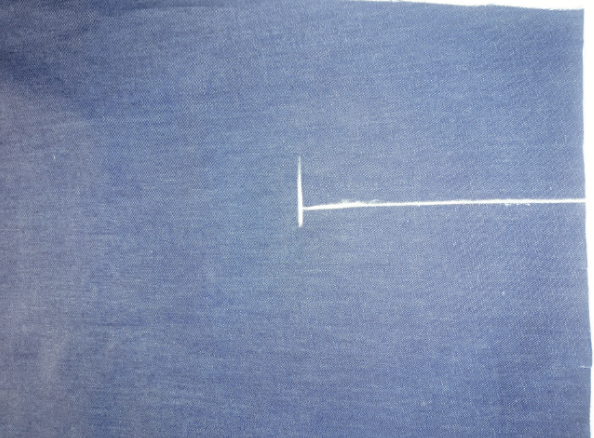
Chalk the lines on the left front detail of patch pocket position.
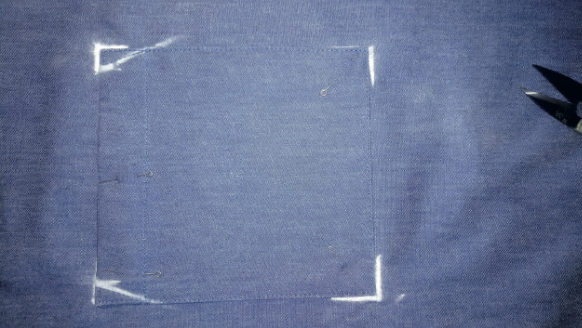
Pin the pocket to the front panel and chalk the stitching lines on the patch pocket. Sew in place.
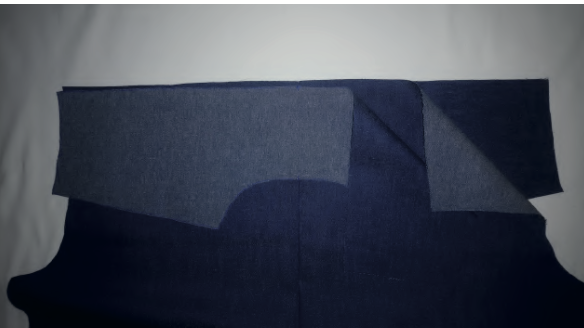
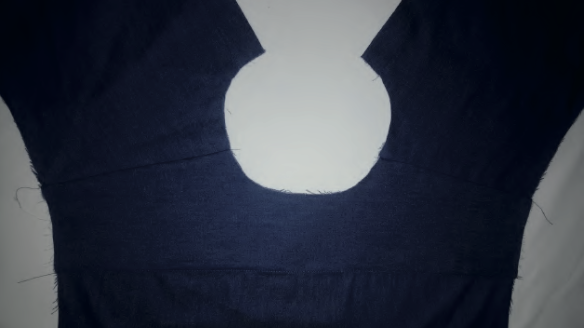
Place the back detail between the yoke’s details. Stitch it.
Bend the bottom yoke to the back detail and understitch it at 1 mm (0,04″) from the seam.
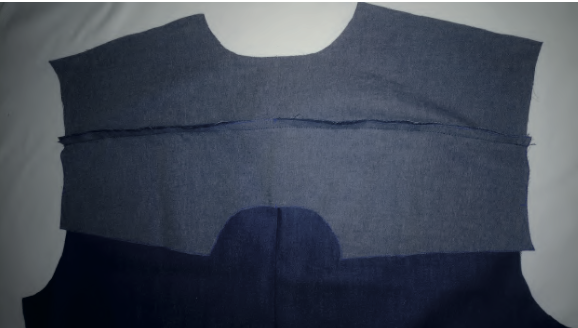
Pin the Front panels and the upper yoke along the shoulder edges with the right sides together. Pin the bottom hem with the right side to the Front along the shoulder edges.
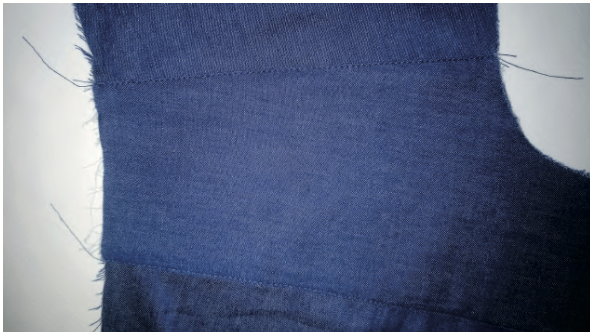
Sew in place. Turn to the right side and press. Topstitch the yoke at 1 mm (0,04″) from the seam.
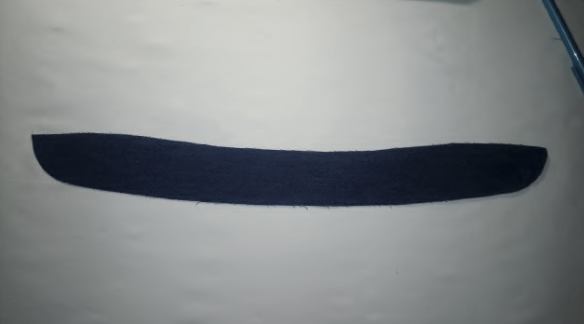
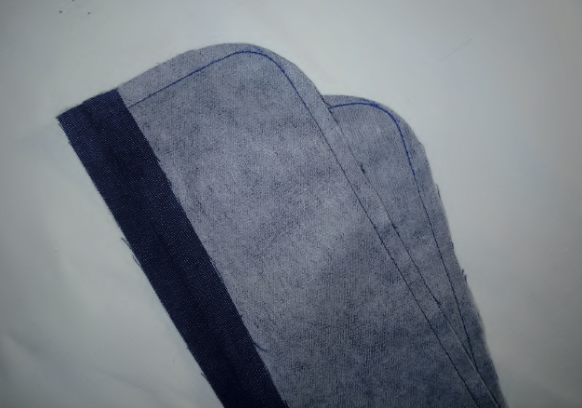
COLLAR. Iron the interfacing to the collar and stand details. Fold the bottom edge of the inner stand at 1 cm and press.
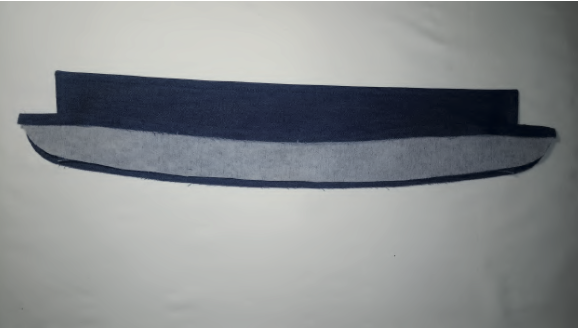
Pin the collar details together with the right sides and stitch at 7 mm from the raw edge.

Clip corners and turn to the right side. Press it. Topstitch the collar at 7 mm from the edge.
Mark the stitching lines on the inner collar stand. Pin the stand details to the collar with the right sides together, aligning the notches.
Stitch at 7 mm from the edge. Trim along the curved edge.
Turn right side out. Press it. Fold the collar and check if you are satisfied with the result.
Pin the inner collar stand into the neckline with the right sides together. Sew in place. Press seam allowances to the collar stand.
Pin the inner collar stand to the neckline. Stitch at 1 mm from the edge. Start stitching from the shoulder seam. Press it.
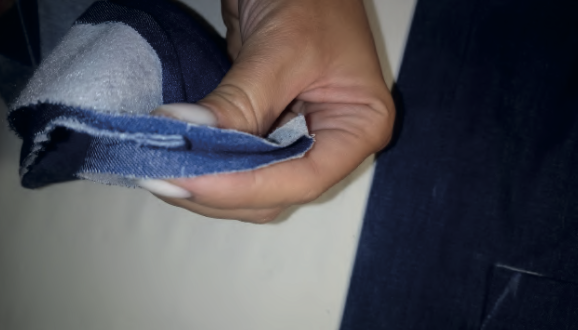
SLEEVE. Iron the interfacing to the cuff placket overlap and underlap. Press seam allowances on overlap and underlap.
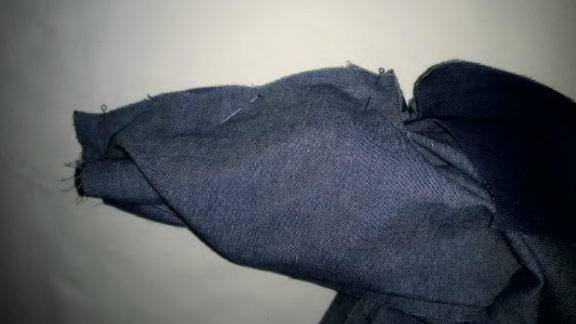
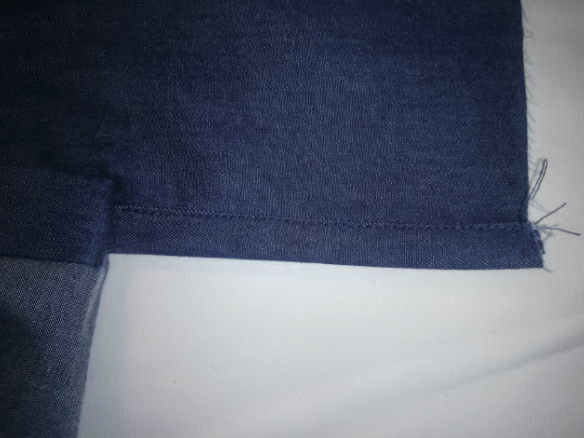
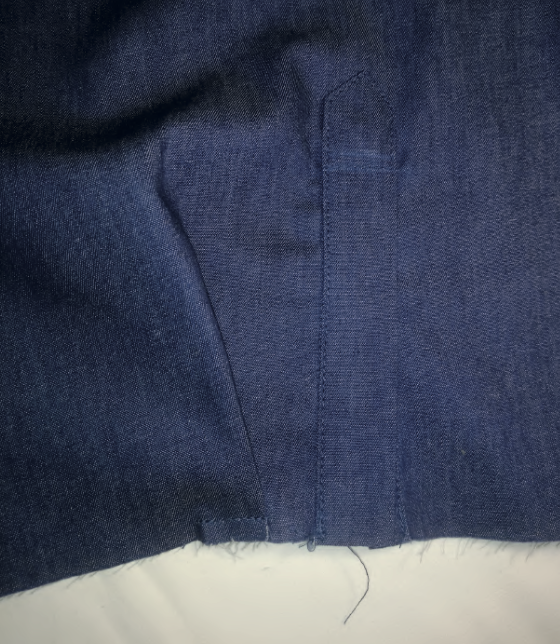
Draw a placket opening on sleeve’s wrong side. Pin the underlap and overlap to the line. Sew in place.
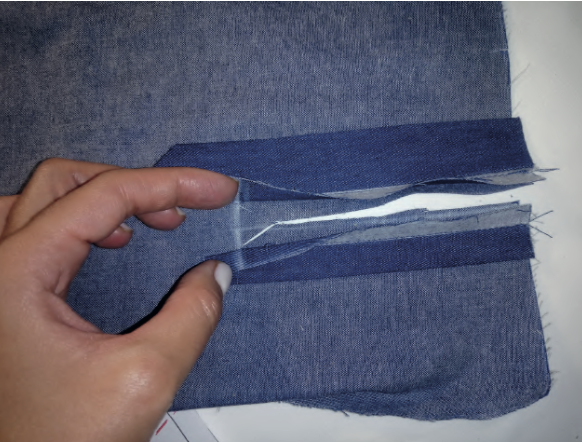
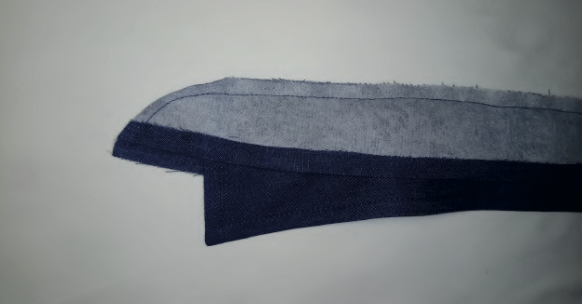
Slash placket opening and clip diagonally to the corners at top ends of placket opening.
Turn overlap and underlap to the right side. Fold underlap in half with its seam allowances inward and press. Stitch it at 1 mm from the edge.
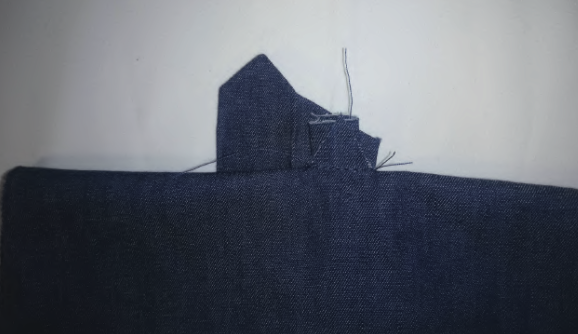
Pin triangle and underlap together and stitch it from right side.
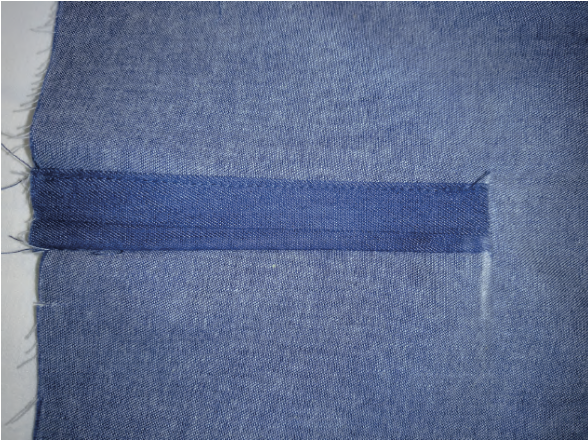
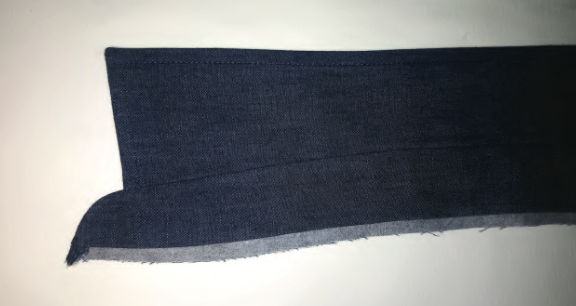
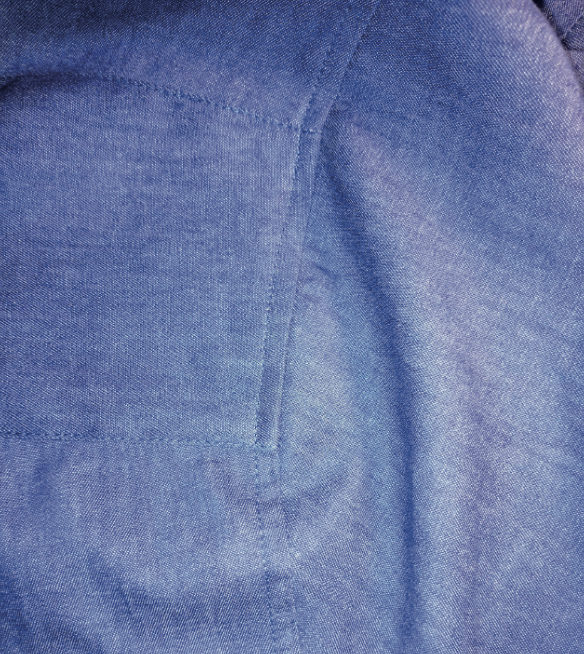
Fold placket overlap to the right side of the sleeve. Form it and pin.
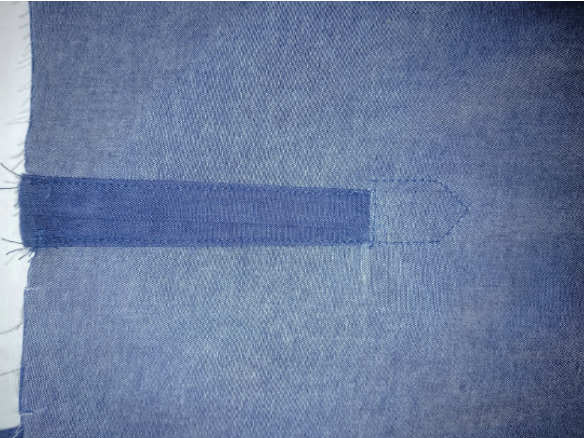
Topstitch at 1 mm from the edge.
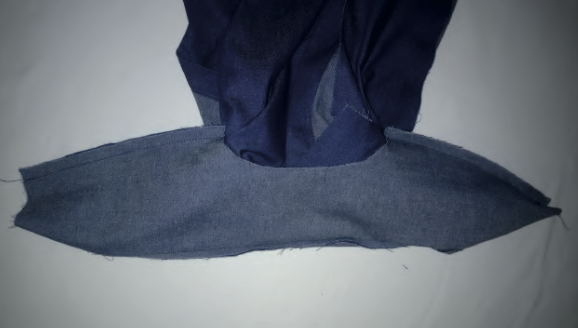
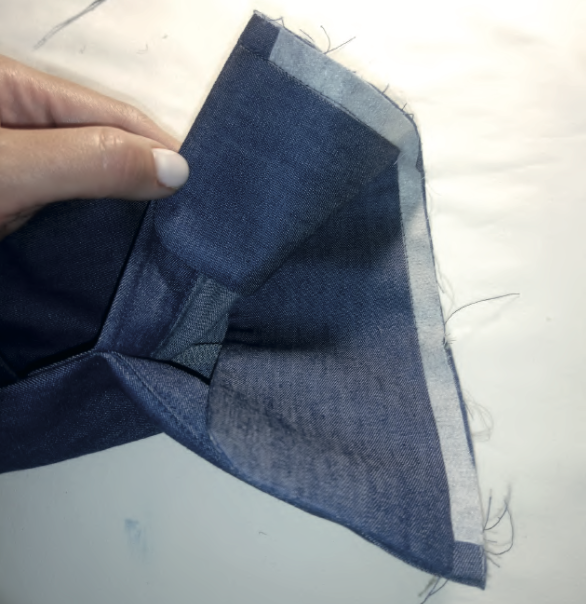
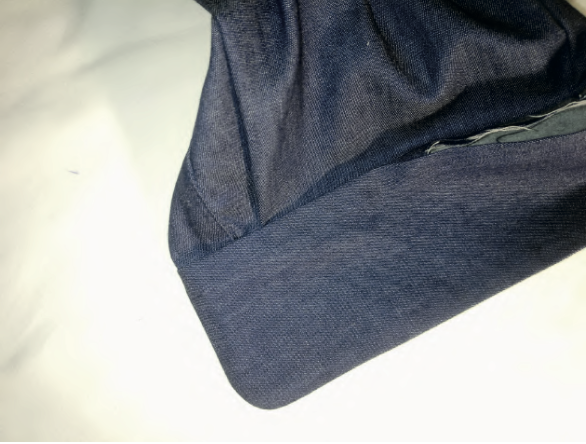
Fold the pleat on the sleeve bottom hem.


Pin the sleeve into the open armhole with the right sides together, aligning the notches. Sew in place. Serge seam allowances and press it to the armhole. Topstitch armhole.
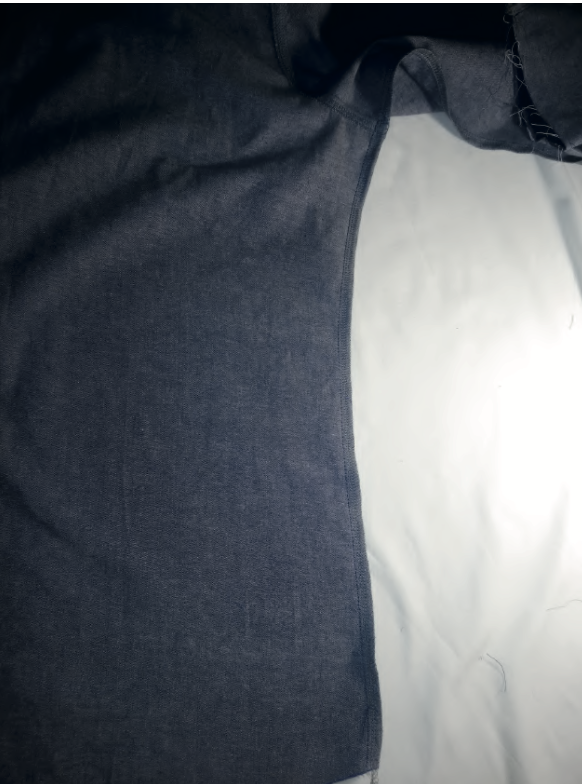
Fold sleeve in half,pin its side edges.
Also pin front and back details along the side edges with right sides together.
Stitch it all at the same time.
Serge seam allowances.
Press to the back.
CUFF. Fold and press upper hem seam allowances of the one cuff detail. Pin the cuff details together with the right sides and stitch along 2 short and 1 long edges. Clip corners.
Turn the cuff to the right side.
Press it.

Pin the cuff to the sleeve bottom hem from the wrong side.
Sew in place.
Press seam allowances to the cuff.
Pin the cuff 2nd part and topstitch at 1 mm from the edge.
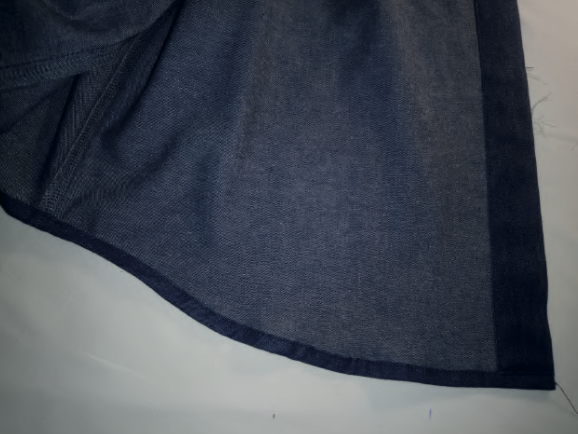
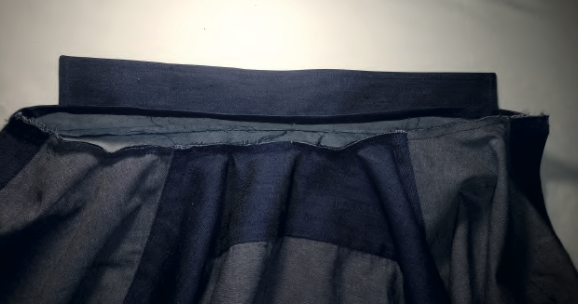
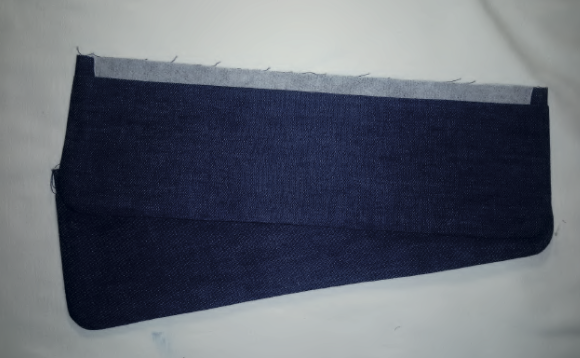
Fold the bottom hem of the garment twice and press it. Topstitch it.
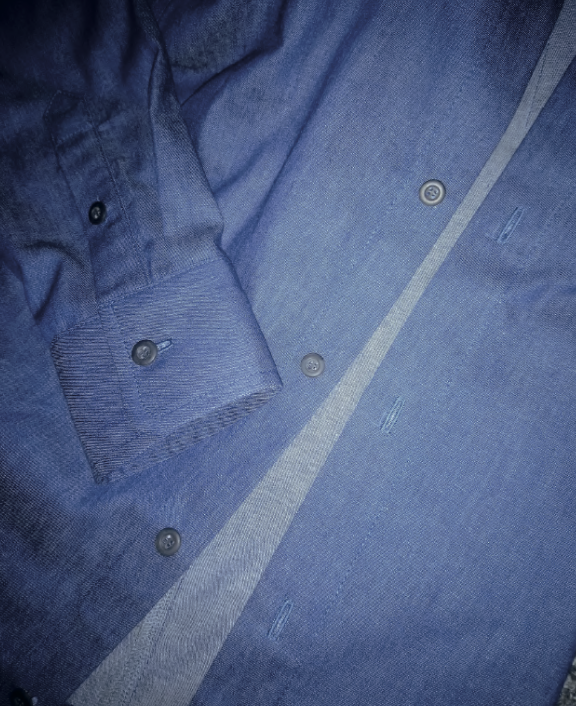
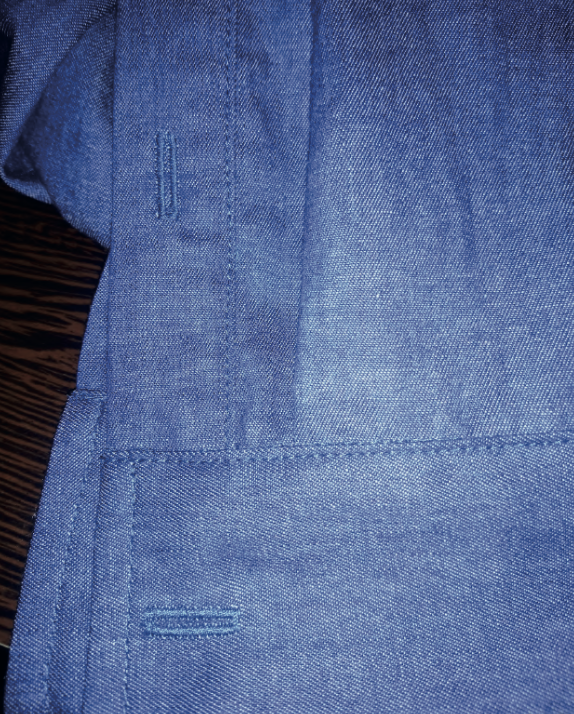
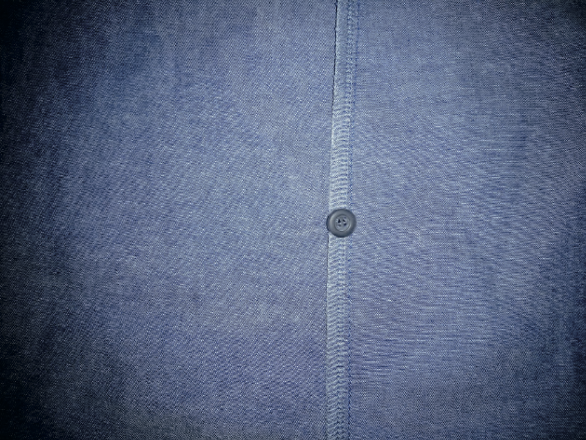
Mark the place of the buttons and buttonholes on the front, cuffs, collar stand. Sew the buttons and buttonholes.
Iron the garment.