
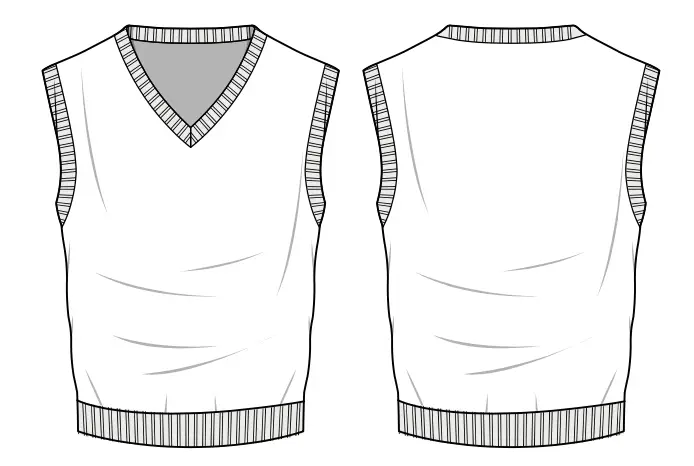
Padua men's vest pattern - sewing tutorial

PATTERN DESCRIPTION
Knitted vest with facings at the neckline and armholes, and a detachable waistband at the bottom with a small drawstring.
SUGGESTED MATERIALS
We recommend knitted fabrics of medium stretch, for example, French terry. Rib knit is perfect as a material for the facings and bottom hem.
FABRIC REQUIREMENT (CM/IN)
for French terry fabric width 1.80 m (2 yd), rib knit 1.20 m (1 ⅜ yd)
|
International Size \ European size |
S-M / 46-48 |
L-XL / 50-52 |
2XL-3XL / 54-56 |
4XL-5XL / 58-60 |
|---|---|---|---|---|
| Main fabric, m | 0,70 | 0,70 | 0,75 | 0,75 |
| Main fabric, yd | ¾ | ¾ | ⅞ | ⅞ |
| Rib knit (m) | 0,45 | 0,55 | 0,55 | 0,60 |
| Rib knit (yd) | ½ | ⅝ | ⅝ | ⅝ |
When purchasing fabric, please account for shrinkage and buy 5—10% more than required.
SEAM ALLOWANCES
Pattern pieces already include 0.7 cm (1/4″) seam allowances.
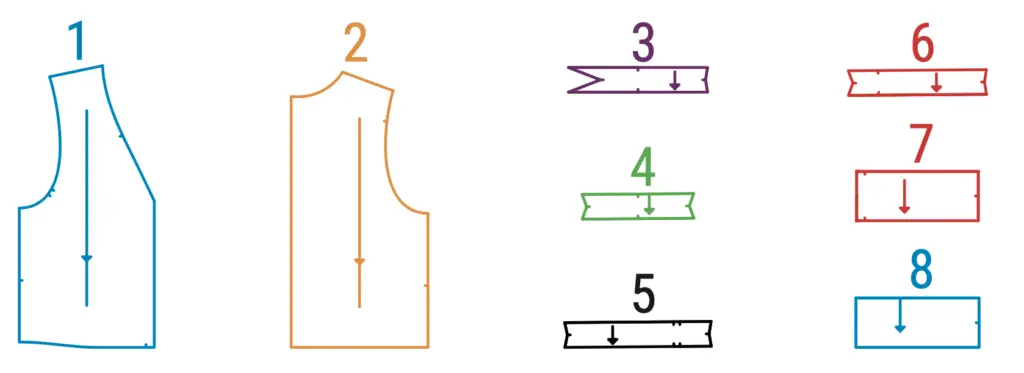
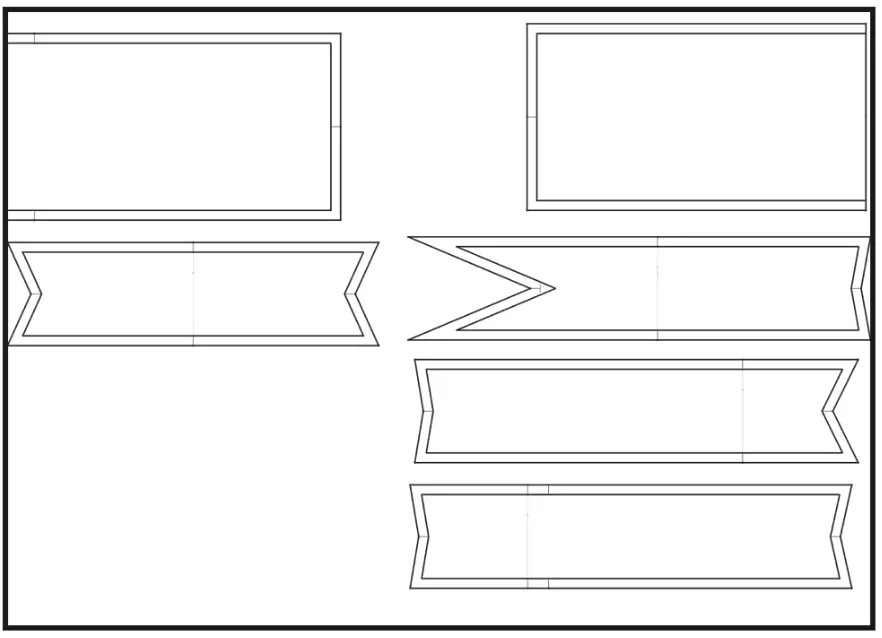
SPECIFICATIONS
(№ – Name – Pieces’ quantity)
Main fabric:
1 – Front with a fold – 1
2 – Back with a fold- 1
Knitted ribbed fabric:
3 – Front neckline facing – 2
4 – Back neckline facing – 1
5 – Front armhole facing – 2
6 – Back armhole facing – 2
7 – Front waistband with a fold – 1
8 – Back waistband with a fold – 1
TOTAL EASE ALLOWANCES
(in cm and in)
• Chest ease — 12 cm (4 ¾”);
• Waist ease — 24 cm (9 ½”).
PATTERN PIECES
INTERFACING
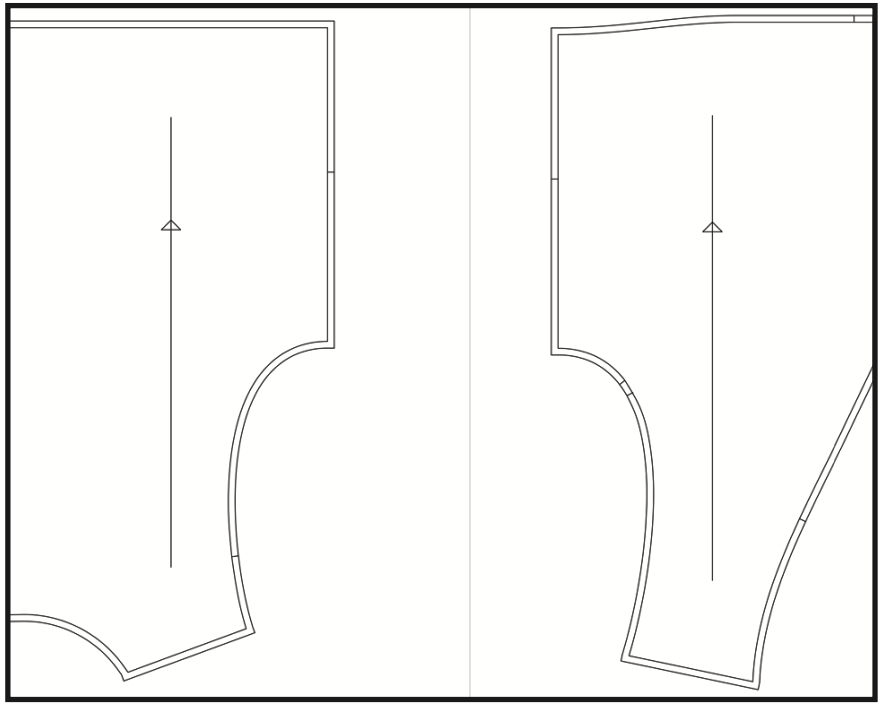
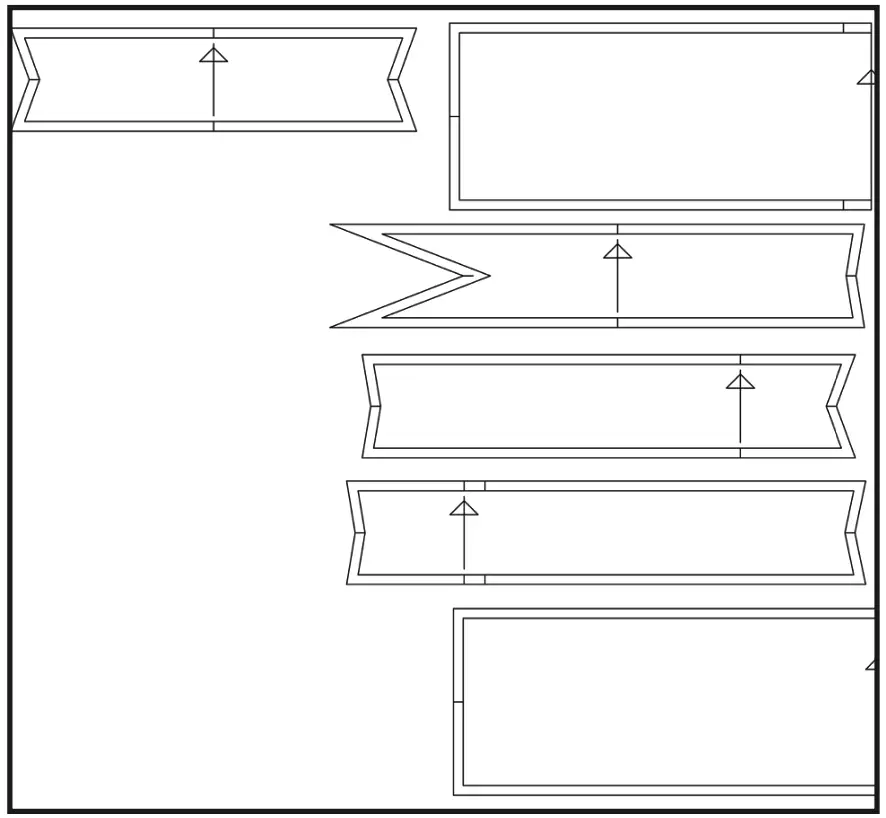
LAYOUT OF PARTS ON FABRIC
Size — 46 (S)
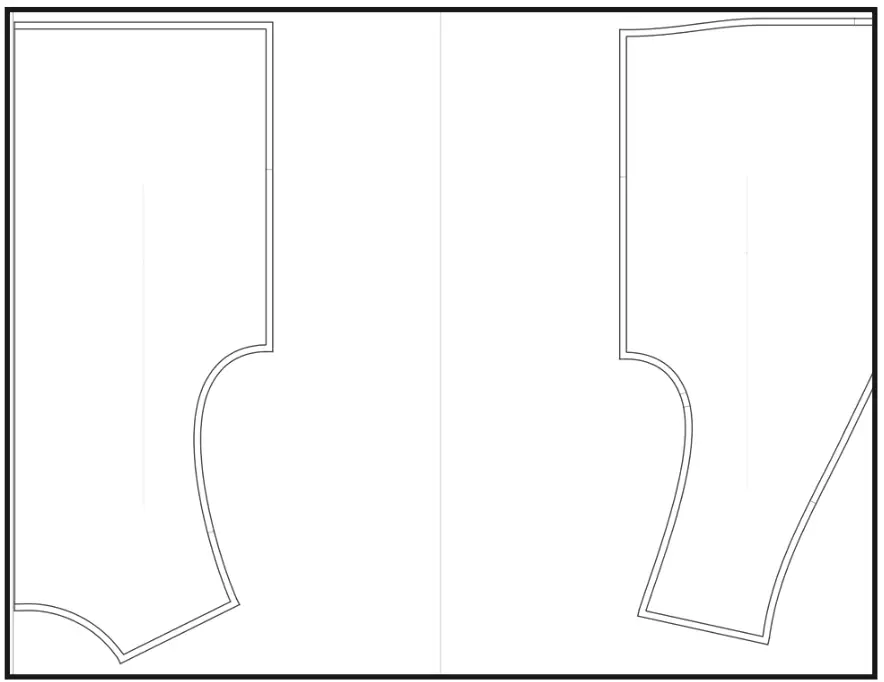
Size — 60 (5XL)
RIB KNIT
Width of fabric — 1.20 m (1 ⅜ yd)
Size — 46 (S)
Size — 60 (5XL)
SEWING INSTRUCTIONS
NECKLINE
1. Press the front (3) and back (4) neckline facings in half.
2. Sew the front and back neckline facings along the shoulder seams.
3. Sew the neckline facings along the middle seam.
4. Sew the shoulder cuts of the front (1) and back (2) using an overlocker. Press seam allowances to the back.
5. Interface the corner on the front neckline.
6. Stitch the facing into the neck, aligning the notches and control points. Sew the front corner of the facing into the neckline using a sewing machine, cutting through the seam allowance.
7. Sew the facing into the neckline using an overlocker. Press the allowance onto the vest.
ARMHOLES
8. Press the front (5) and back (6) armhole facing in half.
9. Sew the armhole and back facings along the shoulder seams and side seams. If desired, you can stitch the allowances of the facings together.
10. Sew the side seams of the vest using an overlocker. Press seam allowances to the back.
11. Insert the facing into the armhole, aligning the notches. Sew the facing into the armhole using an overlocker. Press the allowance onto the vest.
WAISTBAND
12. Sew the front waistband (7) and back waistband (8) along the side seams. Press seam allowances to the back. If desired, you can stitch the waistband allowances together.
13. Sew the waistband to the vest, matching the notches. Press the allowance onto the vest.
14. Give the vest a final press.