This isn’t your pattern. This is instruction.
This is a begginer’s guide for our PDF Sewing Patterns. Whether you’re new to sewing, new to pdf patterns, or just need a little extra support our begginers’ guide is here to help
Watch video instruction on our YouTube channel: How to use pdf pattern FABRICO
|
Height cm/in |
Age |
Chest cm/in |
Waist cm/in |
Hips cm/in |
|---|---|---|---|---|
| 86 / 33.9 | 18 months | 51 / 20.1 | 51 / 20.1 | 51 / 20.1 |
| 92 / 36.2 | 2 years | 53 / 20.9 | 52 / 20.5 | 54 / 21.3 |
| 98 / 38.6 | 3 years | 54 / 21.2 | 53 / 20.9 | 56 / 22 |
| 104 / 41 | 4 years | 56 / 22 | 54.5 / 21.5 | 59 / 23.2 |
| 110 / 43.3 | 5 years | 58 / 22.8 | 56 / 22 | 62 / 24.4 |
| 116 / 45.7 | 6 years | 60 /3.6 | 57.5 / 22.6 | 65 / 25.6 |
| 122 / 48 | 7 years | 62 / 24.4 | 59 / 23.23 | 68 / 26.8 |
| 128 / 50.4 | 8 years | 65 / 25.6 | 60 / 23.6 | 71 / 27.9 |
| 134 / 52.8 | 9 years | 68 / 26.8 | 61 / 24 | 74 / 29.1 |
| 140 / 55.1 | 10 years | 71 / 27.9 | 62 / 24.4 | 77 / 30.3 |
| 146 / 57.5 | 11 years | 72 / 28.3 | 63 / 24.8 | 79 / 31.1 |
| Size |
International size |
European size |
Bust cm / in |
Waist cm / in |
Hips cm / in |
|---|---|---|---|---|---|
| 40 | XXS | 34 | 80 / 31.5 | 60 / 23.6 | 86 / 33.9 |
| 42 | XS | 36 | 84 / 33.1 | 64 / 25.2 | 90 / 35.4 |
| 44 | S | 38 | 88 /34.6 | 68 / 26.8 | 94 / 37 |
| 46 | M | 40 | 92 / 36.2 | 72 / 28.3 | 98 / 38.6 |
| 48 | L | 42 | 96 / 37.8 | 76 / 30 | 102 / 40.16 |
| 50 | XL | 44 | 100 / 39.4 | 80 / 31.5 | 106 / 41.7 |
| 52 | XXL | 46 | 104 / 41 | 84 / 33.1 | 110 / 43.3 |
| 54 | XXXL | 48 | 108 / 42.5 | 88 / 34.6 | 114 / 44.9 |
| Size |
International size |
European size |
Bust cm / in |
Waist cm / in |
Hips cm / in |
|---|---|---|---|---|---|
| 46 | S | 40 | 92 / 36.2 | 80 / 31.5 | 94 / 37 |
| 48 | M | 42 | 96 / 37.8 | 84 / 33.1 | 98 / 38.6 |
| 50 | L | 44 | 100 / 39.4 | 88 / 34.6 | 102 / 40.16 |
| 52 | XL | 46 | 104 / 41 | 92 / 36.2 | 106 / 41.7 |
| 54 | XXL | 48 | 108 / 42.5 | 96 / 37.8 | 110 / 43.3 |
| 56 | XXXL | 50 | 112 / 44.1 | 100 / 39.4 | 114 / 44.9 |
Keep in mind if you are choosing pattern for the top (coat, dress, etc.) your chest is the basis for the sizing. In case of lower clothing (skirt, trouser, etc.) your hips is the sizing basis.
You can print our patterns on A4 sheets on an ordinary printer and then glue them.
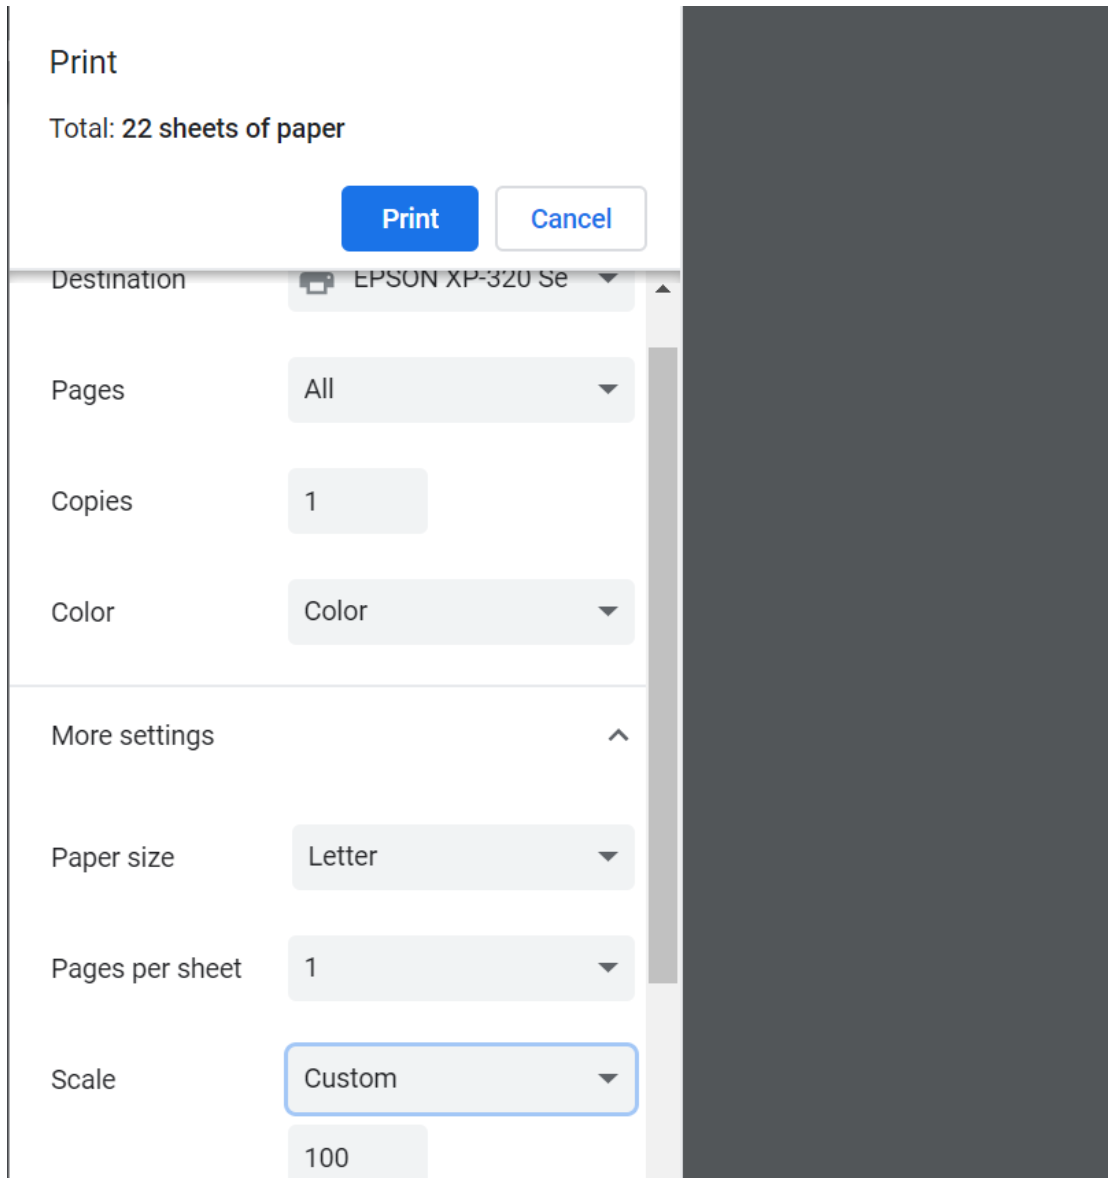
The first part of using any PDF pattern is printing it out. It’s important that when you print out your pattern you do it without scaling. Depending on what program you’re using to print out your pattern things can look a little different. If there’s an option to choose between fit to page and actual size. You have to choose “actual size”. If there’s a scaling percentage option, you have to set it to 100%. In case of the "fit content to the page" tickbox, please untick it.
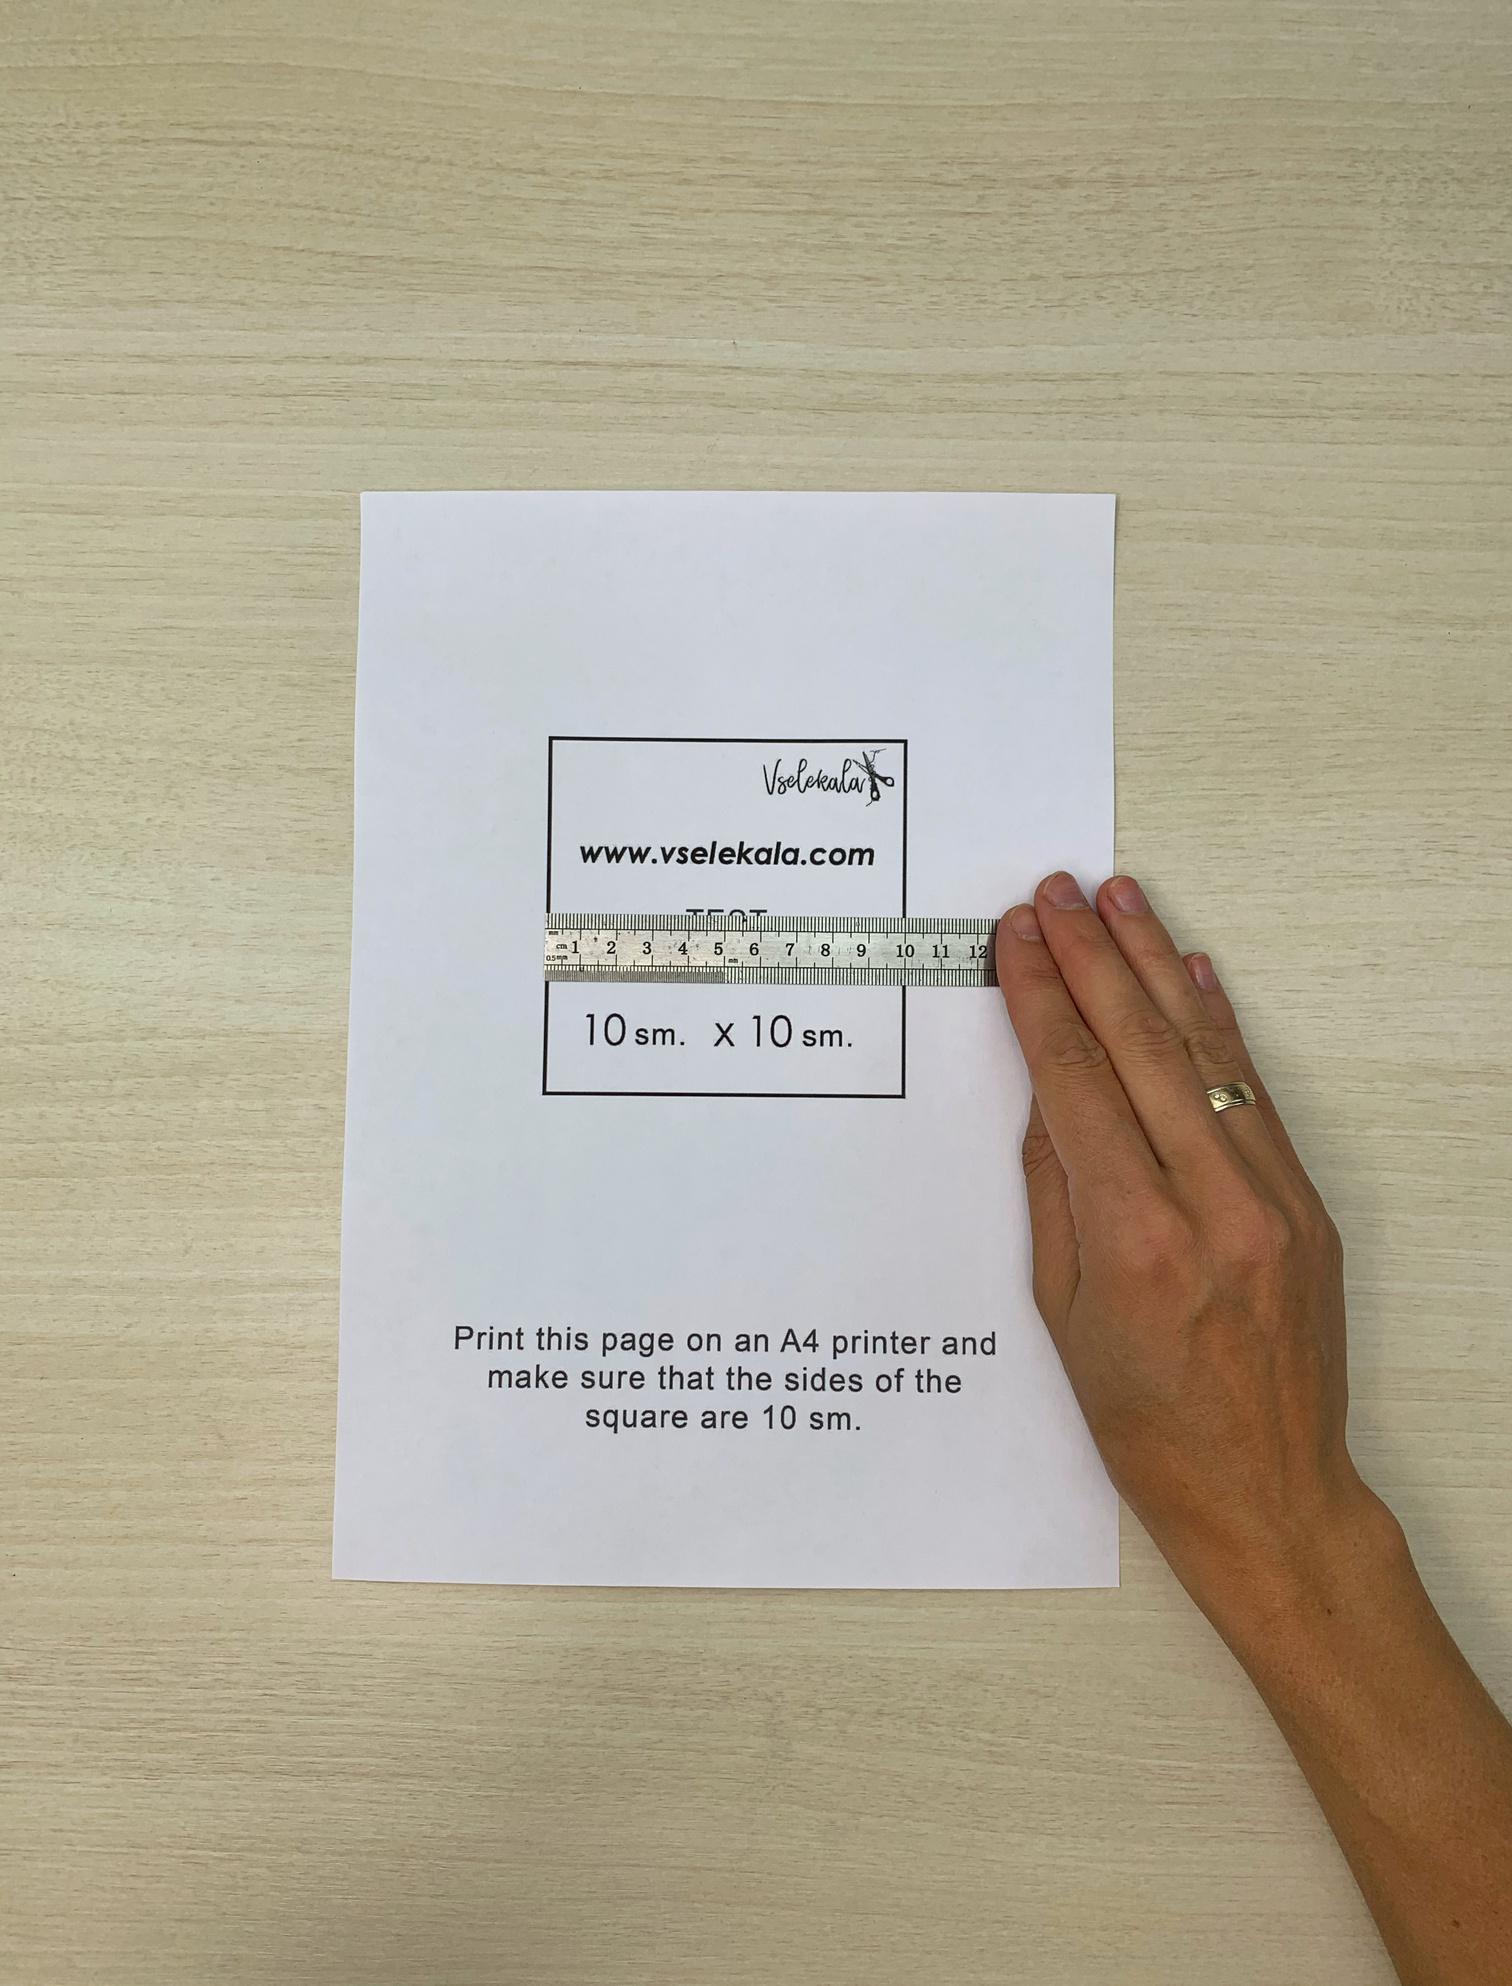
To start, print only 1 page with the test square. To do this, specify the page number 1 when setting up printing. Check whether the first sheet is printed correctly: the test square should be 10/10 cm (3,94/3,94 in). Use a ruler to check that square is at the correct size. If everything is "ok", print the rest of the pages.
If the test square is less than 10 cm (3.94 in), check your printer settings. You need to find the "print Scale" parameter in the printer settings and change the value to
100%.

The printed sheets are numbered, so you just need to put them in the correct order, guided by the scheme of gluing. To glue the pattern, cut off the unnecessary fields and connect the parts.
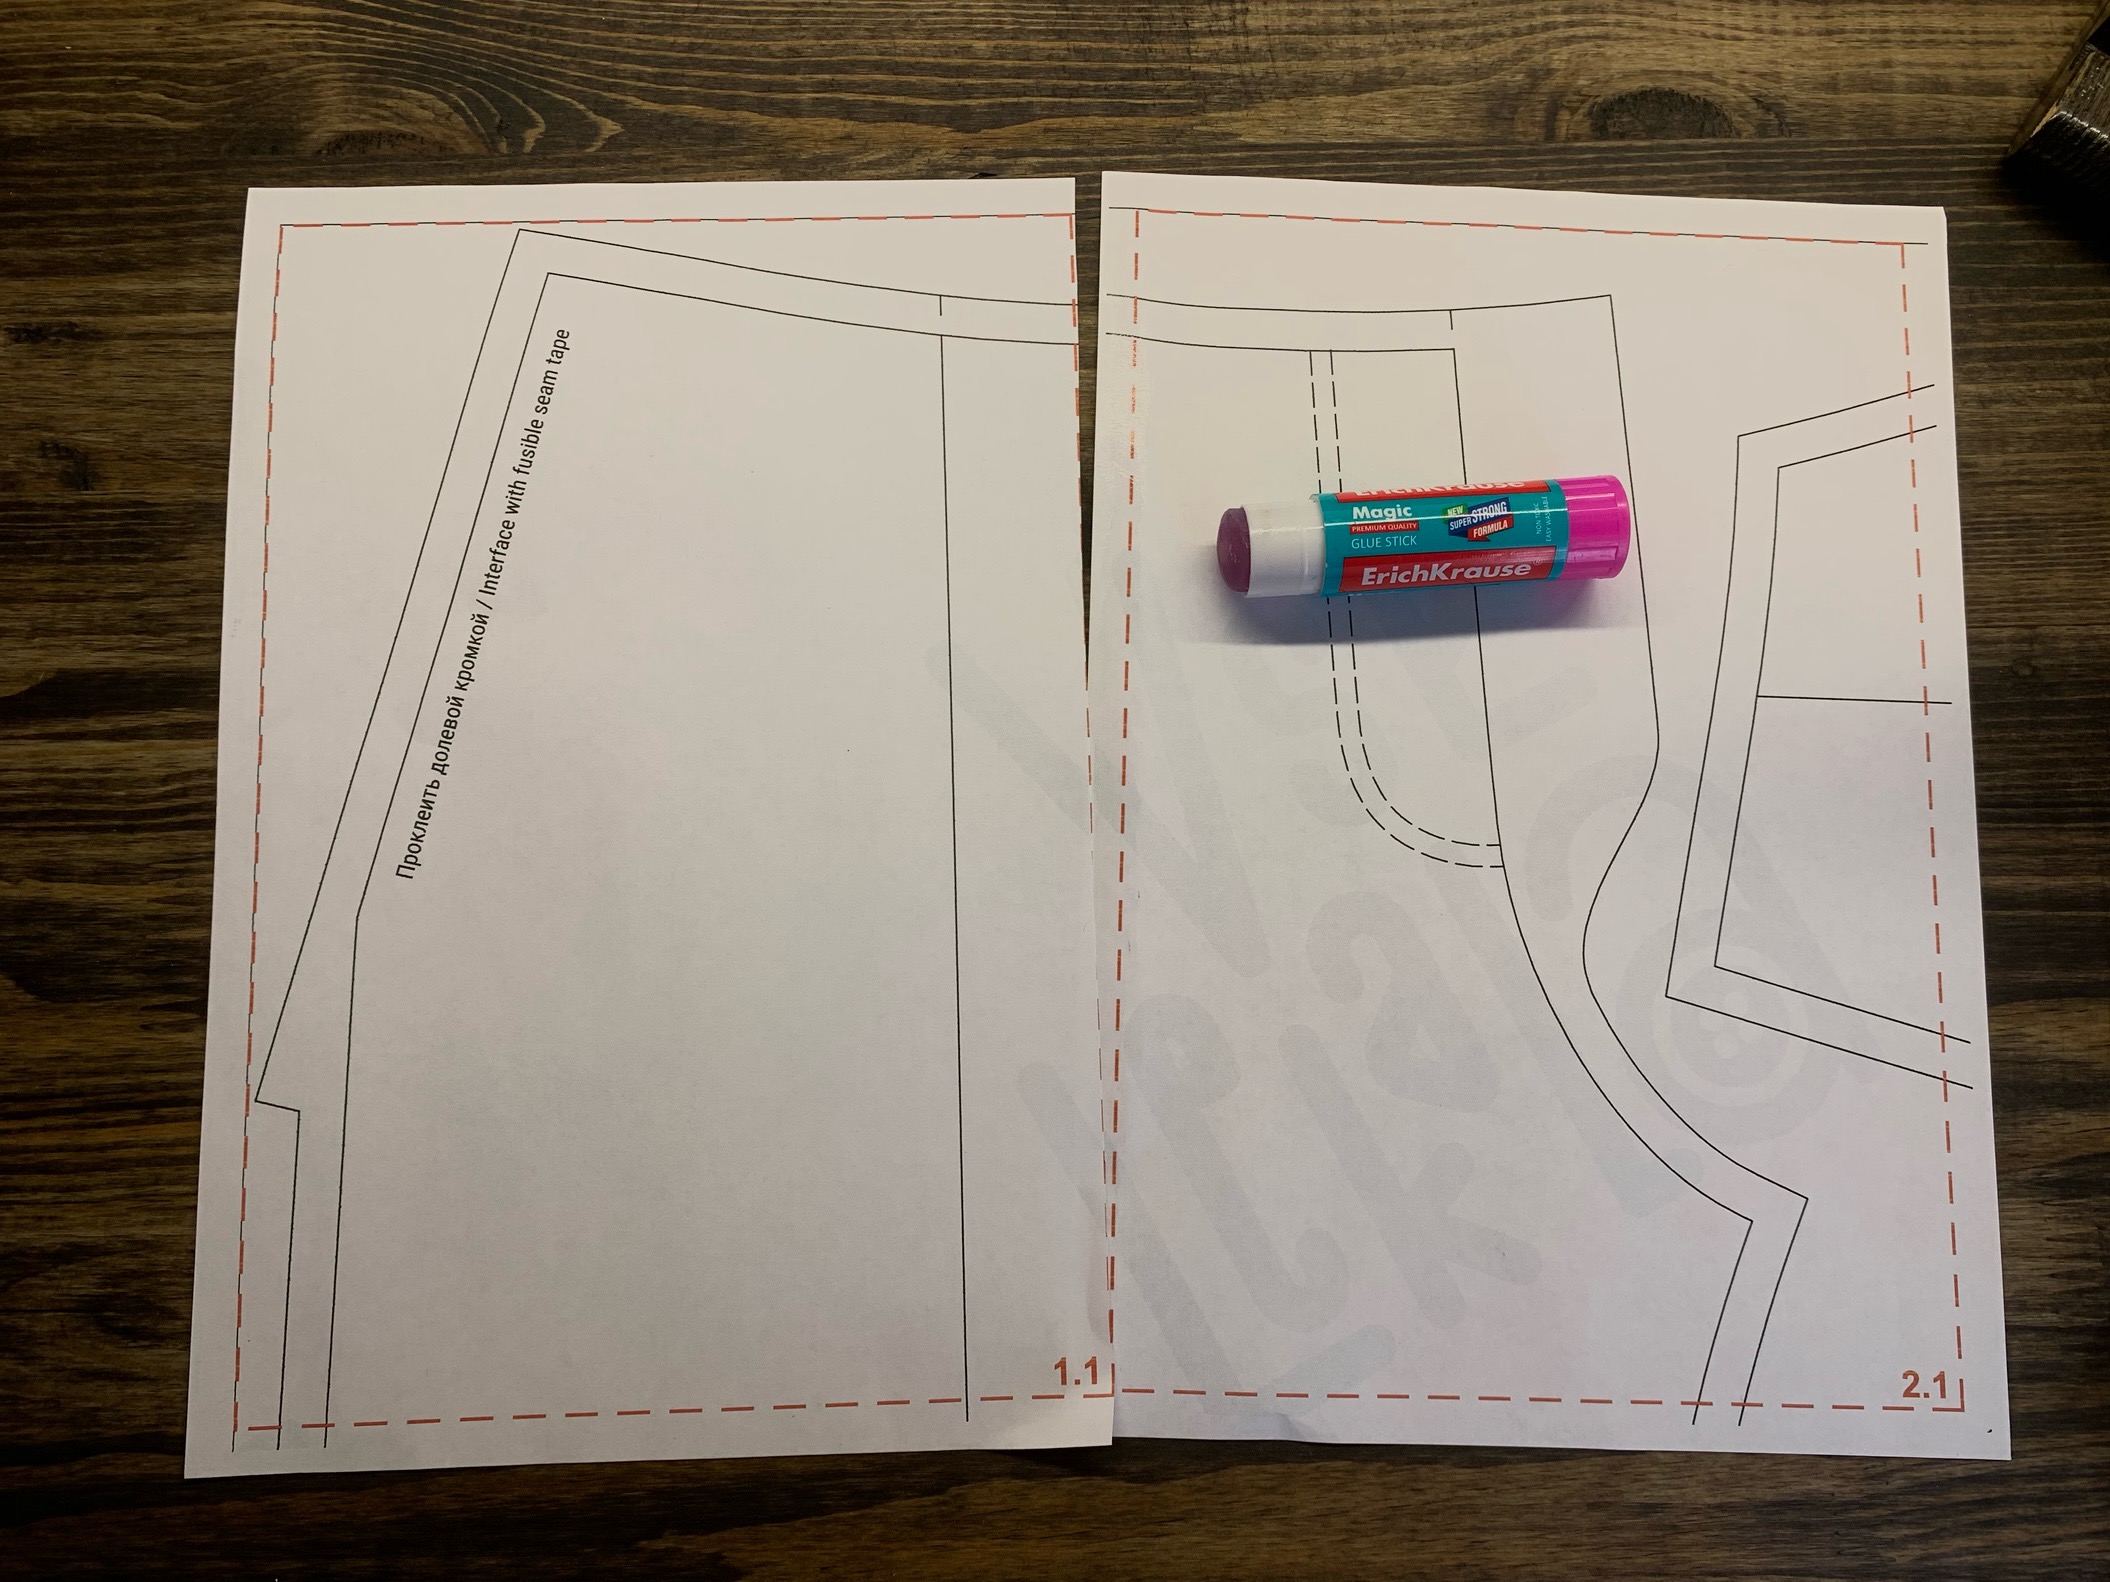
Use scotch tape or paper glue to glue the pattern.

Cut out your pattern pieces along the black line.

Important. Seam allowance is included in all Pattern so no need to add anything to your pattern pieces.

Designed to check the scale of printing and the correctness of the reflection of patterns. Its dimensions should be 10 * 10 cm / 3.94 * 3.94 inches.

The page numbers are found in the lower right corner of each sheet of the pattern.

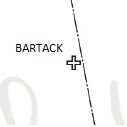
The shared thread runs parallel to the edge of the fabric. It is important to consider the direction of the shared thread when cutting.
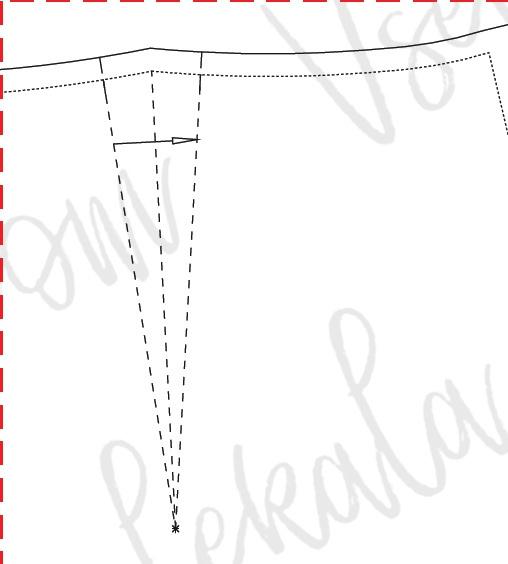
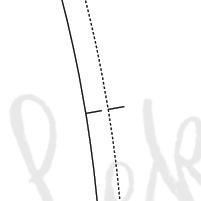
The edges of the tuck must be stitched to its top (corner). The arrow indicates in which direction you need to iron it.
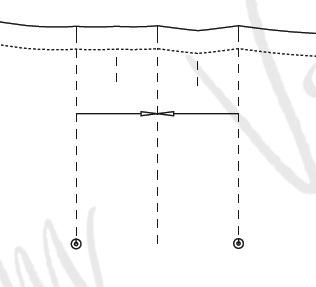
Control notches help to correctly align the parts with each other. When cutting, it is important to transfer all control notches from the pattern to the cut part.
The direction of the arrow indicates in which direction to fold.


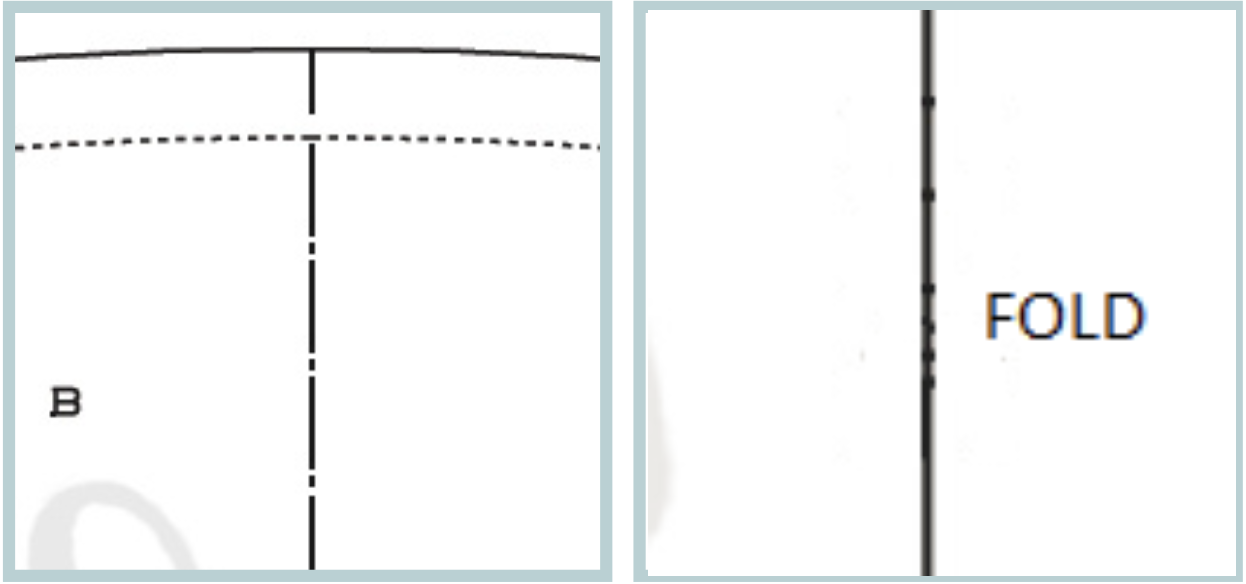
Explanation of half parts and indication of the bend location (along the center lines).
Thanks so much for sewing with us!
Watch video instruction on our YouTube channel: How to use pdf pattern FABRICO
Follow us on Instagram: @fabrico.design
