Access your pattern
Once your order is confirmed, the PDF is immediately available in your account on the Fabrico website. A copy is also sent to your registered email.
From PDF download to ready-to-cut paper pattern — printing at the correct scale, assembling the pages, and understanding every symbol you'll see along the way.
Once your order is confirmed, the PDF is immediately available in your account on the Fabrico website. A copy is also sent to your registered email.
Download the A4 version of the pattern. Save it somewhere easy to find — your desktop works great. Don't try to print directly from the browser; saving locally avoids most printing errors.
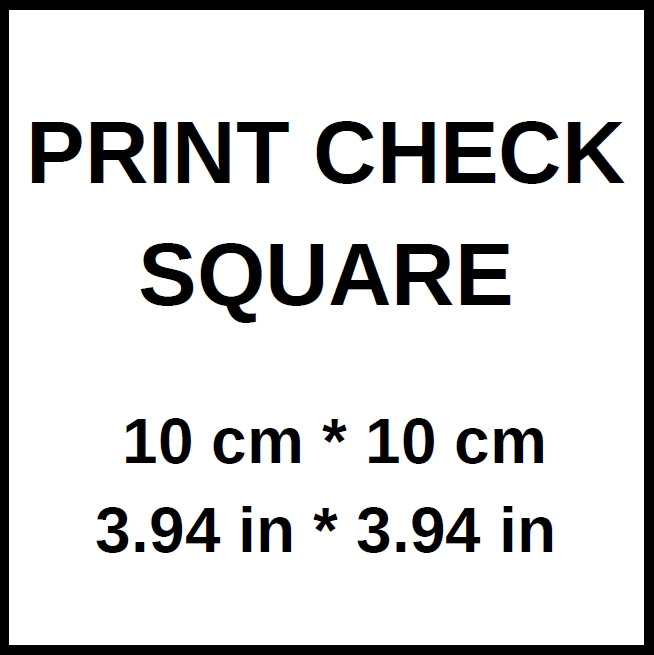
Open the PDF and print only the first page — it contains a test square. In your print settings, set Pages to "1". Never print the whole document until the test square is correct.
This is the single most important setting. Get it wrong and the whole pattern will be off — and your garment won't fit.
Depending on your software, the option appears under different names:
Use a ruler to check the printed square. It should be exactly 10 cm × 10 cm (or 3.94 in × 3.94 in). If it's smaller — usually around 9 cm — your scale is below 100%. Adjust your printer settings and try again.
Once the test square checks out, print the remaining pages with the exact same settings. Don't change scale or paper size between pages.
Every sheet has a number like 2-1 — the column comes first, then the row. Lay them out in a grid and you'll see the full pattern emerge.
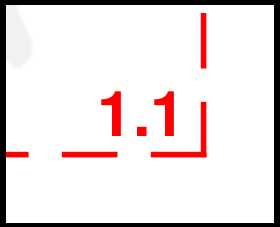
Each printed sheet has a code in its lower-right corner: the first digit is the column number, the second is the row number.
For example, sheet 2-1 sits in the second column of the first row. Lay out all sheets like a grid following this logic.
Once the grid is laid out:
A quick reference to every mark you'll find on a Fabrico pattern. Keep this handy until they become second nature.
Used to verify print scale. Its dimensions must be exactly 10 × 10 cm (3.94 × 3.94 in). If yours isn't, recheck your printer scale.
Found in the lower-right corner of each sheet, marked in red brackets. Use them to assemble your pages by the gluing scheme.
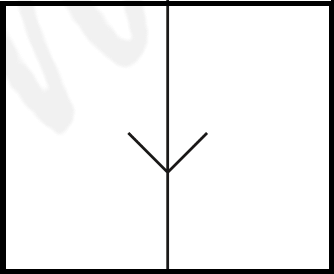
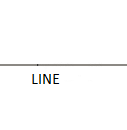
The arrow shows the direction of the common thread, which runs parallel to the edge of the fabric. Always align pattern pieces with this direction when cutting.
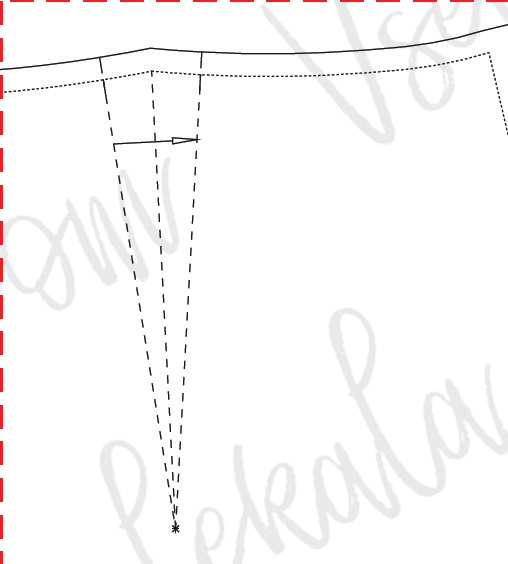
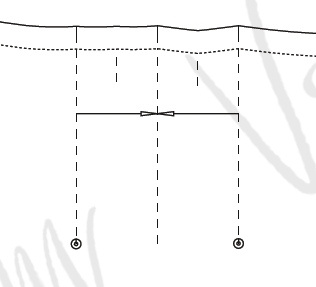
The edges of a tuck must be stitched towards its top corner. The arrow shows which direction to press the dart when ironing.
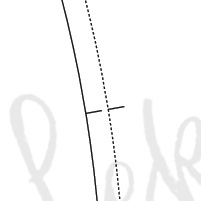
Small marks that help align pieces during sewing. When cutting fabric, transfer every notch from the pattern to your piece — they're essential for accurate assembly.
The arrow shows which way to fold the fabric. Most often used in pleats and tucks where direction matters for the finished look.
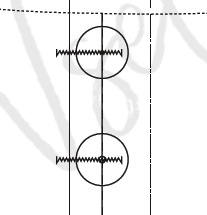
Shows the position of buttons or buttonholes on the pattern piece. Mark these on your fabric before sewing.
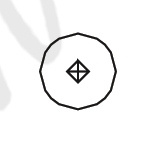
Indicates the exact placement of a single button, snap or eyelet hole. Always transfer this mark to your fabric.
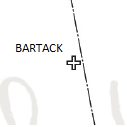
A reinforcing stitch applied at stress points like pocket corners or belt loops. The cross symbol marks where to apply it.
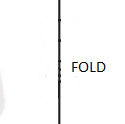
The pattern shows half of a symmetrical piece. Place this edge on the fold of the fabric so the piece comes out mirrored and whole.
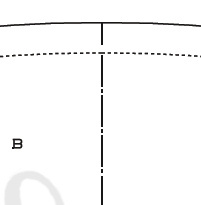
Most pattern outlines are solid lines. A dotted line indicates an alternative element such as a size variant, an internal marking or a stitching guide.
Some things are easier to see than to read. Watch the full printing and assembly process step by step on our YouTube channel.
Watch on YouTubeAccuracy at the printing and assembly stage is what makes the finished garment fit the way it should. Two minutes spent on the test square save hours of fixing seams later.