
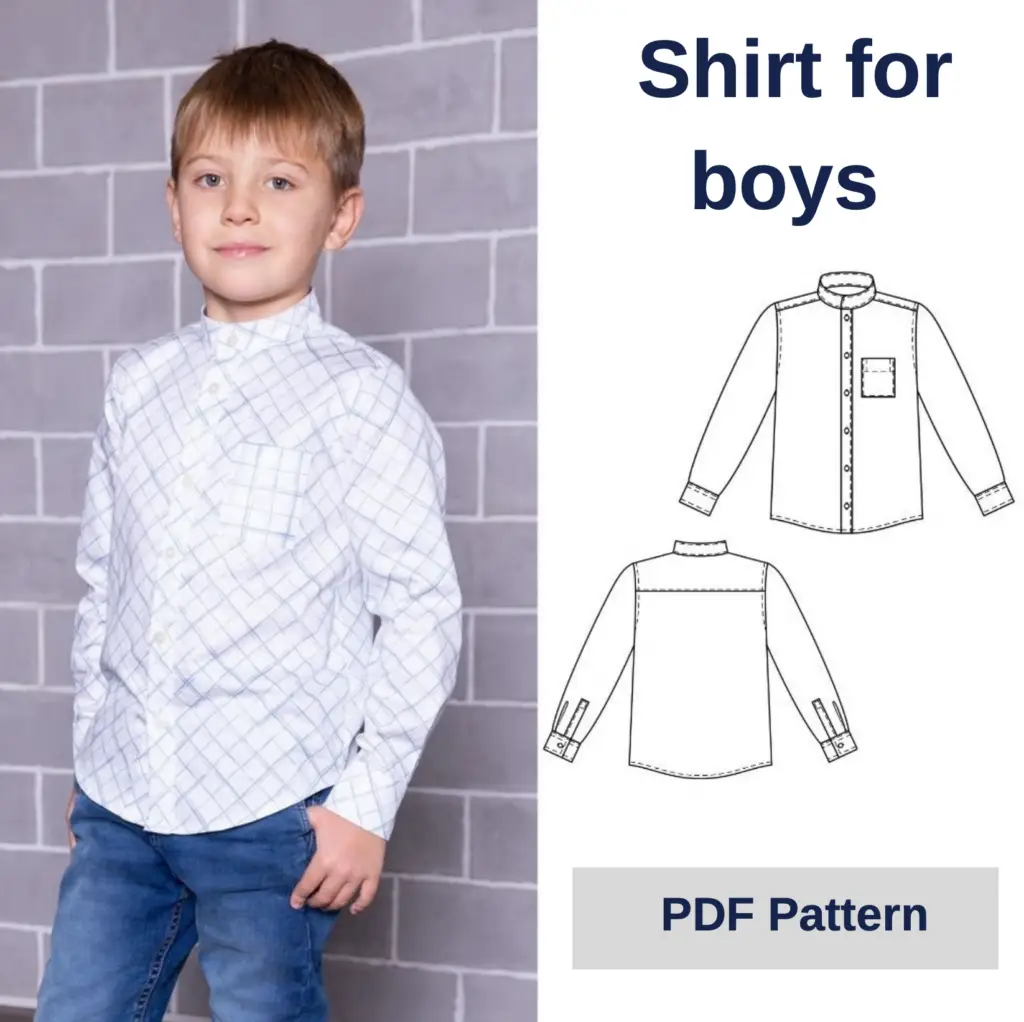
We recommend using natural shirt fabrics – cotton, thin jeans, linen.
It is advisable to use non-stretchable fabrics or fabrics with slight stretch.
| Size |
4 years 104 |
5 years 110 |
6 years 116 |
7 years 122 |
8 years 128 |
9 years 134 |
10 years 140 |
11 years 146 |
12 years 152 |
13 years 158 |
14 years 164 |
|---|---|---|---|---|---|---|---|---|---|---|---|
| Main fabric |
0.64 25.2" |
0.69 27.17" |
0.74 29.13" |
0.79 31.1" |
0.85 33.46" |
0.91 35.83" |
0.97 38.19" |
1.03 40.55" |
1.09 42.91" |
1.15 45.27" |
1.20 47.24" |
| ID | Title 1 | Title 2 |
|---|---|---|
| Sample #1 | Row 1, Content 1 | Row 1, Content 2 |
| Sample #2 | Row 2, Content 1 | Row 2, Content 2 |
| Sample #3 | Row 3, Content 1 | Row 3, Content 2 |
When buying fabric, keep in mind that the material can shrink, so take with a margin of 5 – 10%.
| Size |
4 years 104 |
5 years 110 |
6 years 116 |
7 years 112 |
8 years 128 |
9 years 134 |
10 years 140 |
11 years 146 |
12 years 152 |
13 years 158 |
14 years 164 |
|---|---|---|---|---|---|---|---|---|---|---|---|
|
Shirt width at chest line |
34 13.39" |
35 13.78" |
36.5 14.37" |
37.5 14.76" |
39 15.35" |
40.5 15.94" |
42 16.54" |
43.5 17.13" |
45 17.7" |
46.5 18.31" |
48 18.9" |
|
Front length from shoulder |
43.5 17.13" |
45.5 17.9" |
47,5 18,7" |
50 19,68" |
52 20,47" |
55 21,65" |
57,5 22,64" |
59 23,23" |
60,5 23,82" |
62,5 24,6" |
64 25,2" |
|
Sleeve length cuffs |
38.5 15.16" |
40,5 15,94" |
42,5 16,73" |
44,5 17,52" |
47 18,5" |
50 19,68" |
52 20,47" |
54 21,26" |
56 22,05" |
58 22,83" |
60 23,62" |
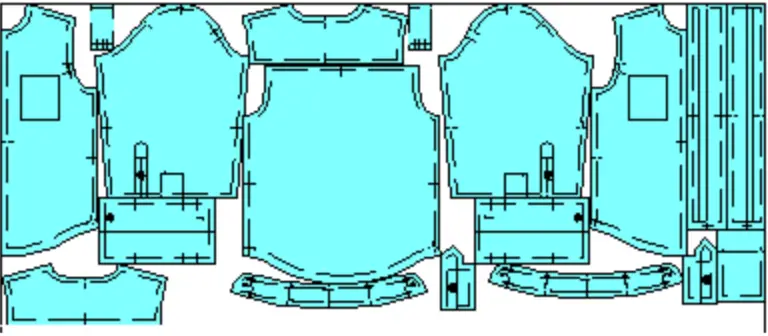
Size – 4 years (Child’s height 104 cm)
Layout width – 1.4 m (55.1″); layout length – 0.59 m (23.2″)
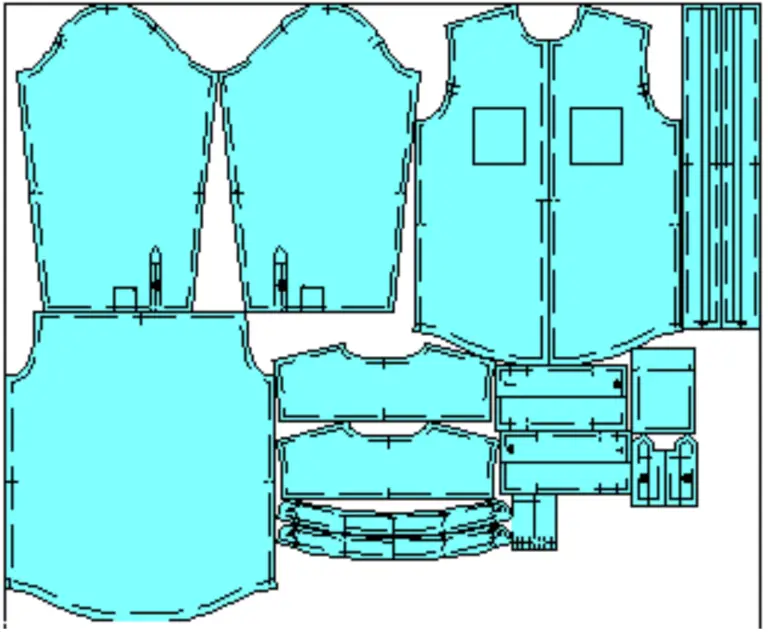
Size – 14 years (Child’s height 164 cm)
Layout width – 1.4 m (55.1″); layout length – 1.15 m (45.3″)
Attention! All our patterns already contain 1 cm / 0.39 in seam allowances.
Main fabric
| № | Patterns |
Number of patterns |
Number of pieces |
|---|---|---|---|
| 1 | Black yoke (double) | 1 | 2 |
| 2 | Back | 1 | 1 |
| 3 | Front | 1 | 2 |
| 4 | Sleeve | 1 | 2 |
| 5 | Cuff | 1 | 2 |
| 6 | Sleeve placket | 1 | 2 |
| 7 | Sleeve placket binding | 1 | 2 |
| 8 | 1 | 1 | |
| 9 | Collar stand | 1 | 2 |
| 10 | Front | 1 | 2 |
Support pattern
| № | Pattern |
Number of patterns |
Number of pieces |
|---|---|---|---|
| 11 | Chalk, mark, loops and buttons, size 104-140 | 1 | 1 |
| 12 | Chalk, mark, loops and buttons, size 146-164 | 1 | 1 |
Attention! All our patterns already contain 1 cm / 0.39 in seam allowances.
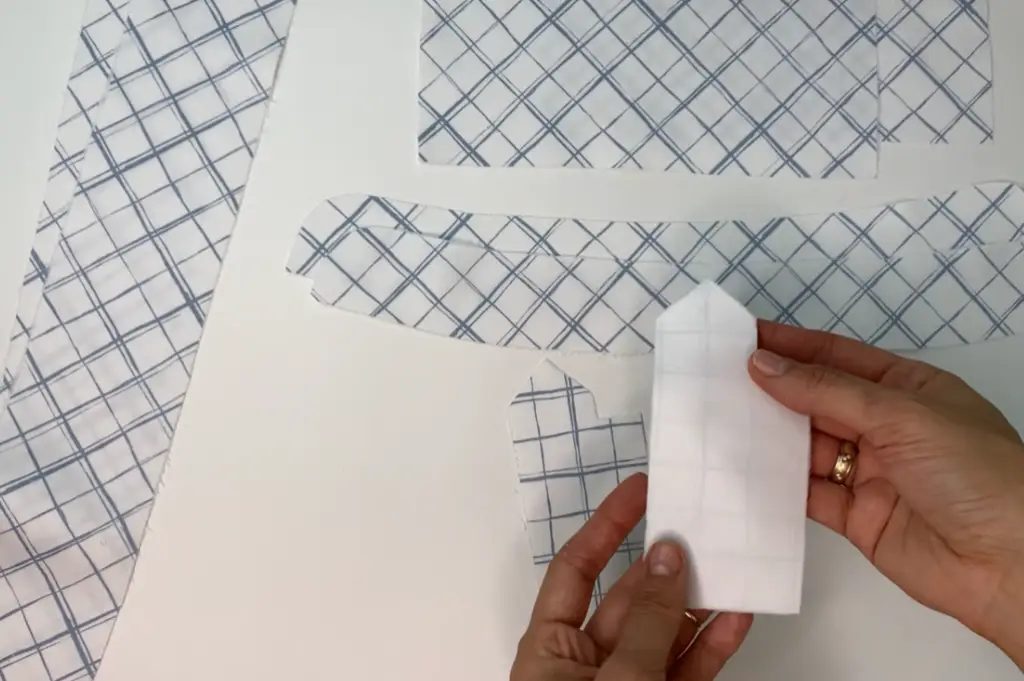
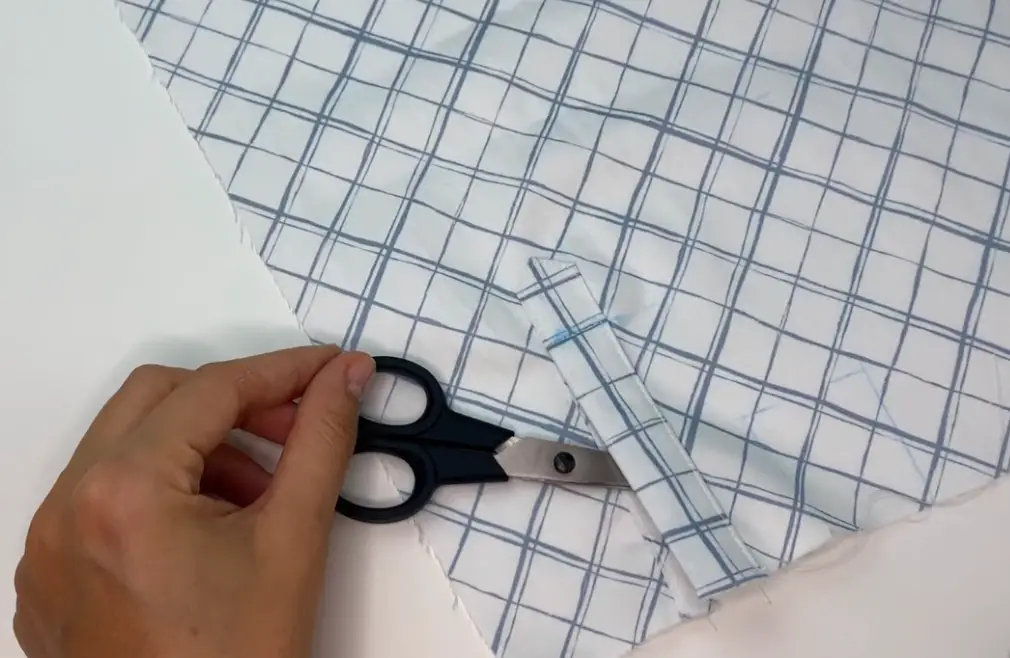
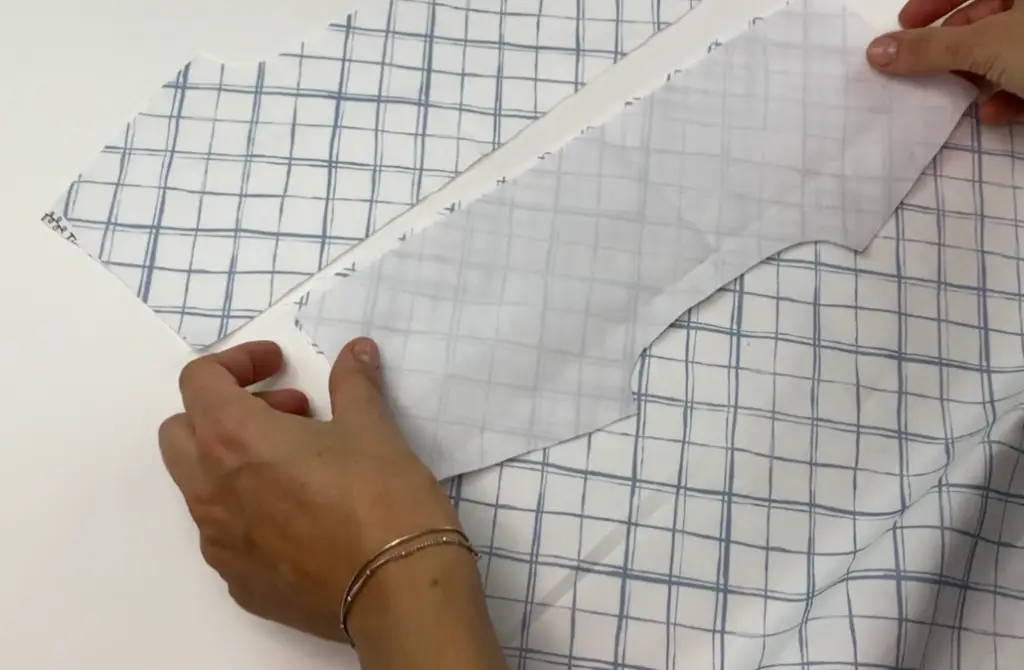
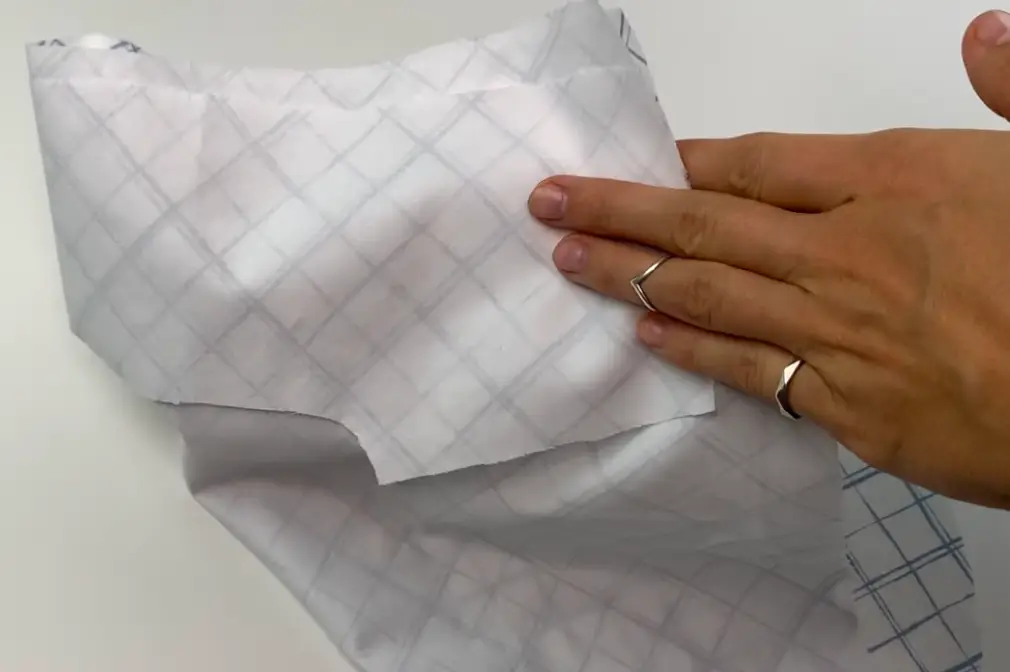
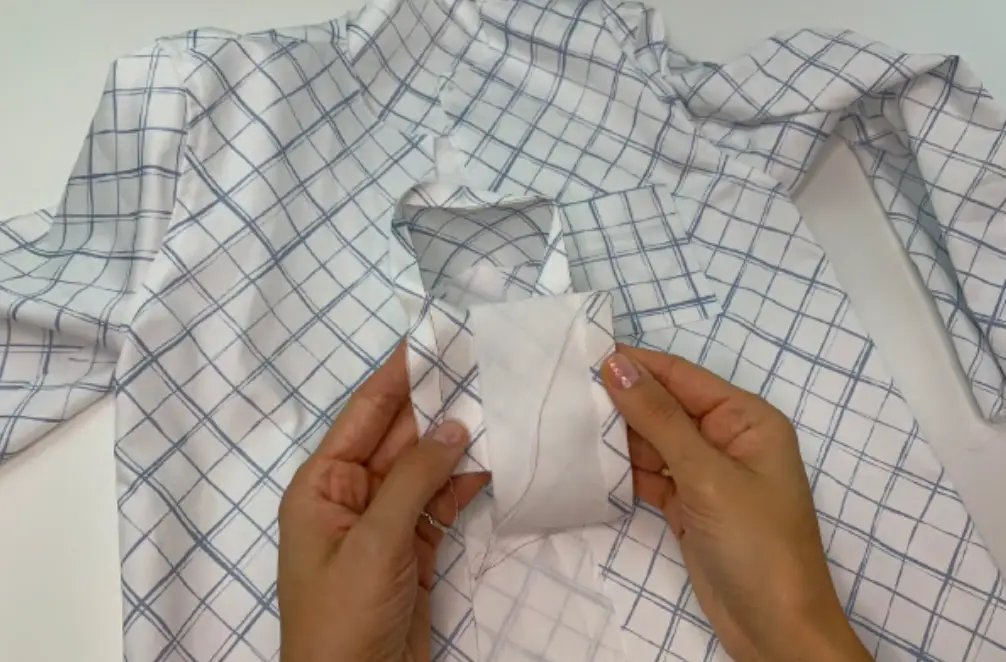
Before you start sewing, iron the interfacing to the pieces of the collar, cuffs, the plackets of the fronts and the plackets and the edging of the sleeve slit.
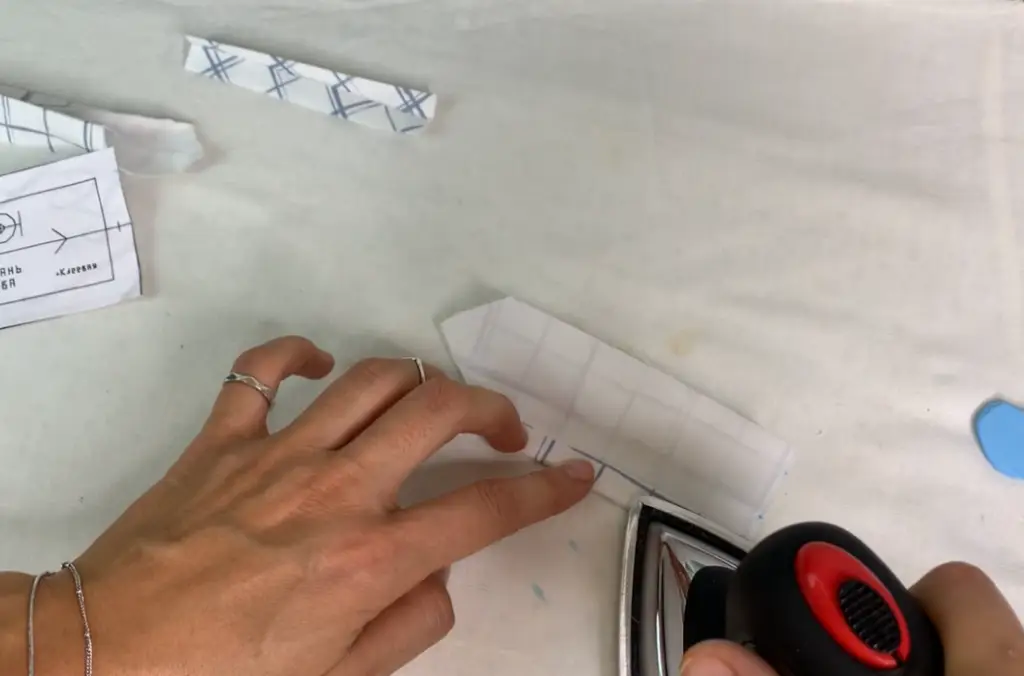
Press the allowances on the placket and the edging of the sleeve slit.
Make a cut line with chalk on the wrong side of the sleeves.
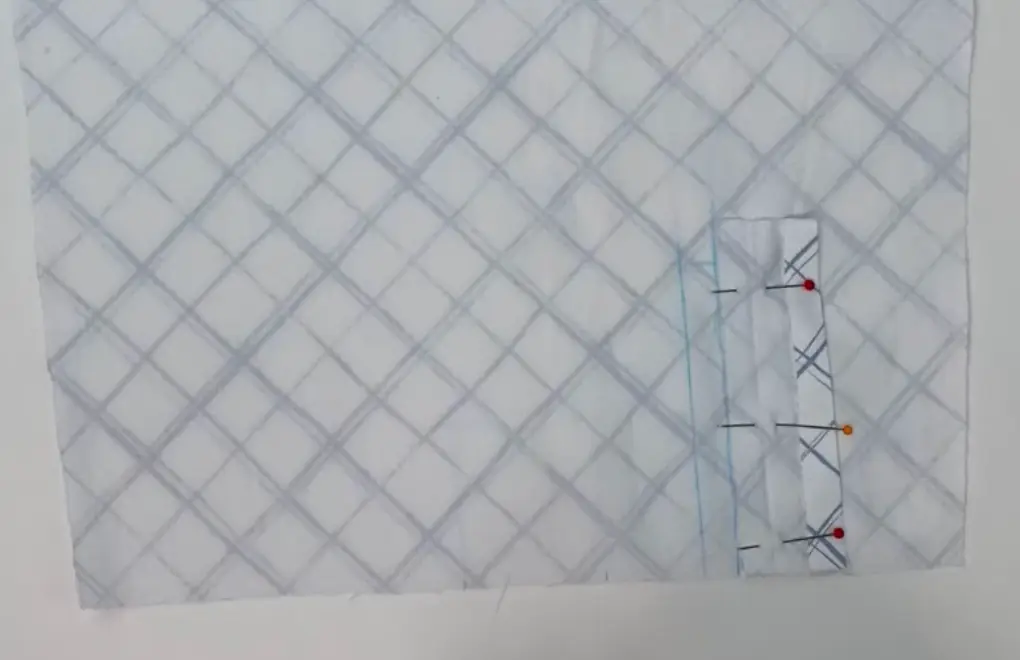
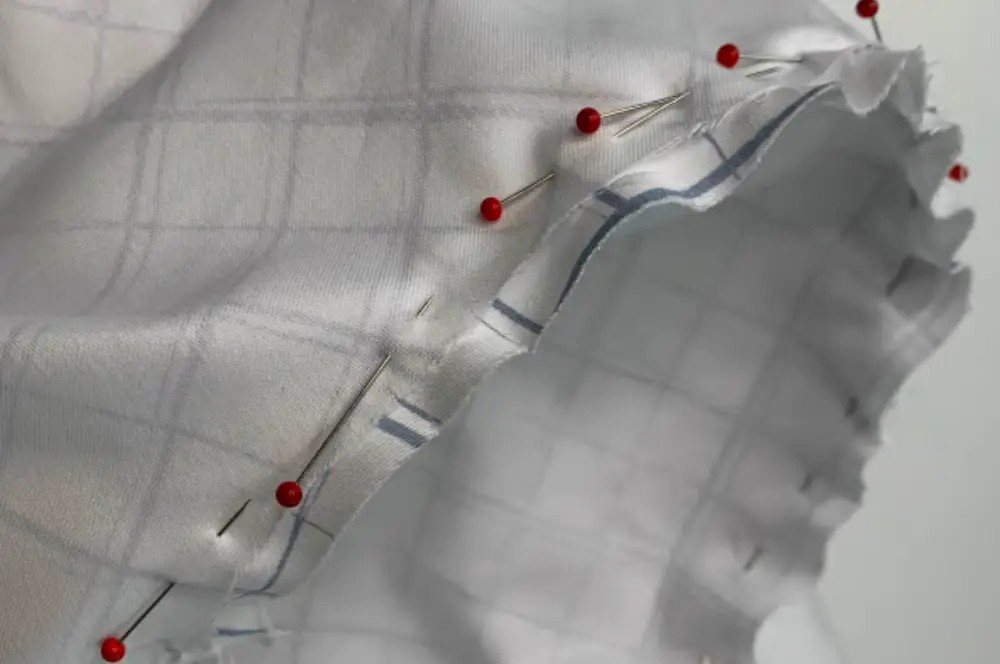
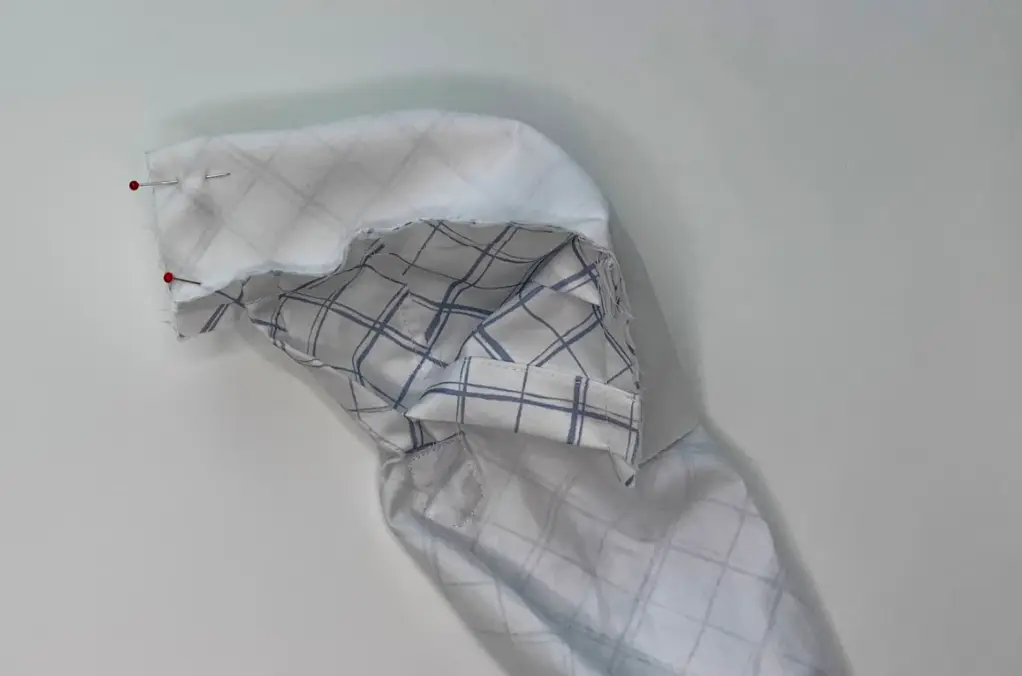
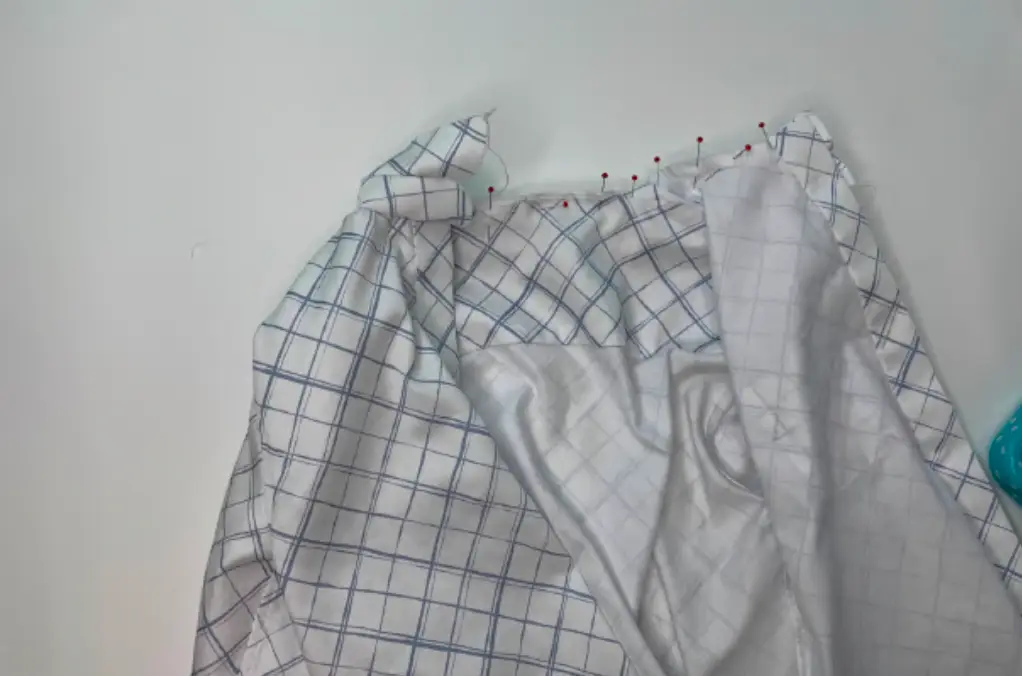
Pin the edging to the wrong side of the sleeve, with right side exactly to the cut line
(Important! Pin the edging to the line, which is closer to the back). Stitch it.
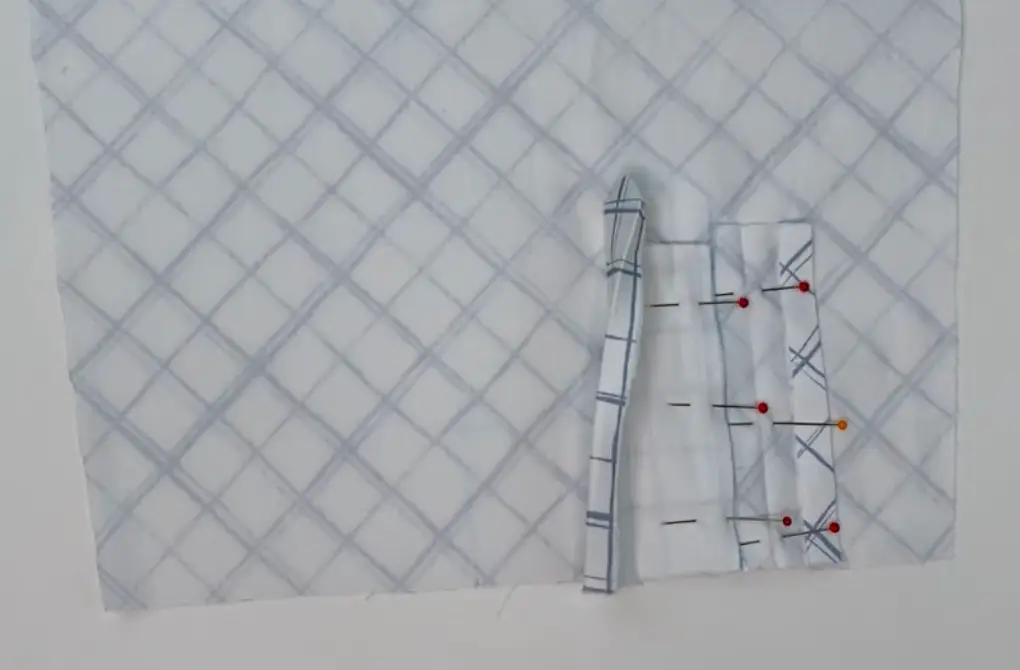
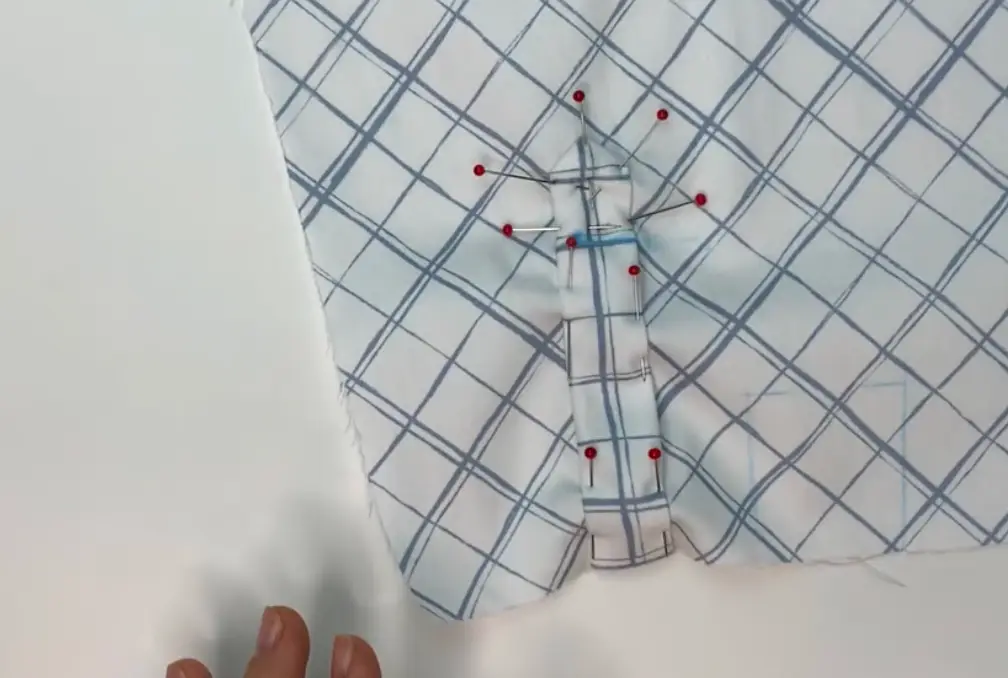
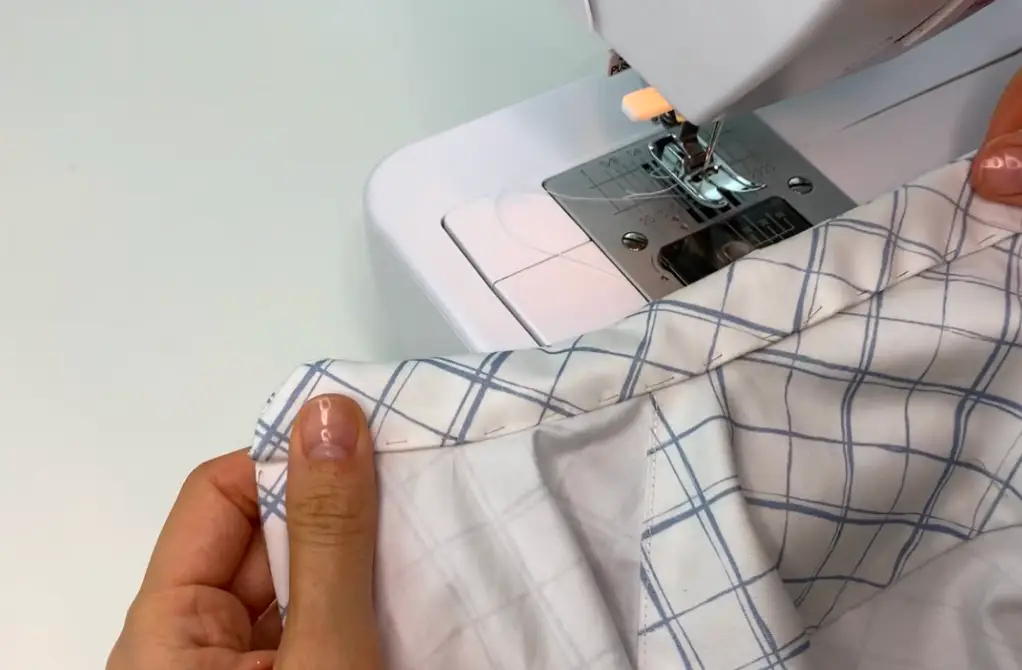
Pin the placket to the wrong side of the sleeve, with the right side exactly to the cut line.
(Important! Pin the placket to the line, which is closer to the front). Stitch it.
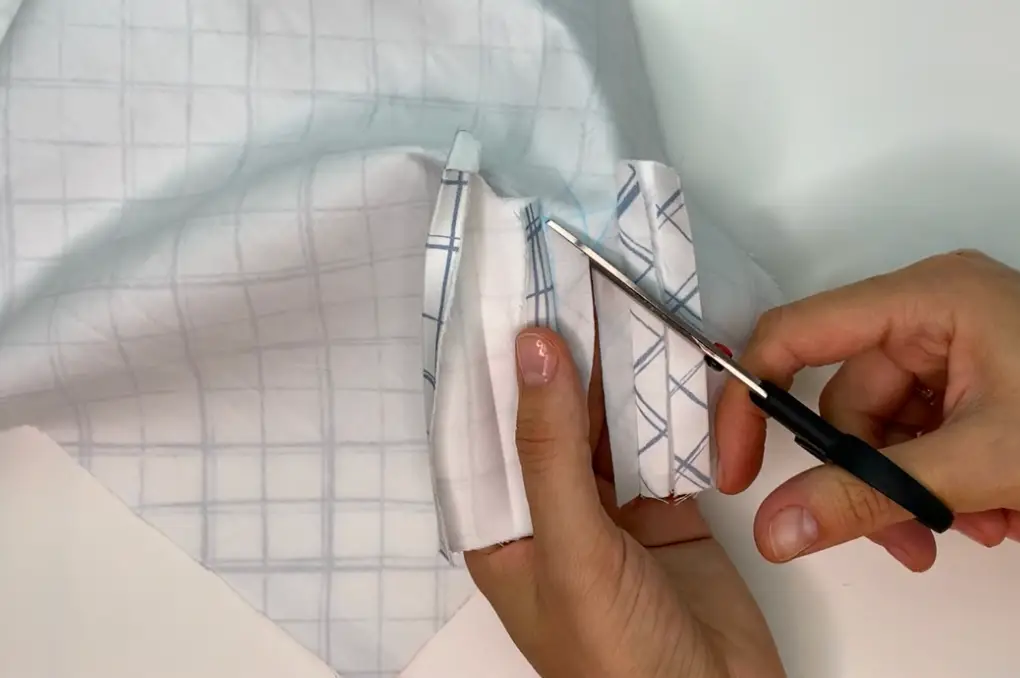
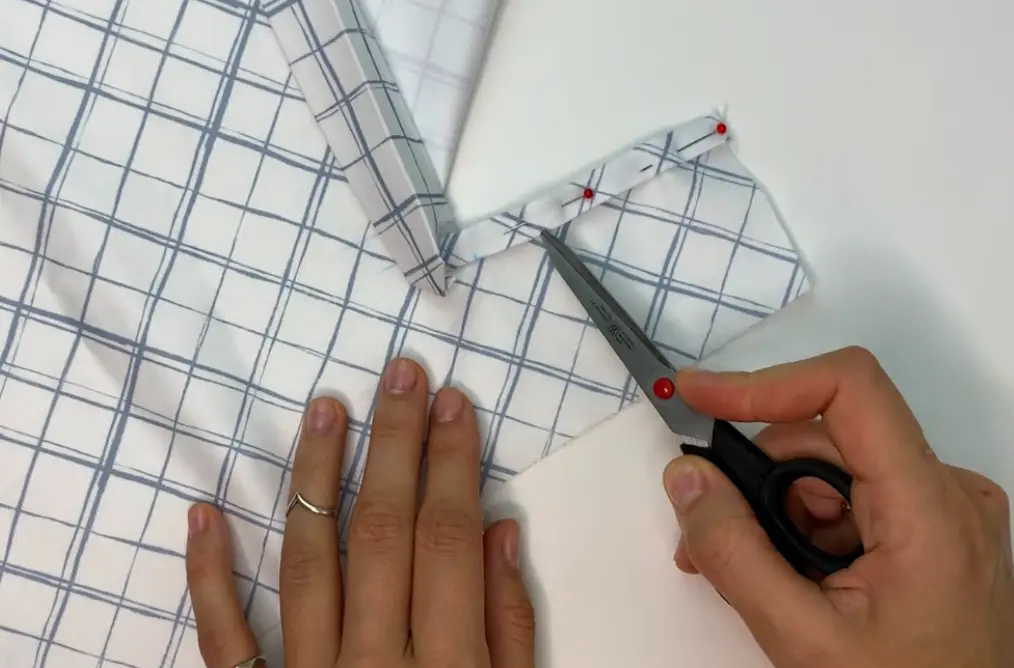
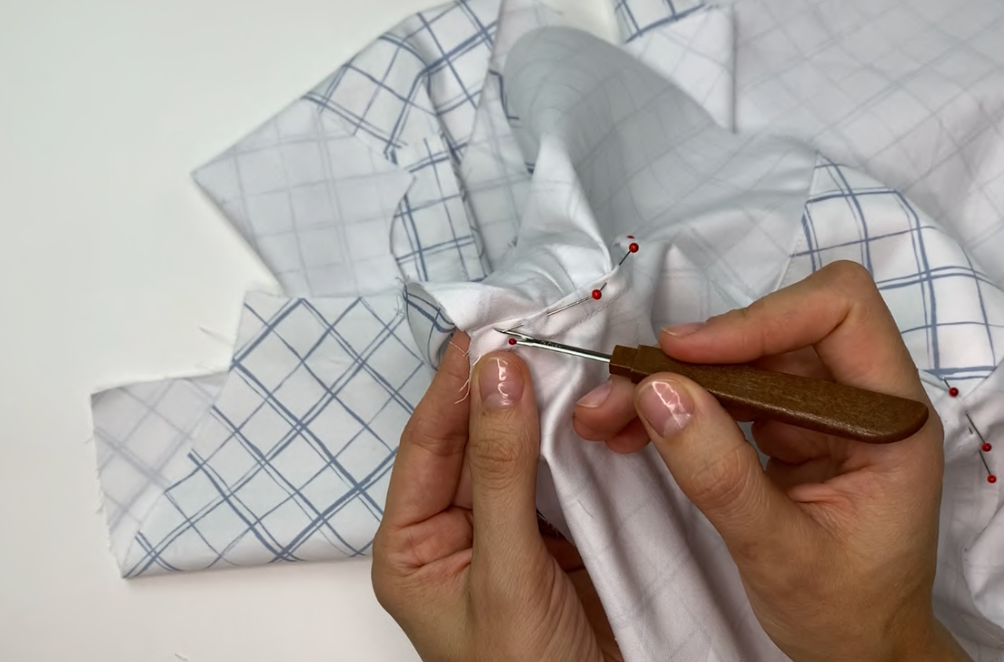
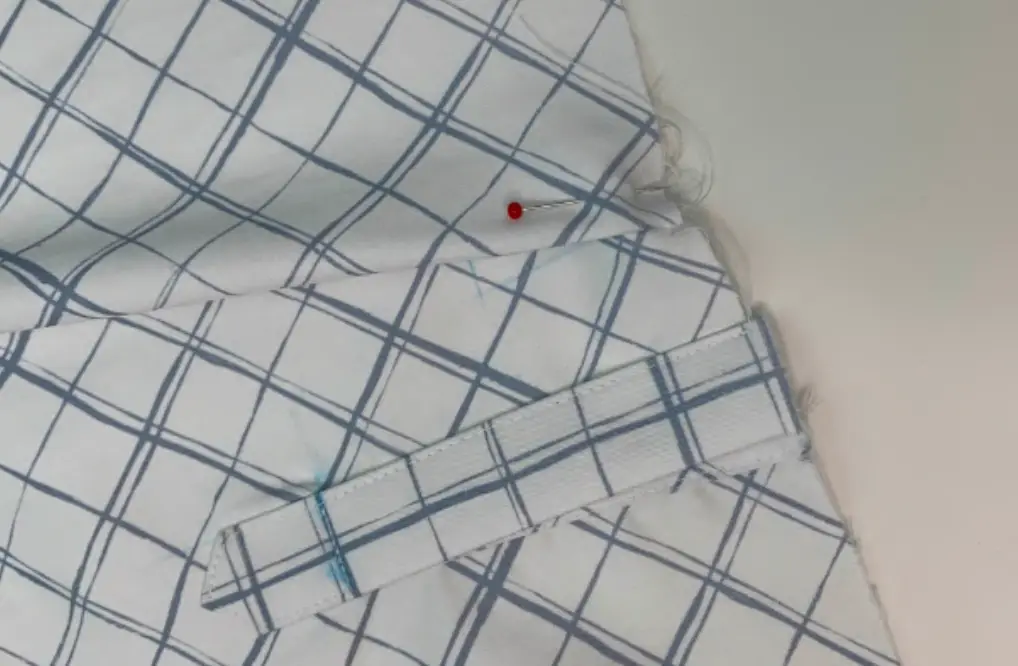
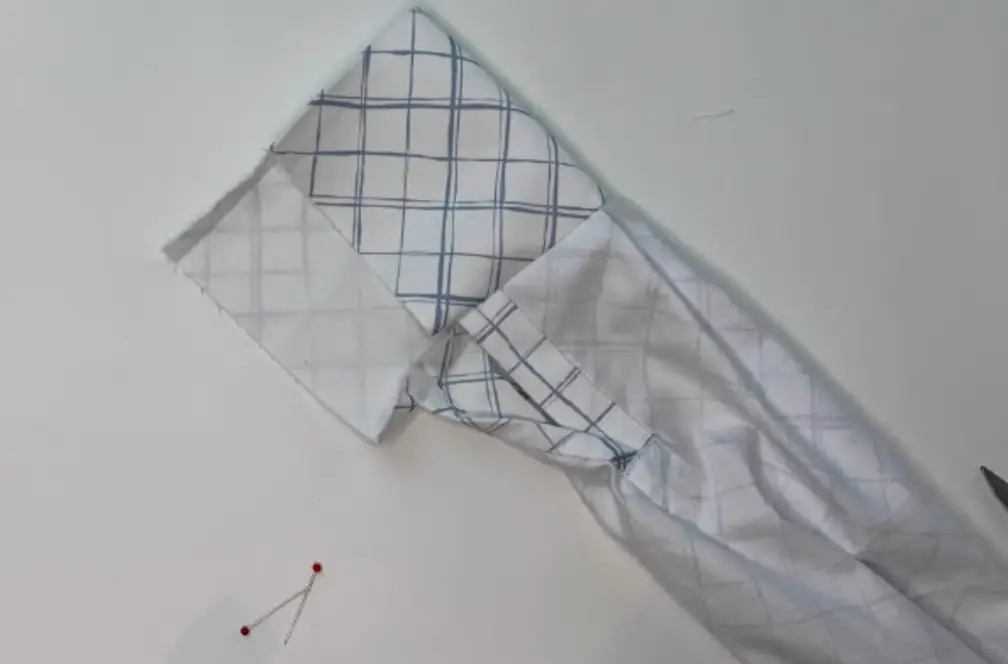
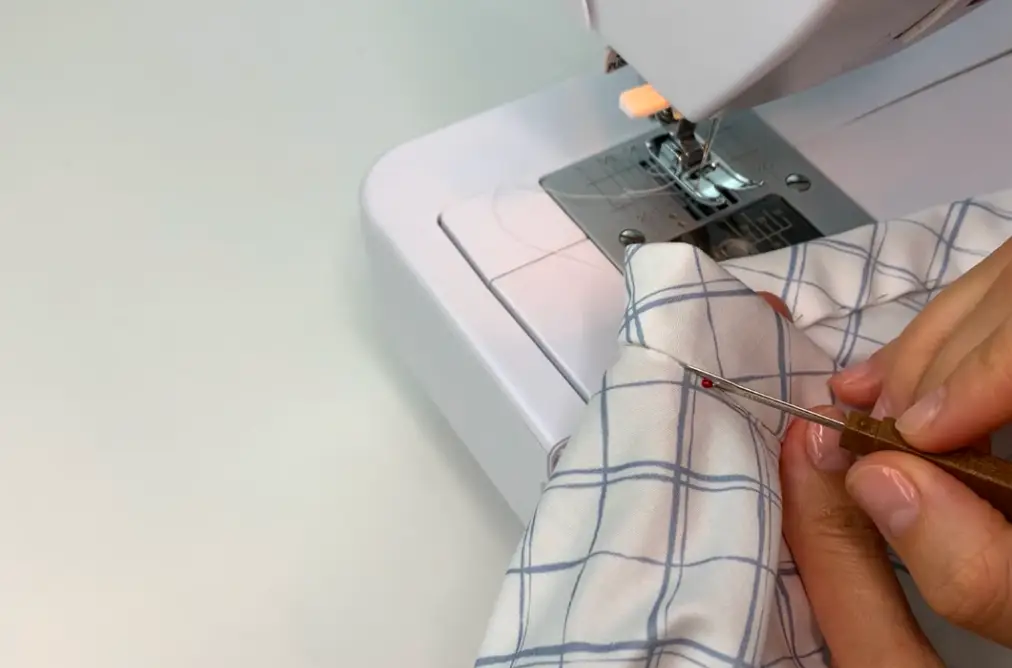
Slash along the line, not reaching 1.5 cm (0,59″) to the edge. Then cut towards the corners of the frame. Turn to the right side.
Fold the edging allowances; pin, align and stitch the edging and the triangle of the frame together. Press it.
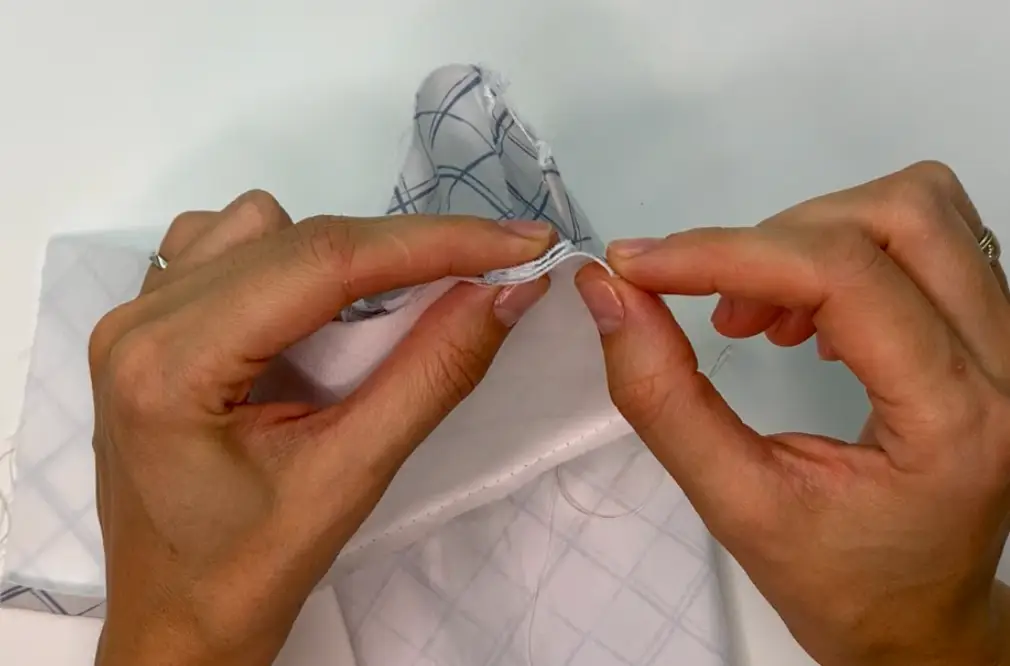
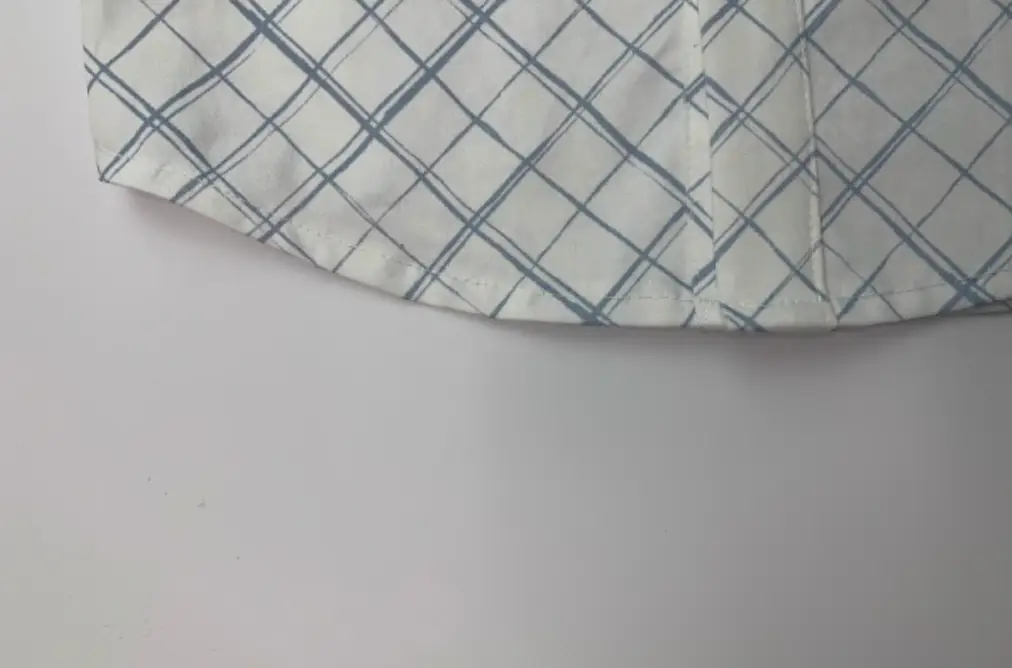
Top stitch the edging 0.1 cm (0.04″) from the fold.
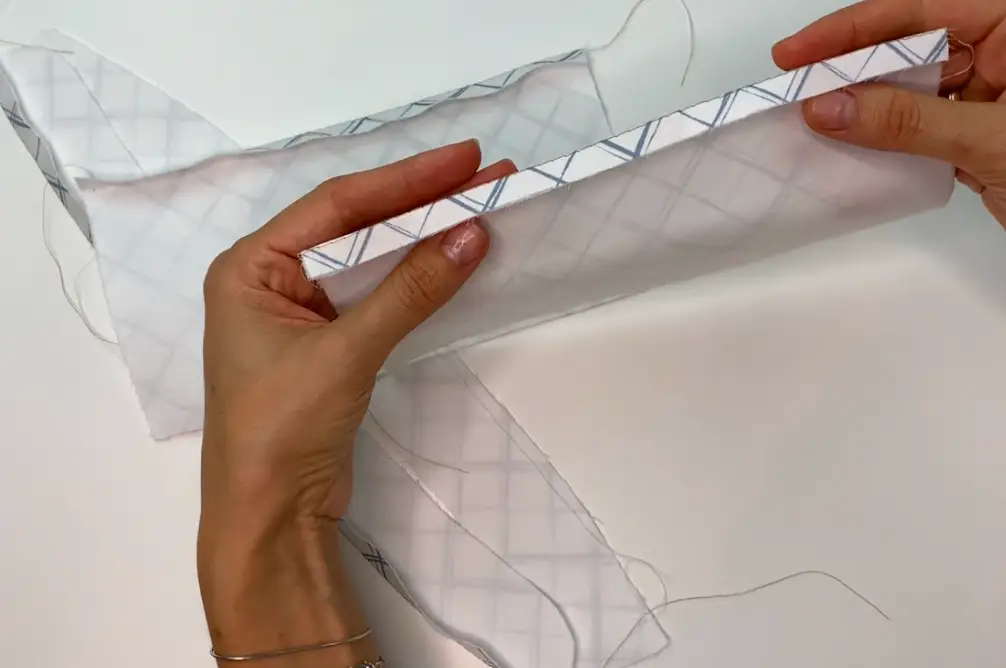
Fold the placket, pin it and give it the desired shape. Top stitch 0.1 cm (0.04″) from the edge. Press it.
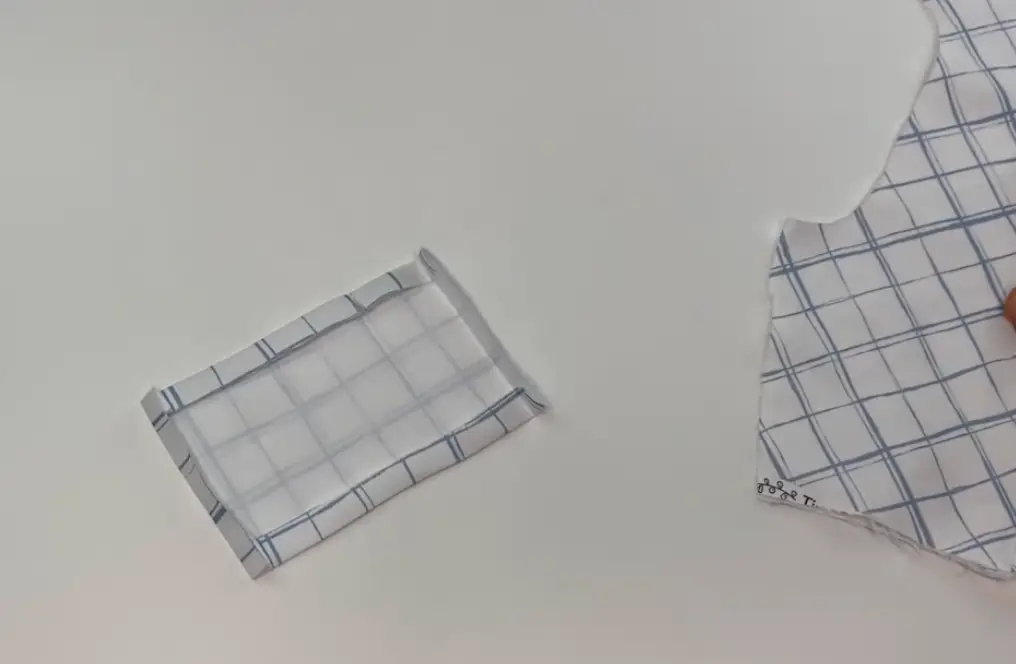
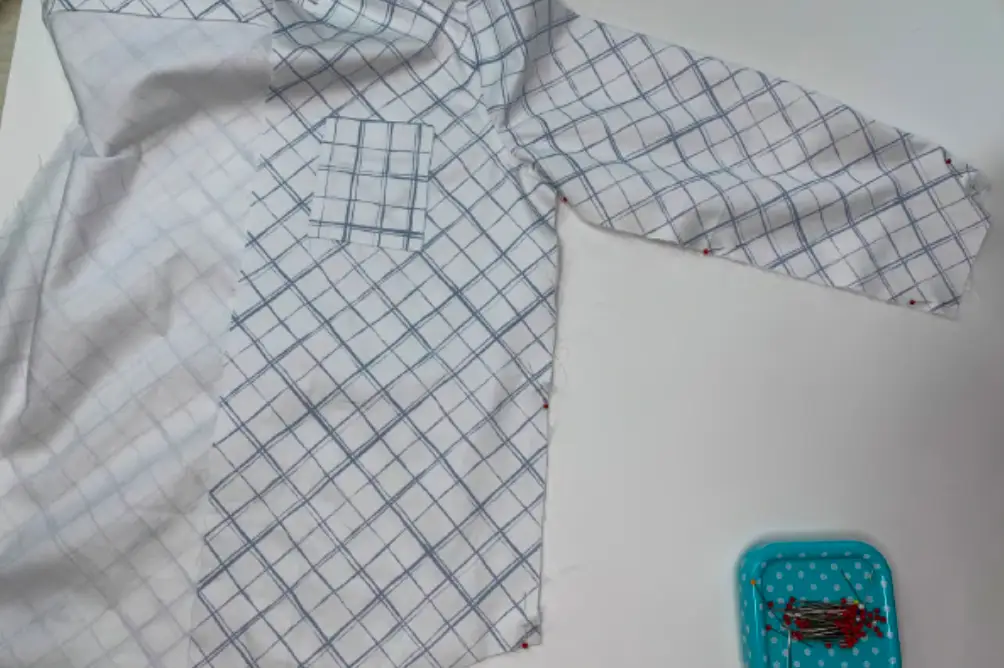
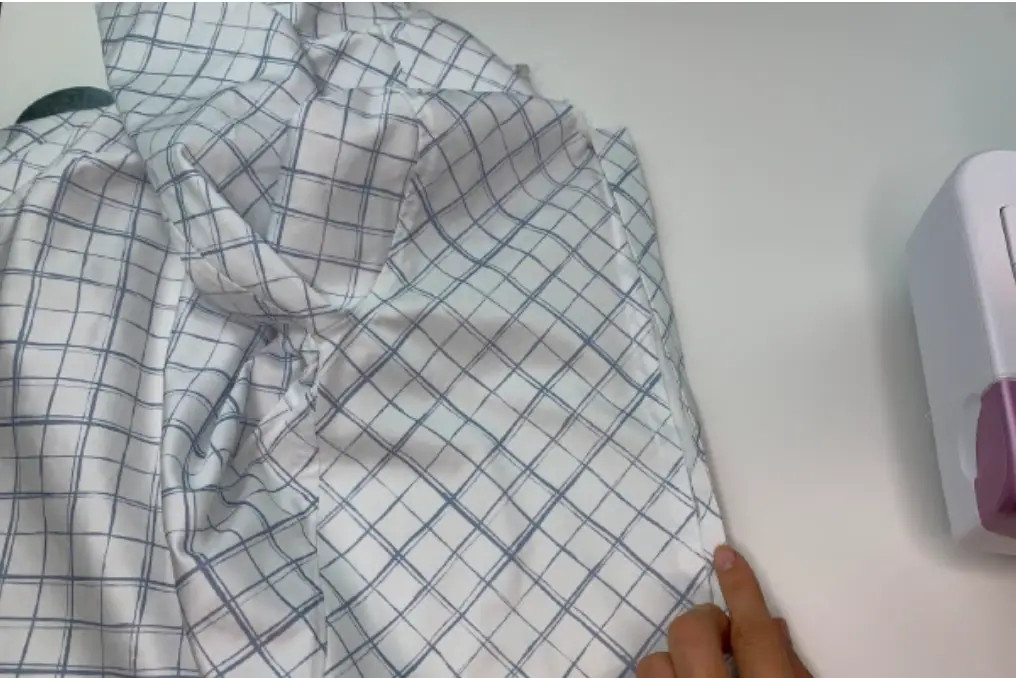
Patch pocket.
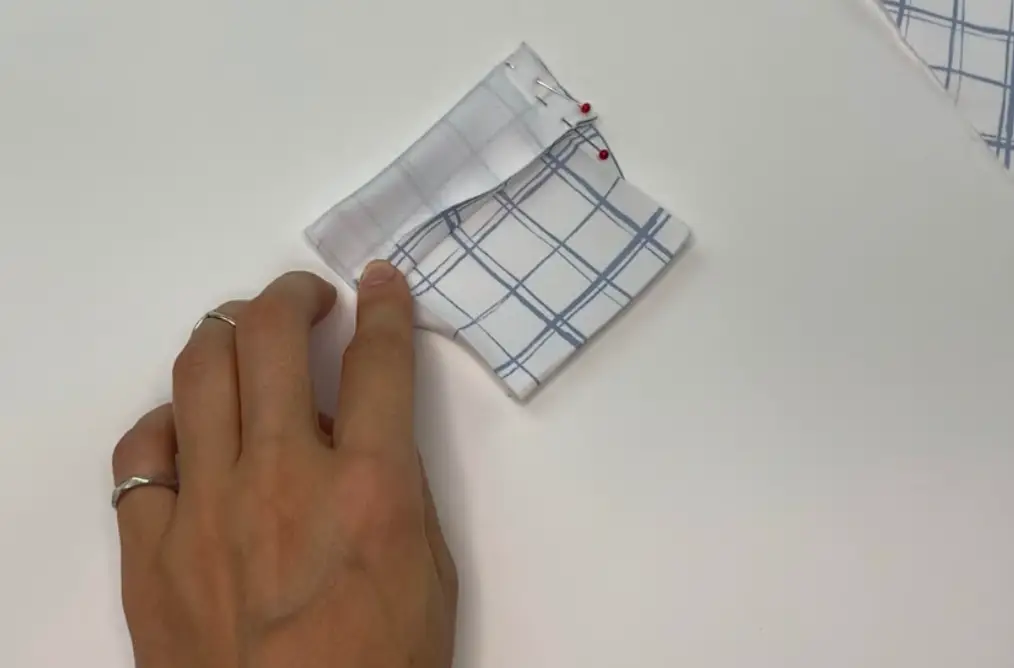
Press the pocket allowances. Fold the top of the pocket along the fold line, fold and pin the allowances.
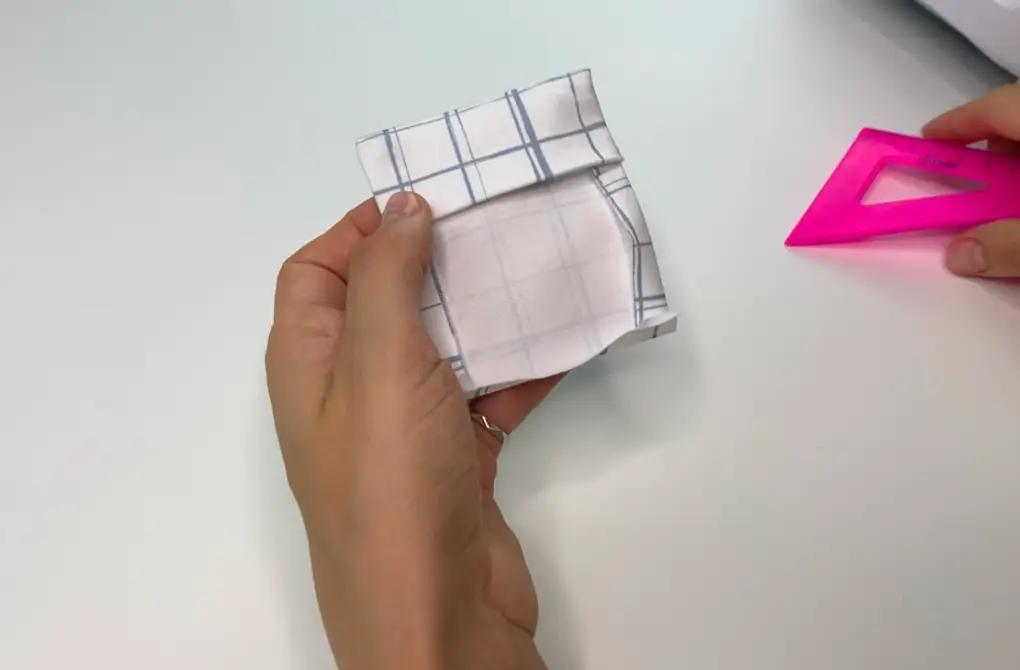
Stitch the top of the pocket. Turn out and press it.
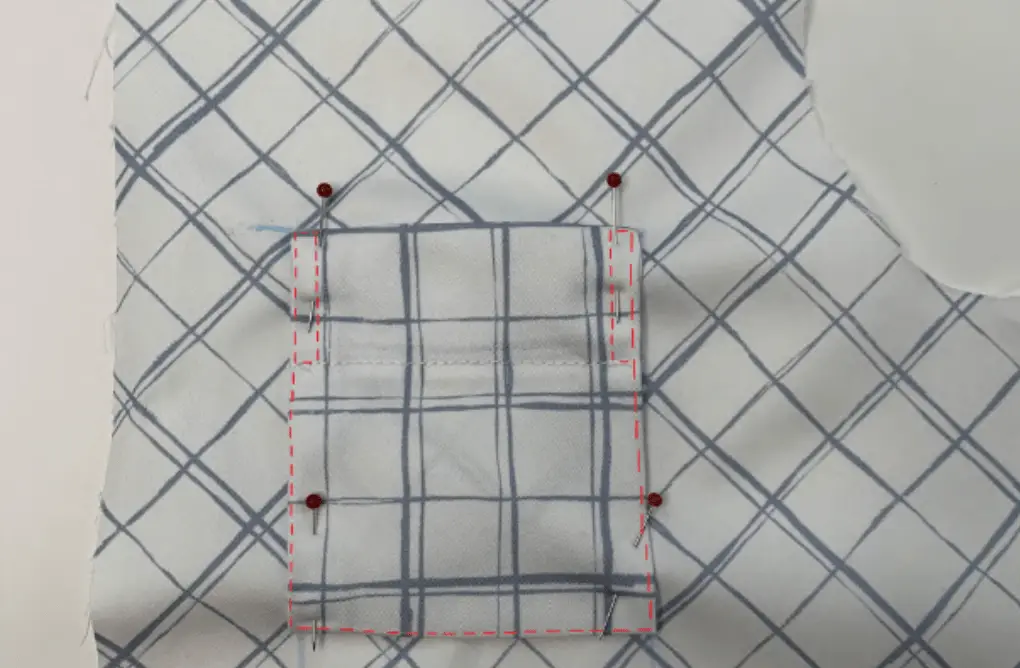
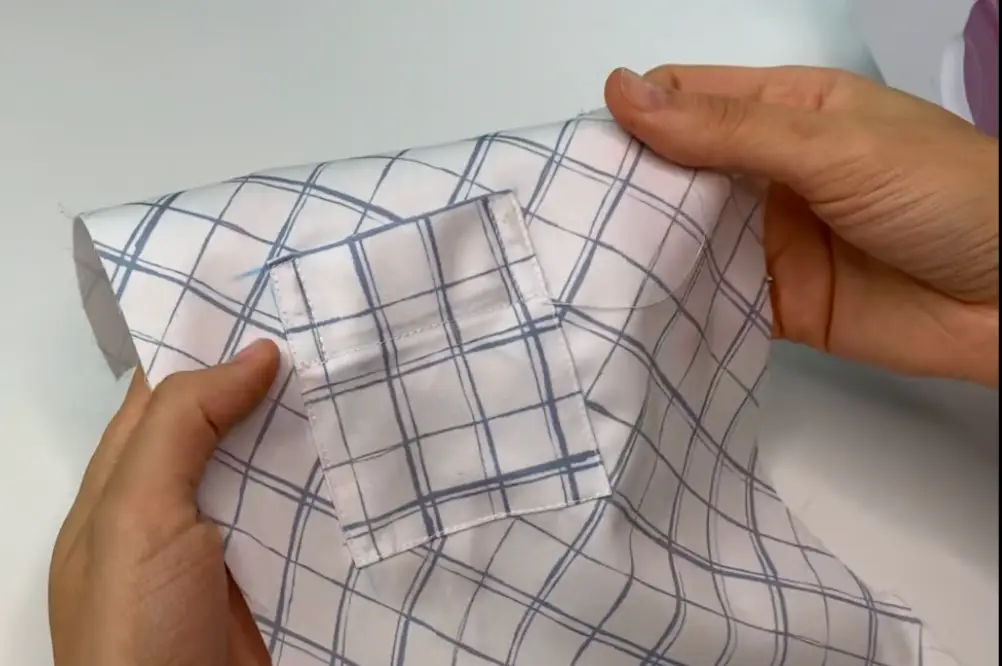
Baste the pocket allowances, mark the pocket lines on the front with chalk and pin the pocket. Baste if needed. Stitch the pocket. Press it.
Pin the right side of one yoke to the right side of the back and pin the right side of the other yoke to the wrong side of the back. Stitch it. Fix the allowances to the upper yoke with a finishing stitch.
Press it.
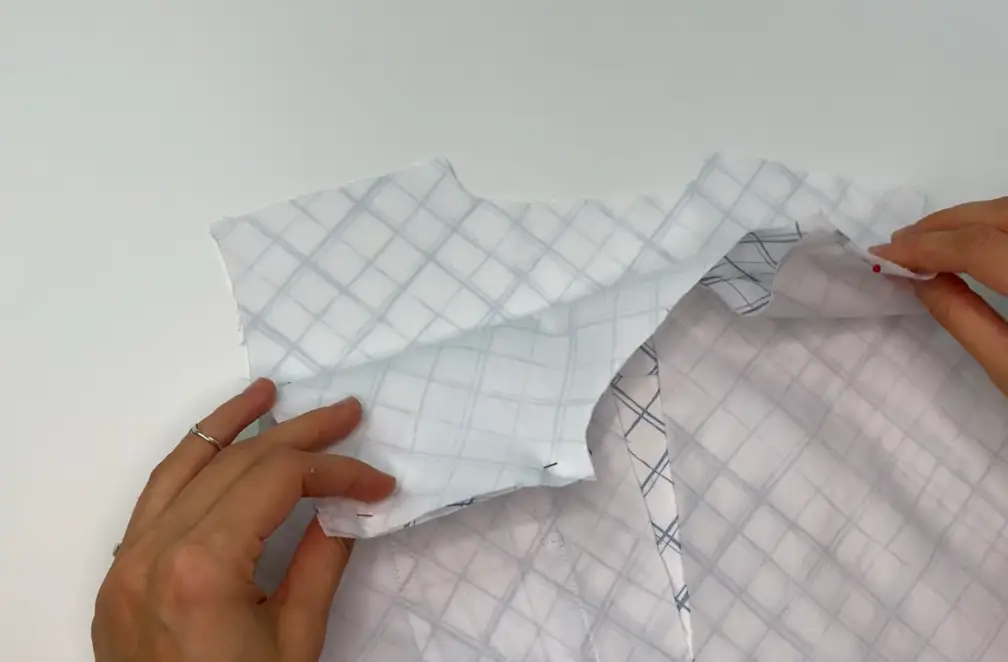
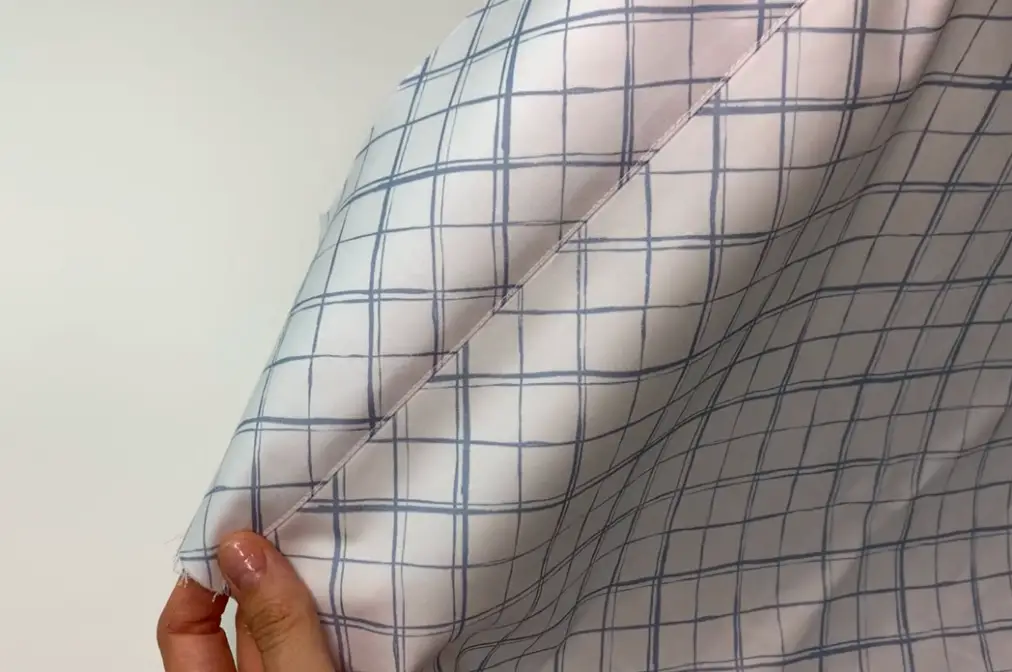
Pin the fronts and the upper yoke of the back along the shoulder edges right sides together.
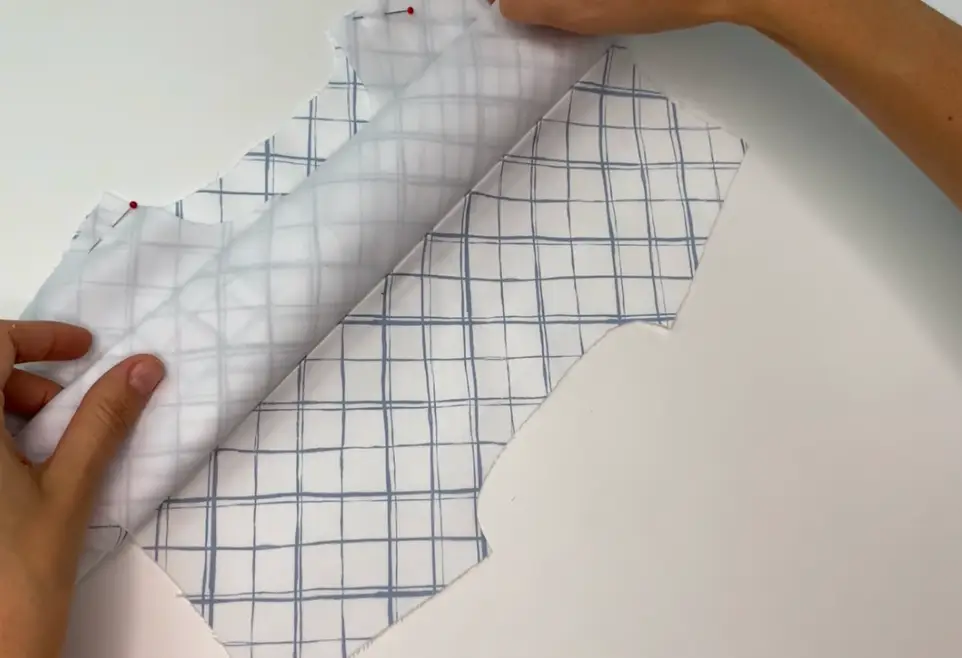
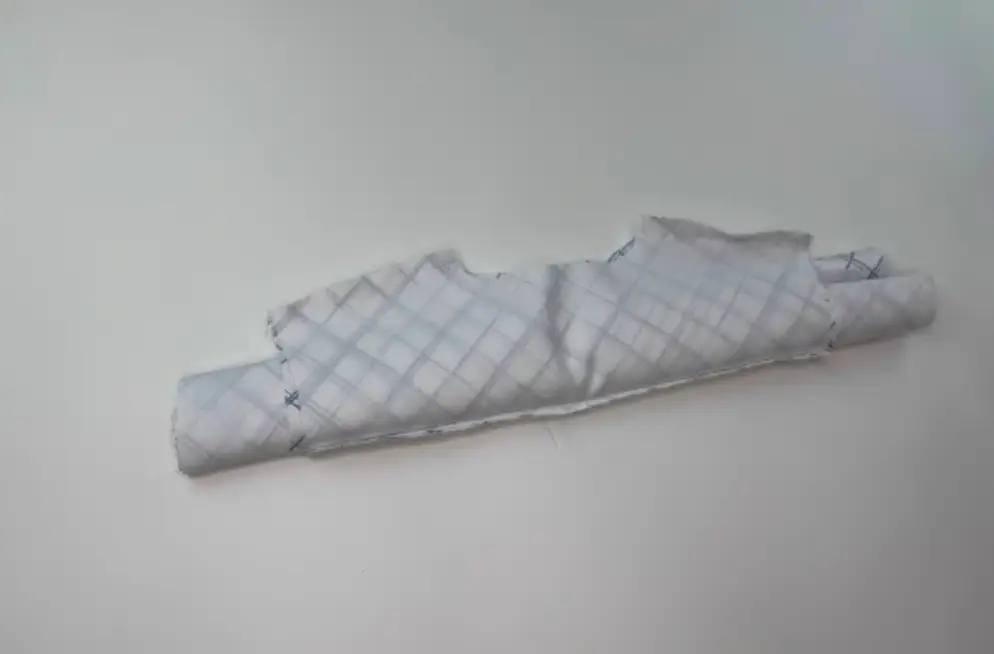
Roll up the fronts and the back. Cover the resulting roller with the bottom yoke and pin the shoulder edges. Stitch them.
Turn the back and the fronts to the right side. Press it.
Top stitch 0.1 сm (0.04″) from the seam.
Pin the sleeve into the open armhole, aligning the notches. The allowances of the sleeve are slightly larger, in order to make a welt seam later. Stitch the sleeve. Press the allowances onto the front and the back.

Turn up the sleeve allowance by 0,5 cm (0,2″) and pin it. Baste it. Stitch the allowances 0,5 cm (0,2″) from the seam. Press it.

Pin the side edges of the sleeve, front and back wrong sides together. Stitch 0,5 cm (0,2″) from the edge. Trim the allowances by 0,3 cm (0,12″). Turn inside out. Press it.
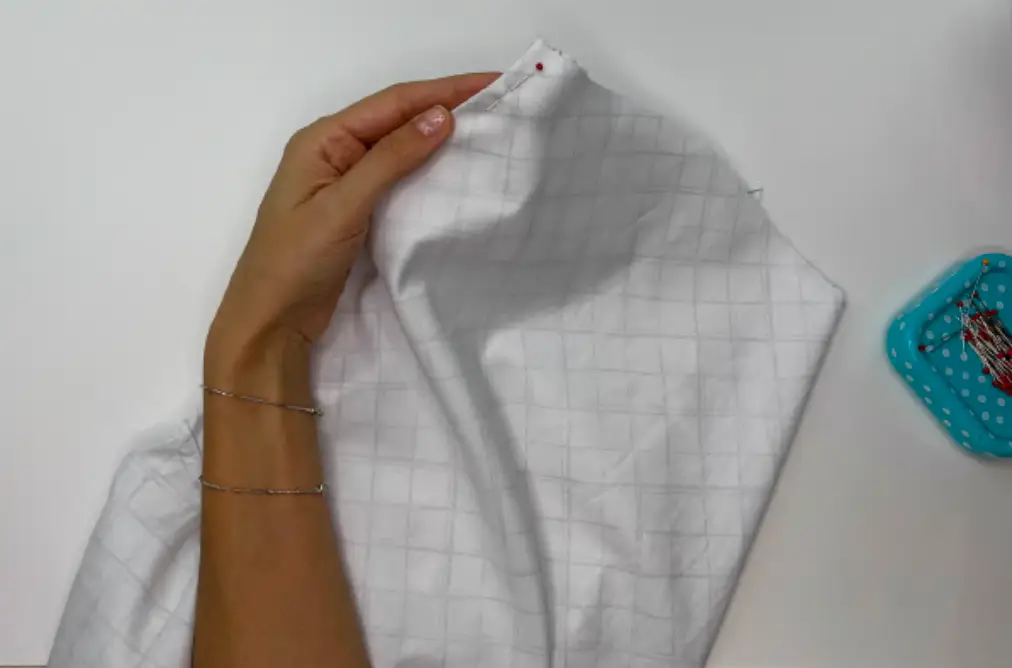
Pin the side edges of the sleeve, front and back wrong sides together. Stitch 0,5 cm (0,2″) from the edge. Trim the allowances by 0,3 cm (0,12″). Turn inside out. Press it.
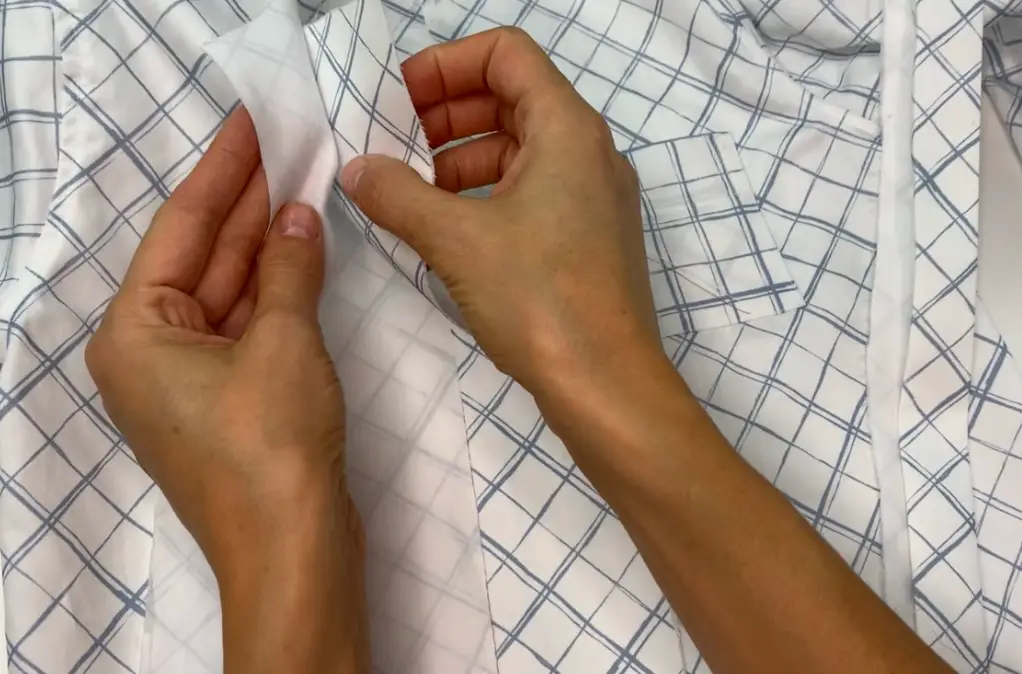
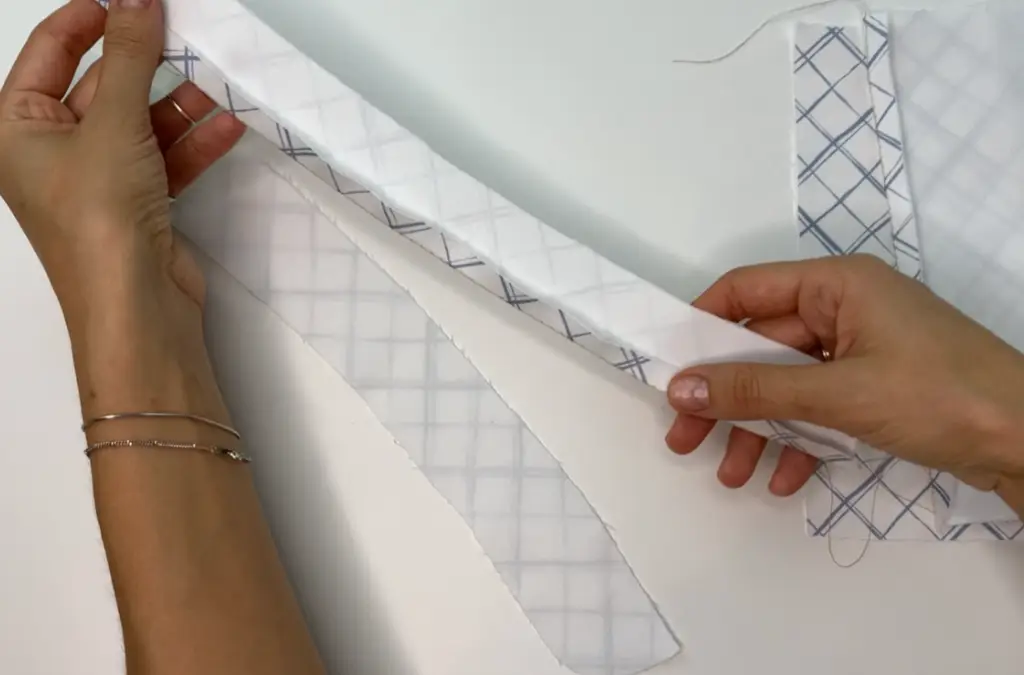
Press the allowance on one side of the front placket. Pin the right side of the placket to the wrong side of the front. Stitch it. Press the allowance onto the placket.
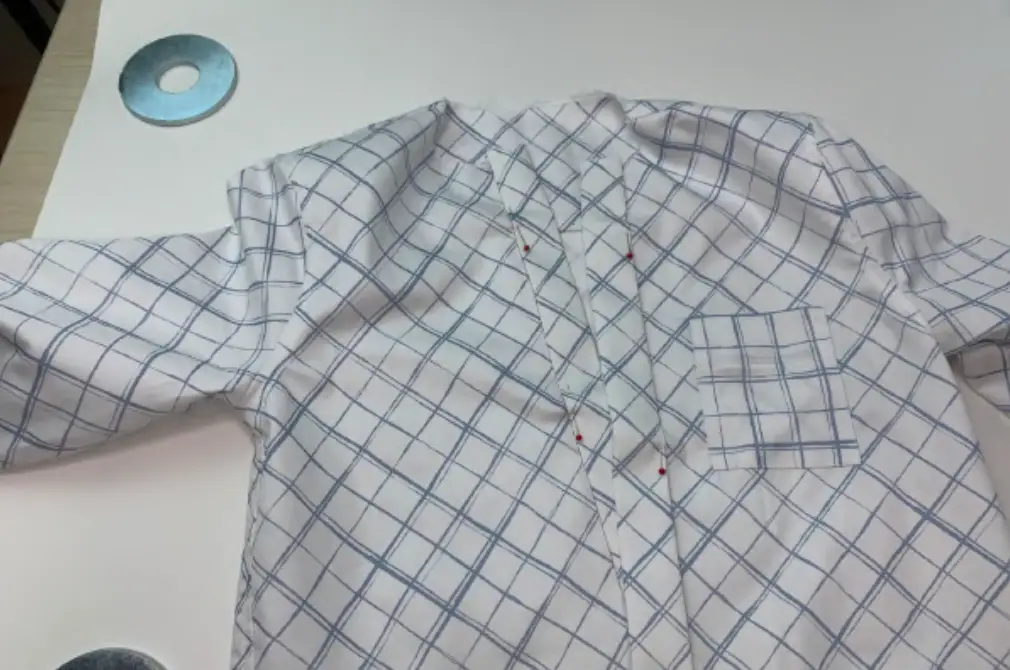
Press the placket in half, cover the stitching seam by 0,1 cm (0,04″) and pin the placket. Stitch it.
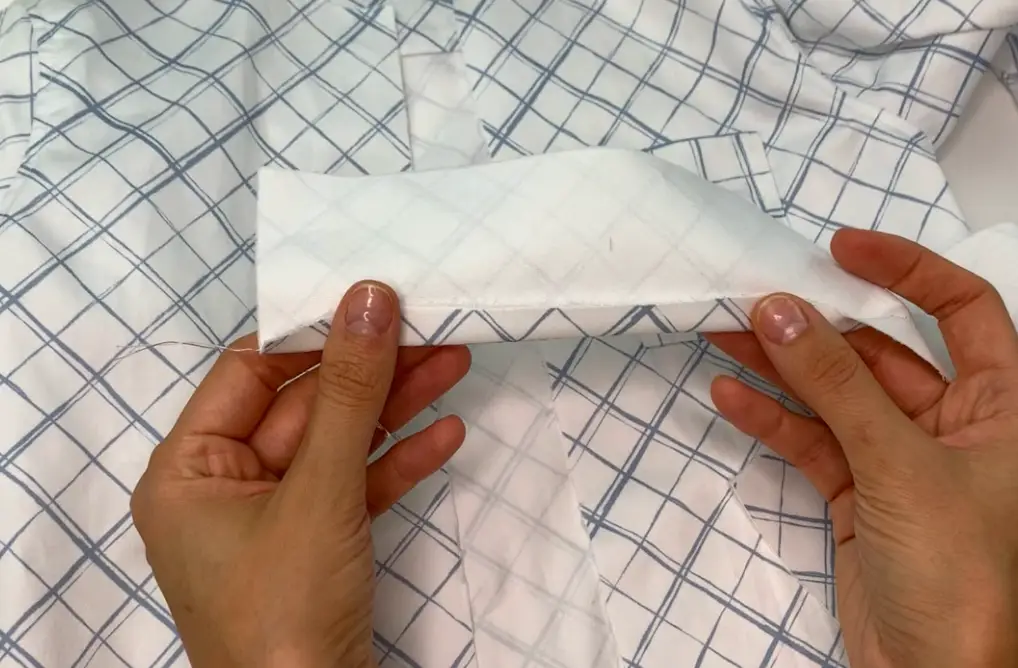
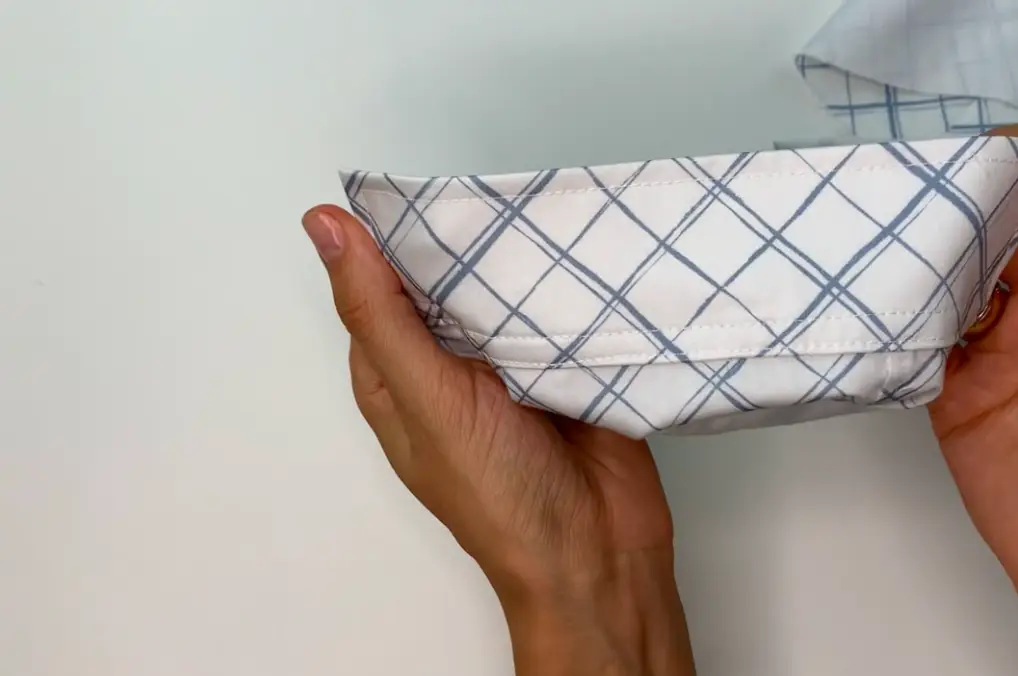
Pin the pleat on the sleeve. On the cuff, press the allowance on one long side. Pin the other edge to the bottom of the sleeve, leaving 1 cm (0,39″) on the cuff. Stitch it. Press the allowances onto the cuff.
Pin the short edges of the cuff right sides together. Stitch, not reaching 1 cm (0,39″) to raw edges. Turn inside out. Press it.

Fold the pressed edge and pin, overlapping the line by 0.1 cm (0,04″). Stitch it. Press it.
Top stitch it.
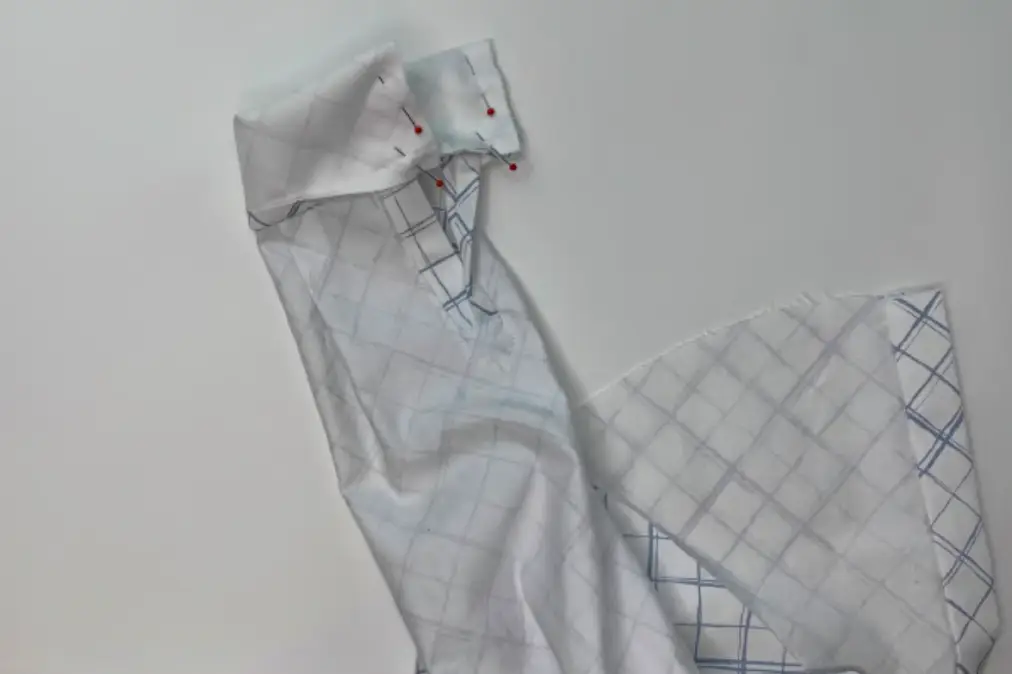
Collar. Press the lower allowance on one stand. Pin the parts of the stand along the upper edge up to rounded places and stitch. Press the allowances onto the lower stand.
Pin the lower stand to the neckline of the shirt right sides together, aligning the notches. Stitch in. Press the allowance onto the stand.


Pin the stands right sides together and stitch the rounded places. Clip the allowances. Turn inside out. Press it.
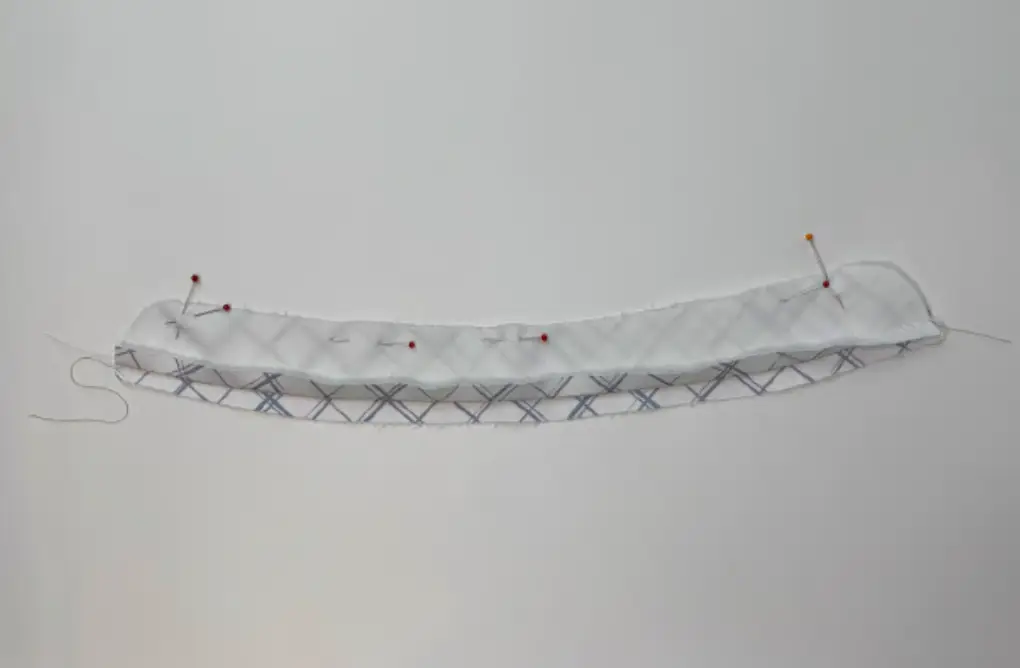
Pin the pressed edge of the stand to the neckline so that the upper stand overlaps the seam by 0,1 cm (0,04″). Baste it. Stitch, laying the line on the right side into the seam.
It is better to start from the middle of the back. Press it.

Fold the bottom hem of the shirt twice and top stitch.
Sew buttonholes and buttons.