Sew a stylish men's sweatshirt with elbow patches: complete guide
PATTERN DESCRIPTION
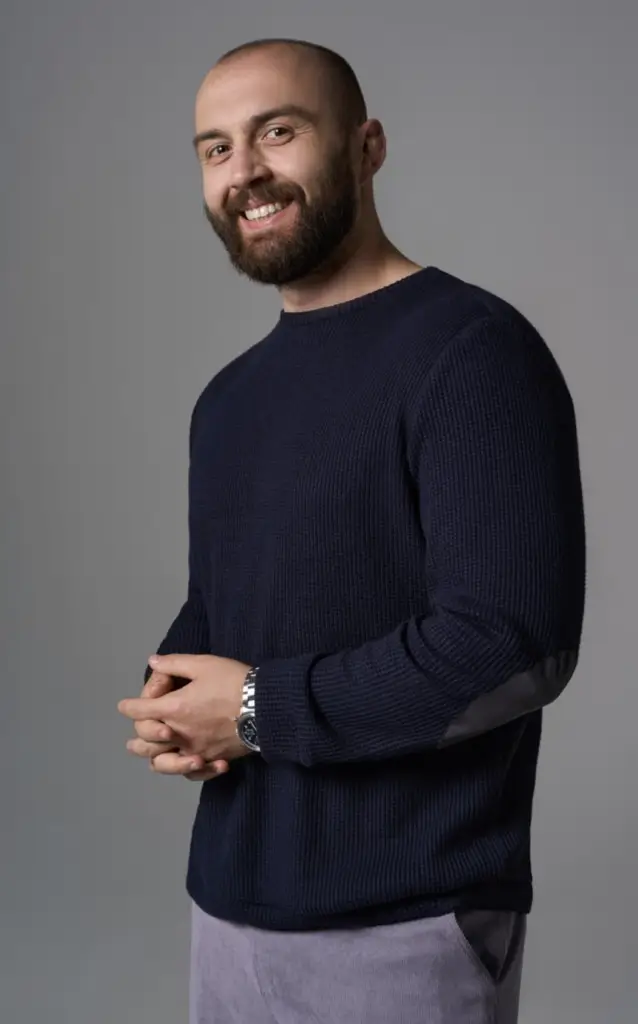
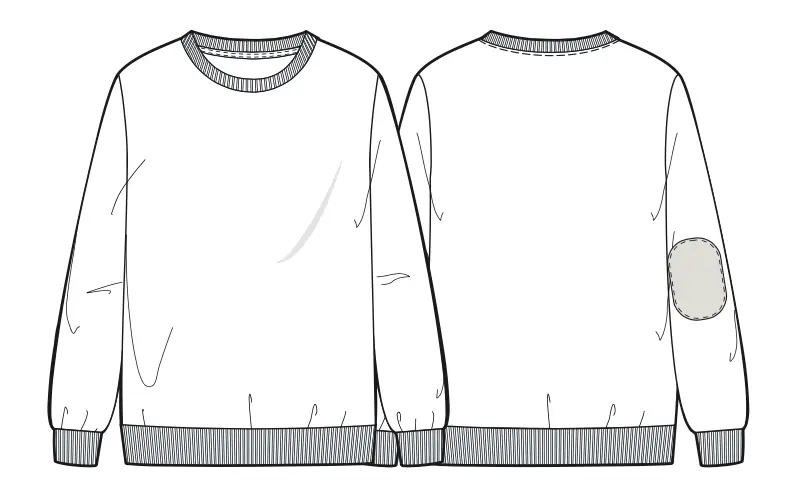
A basic, loose-fitting sweatshirt with accents. The neckline is finished with a neckband, and a waistband is provided at the bottom of the garment. The sleeves feature trendy elbow patches, and the bottom is finished with cuffs.
SUGGESTED MATERIALS
For sewing the sweatshirt, we recommend using medium stretch knit fabrics.
ALSO NEEDED
• Twill tape — 25 cm (9,8”);
• Leather for elbow patches — 20 cm (7,9”);
• Fusible tape for reinforcing the shoulder seam.
FABRIC REQUIREMENT (CM/IN)
for fabric width 1,50 m (59,1 in)
|
International Size \ European size |
S-M / 40-42 |
L-XL / 44-46 |
2XL-3XL / 48-50 |
4XL-5XL / 52-54 |
|---|---|---|---|---|
| Main fabric, m | 1,50 | 1,50 | 1,55 | 1,55 |
| Main fabric, in | 59,1 | 59,1 | 61,0 | 61,0 |
The fabric use does not include possible shrinkage. Please account for shrinkage and buy 5—10% more than required.
SEAM ALLOWANCES
Pattern pieces already include 0,7 cm (0,27”) seam allowances for all edges.
SPECIFICATIONS
(№ – Name – Pieces’ quantity)
Main fabric:
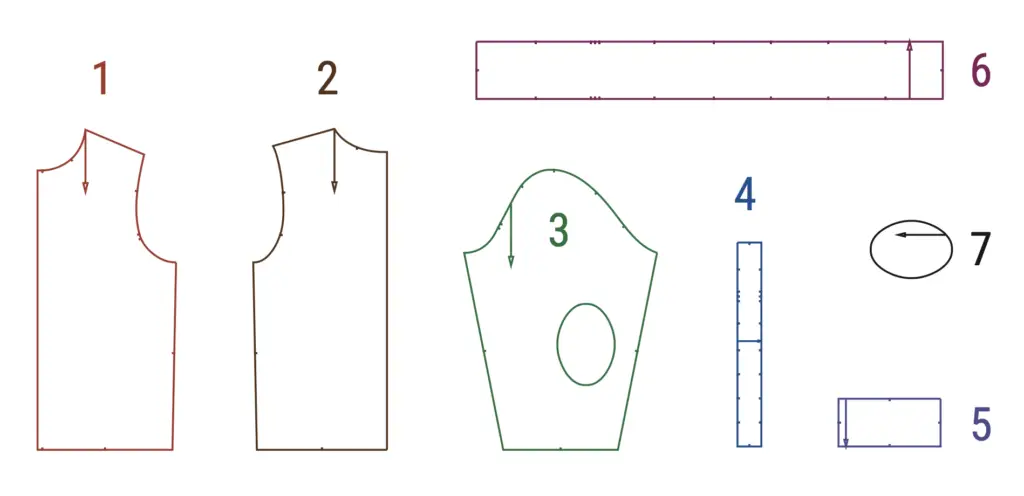
1 – Front with a fold – 1
2 – Back with a fold- 1
3 – Sleeve- 2
4 – Neckband – 1
5 – Sleeve cuff – 2
6 – Waistband – 1
Decorative fabric:
7 – Elbow patches – 2
TOTAL EASE ALLOWANCES
(in cm and in)
• Chest circumference — 22 cm (8,7 in);
• Waist circumference — 38 cm (14,9 in);
• Sleeve circumference — 11 cm (4,3 in).
PATTERN PIECES
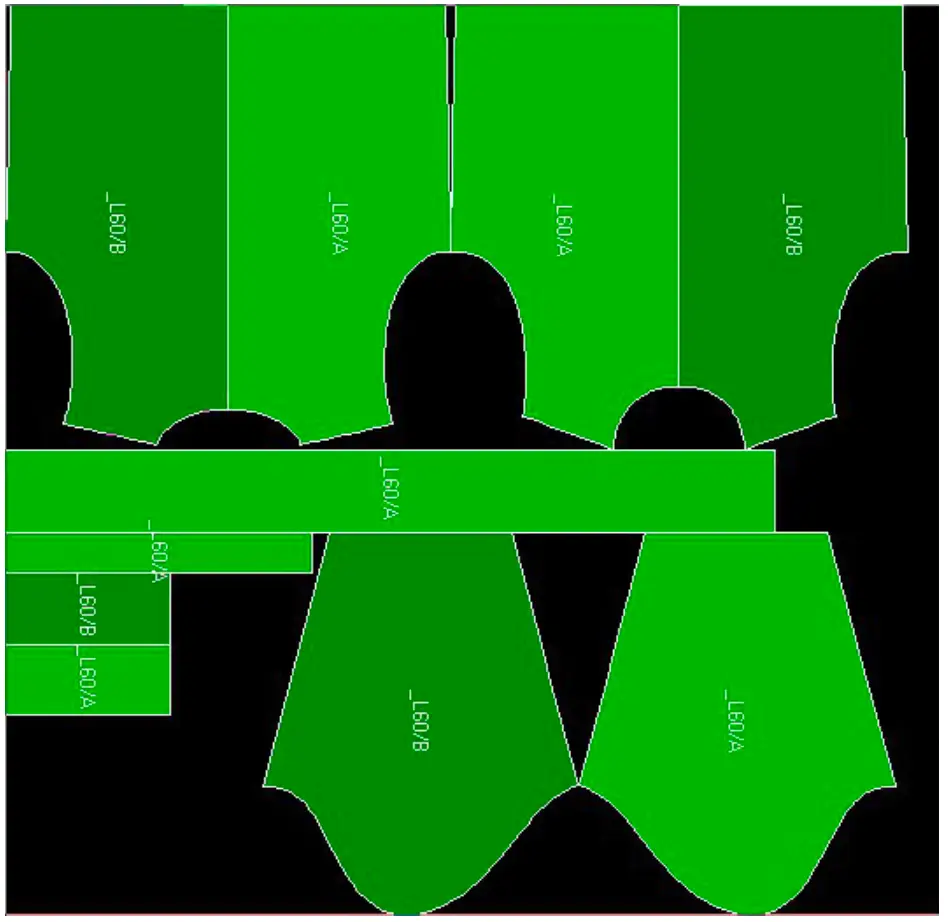
LAYOUT OF PARTS ON FABRIC
Size — 40 (S)
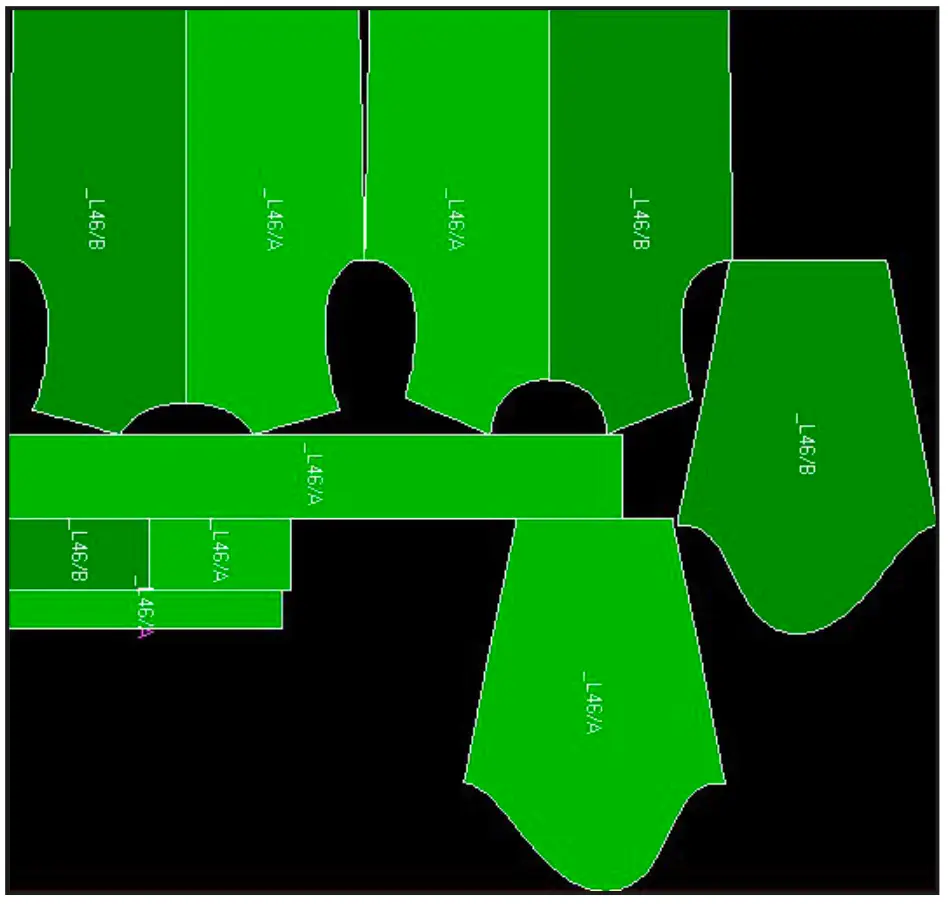
Size — 54 (5XL)
SEWING INSTRUCTIONS
1. Fuse the shoulder cut of the Back with Fold (2).
2. Pin and seam the shoulder cuts of the Front with Fold (1) and Back with Fold (2) using an overlock. Press the seam allowance towards the back.
3. Stitch the Elbow Patches (7) onto the Sleeves (3) in a circle at 0,1 cm (0,04 in) according to the markings on the pattern. Press it.
4. Pin the sleeves into the open armhole and set in, overcast the seam allowance and press the sleeve cap, then press towards the sleeve.
5. Pin and seam the side cuts and sleeve with a single stitch, press the seam allowance towards the back.
NECKBAND
1. Fold the Neckband (4) in half with the wrong side inside and press.
2. Seam the Neckband into a circle, press the seam, and pin it all around 0,5 cm (0,2 in) from the cut.
3. Pin it into the neckline according to the notches and set in, then press. Direct the seam allowance towards the garment. Optionally, you can close the neckline allowance in the back area with a stay tape.
CUFFS
1. Fold the Sleeve Cuffs (5) in half with the wrong side inside and press.
2. Seam the allowance, then press the seam. Pin the cuffs by the edge of the cut, at a distance of 0,5 cm (0,2 in).
3. Insert the cuffs into the sleeve, aligning the seams and notches, pin together, and seam using an overlock. Press the seam allowance towards the sleeve.
4. Process the Waistband (6) at the bottom of the garment in the same way.
5. Press the finished garment.
