Alaska toddler's overalls - sewing tutorial

BEFORE SEWING

We recommend using membrane fabrics for this overalls, because they are capable to retain moister.

Fleece is our recommendation for the lining. It can be used with taffeta, foil lining or any other smooth lining. Isosoft 200 or Alpolux 200 are good options for the insulation.

For the membrane, it is better to use special thin and sharp Microtex Needles and special foot (Presser feet with sliding sole). Very sharp pins are recommended in the process of cutting out parts from the membrane. Pin parts only within the allowances, as pin marks might remain on the fabric.

DURING SEWING

The MEMBRANE fabric
Insulation for clothe.
Lining fabric. Choose for yourself: fleece or taffeta, or combine. Zipper
Reflective tape – 20 cm / 7.87 in;
Reflective piping- 1 m / 39.37 in;
Hat elastic – 1 m / 39.37 in
Elastic band 2.5 cm – 1 m / 39.37 in
Grommets – 4 pieces
Threads – 1 spool

CONSUMPTION (CM / INCHES)

Age 12 months 18 months 2 years 3 years 4 years
Height 80 / 35.1 86 / 33.9 92 / 36.2 98 / 38.6 104 / 41
Main fabric, lining, insulation 110 / 43.3 115 / 45.3 120 / 47.3 130 / 51.2 140 / 55.1
Zipper length 55 / 21.6 60 / 23.6 65 / 25.6 70 / 27.5 75 / 29.5

SPECIFICATIONS

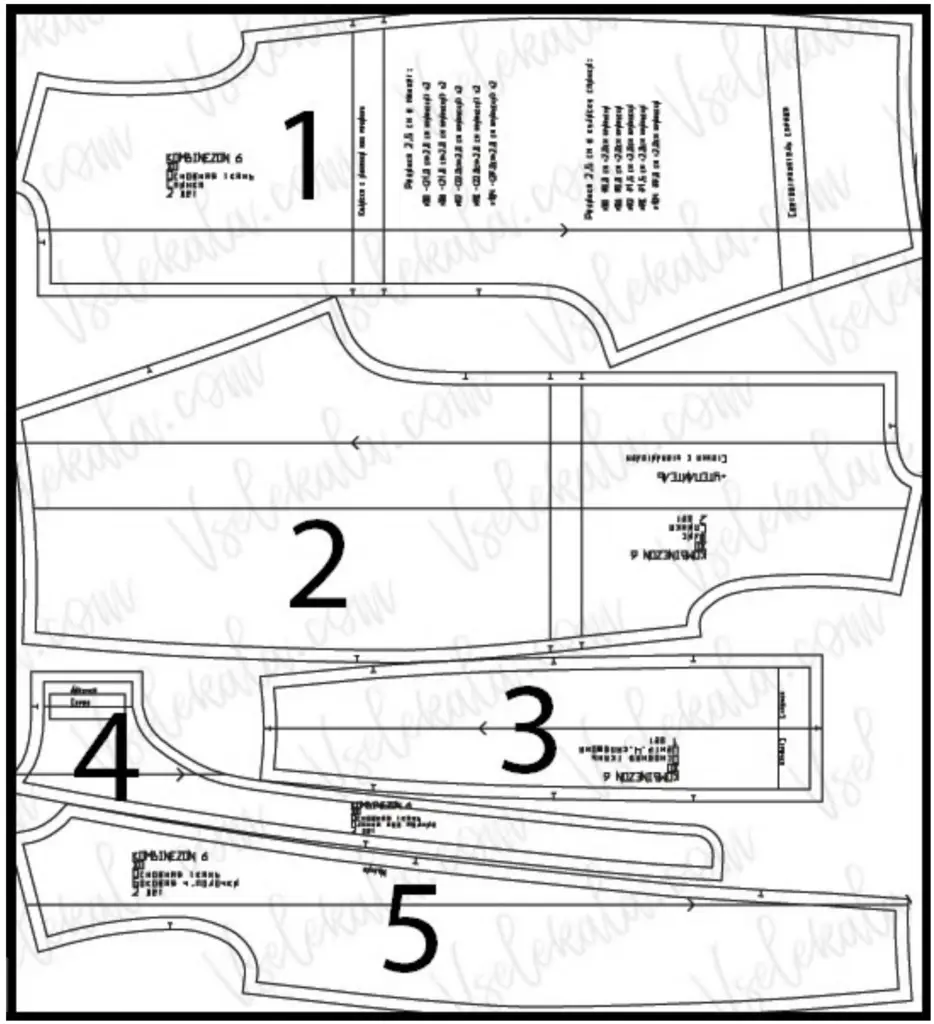
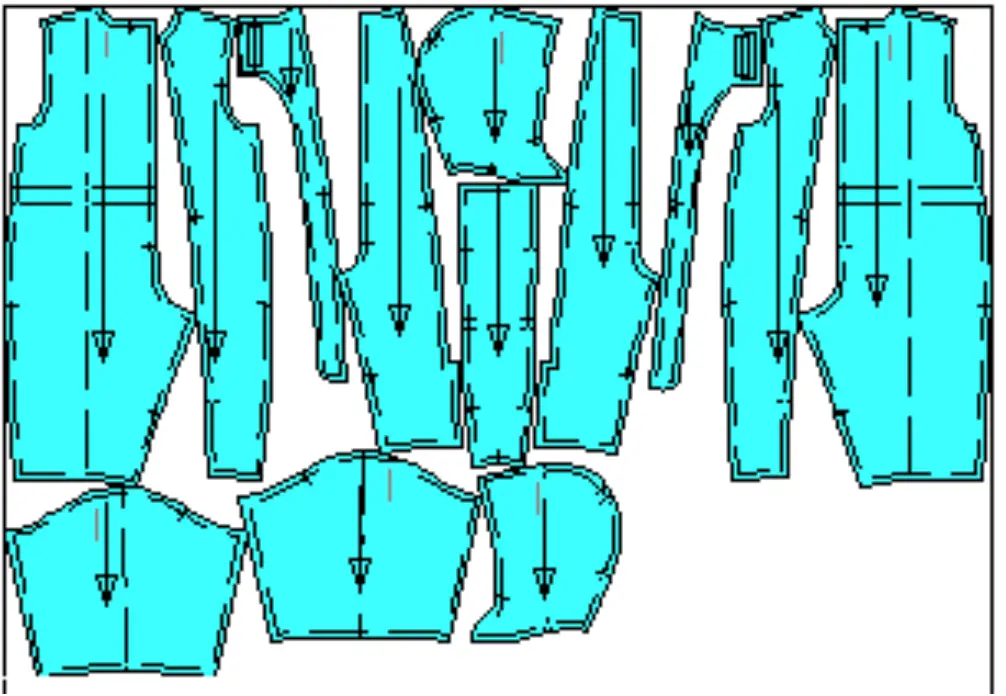
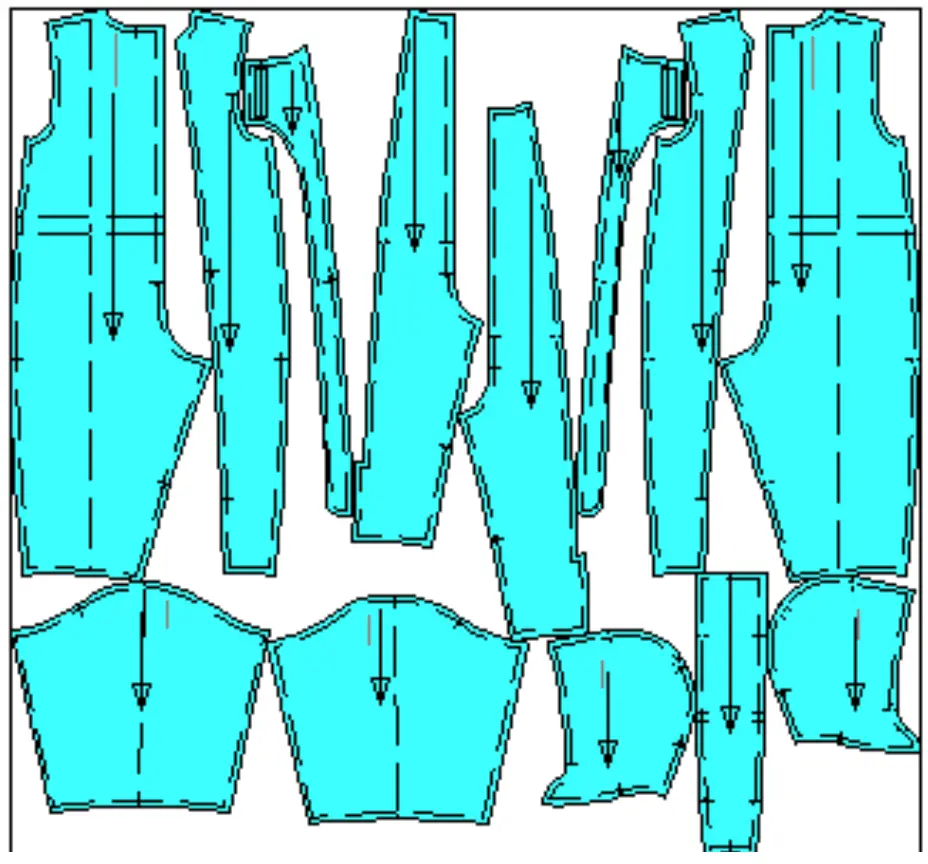
1 – back, main fabric, number of pieces – 2
2 – back, lining, insulation, number of pieces – 2
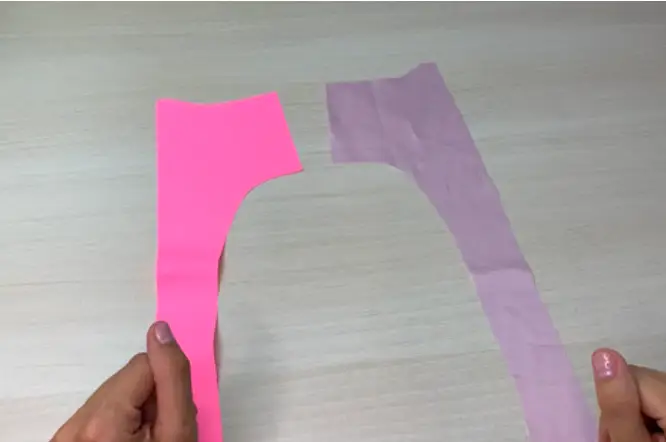
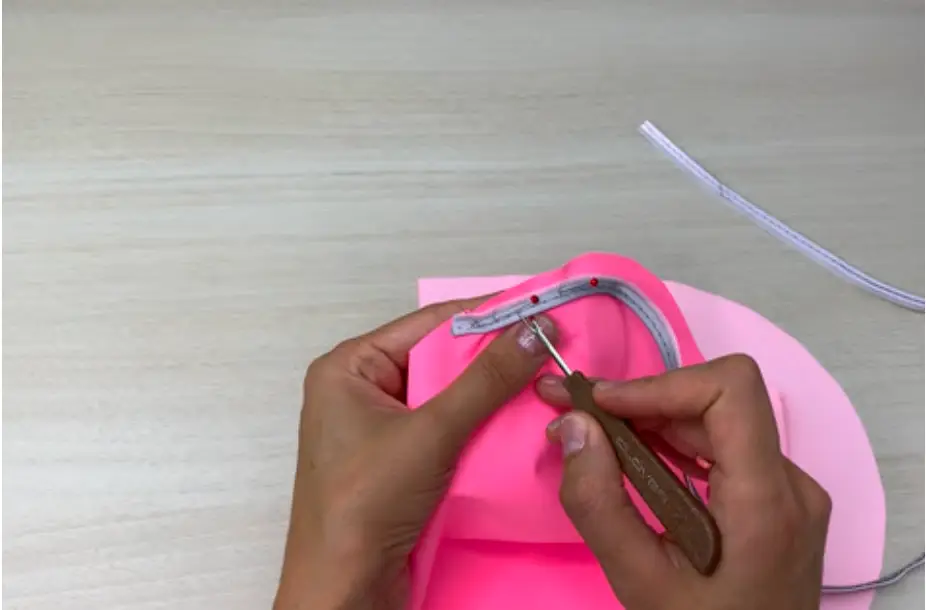
3 – сenter hood, main fabric, number of pieces – 1
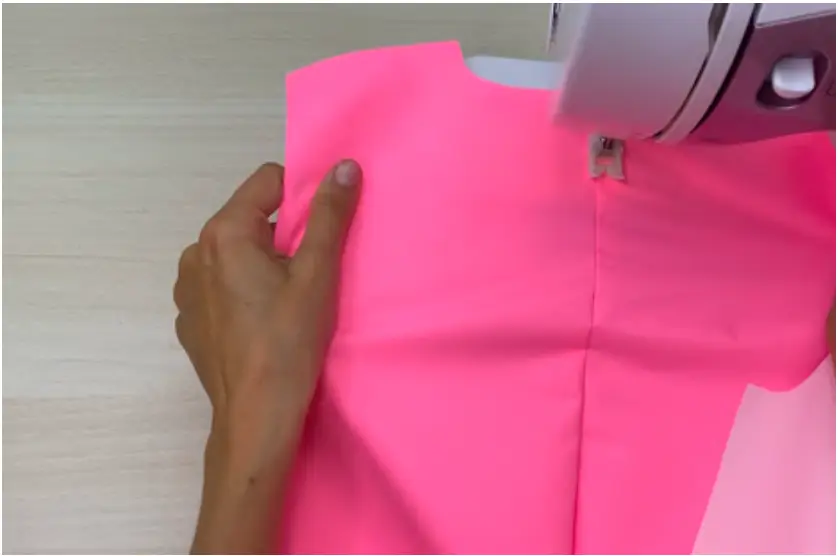
4 – zipper placket, main fabric, number of pieces – 2
5 – side front, main fabric, number of pieces – 2
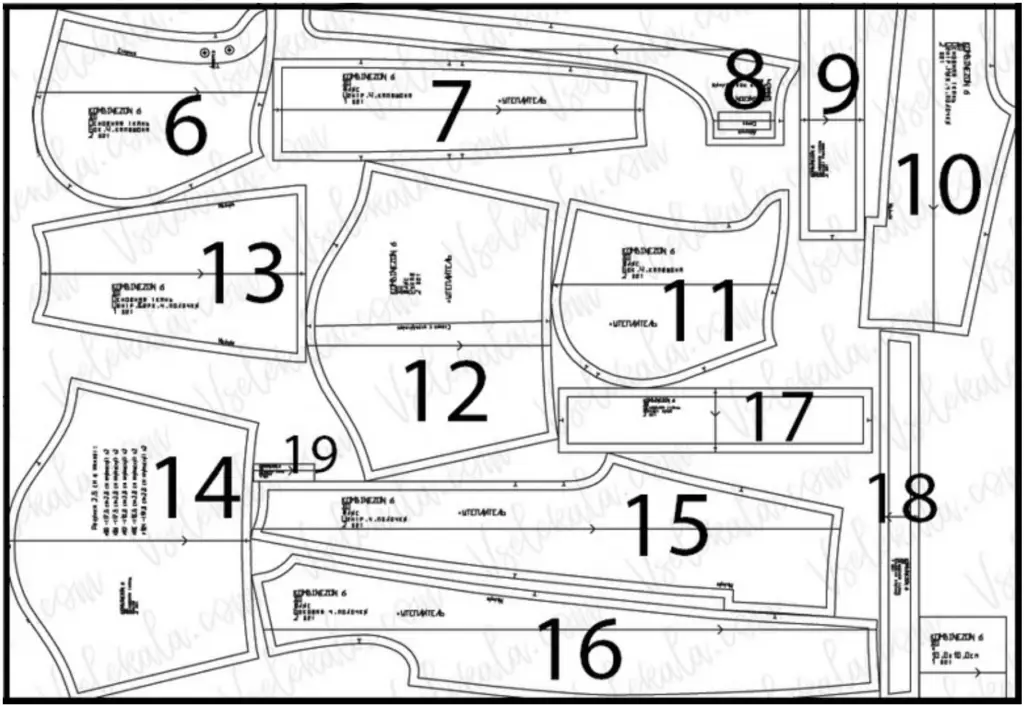
6 – side hood, main fabric, number of pieces – 2
7 – сenter hood, lining, insulation, number of pieces – 1
8 – zipper placket, lining, number of pieces – 2
9 – сuffs, main fabric, number of pieces – 2
10 – front, bottom piece, main fabric, number of pieces – 2
11 – side hood, lining, insulation, number of pieces – 2
12 – sleeve, lining, insulation, number of pieces – 2
13 – front, сenter top piece, main fabric, number of pieces – 1
14 – sleeve, main fabric, number of pieces – 2
15 – center front, lining, insulation, number of pieces – 2
16 – side front, lining, insulation, number of pieces – 2
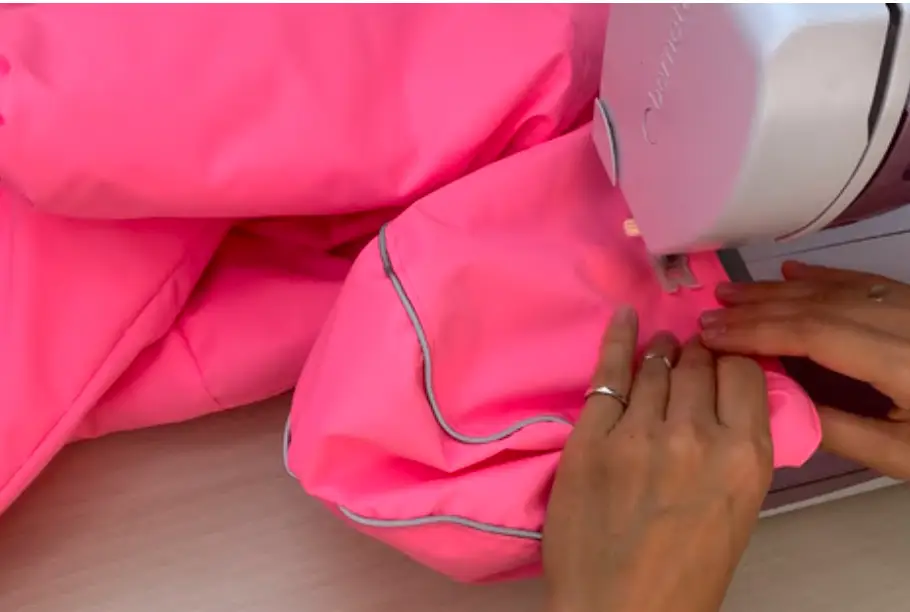
17 – bottom сuffs, main fabric, number of pieces – 2
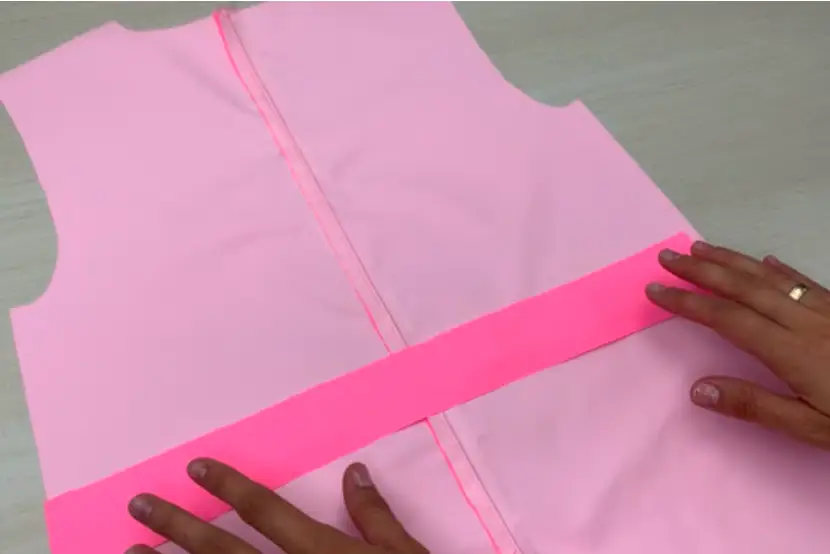
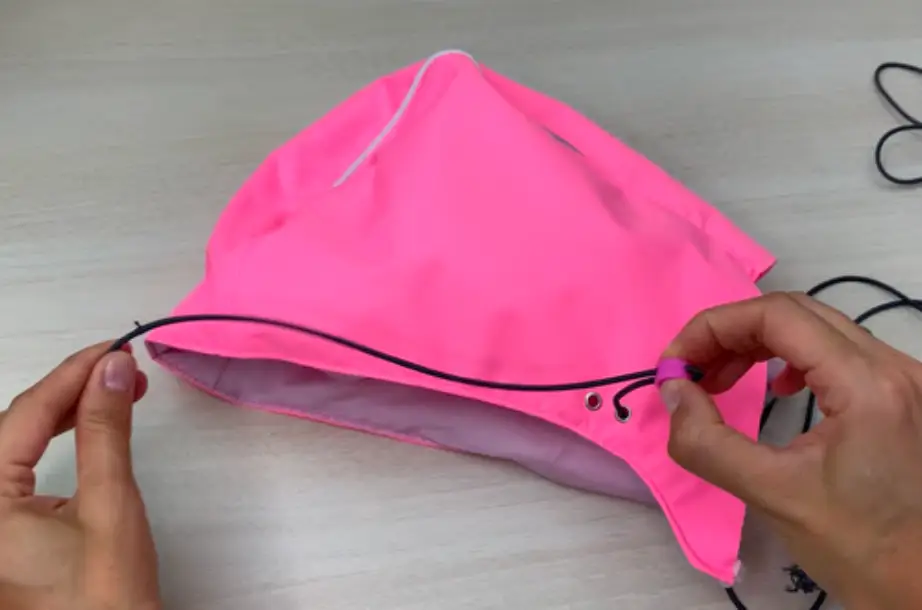
18 – back casing, main fabric, number of pieces – 1
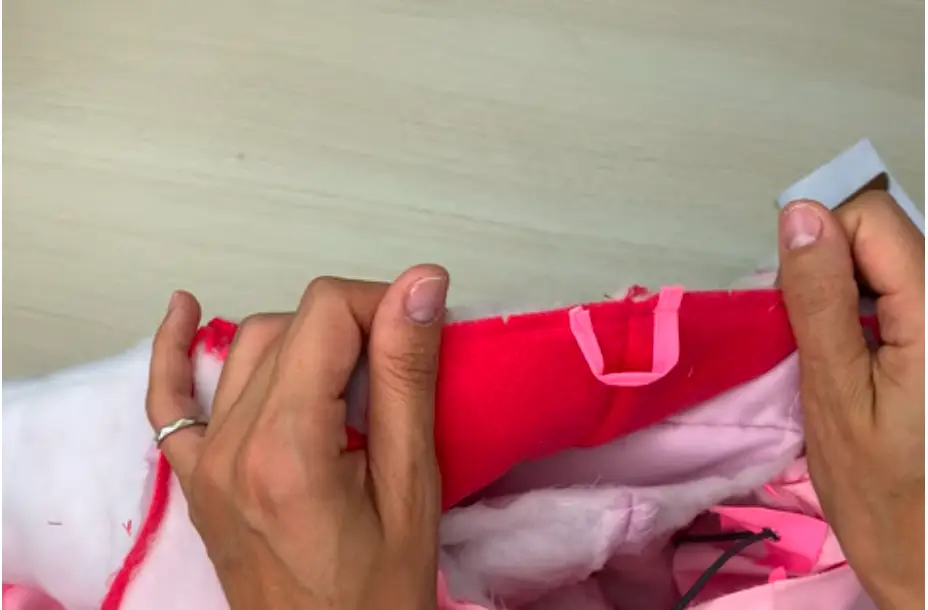
19 – hanger, main fabric, number of pieces – 1

TOTAL EASE ALLOWANCES
(in cm and in)

• Chest ease — minus 2 cm ( ¾ in);

• Waistline ease — minus 0,8 cm (5/16 in);

• Hipline ease — 0 cm;

• Shoulder ease — 2,5 cm (1 in).

PATTERN PIECES

LAYOUT OF PARTS ON FABRIC

Main fabric

Width of fabric — 1.50 m (1 ⅝ yd)

Size — 12 months

Size — 4 years

Fleece

Width of fabric — 1.50 m (1 ⅝ yd)

Size — 12 months

Size — 4 years

Attention! All our patterns already contain 1 cm seam allowances.

SEWING INSTRUCTIONS

Sew insulation to the wrong side of the lining pieces. Excess of insulation should be cut off.
LINING: pin the back pieces along the central seam right sides together. Stitch it. To avoid thickening in the seams, it is necessary to cut off the insulation in the allowances. It has to be done for all allowances.
Stitch the front bottom (legs) pieces along the central seam right sides together.
Sew the side and center pieces of the front at the bottom hem of the leg (up to the zipper).
During this step you can make a frame for the zipper. Pin a 5/7 cm (1.97/2.75 in) rectangle made of lining fabric to the beginning of the zipper, 3 cm above the seam. Sew in such a way that a frame is formed with a distance of 1.2 cm (0.47 in) between the lines. Cut the frame in the middle, not reaching 1 cm (0.39 in) to the edge and then cut the fabric to the corners, not reaching 1 mm (0.04 in). Turn the frame to the right side and secure with pins.
Pin the back and the front along the shoulder seams right sides together and stitch them.
Insert the sleeve into the armhole. Match the shoulder seam and the marking at the sleeve. Sew in place.
MAIN FABRIC. Sew the front bottom (legs) pieces of the main fabric along the central seam right sides together. Clip the curves. Top stitch allowances to the side.
Sew the upper center piece from the main fabric right sides together to the lower center piece. Top stitch this by sewing the seam allowance to the side 0,1 cm (0.04 in) from the seam.
Sew the center piece to the side pieces from the main fabric at the bottom hem of the legs right sides together. Stitch it.
Run a frame for a zipper. Pin a 5/7 cm (1.97/2.75 in) rectangle from the main fabric to the beginning of the zipper, 3 cm (1.18 in) above the seam along the bottom of the legs. Sew in such a way that a frame is formed with a distance of 1.2 cm (0.47 in) between the lines. It is necessary to capture both the allowances of the front by about 0.3 cm. Cut the frame in the middle, not reaching 1 cm (0.39 in) to the edge and then cut the fabric diagonally to the corners, not reaching 1 mm (0.04 in). Turn the frame to the right side. Do not pinch with pins. Leave it as it is.
Steam the zipper to avoid shrinkage.
Sew the zipper to one front side.
Transfer the control marks to the other side of the zipper. Pin the other side of the zipper to another front side. Sew in place.
Do the same with the second zipper.
PLACKET: Pin the lining and main placket right sides together. Stitch it. Clip curves and corners. Turn out. Top stitch the placket.
Sew Velcro in place. Pin the placket to the side piece of the front main fabric with open cuts inward.
Pin the placket to the side piece of the front main fabric with open cuts inward.
Pin the lining to the garment along zipper right sides together. Firstly you should do it with the side piece of the front (where placket is sewn). Baste it, then sew in place.
Transfer the marks to the other side of the zipper and repeat the operation.
Turn the central front piece to the wrong side. Pin the top edges of the main and lining fabric right sides together. Stitch it. Trim seam allowances across corners.
LINING. Pin the side seams of the sleeves, front and back right side together. Leave a 15-20 cm (5.9-7.9 in) area in one of the side seam for turning out. Stitch them with one straight seam.
Sew the inseam of the legs of the front and back pieces right sides together.  MAIN FABRIC. Pin the reflective tape to the back right trouser leg. Sew in place.
Pin the back parts together at the center seam. Sew them. Clip along curves. Top stitch along the seam.
Sew the casing to the back. Insert the elastic. Place a securing stitch at the edges of the elastic.
Sew the front and the back at the shoulder seams. Top stitch this by sewing the seam allowance to the back side 0,1 cm (0.04 in) from the seam.
Pin the front and back along the side seams right sides together. Stitch them. Pin the sleeve made of main fabric along the side seam right sides together. Stitch it.
Insert the sleeve into the armhole, matching the notches. It is necessary to evenly distribute the sleeve along the armhole line. Sew in.
Cuffs. Pin the cuff piece right sides together. Stitch them.
Sew the elastic into a ring.
Fold the cuffs in half with wrong sides, insert the elastic. It is necessary to fix the elastic in 2-4 places so that it fits snugly with the other edge to the cuff. Stitch along the cuff on the right side.
Insert the cuff into the bottom hem of the leg of the lining in this way and sew in place.
Fold the bottom hem of the leg from the main fabric, pin the cuff with stitched lining to the bottom hem of the leg right side. Sew in place.
Do the same steps with the sleeve cuffs and sew them to the bottom of the sleeve.
Sew the center hood to the side hood of the lining right side together. Manually spread the allowances to the sides.
Stitch the hood from the main fabric. Pin reflective piping to the side hood along the curved part. Stitch it.
Pin the side hood to the center hood along the curved side.
Make notches (0.1 cm (0.04 in) to the seam) at the rounding points. Top stitch seam allowances to the side hood.
Place the grommets on the side parts of the hood. Reinforce the place under the grommets with a piece of the fabric. Pull the elastic through the grommets.
Pin the internal and external hoods along the curved part. Stitch them together.
Sew the hanger to the center of the neck line.
Turn the overall to the wrong side. Sew the hood to the neck line. Hood from the lining fabric fix with lining and hood from the main fabric – with garment. Fix the elastic with shoulder seams. Neatly place hood on the placket , fixing hood angle exactly on he placket’s marks. You need to fold the placket to avoid getting it under sewing machine needle. Baste them. Stitch by steps: firstly stitch the placket, secondly -lining, and finally stitch the main fabric.

Use hand stitching to attach lining and garment at the shoulder seams, and attach the internal and external hoods at the neck line.

Turn the garment to the right side. Make a finishing stitch at a distance of 2.5-3 cm / 0.98-1.18 in from the edge on the hood. It will serve as a casing for the elastic cord.

Sew by hand the place of turning out in the side seam of the lining.

Sew the buttons to the bottom of the legs and put on the strips.

THE OVERAL IS READY!
Thanks for sewing with us!
Follow us on Instagram: @fabrico_patterns